My sourdough scones are made with sourdough discard for tender and flavorful results. Customize yours with your favorite add-ins like chocolate chips, fruit, or nuts! Recipe includes a how-to video!

Sourdough Discard Scones
So far we’ve incorporated sourdough discard into pancakes, muffins, and brownies, just to name a few. Today I’m adding another option to the mix with these gorgeous and incredibly easy sourdough scones!
A fantastic way to use up sourdough discard, this recipe yields tender scones with a subtle sourdough flavor. Like many of my other discard recipes, incorporating discard into classic scones adds tons of depth. They’re similar to my sourdough biscuits, but a bit sweeter (and they’re even easier to make!).
Why You’ll Love This Recipe
- No pastry cutter needed–a food processor makes quick work of these sourdough scones! This is my preferred method for best and easiest results, but I do include instructions for how to make the scones without one below.
- Customizable: keep them plain or add frozen/dried fruit, chocolate, nuts, etc. Lemon poppy seed would be a great combination, as would white chocolate and raspberries. You really can get creative with these!
- Can be made in advance, if you want to prep them the night before and bake the next morning. Or put your sourdough scones in the freezer for fresh scones on-demand!
- Amazing flavor! The sourdough adds depth without making the scones taste sour.
What You Need
Most of these ingredients are pretty standard for scones, except for the sourdough.
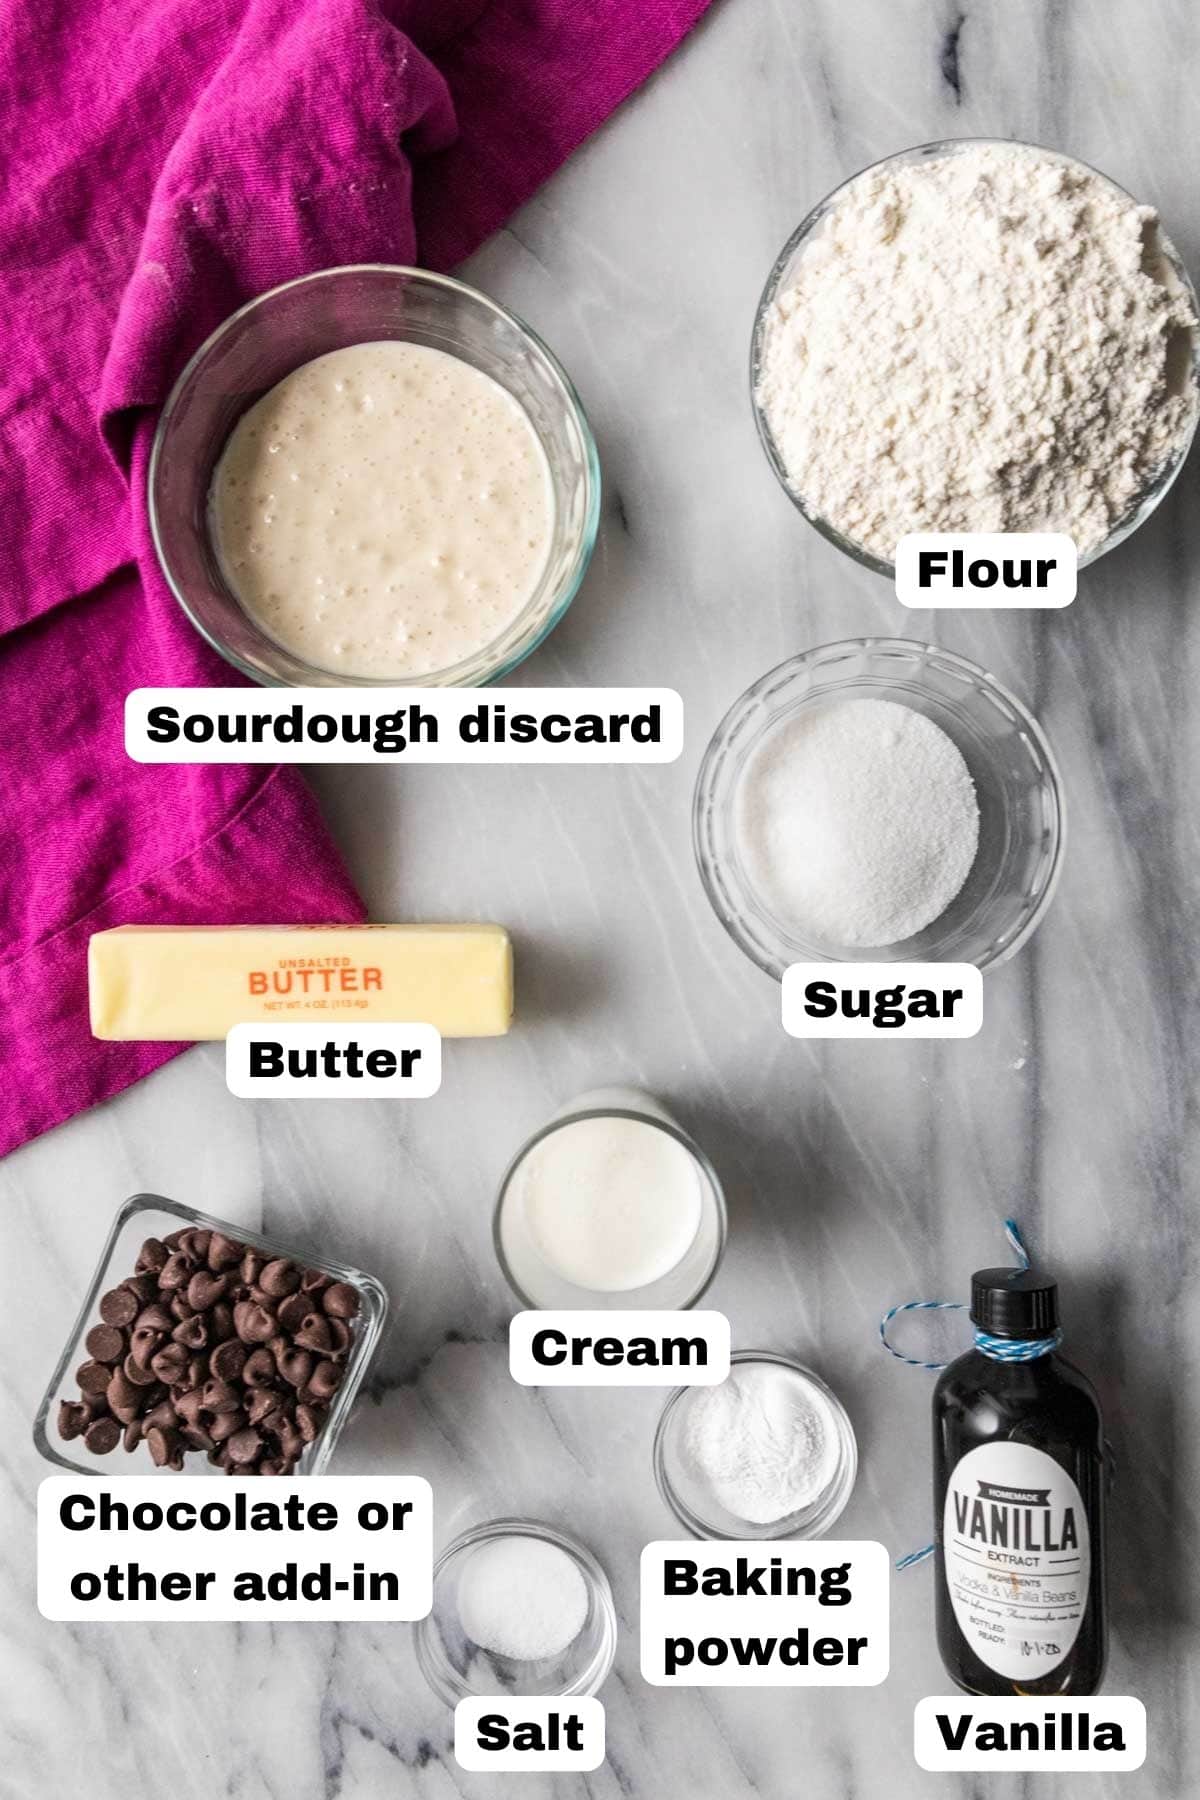
- Butter. This needs to be very cold! I actually freeze mine for about 15 minutes before I start my scones. Just like when making my homemade biscuits or rice krispie treats, using European-style butter with a higher milkfat percentage (like Kerrygold brand) will yield even more flavorful results.
- Add-ins. Feel free to add chopped chocolate (or chocolate chips) or frozen berries. If you add frozen fruit, note that your sourdough scones will be more likely to topple over (no big deal) and will likely take a minute or 2 (or 3) longer in the oven.
- Sugar. I like my sourdough scones to be a little sweet, otherwise they’d just taste like biscuits! I add sugar into the dough and a light sprinkling on top before baking, too.
- Cream. Similar to the sugar, we will add this to the scone dough and then use it to brush the tops of the scones before they go in the oven. Double cream, heavy cream, or whipping cream will work!
- Sourdough discard. If you don’t have any discard lying around, you can jump on the bandwagon by following my guide on how to make a sourdough starter.
SAM’S TIP: If you have some turbinado sugar, you can sprinkle that on top of the scones after brushing them with cream. This will give them a bakery-style look and adds such a nice texture!
Remember, this is just an overview of the ingredients I used and why. For the full recipe please scroll down to the bottom of the post!
How to Make Sourdough Scones
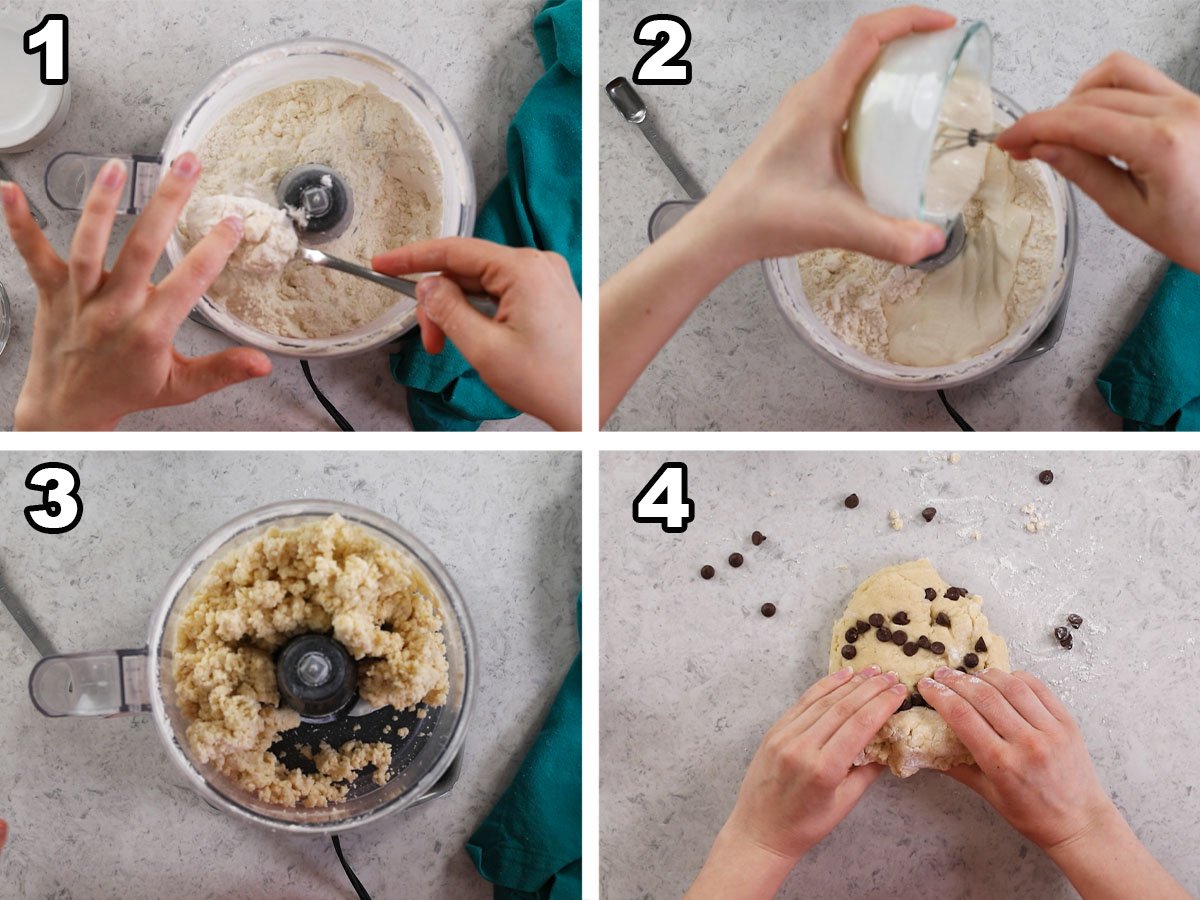
- Pulse the dry ingredients together in a food processor, then add the cold butter and pulse again. Stop when the butter is incorporated and you see pieces that are about the size of a chocolate chip.
- Whisk together the sourdough discard, cream, and vanilla, then drizzle over the other ingredients. Pulse everything again until the ingredients start to cling together.
- Test to see if your dough is ready by pressing it between your finger and thumb; if it sticks together, it’s ready!
- Laminate the dough on a lightly floured surface. Laminating simply means folding the dough over itself repeatedly, this helps create light, flaky, buttery layers (this method also helps produce sky-high results with my homemade biscuits). You can work in your add-ins during this process, just sprinkle them over the dough and they’ll be worked in as you laminate.
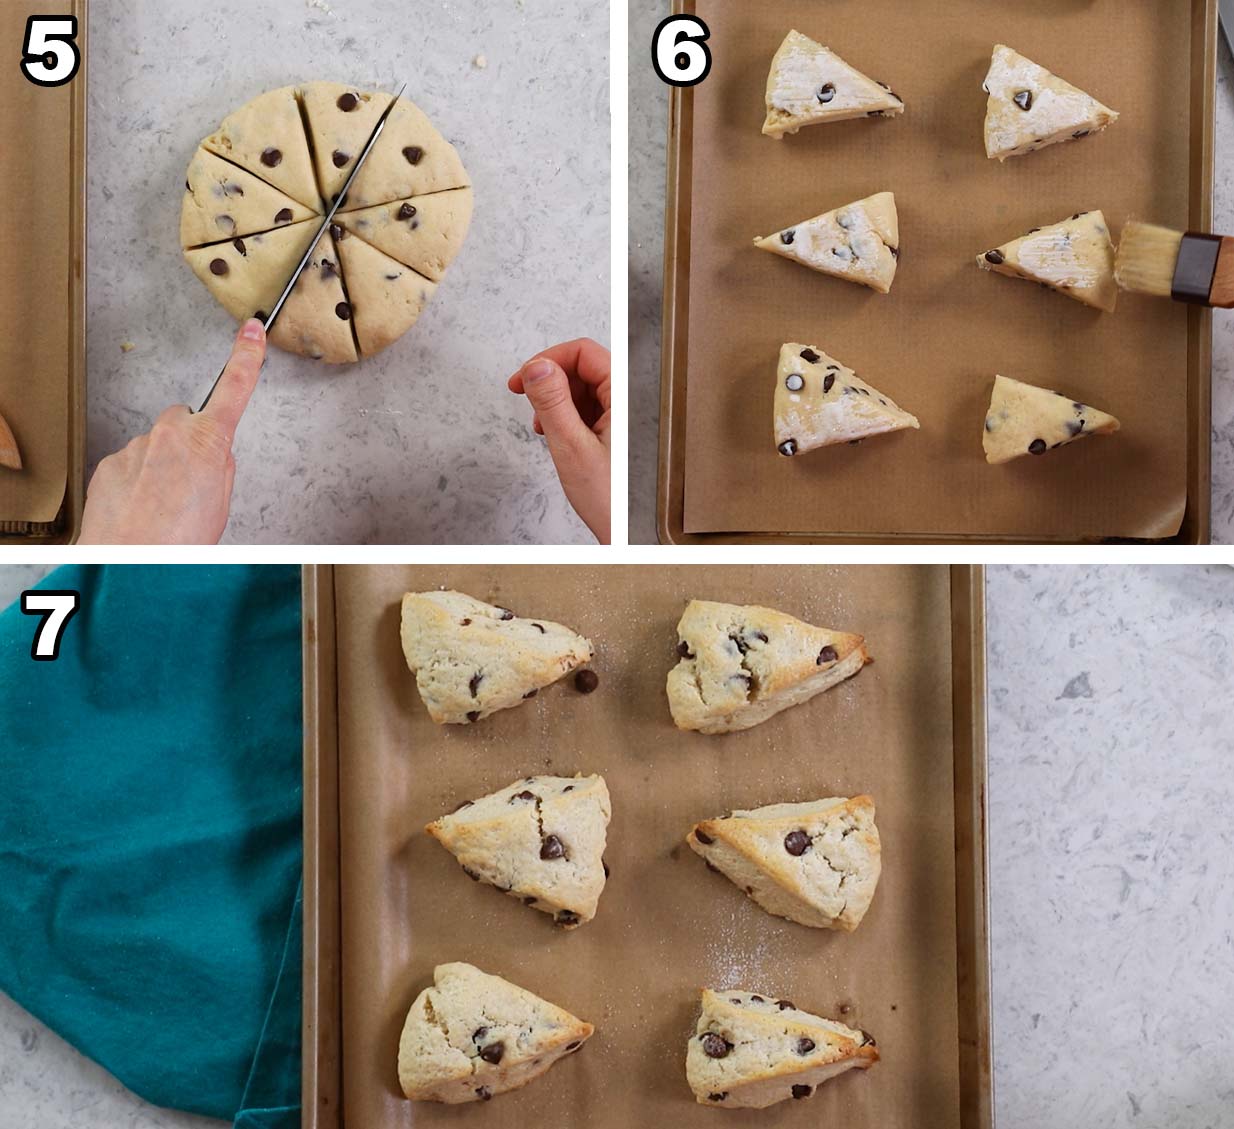
- Work the dough into a smooth disk, then cut into eight wedges. Make sure you don’t saw into your dough when cutting; just press straight down and pull the knife straight back up (otherwise the scones are more likely to topple).
- Place on parchment lined baking sheets, then brush the tops of each scone with heavy cream and sprinkle with sugar.
- Bake until the edges start to turn light golden brown. Let cool slightly before enjoying.
SAM’S TIP: It’s so important to (fully) preheat your oven! Baking scones in a hot oven will encourage them to rise nice and tall and have a light texture. Make sure your oven has reached 400F (205C) before you place your sourdough scones in there.

Frequently Asked Questions
This recipe was specifically designed to use up discard, so I don’t recommend leaving it out. Instead, I’d recommend you simply make my traditional scone recipe. You can always add chocolate chips, nuts, or frozen fruit to that recipe too!
Yes! You can replace the discard with an equal amount of active starter. Similar to my sourdough biscuits, I do like to let my sourdough scones sit in the fridge overnight if I make them with active starter; this allows the flavor to develop.
Yes! To make sourdough scones in advance: after you cutting, you can either wrap and freeze them or place them in an airtight container in the refrigerator. When you are ready to bake, simply place your scones on a parchment lined baking sheet (unwrap if wrapped), brush with cream, sprinkle with sugar, and bake!
Note that sourdough scones baked directly from the freezer may need several minutes longer in the oven.
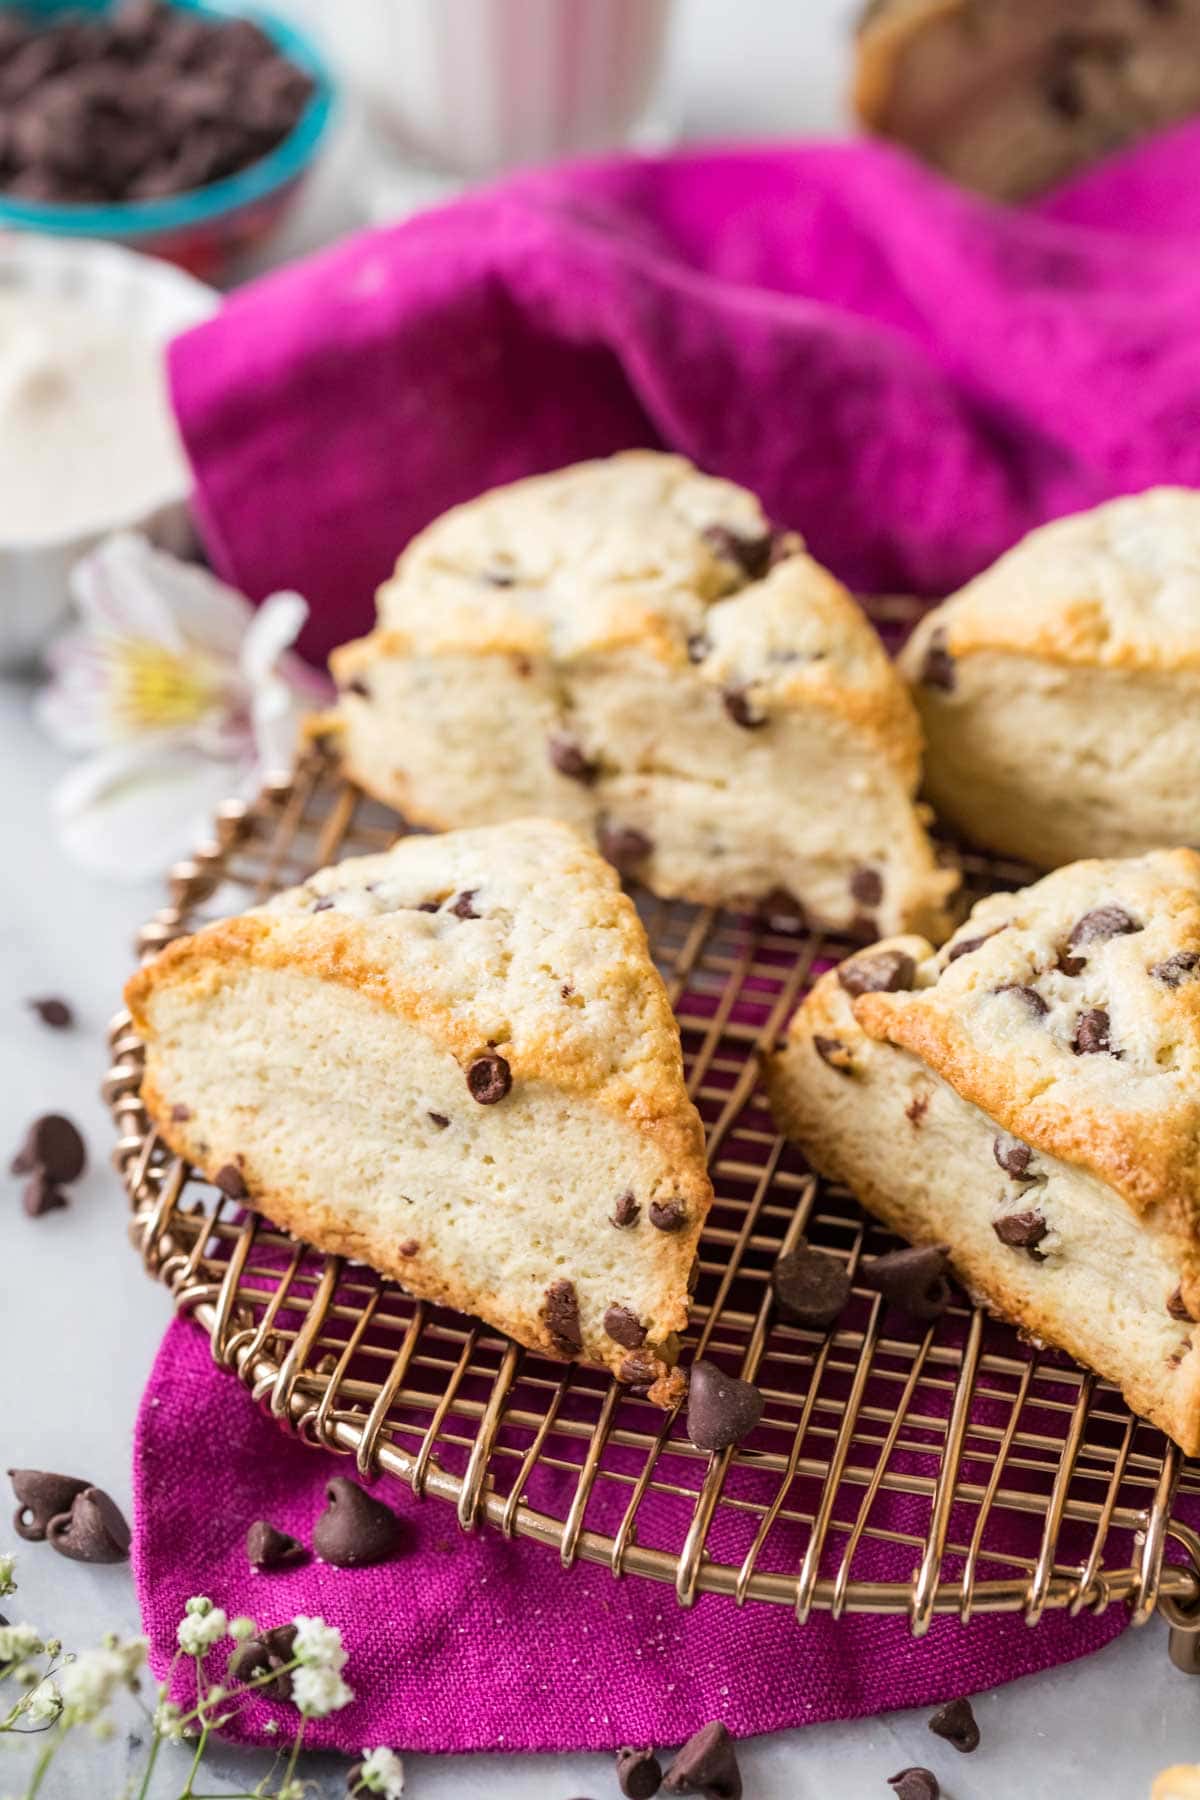
How do you like to eat your scones? They’re buttery and flavorful enough that we like to enjoy them plain, but a bit of honey butter or strawberry sauce (or a drizzle of vanilla glaze in lieu of the sugar on top) never hurts!
Enjoy!
Let’s bake together! Subscribe to my newsletter to be notified of all the newest recipes, and find my free recipe tutorials on YouTube 💜

Sourdough Scones
Ingredients
- 2 cups (250 g) all-purpose flour
- ⅓ cup (66 g) granulated sugar
- 2 teaspoons baking powder
- ¾ teaspoon table salt
- ½ cup (113 g) very cold unsalted butter I place mine in the freezer for 15 minutes before using
- ½ cup (110 g) sourdough discard
- ¼ cup (60 ml) heavy cream
- ½ teaspoon vanilla extract
- 3 oz (85 g) chopped semisweet chocolate or ½ cup chocolate chips optional
Recommended Equipment
- Food processor (see note if you do not have a food processor)
Instructions
- Preheat oven to 400F (205C) and line a baking sheet with parchment paper. Set aside.
- Combine flour, sugar, baking powder, and salt in the basin of a food processor and pulse to combine.2 cups (250 g) all-purpose flour, ⅓ cup (66 g) granulated sugar, 2 teaspoons baking powder, ¾ teaspoon table salt
- Cut cold butter into 8 pieces and scatter over the dry ingredients. Pulse in 1 second intervals until butter is well-distributed (pea-sized pieces should remain).½ cup (113 g) very cold unsalted butter
- In a separate small bowl or measuring cup stir together the sourdough discard, heavy cream, and vanilla extract.½ cup (110 g) sourdough discard, ¼ cup (60 ml) heavy cream, ½ teaspoon vanilla extract
- Pour this evenly over the dry ingredients and pulse again until dough is beginning to cling together (make sure to “pulse” in brief intervals and not just blend).
- Once the dough is clinging to itself, transfer to a clean lightly floured surface and form the dough into a disk. Fold it in half over itself and gently flatten the layers together, then rotate the dough 90 degrees and fold and flatten again. Repeat this 4-5 times, working quickly to not warm or overwork the dough.3 oz (85 g) chopped semisweet chocolate or ½ cup chocolate chips
- Form the dough into a smooth disk, about 1 inch thick and 6 inches round. Cut the disk into 8 wedges pressing your knife straight down with each cut (don’t saw through the dough).
- Place on prepared baking sheet, spacing each wedge at least 2 inches apart. If desired, brush tops of scones with additional cream and sprinkle lightly with sugar.
- Transfer to center rack of preheated oven and bake for 15-16 minutes, edges of scones will be turning a light golden brown. Allow to cool at least 10 minutes before enjoying.
Notes
Food processor alternative
A food processor is recommended for this recipe for best (and easiest) results. If you don’t have one you can make the recipe by hand with a little effort. Combine the flour, sugar, baking powder and salt. Use a grater to shred the butter and toss it in the flour mixture. Whisk the discard, cream, and vanilla extract together and gently work the dough together until combined. It is dry but if you keep working it the dough will combine. Proceed with the recipe as written after combining, but I recommend chilling the scones in the refrigerator for at least 30 minutes before baking as the dough tends to get warm from the extra handling and is more prone to spreading.Storing
Store in an airtight container at room temperature for up to 3 days. Scones always taste best warmed so I recommend warming before enjoying! These also freeze well, wrap tightly and freeze in an airtight container or zip-lock bag for up to several months.Nutrition
Nutritional information is based on third-party calculations and should be considered an estimate only. Actual nutritional content will vary based upon brands used, measuring methods, cooking method, portion sizes, and more.






Kathy
Hi, I’m new to sourdough and have a question. Does it make any difference in scones (or any other discard recipes) if I use the discard cold, straight from the fridge or should I let it sit on the counter and warm to room temp before using ?
Sam
Hi Kathy! It really depends on the recipe. Generally I want all of my ingredients to be the same temperature, or as close as they can be. 🙂
Diana
These scones are now on regular rotation. Our favourite add in is raisins but I’ve also tried frozen blueberries with about 5 more minutes in the oven, of course. We’re addicted. Your recipes are always amazing and I’m so appreciative of the ingredients and quantity listed in each step of the directions.
Sam
I’m so glad you’ve enjoyed them so much, Diana! 🙂
Bobbie Pennisi
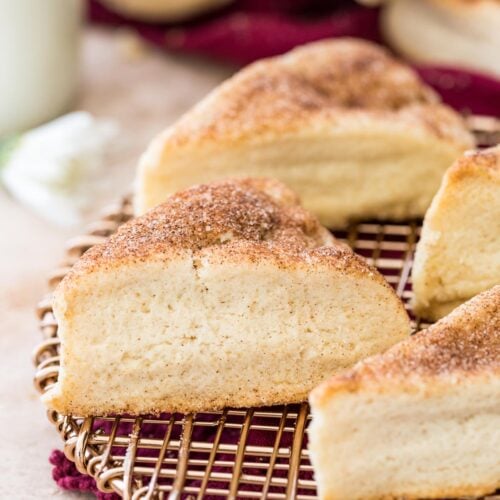
Looking for a cinnamon sugar sourdough scone recipe. do you think I could use this and incorporated the cinnamon sugar or will it be to dry?
Sam
Hi Bobbie! I haven’t tried it, but I think it could work. The more sugar you add the more the scones will spread. 🙂
Diana Saucedo
This was my first batch of success with sourdough starter and making scones..I was super pleased with the texture, delicious flavor of the recipe. Plus it was so easily put togeather in Blender!..I have been trying to make sourdough starter now for about a year. I just fed my starter a couple of hours before..watching it to rise and then poured out the amount for recipe and the rest is History!.. well for me…
Thanks for your very helpful video.
Diana
Sam
I’m so glad you enjoyed it so much, Diana! 🙂
Bridget
Wow!! Neighbor dropped off cherries from their trees. I added them with some orange zest. Perfection!! I did bake about 8 minutes longer than suggested. I’ll make these again and try different add ins.
Sam
Those sound like excellent additions (and makes sense it would take them a bit longer to take with the add-ins, totally worth the extra time, though!). Thank you so much for letting me know how they turned out for you, Bridget!!
Cara
OH.MY.GOSH! That sounds soooo delicious!!! YUMMY!!
Jeanette
My FAVORITE scones (and I have tried many) hands down.
Sam
I’m so glad you enjoyed them so much, Jeanette! 🙂
Maria
Can you form the scones and leave them in the fridge overnight to ferment the flour? If so, should I use active starter?
Sam
Hi Maria! You absolutely can and that’s a personal preference if you’d like to use active starter or discard. Either will work great 🙂