My sourdough biscuits rise sky high with perfectly buttery, flaky layers. They can be made with sourdough discard or starter. Recipe includes a how-to video!

Sourdough Discard Biscuits
Inspired by my mega-popular classic biscuit recipe, these sourdough biscuits are some of the most flavorful, tender, buttery biscuits I’ve ever had in my life! They come together quickly with either sourdough discard (or active starter, if you prefer) and taste utterly amazing. Just look at those tall, flaky layers!
Why You’ll Love This Recipe
- Quick to make–ready in less than 30 minutes!
- No pastry cutter needed! Instead, we’ll use a grater to grate frozen butter. It’s SO much easier.
- So many ways to enjoy! Serve them for breakfast with sausage gravy, use them for topping chicken pot pie with biscuits, or serve them alongside some beef stew (or vegetarian vegetable soup)! Or, switch things up entirely and have them for dessert with some chocolate gravy 🤎
- Can be made with either active starter or discard, so use whichever is more convenient.
This is just one of the many sourdough recipes on my blog, if you’re looking for more, check out my sourdough banana bread, sourdough pancakes, or sourdough blueberry muffins.
What You Need
You need just seven ingredients to make sourdough discard biscuits. Here are the important ones!
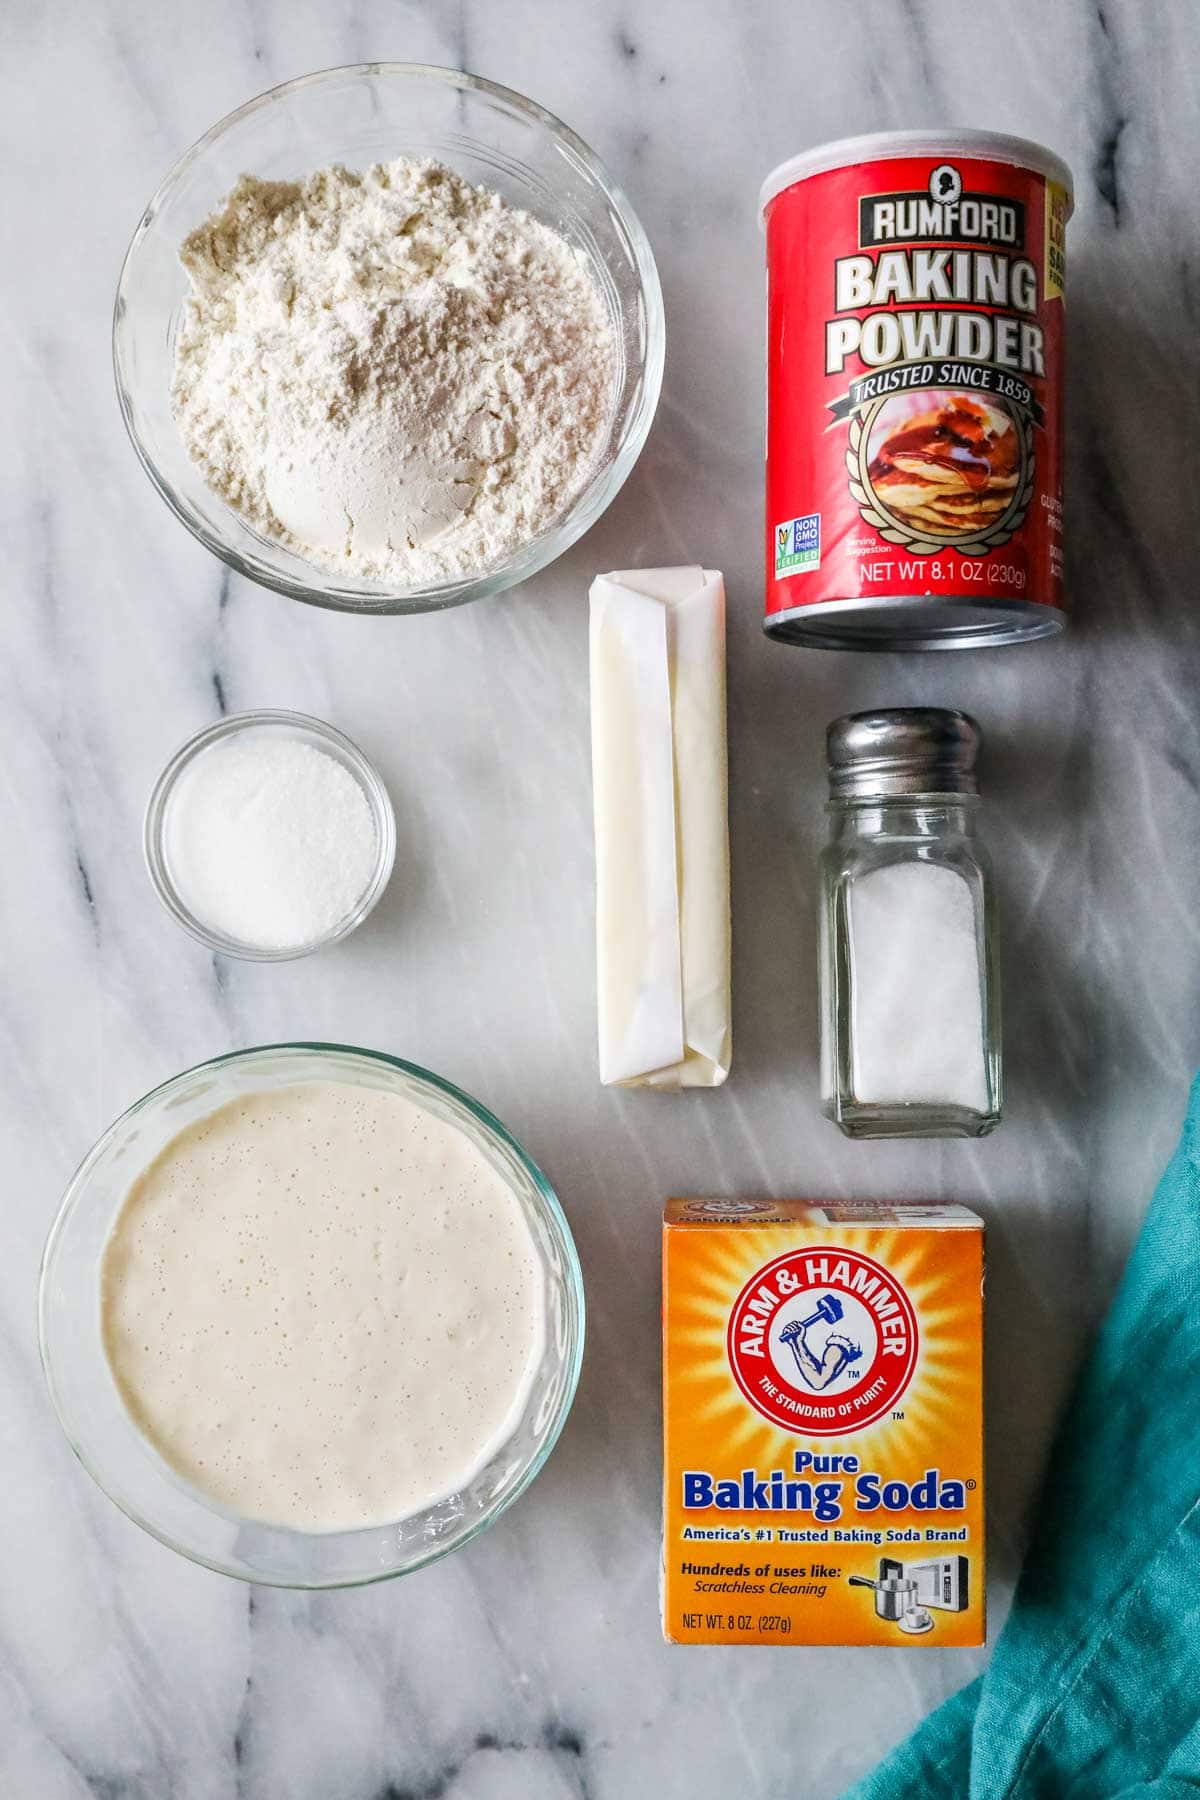
- Butter. Use unsalted butter and make sure it’s nice and cold–I talk more about this below! Just like with my shortbread recipe, European butter is a worthwhile splurge here if you can find it. Regular butter will still make for amazing sourdough biscuits though.
- Sourdough discard. If you’ve been making sourdough bread, chances are you have some discard lying around. Put it to good use here! Note that this recipe can also work with active sourdough starter; I touch on this a bit more below.
- Sugar. This adds depth of flavor and some moisture to our sourdough biscuits, contributing to that melt-in-your-mouth quality. I use granulated sugar or coconut sugar, but honey will also work. Note that if you use honey, you may need to add a bit more flour to make your dough manageable.
- Flour. Stick all-purpose or plain flour–do not use self-rising flour! If you do, your sourdough biscuits will rise too high and could topple over on themselves. If you have one, use a kitchen scale to measure your flour for the the most accuracy.
SAM’S TIP: Keeping your butter as cold as possible guarantees buttery, tall, and flaky sourdough biscuits. I personally like to place mine in the freezer for 15 minutes before working with it. Using a grater to work the butter into the dry ingredients also helps keep it nice and cold!
Remember, this is just an overview of the ingredients I used and why. For the full recipe please scroll down to the bottom of the post!
How to Make Sourdough Biscuits
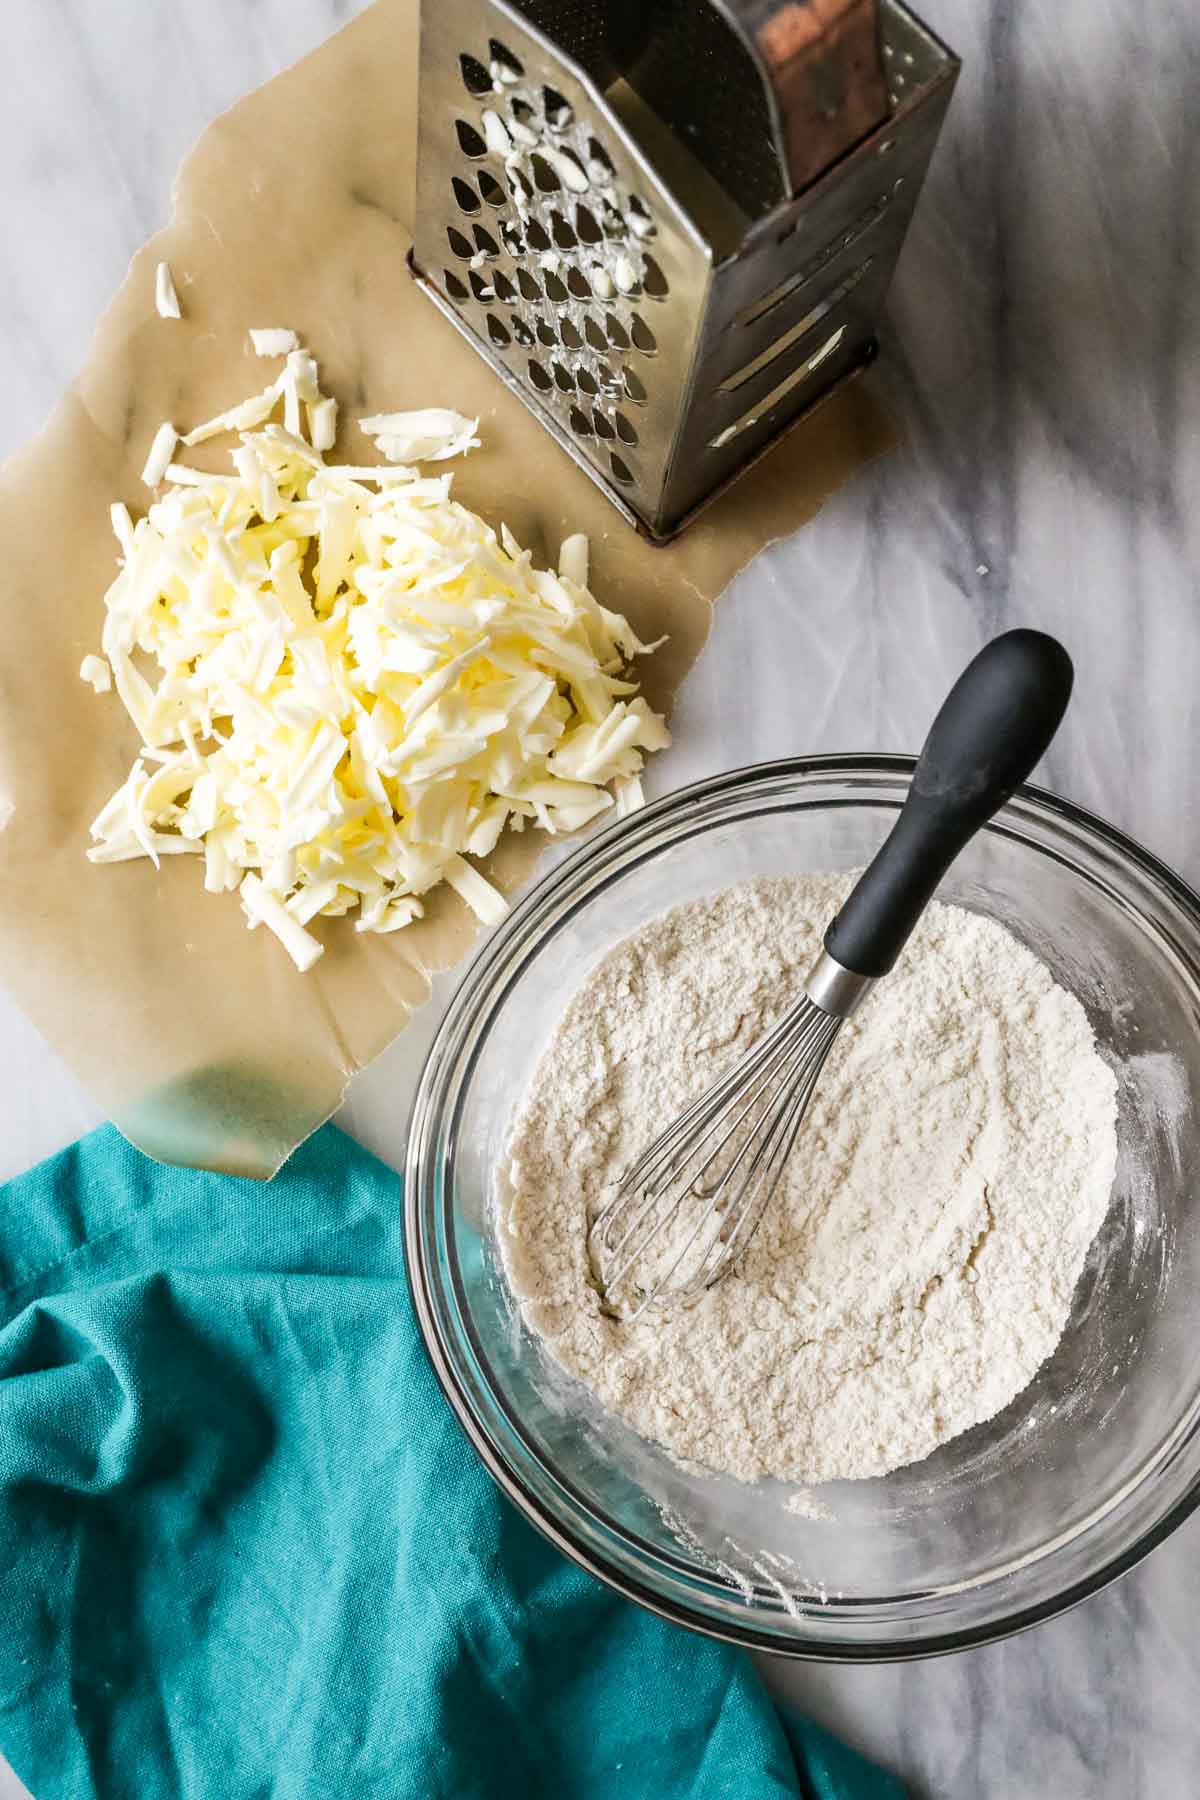
- Whisk the dry ingredients and sweetener of your choice together in a large mixing bowl. Set this aside while you grate your butter; I do this on a piece of wax paper for easy clean-up.
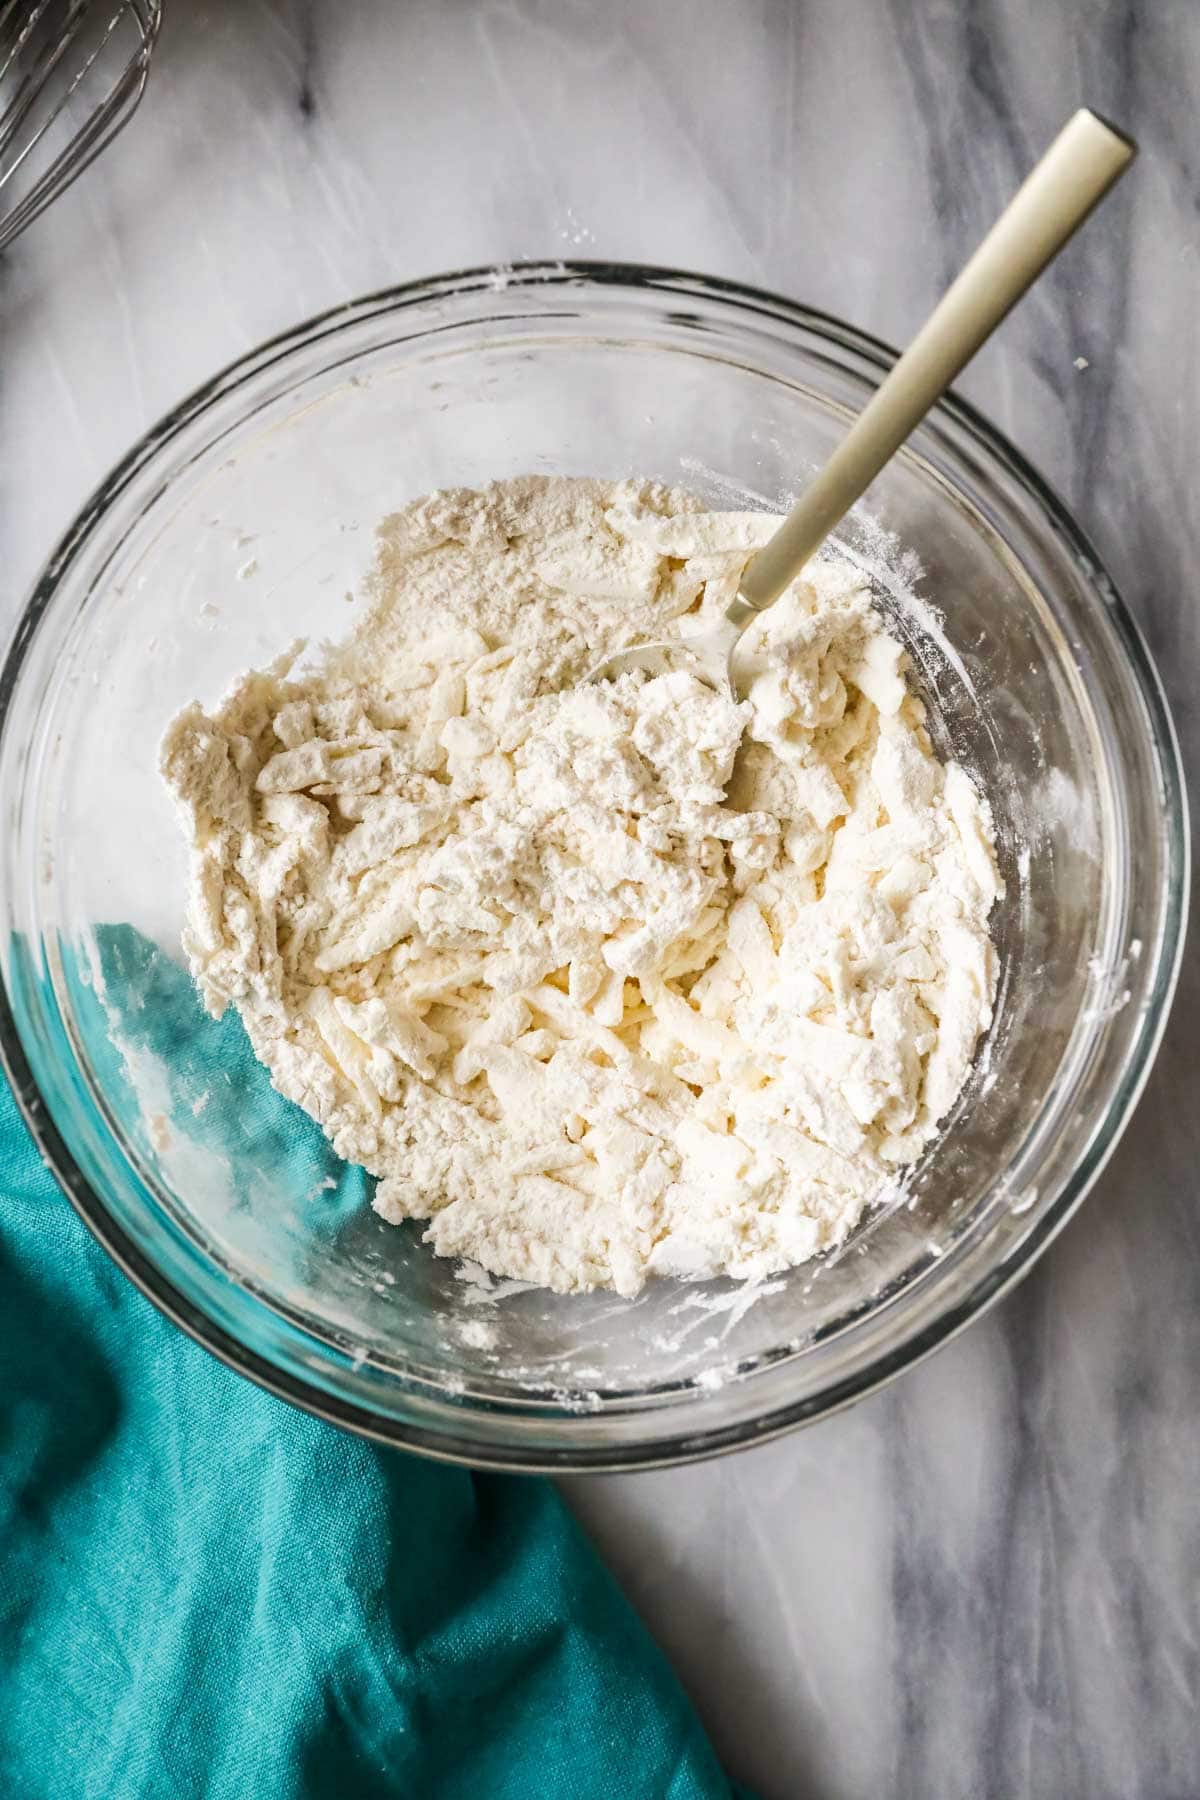
- Add the butter to the dry ingredients and mix until you have coarse crumbs. The butter will still be very discernible and piecey at this point, so if yours looks like this, you’re in good shape! The goal here is to just make sure the butter is mixed into the flour.
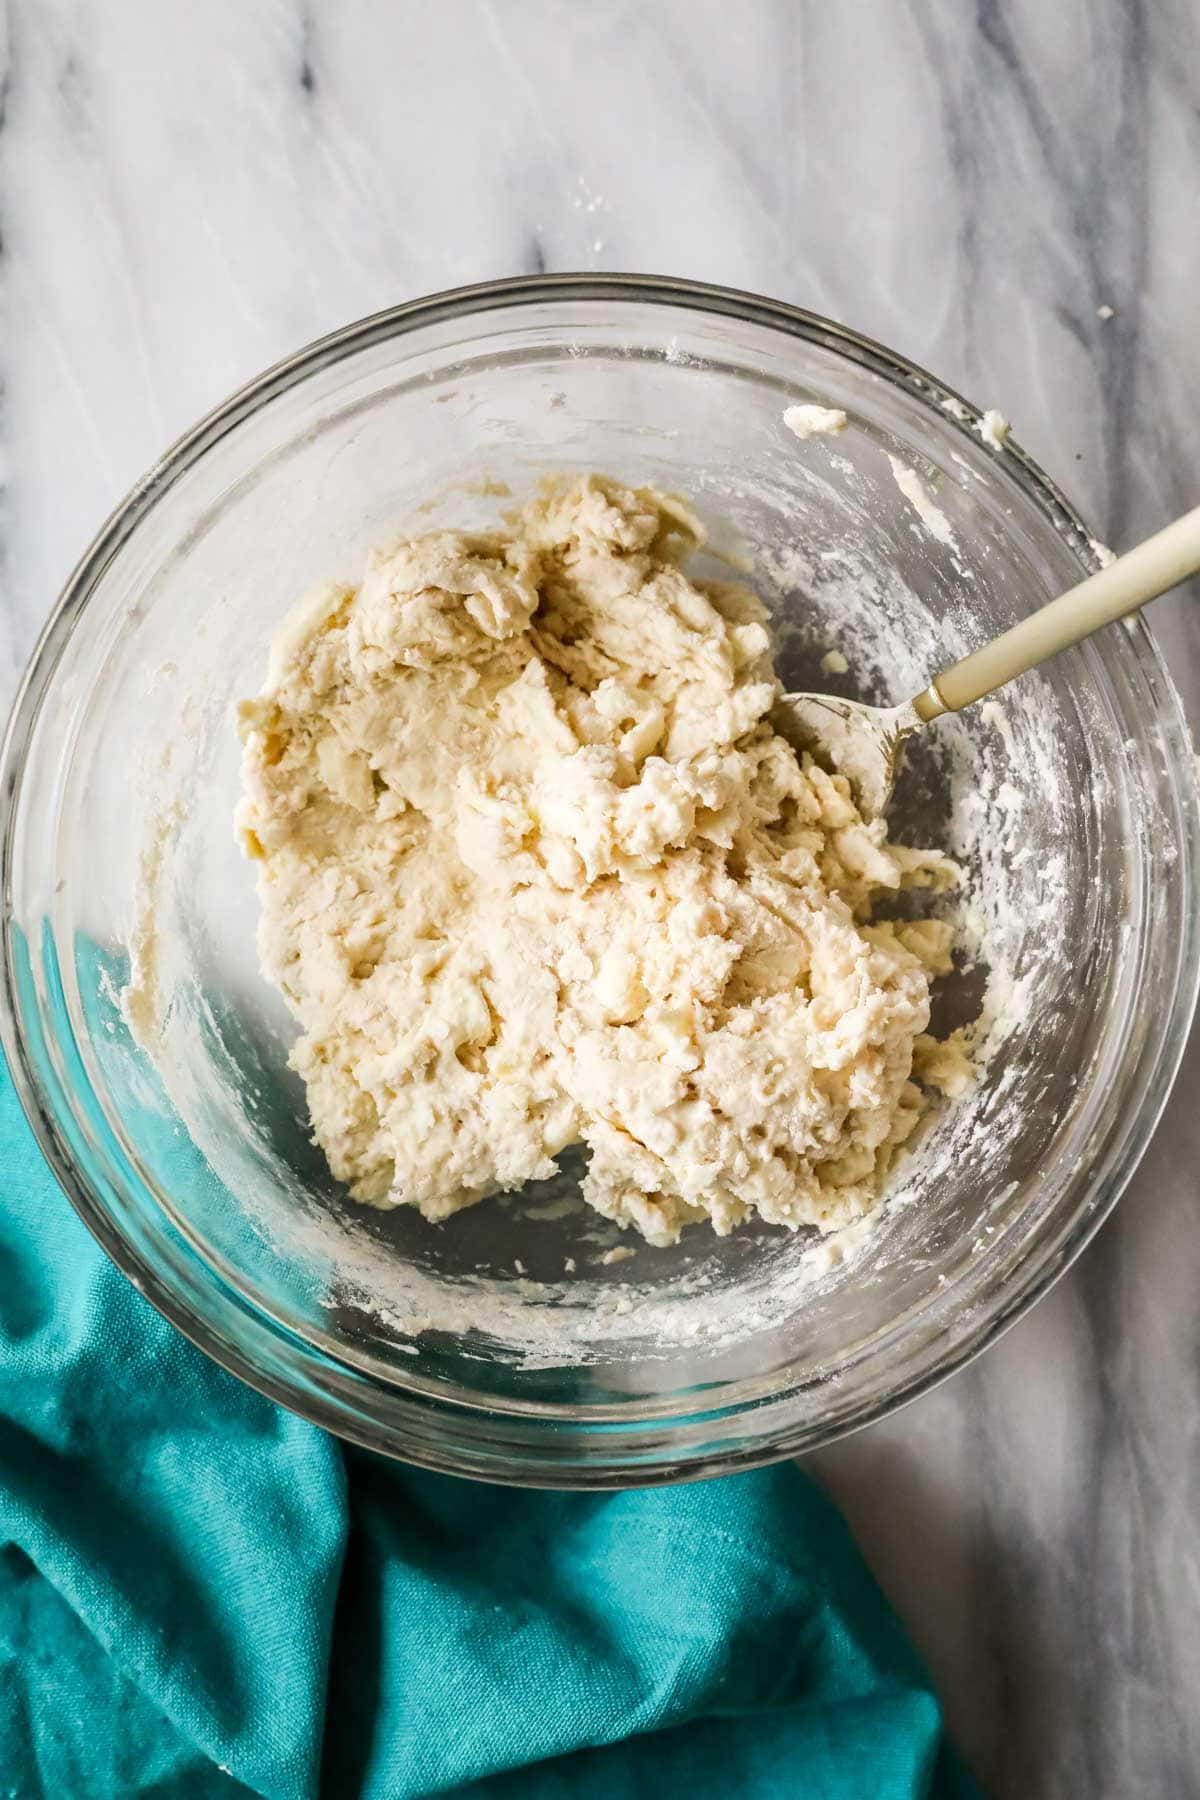
- Pour in the sourdough discard and stir everything together with a spatula. The mixture will be dry and a bit challenging to work with, but it will come together! You can also do this with your hands, just be careful to be quick and not over-work your dough–we want it to stay as cold as possible.
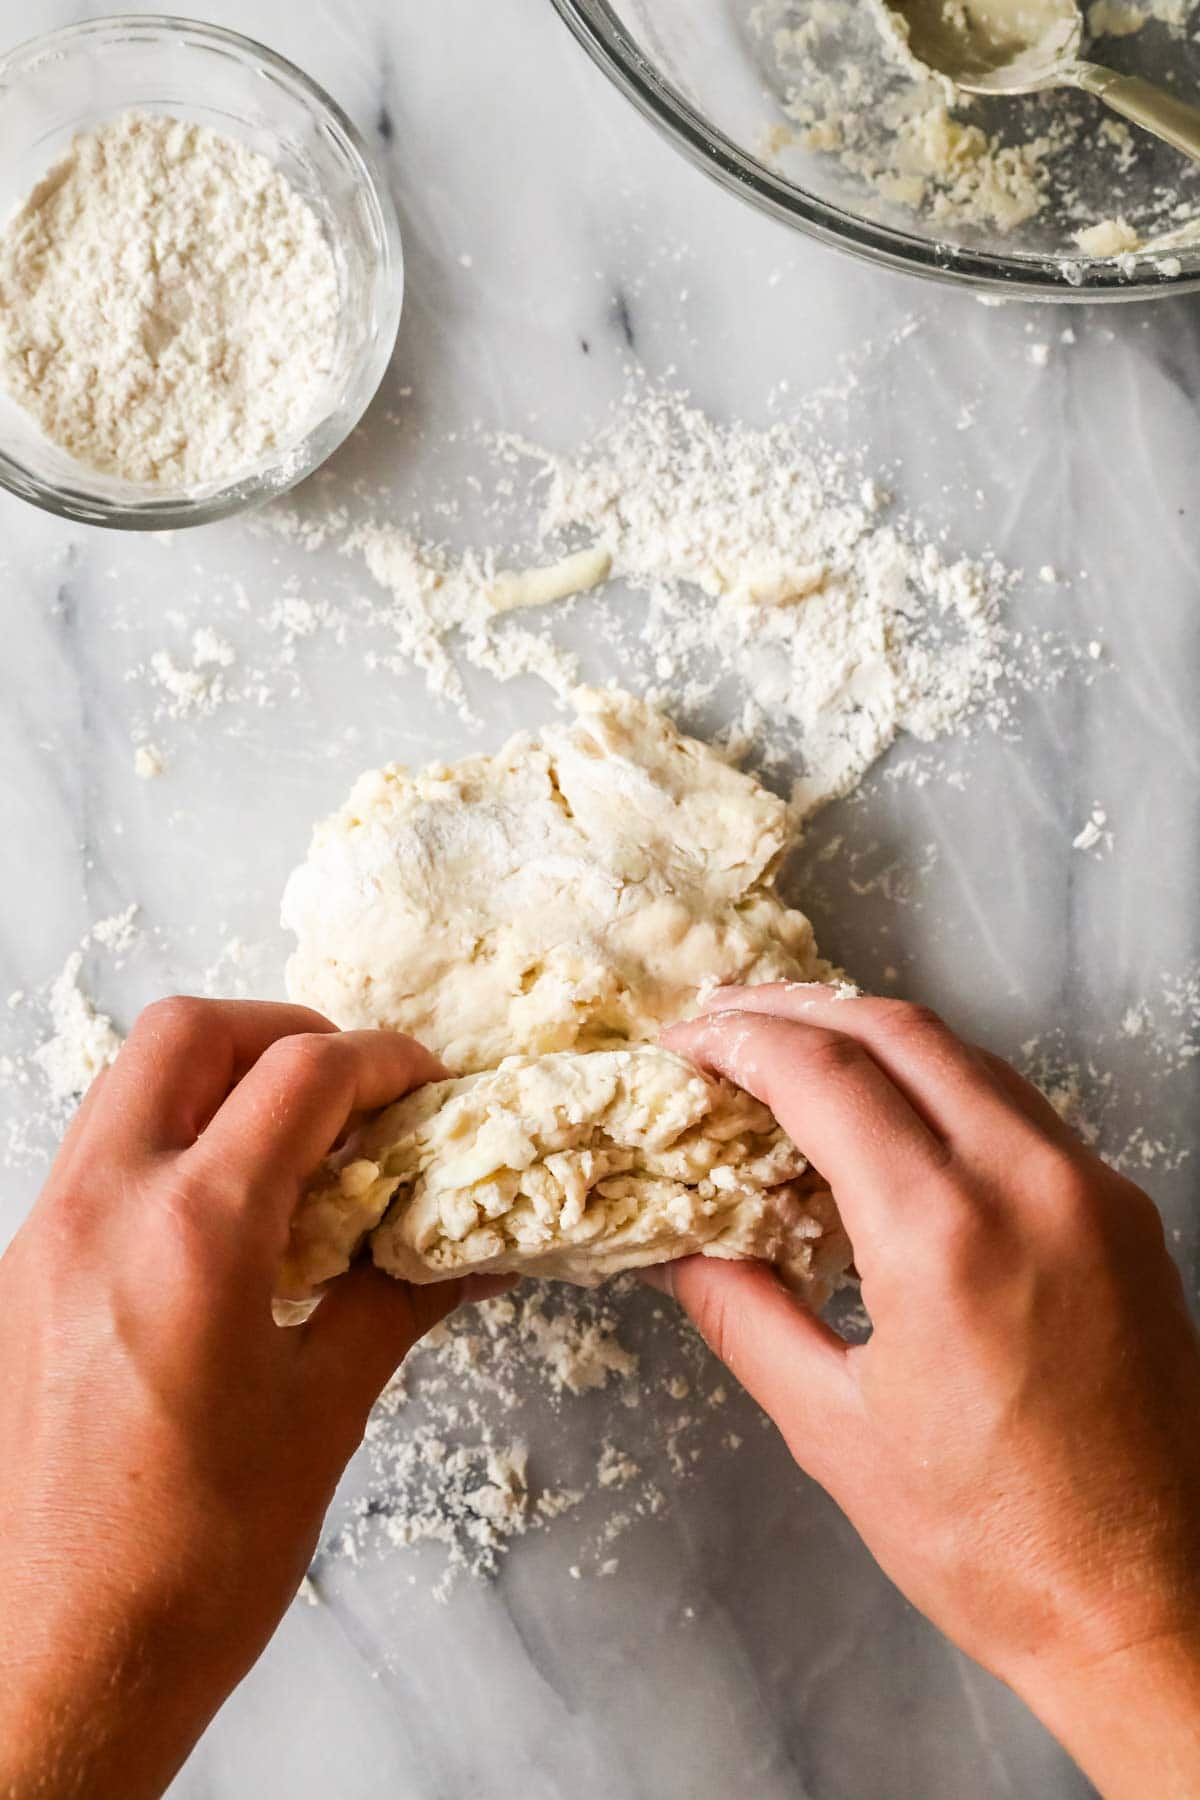
- Laminate the dough. Fold the dough in half over itself, then flatten it slightly with your hands. Turn it 90 degrees and repeat. Do this process a total of 5 times, once again being careful to not over work your dough. This process is called “lamination” and contributes the the flaky layers and height of the biscuits.
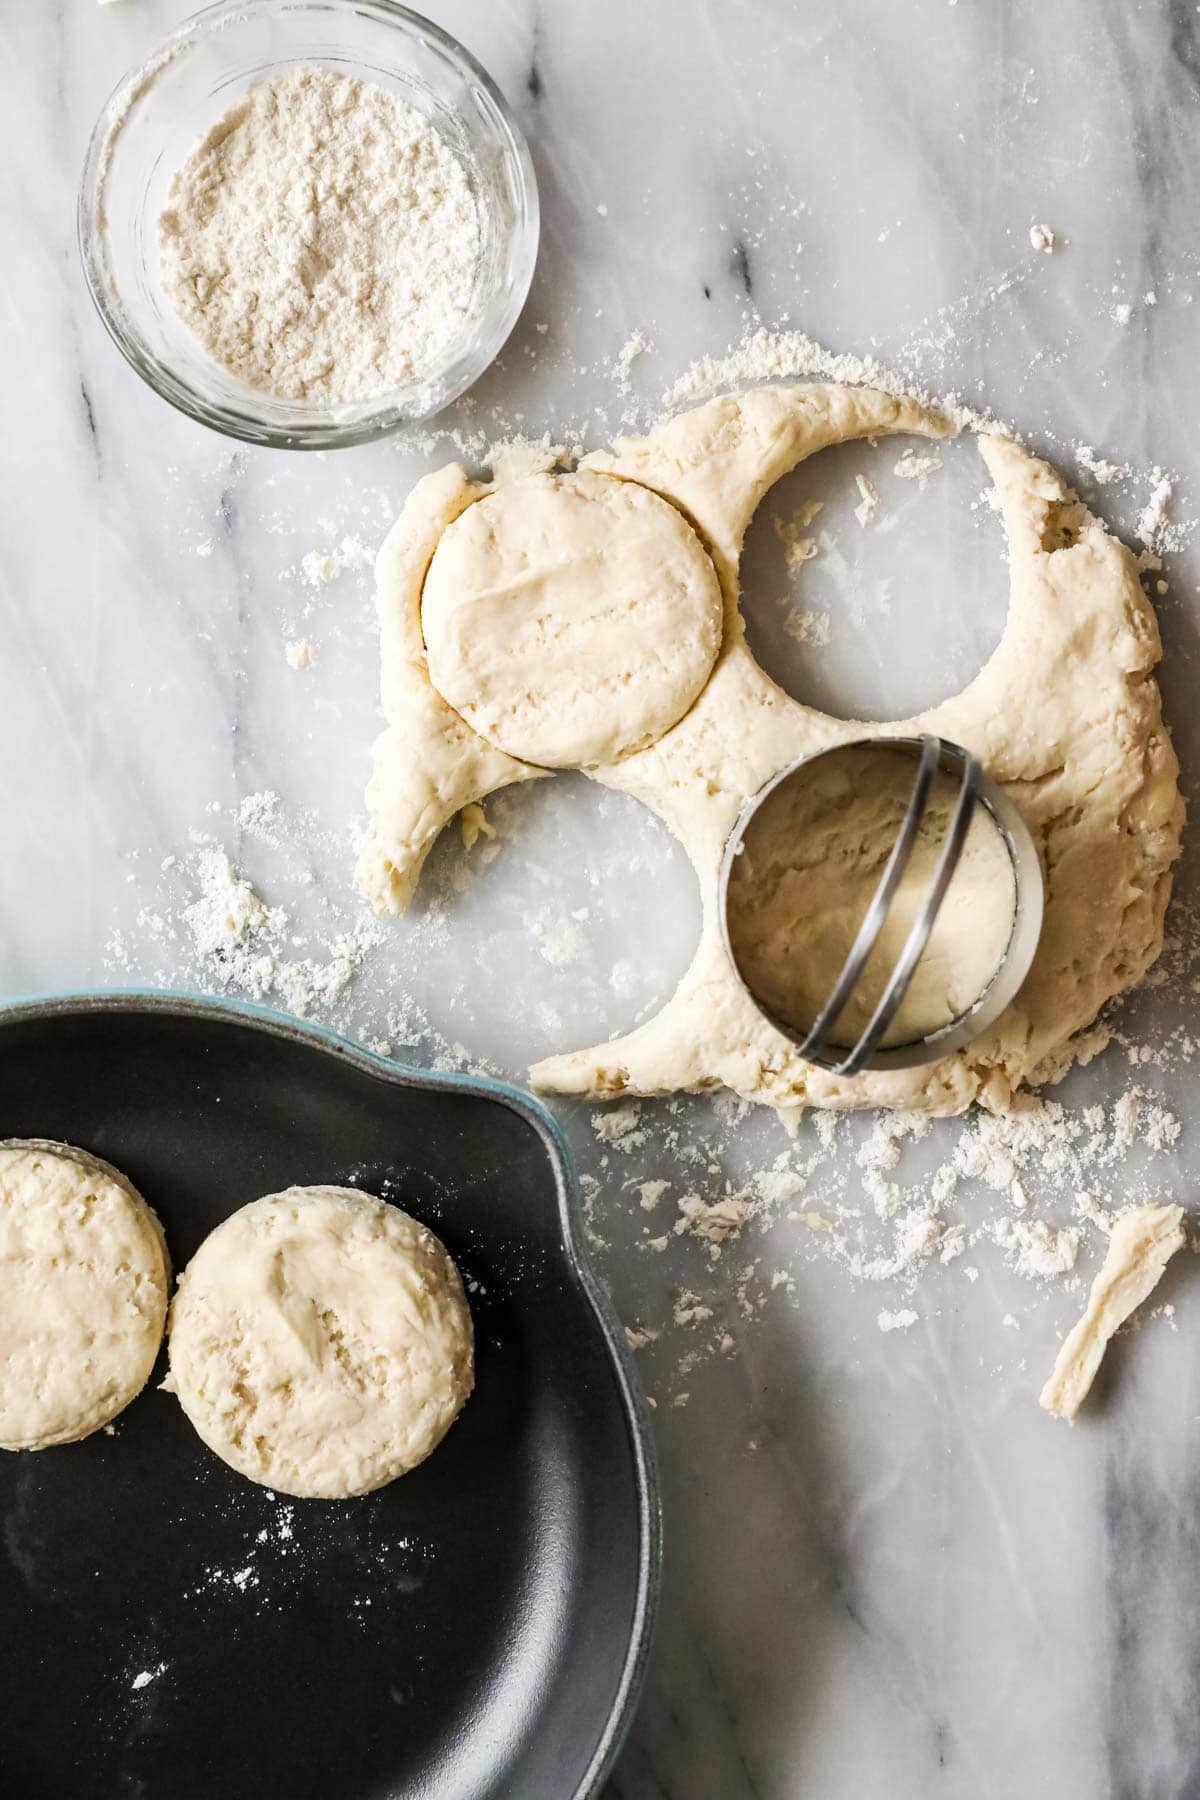
- Cut your biscuits using a biscuit cutter or glass. Always press straight down while you do this and try to get as many cuts out of your first batch as possible! Bake in a buttered pie plate or cast iron pan and brush with melted salted butter before serving (optional, but tasty!).
SAM’S TIP: If you want your sourdough discard biscuits to have a golden brown exterior, brush them with some milk, cream, or egg wash (1 egg + 1 teaspoon water) before baking.

Frequently Asked Questions
Yes! Active sourdough works well in this recipe. When I do this, I often cut out the biscuits, place them in a buttered pie plate, and cover and chill overnight to give the flavor time to develop.
When I’m ready to bake them the next day, I let them sit at room temperature while the oven preheats. Sourdough biscuits will take a little longer to bake this way, as they’re still quite cold, but they will taste amazing!
If you don’t have any active sourdough starter or discard, I’d recommend you make my classic homemade biscuit recipe. They have the same flaky layers and tender, buttery goodness as these sourdough biscuits, so you will love them just as much. There’s a reason they’ve been #1 on Google for years!
Yes! After cutting, wrap each biscuit tightly in plastic wrap and place in an airtight container or ziploc bag. Your biscuits will keep this way for a few months.
When you are ready to bake, simply unwrap them, place on parchment lined baking sheets, and bake! They will need at least a few more minutes when baked from frozen.

These sourdough discard biscuits are so buttery I don’t usually even add butter when enjoying them; however, if you really want to take yours over the top, you could serve them with some honey butter 🍯
Enjoy!
Let’s bake together! Subscribe to my newsletter to be notified of all the newest recipes, and find my free recipe tutorials on YouTube 💜

Sourdough Biscuits
Ingredients
- 1 cup (125 g) all-purpose flour
- 2 teaspoons baking powder
- ¼ teaspoon baking soda
- 1 Tablespoon granulated sugar may substitute honey or coconut sugar (see note if using honey)
- 1 teaspoon table salt
- 8 Tablespoons (113 g) unsalted butter very cold (see note)
- ¾ cup (165 g) sourdough discard
Recommended Equipment
Instructions
- Preheat oven to 425F (218C) and lightly butter a 9” pie pan. Set aside.
- Combine flour, baking powder, baking soda, sugar, and salt in a large bowl and mix well. Set aside.1 cup (125 g) all-purpose flour, 2 teaspoons baking powder, ¼ teaspoon baking soda, 1 Tablespoon granulated sugar, 1 teaspoon table salt
- Use a box grater to grate the cold butter into small pieces. Add to the flour mixture and combine until the mixture resembles coarse crumbs (the butter pieces will still be very discernible, this is normal, just make sure it’s mixed into the flour!)8 Tablespoons (113 g) unsalted butter
- Add the sourdough discard and use a spoon or spatula to work the ingredients together until just combined. Do not over-work the dough. If needed, you can use your hands to work it together (the dough is quite dry, but will come together), just be brief as the warmth from your hands will warm the dough and the goal is to keep it cold.¾ cup (165 g) sourdough discard
- Laminating: Once the dough is clinging to itself, place on a clean, lightly floured surface and fold it in half over itself. Use your hands to gently flatten the layers together, then rotate the dough 90 degrees and fold/flatten again. Repeat this step 5 times, working quickly to not warm the dough too much or over-work it.
- Use your hands to flatten the dough to be just under 1” thick (2.5cm). Lightly dust a 2 ½” (6.3cm) round biscuit cutter with flour.
- Press the biscuit cutter straight down into the dough (do not twist it!) and drop the biscuit onto your prepared baking sheet. Make close cuts and repeat until you have cut as many biscuits as possible.
- Once you’ve cut as many biscuits as possible out of the dough, gently re-form the dough to cut out more biscuits. You should get at least 6 biscuits.
- Arrange biscuits into pie plate, it is fine if they are barely touching or nearly touching.
- Bake on 425F (218C) for 12 minutes or until the tops are beginning to just turn a light golden brown.
- If desired, brush with melted salted butter immediately after removing from oven. Serve warm and enjoy.
Notes
Use a food processor
Recently I’ve started making this in a food processor, it’s just quicker than the more manual grater method. You can pulse the flour, baking powder, baking soda, sugar, salt in the basin, cut the butter into Tbsp-sized pieces and scatter overtop then pulse those until you have coarse crumbs, then add the starter and pulse until it clings together, then proceed with the recipe from step 5.Butter
Chill your butter in the freezer for 10-20 minutes before beginning this recipe. It’s ideal that the butter is very cold to get flaky, light, buttery sourdough biscuits.Honey
If using honey, stir it in with the sourdough starter and note that you may need more flour to keep the dough from being too sticky/wet. Just add as needed.Coconut sugar
This works great as an alternative to sugar, but my biscuits never look as pretty as when they are made with granulated sugar. The biscuits in the photos were made with granulated sugar. The ones in the video were made with coconut sugar to illustrate the difference.Active Sourdough
You can substitute the sourdough discard for an equal amount of sourdough starter, though I find it makes it even harder to form the dough. If I make this with active starter, I will often prepare the biscuits through step 8 and then cover the pie plate with plastic wrap and refrigerate overnight, which develops the flavor and allows fermentation to happen. When baked straight from the refrigerator, I find the biscuits often need 14-15 minutes (sometimes even a little longer) in the oven.Browning
These sourdough biscuits will turn a light golden color, but won’t become a deep golden brown. If you’re looking for this effect, brush your biscuits with milk, cream, or even an egg wash before baking.Storage
Store in an airtight container at room temperature for up to 3 days.Nutrition
Nutritional information is based on third-party calculations and should be considered an estimate only. Actual nutritional content will vary based upon brands used, measuring methods, cooking method, portion sizes, and more.









Ann
I thought the regular Sugar Spun Run biscuit recipe was the best until I made the sourdough biscuit recipe, outstanding! I will be making this recipe regularly and recommending 🙂
Sam Merritt
Thank you so much for trusting my recipes, Ann! I’m so glad you’ve been enjoying all of the biscuits! 🙂
Meg
I just made these biscuits. They very very good and I am so proud !!! I haven’t made biscuits in such a long time and they came together quickly. I brushed milk on them but they remained a little paler than I would have liked but I’ll try something else to get more color next time. Any suggestions? I pulled them out at 12 minutes,but popped them in to cook another 2 minutes. I think im going to fold a couple more times if that is ok???? The layers were very defined. Hubby liked them too!
Sam Merritt
Hi Meg! You could try baking them on a higher rack, but you’ll need to be careful not to burn them. You can experiment with adding more folds, but be careful to not overwork the dough as the biscuits will actually become more dense.
Denise B.
Delicious! I use my food processor for the best & easiest results. However, I freeze my butter (it breaks into little pieces with a good knife), put the processor’s bowl, lid & blade in the freezer with the buttered pie pan and keep my starter in the fridge before starting. I also add the chilled starter LAST. A rolling pin instead of your hands keeps dough colder for laminating. I put them in the cold pie pan, brush with cream and straight into the hot oven. Perfection!
Sam Merritt
I’m so glad you enjoyed them so much, Denise! 🙂