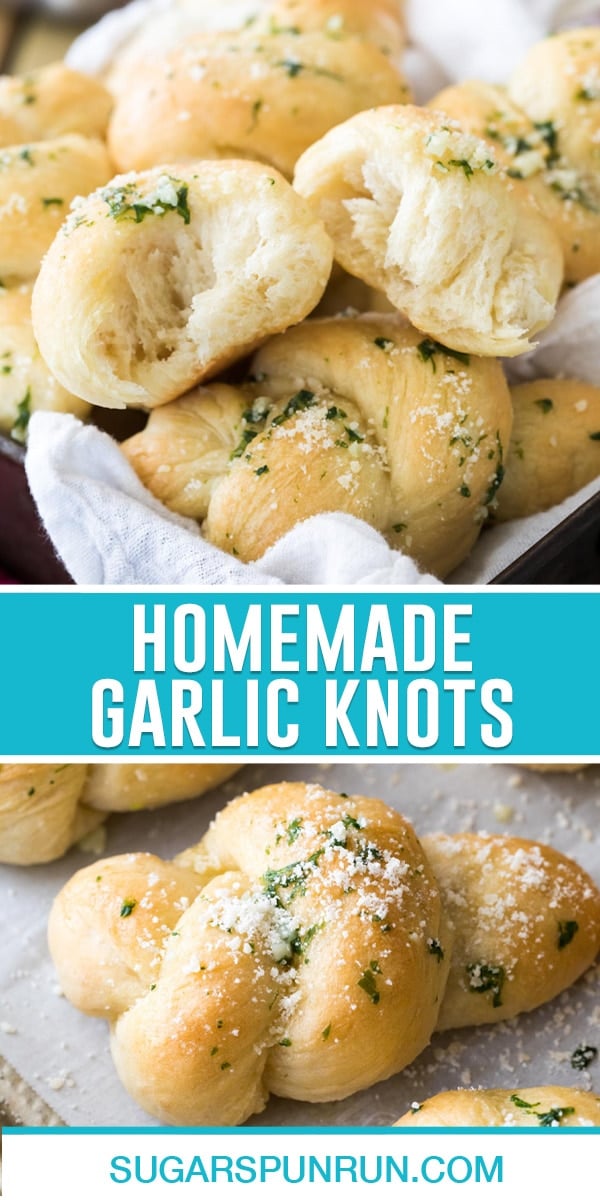
These homemade Garlic Knots are made completely from scratch in just over an hour! My recipe is easy (no mixer needed) and makes perfectly chewy, buttery, and garlicky knots. Includes a how-to video!
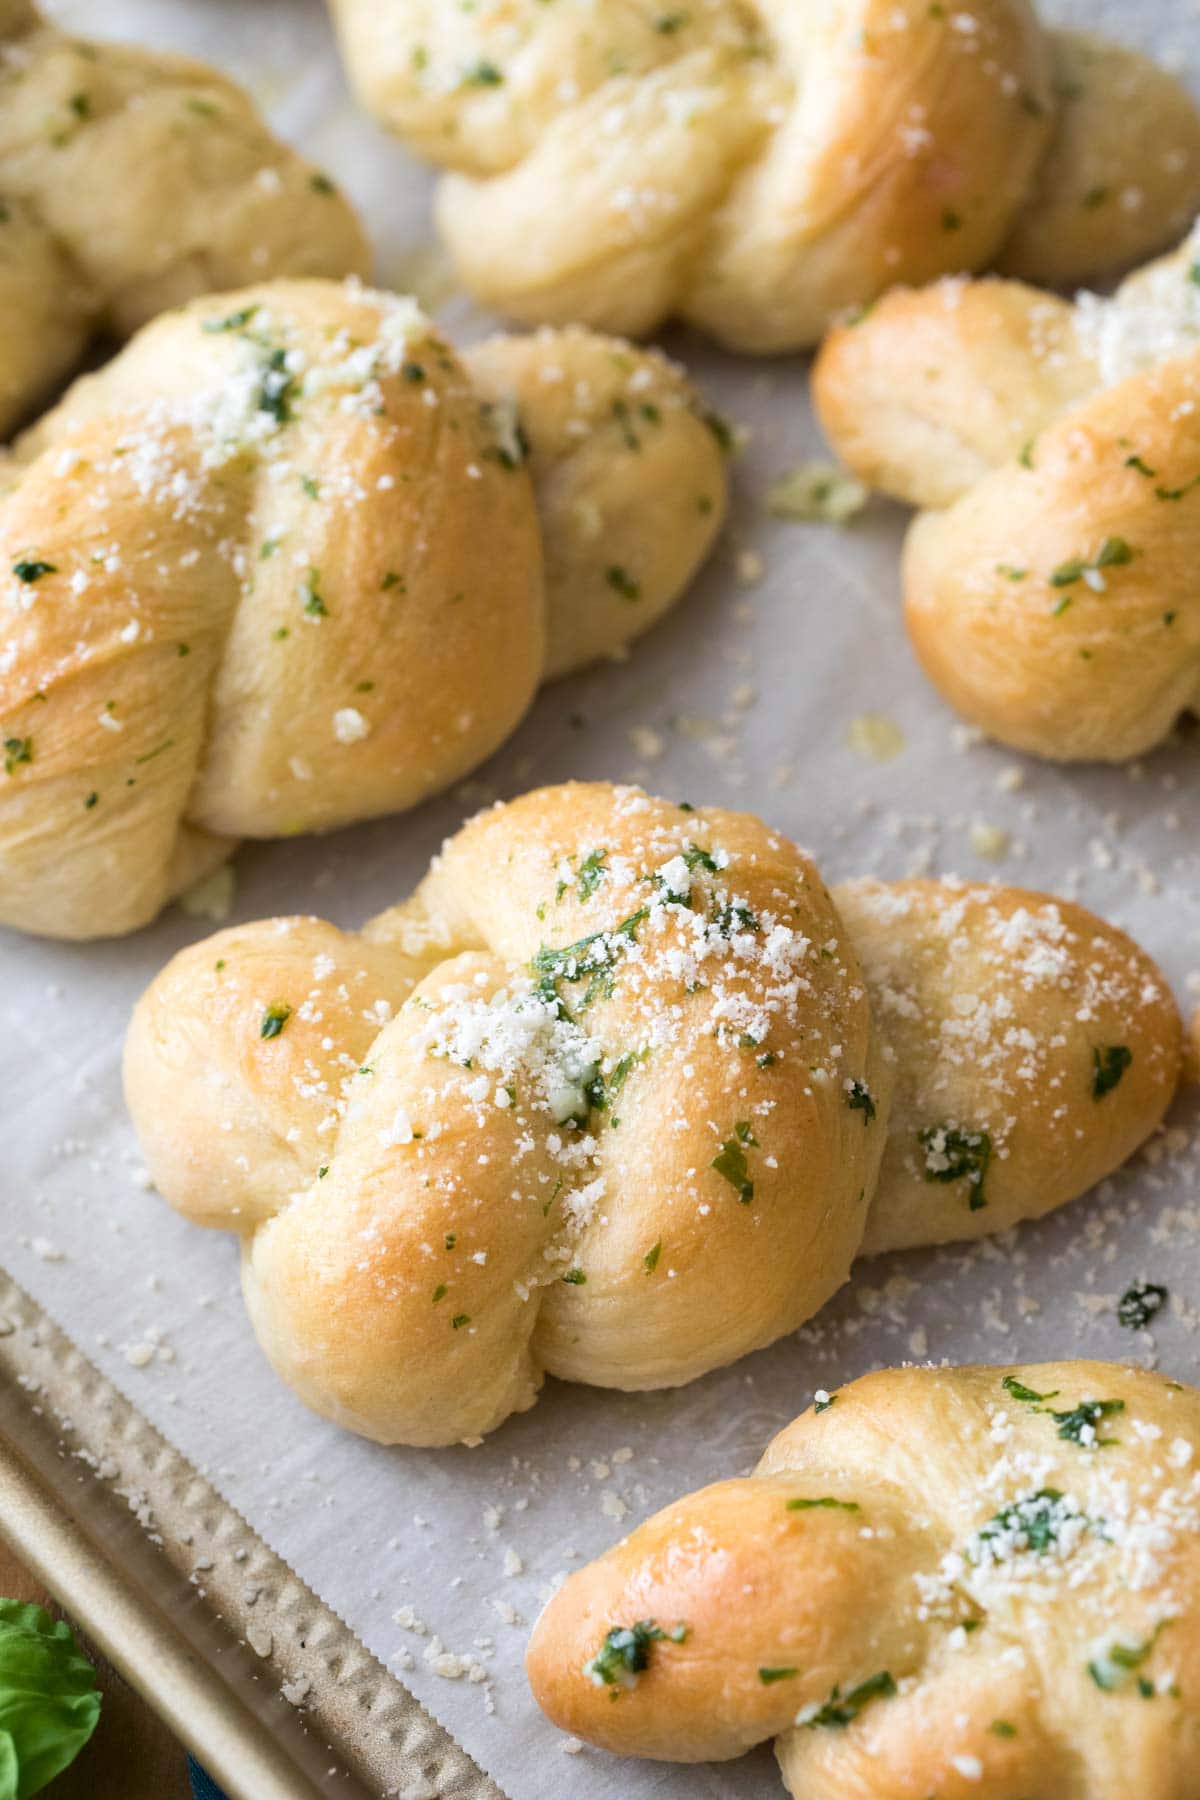
Quick & Easy Garlic Knots
So many recipes for garlic knots start with pre-made dough, and while I totally understand being in a rush, nothing stacks up to the taste of a completely from-scratch recipe. Maybe I’m biased, but homemade is always better! Especially with a recipe as easy as this one.
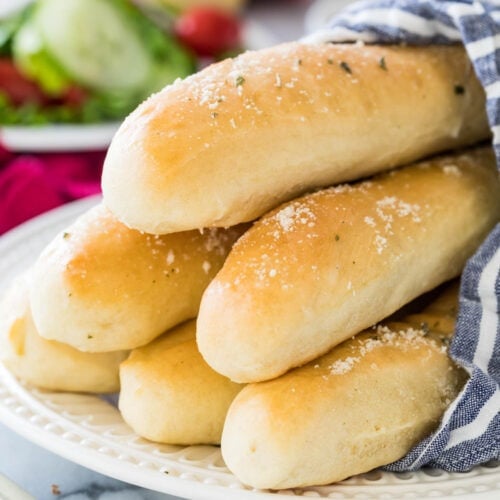
Just like my homemade breadsticks, this homemade garlic knots recipe starts with my simple, from-scratch pizza dough. It’s a very easy yeast dough that’s great for beginners, so don’t be intimidated if you don’t often bake with yeast (like I was for the longest time). If you can stir and you can tie a knot, you can make this recipe!
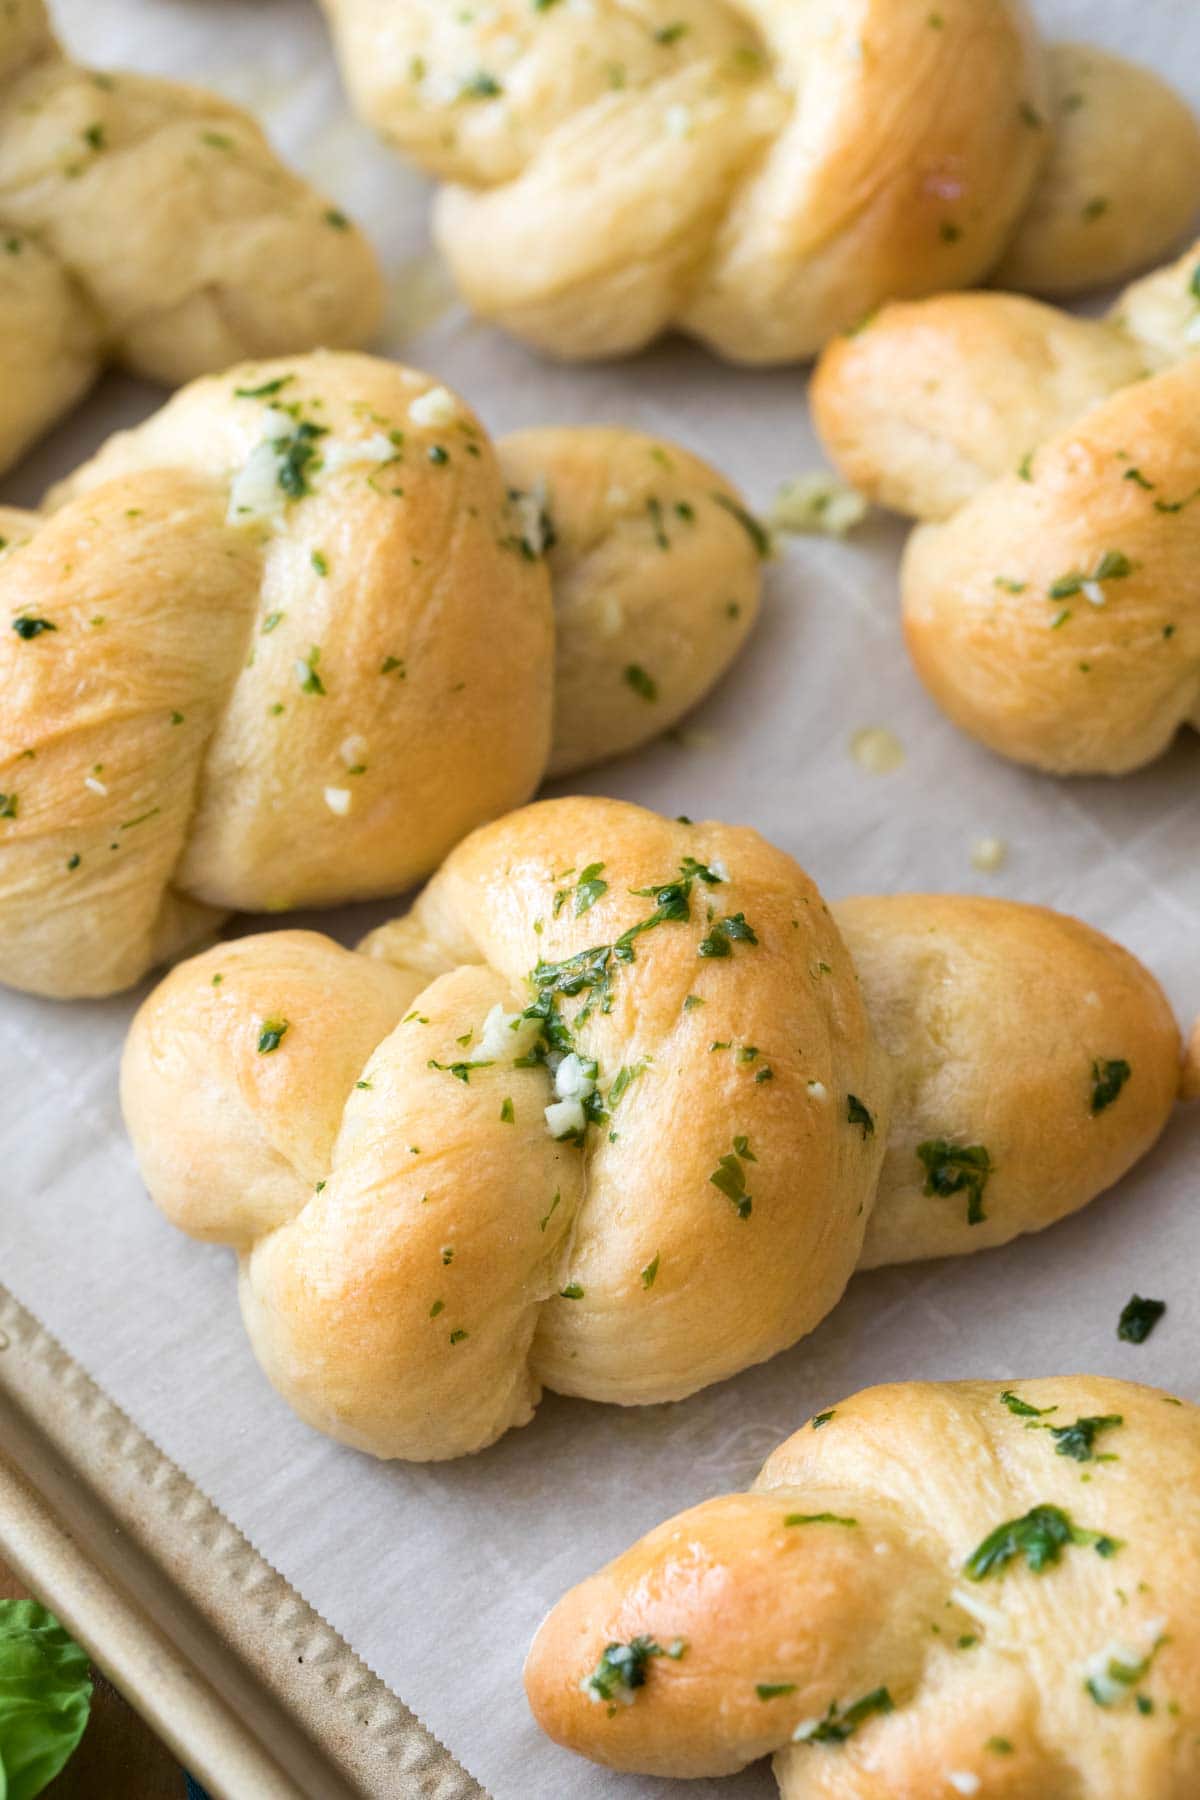
Once your knots are tied and baked, you will generously brush them with garlic butter before serving. The butter (and that garlicky flavor) will absorb into the bread for a burst of lip-smacking goodness. The final result is equally as tasty on its own as it is when dipped in sauce from baked ziti, beef ragu, or chicken pasta. You are just going to love these!
What You Need
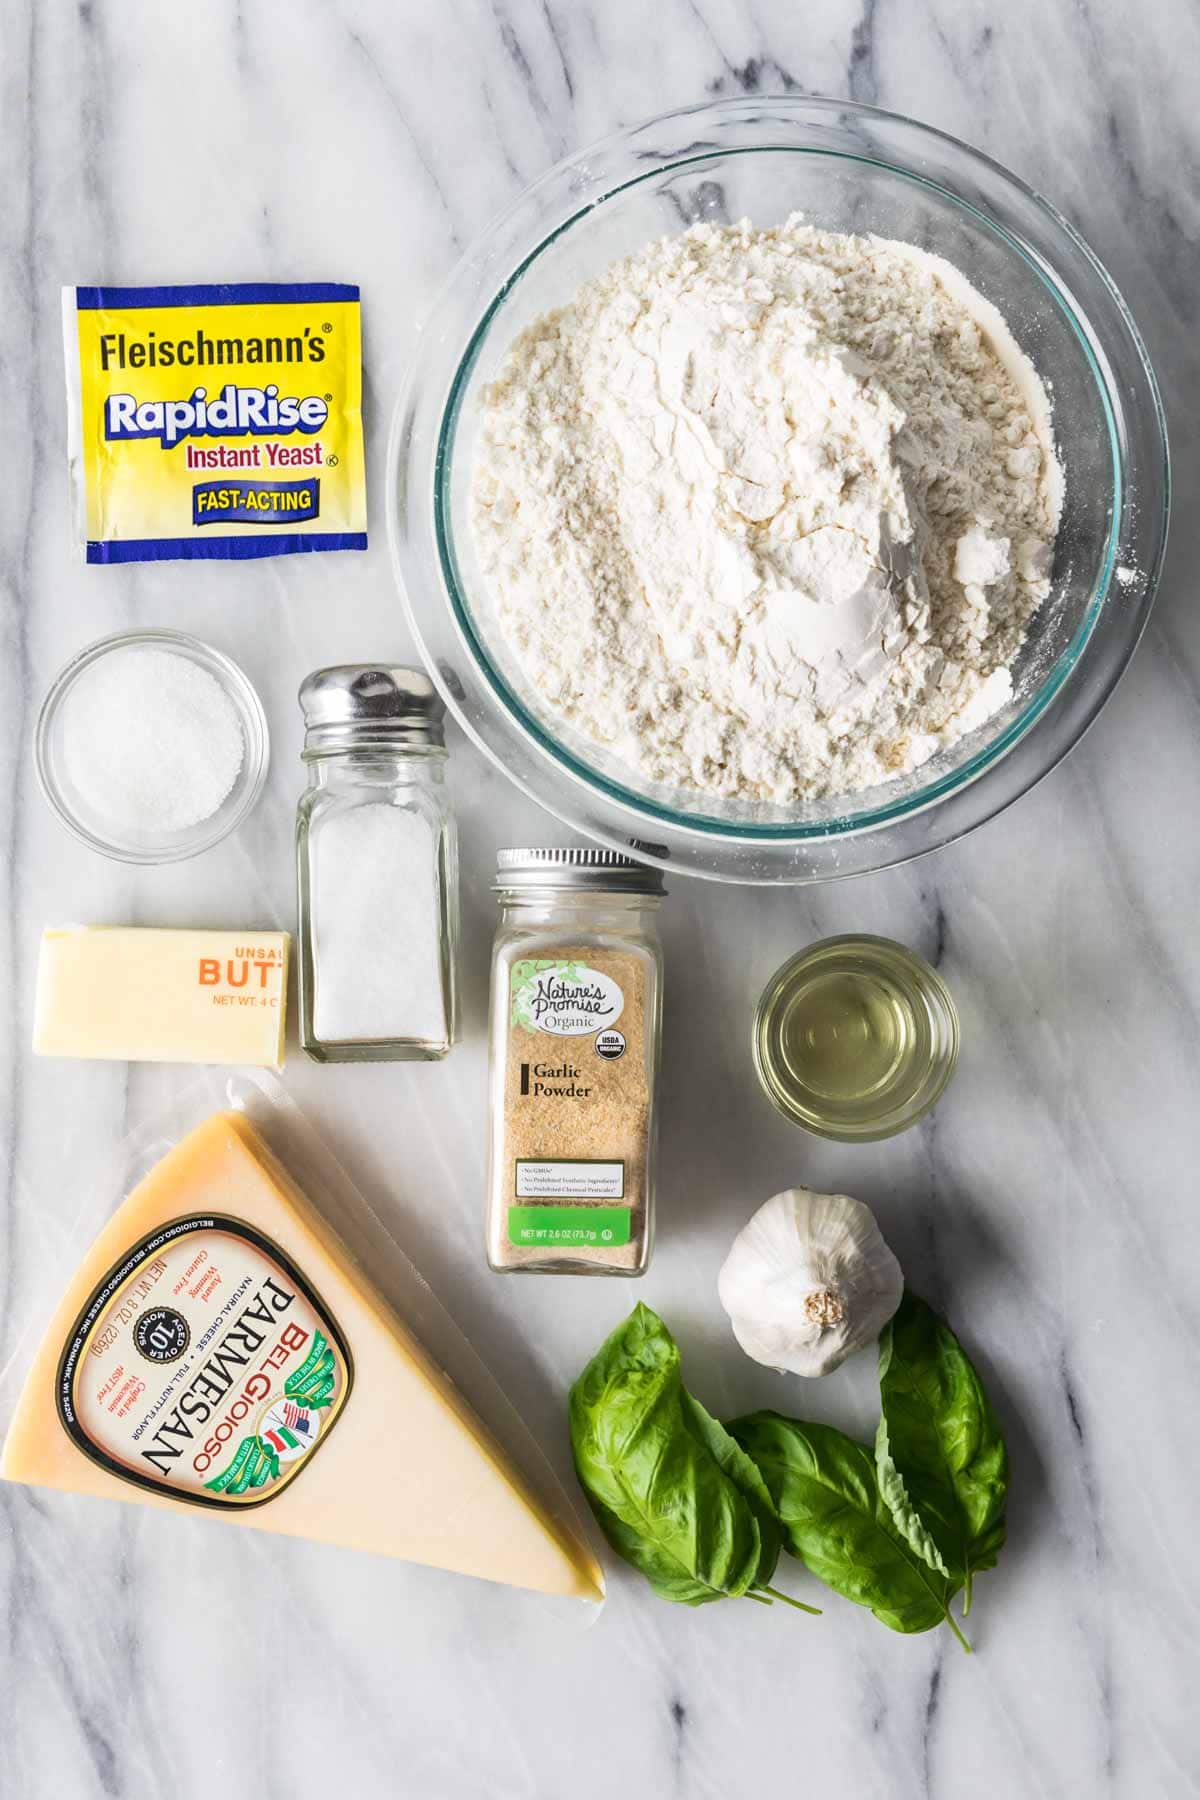
Look at that, only 10 ingredients! I told you this recipe was easy 😉 Here’s what you need:
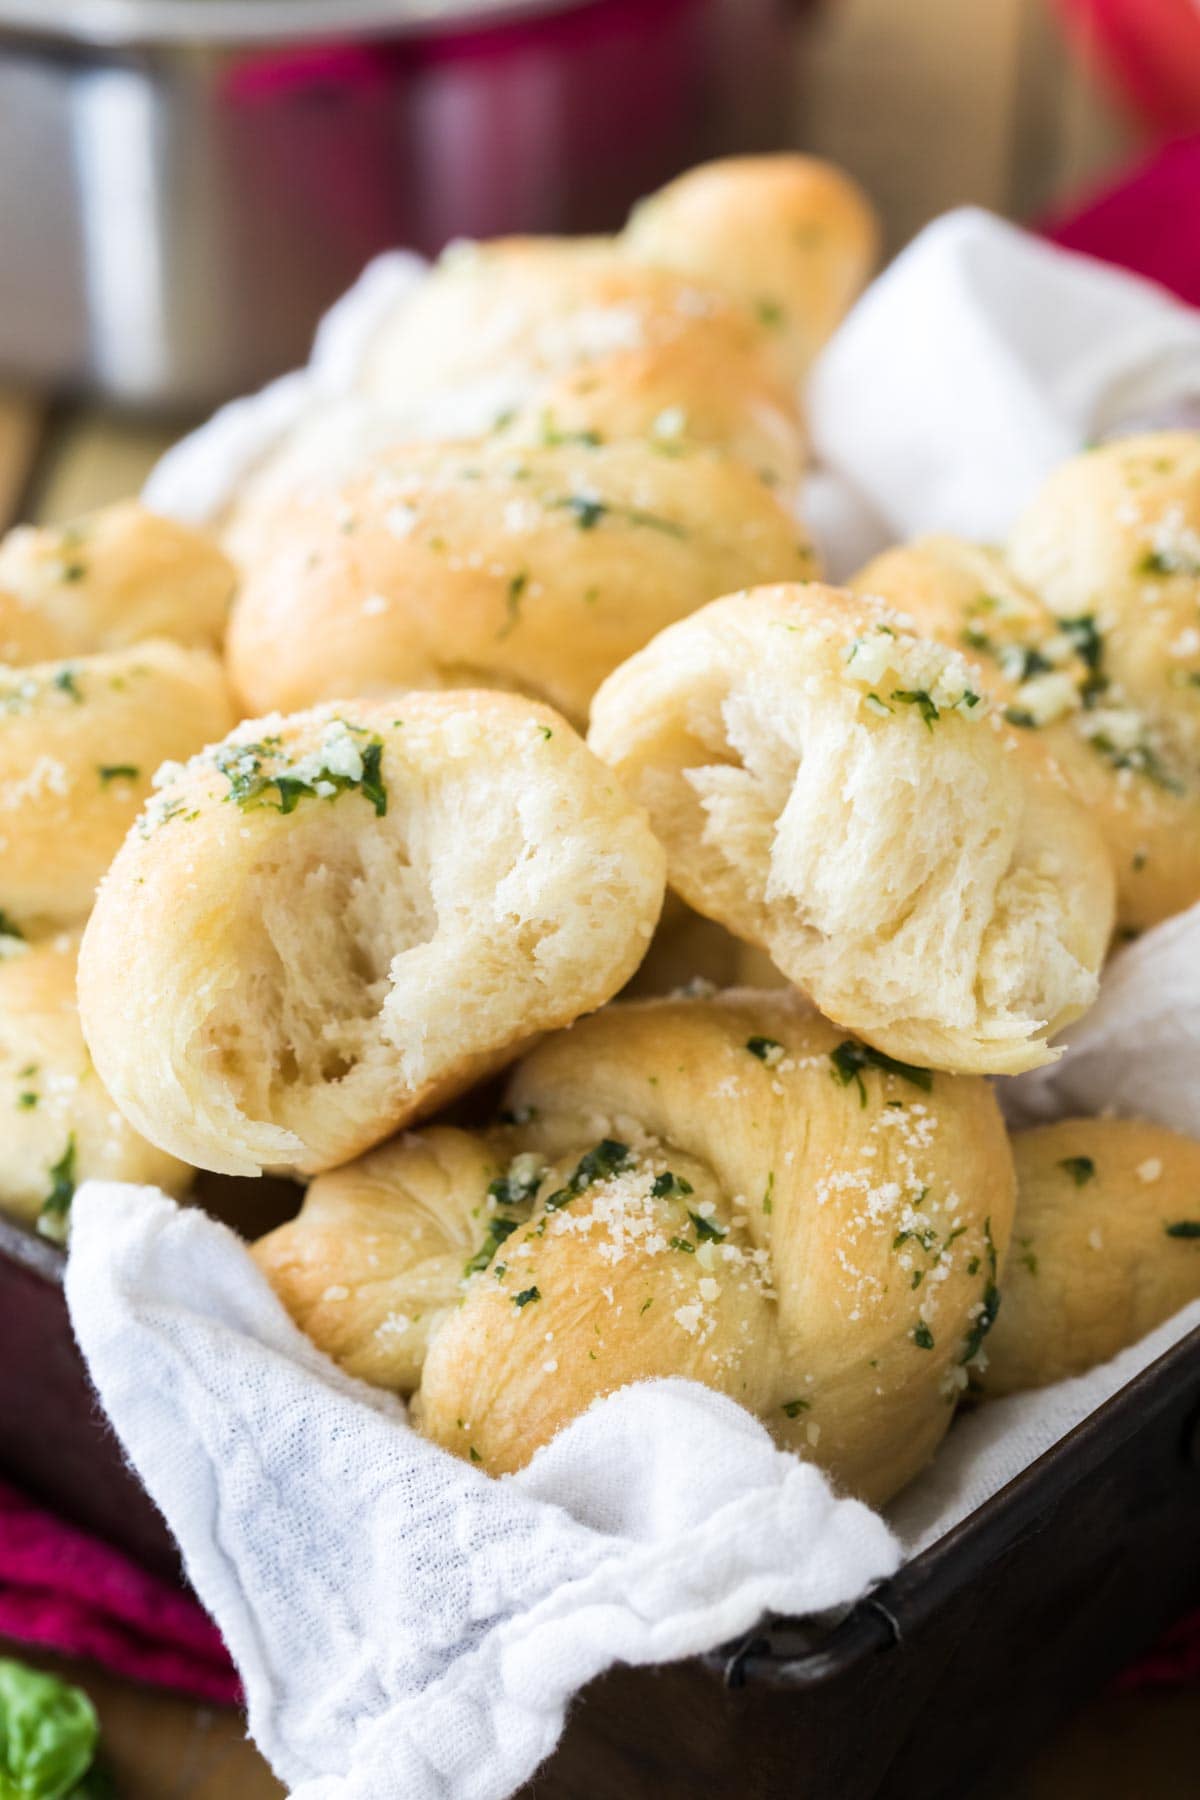
- Flour. Either bread flour or all-purpose flour will work, but you will get slightly different results from each. Bread flour is my preference, as it gives the knots a slightly more crisp exterior and a chewier interior. All-purpose flour will make them softer and fluffier. While I like my cakes to be soft and fluffy, I prefer my garlic knots to be a bit chewier.
- Yeast. This recipe uses instant/rapid rise yeast for quick and easy results. If you’d like to use active dry yeast, you can. I talk a bit more about this below!
- Garlic. We are adding a bit of garlic powder (just half a teaspoon) into our dough, but most of the garlic flavor is going to come from our buttery, garlic-infused topping.
- Fresh basil. Fresh parsley would alternatively work!
- Parmesan cheese. Optional, but highly recommended for restaurant-style knots.
SAM’S TIP: As with many of my yeast recipes, the amount of flour you will ultimately need will vary depending on the conditions of your kitchen. Do NOT dump it all in at once; just add it gradually until your dough reaches the right consistency. Watch the video below if you would like a visual of what this looks like!
Remember, this is just an overview of the ingredients I used and why. For the full recipe please scroll down to the bottom of the post!
How to Make Garlic Knots
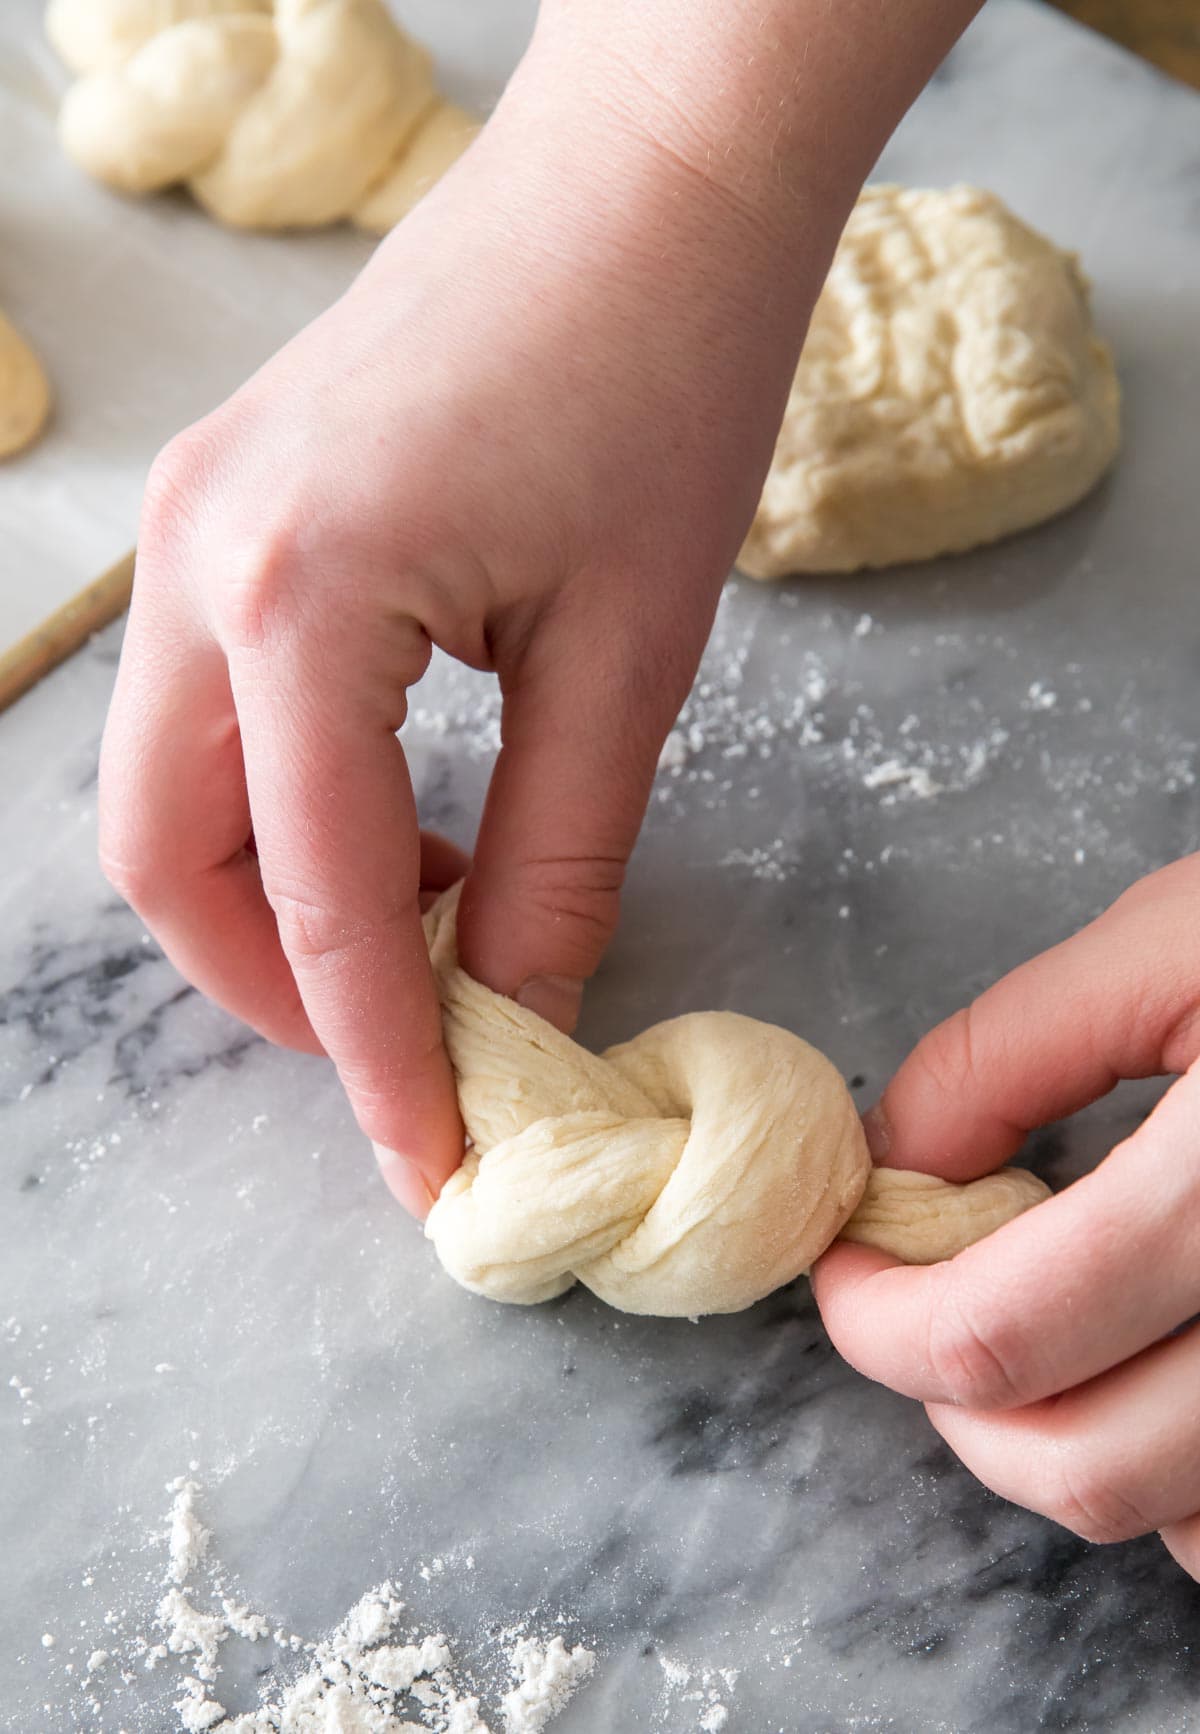
- Dry ingredients – Combine 1 cup of flour with the remaining dry ingredients, then stir in the oil and warm water.
- Gradually add more flour as needed until the dough becomes elastic and cohesive.
- Let rise – Place the dough in a lightly oiled bowl and cover with plastic wrap. Let rise in a warm spot for 30 minutes or until doubled in size.
- Deflate and divide – Gently deflate the dough and form it into a 15″ log before cutting into 9 even pieces.
- Tie into knots – Roll each piece into an 8″ rope, tie in a knot, and place on a parchment lined baking sheet.
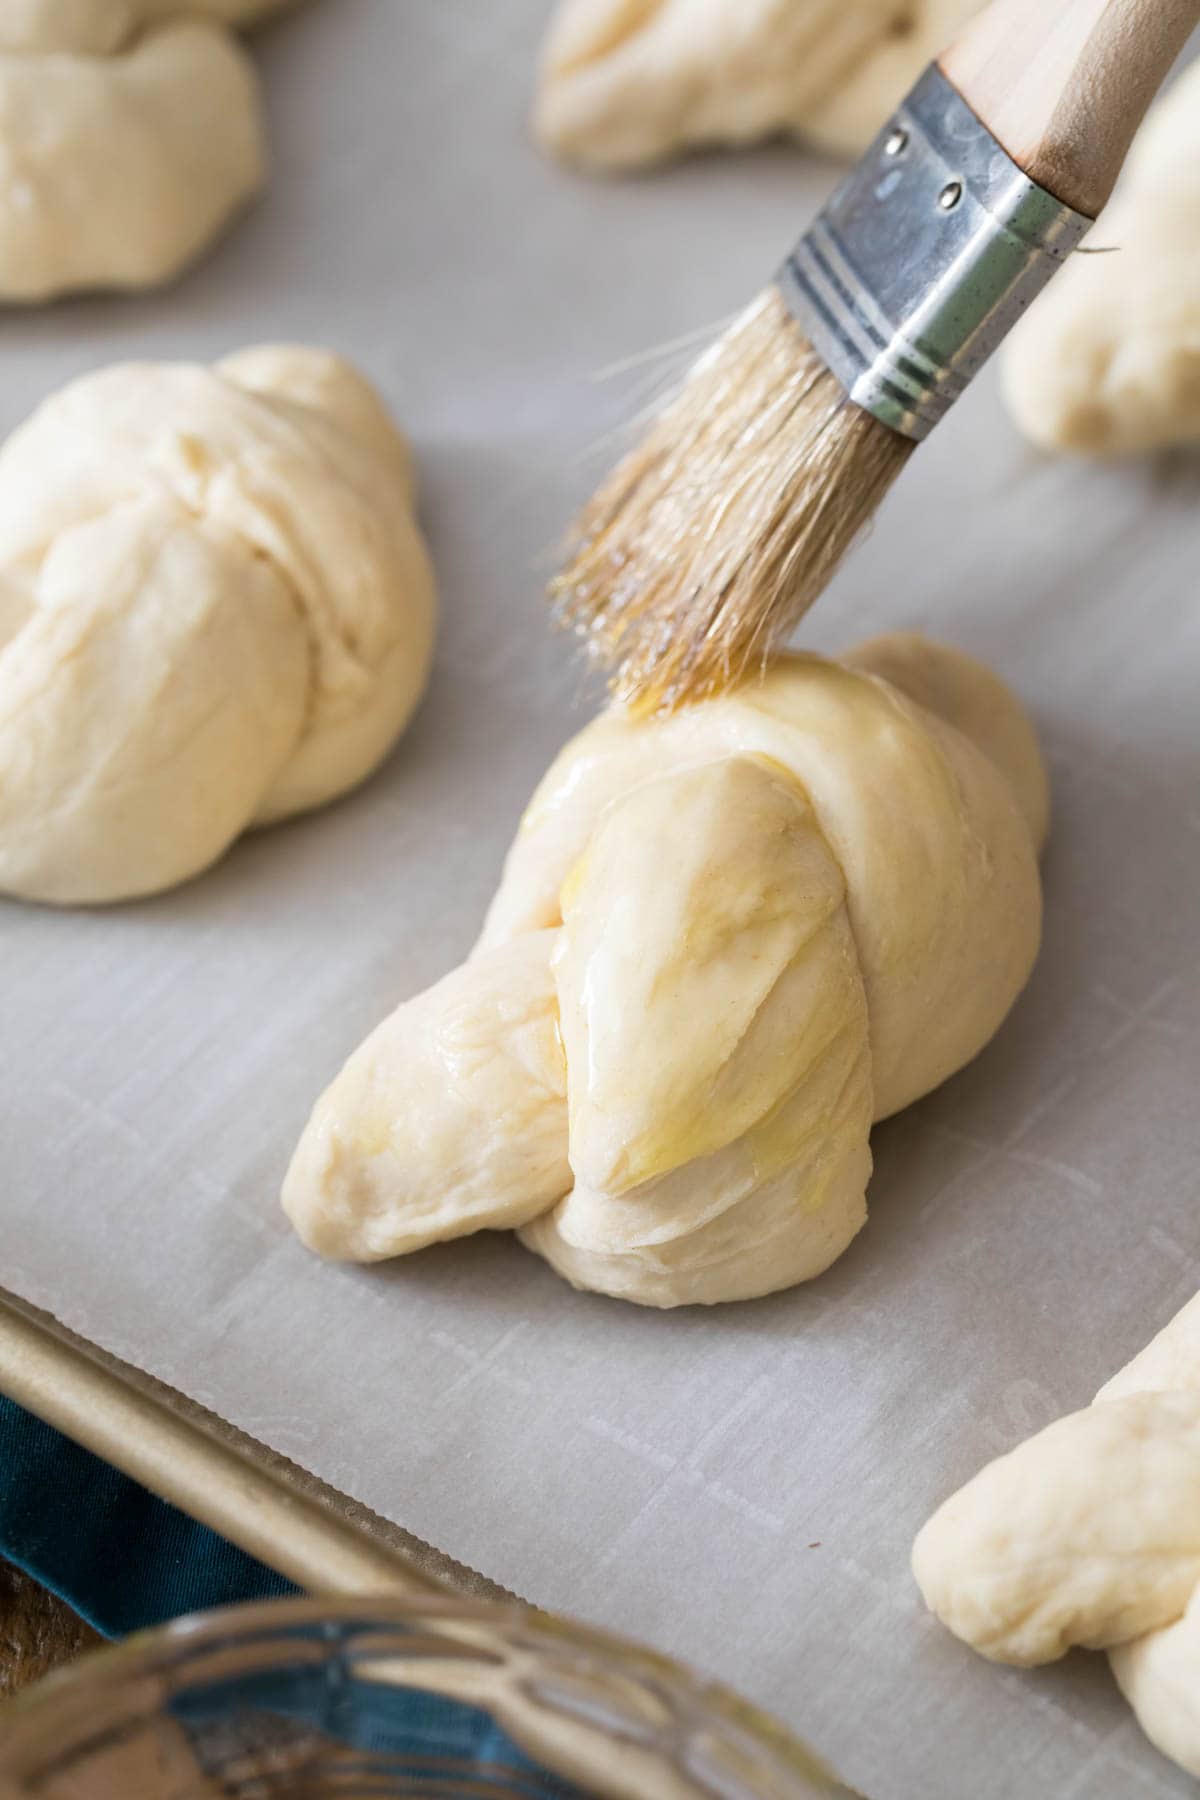
- Bake – Brush each garlic knot with olive oil (optional) and let sit for 5 minutes. Bake for 13 minutes at 400F.
- Brush with garlic butter after baking and sprinkle with grated parmesan just before serving.
SAM’S TIP: This is optional, but I like to brush my knots with olive oil before baking to encourage them to turn a beautiful golden brown in the oven. It’s a quick and simple extra step!
Frequently Asked Questions
Yes! You can prepare the dough as indicated and place in an airtight container in the fridge overnight. When ready to bake, brush your knots with olive oil and bake as directed.
If you’d like to freeze your homemade garlic knots before baking, make sure to do so in an airtight container as well. Frozen knots can be baked straight from the freezer (don’t forget to brush with olive oil before baking!), but they will need to a minute or two longer in the oven.
Active dry yeast will work, but your rise times will be longer than indicated here. I suggest you proof the yeast with the warm water and a pinch of the sugar before adding it to the dry ingredients.
Just like you would tie a regular knot! Once you have your dough in a rope shape, bring the two ends together, then cross one end over, under, and through the other. I demonstrate this in my video below, if you’d like a visual.
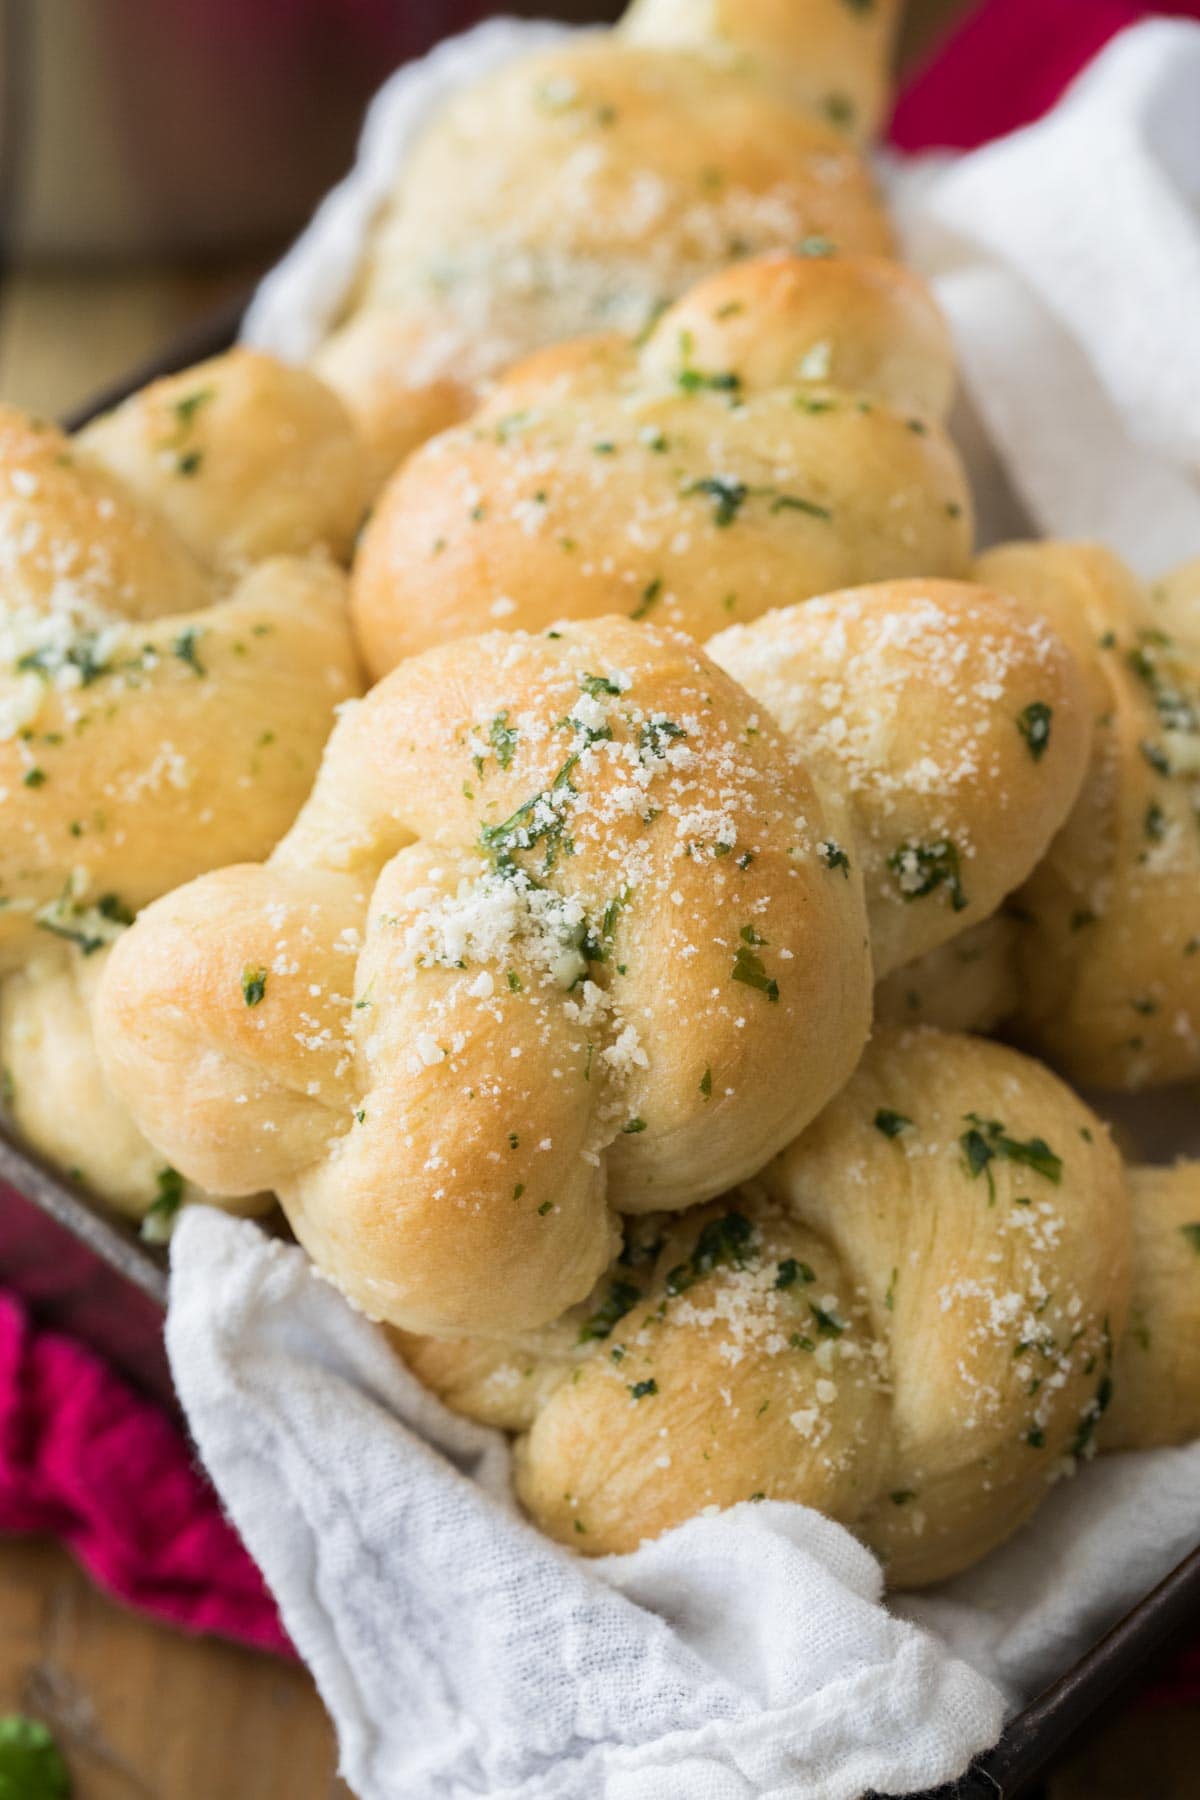
I hope you enjoy this recipe! We make these frequently and pair them with everything from my meatballs to beef stew! If you’re serving them as an appetizer instead of a side, I highly suggest making a batch of my homemade marinara for dipping.
Enjoy!
Let’s bake together! I’ll be walking you through all the steps in my written recipe and video below! If you try this recipe, be sure to tag me on Instagram, and you can also find me on YouTube and Facebook

Garlic Knots
Ingredients
- 2-2 ⅓ cups (250-295 g) bread flour* divided
- 1 packet instant yeast 2 ¼ teaspoons
- 1 ½ teaspoons sugar
- ¾ teaspoon salt
- ½ teaspoon garlic powder
- 2 Tablespoons olive oil + additional
- ¾ cup (180 ml) warm water 105-115F [40-46C]
Garlic Butter:
- 4 Tablespoons salted butter
- 3 cloves minced garlic about 1 ½ Tablespoons
- 1 Tablespoon minced fresh basil
- Grated parmesan cheese optional
Instructions
- Preheat oven to 400F (205C) and line a baking sheet with parchment paper. Set aside.
- In a large bowl, combine 1 cup (125g) of flour, instant yeast, sugar, salt, and garlic powder and stir well.1 packet instant yeast, 1 ½ teaspoons sugar, ¾ teaspoon salt, ½ teaspoon garlic powder
- Add olive oil and warm water and use a wooden spoon to stir until all ingredients are well-combined.2 Tablespoons olive oil + additional, ¾ cup (180 ml) warm water
- Gradually add another 1 cup (125g) of flour. Add any additional flour as needed (I've found that sometimes I need as much as an additional ⅓ cup), stirring until the dough forms a cohesive, elastic ball and is beginning to pull away from the sides of the bowl (see video below recipe for visual). The dough will still be tacky but still should be manageable with your hands.
- Drizzle a separate, large, clean bowl generously with olive oil and use a pastry brush to brush up the sides of the bowl.
- Transfer your dough to prepared bowl and roll the dough through the oil until the entire surface of the dough is lightly coated with oil, then cover the bowl tightly with plastic wrap and place on top of your oven to rise for 30 minutes or until doubled in size.
- Once the dough has risen, use your hands to gently deflate it and transfer to a lightly floured surface. Form into a log about 15” long and cut into 9 even pieces.
- Roll each piece between your palms and slightly pull it to form a rope about 8” long (lightly dust the dough with flour if needed).
- Carefully tie each rope into a knot (see video for guidance) and place on prepared baking sheet. Lightly brush with olive oil if desired.
- Set tray on top of warm oven and let garlic knots rest/rise for 5 minutes before baking.
- Transfer to oven and bake on 400F (205C) for 13 minutes or until just beginning to turn a light golden brown. Meanwhile, prepare garlic butter.
Garlic Butter
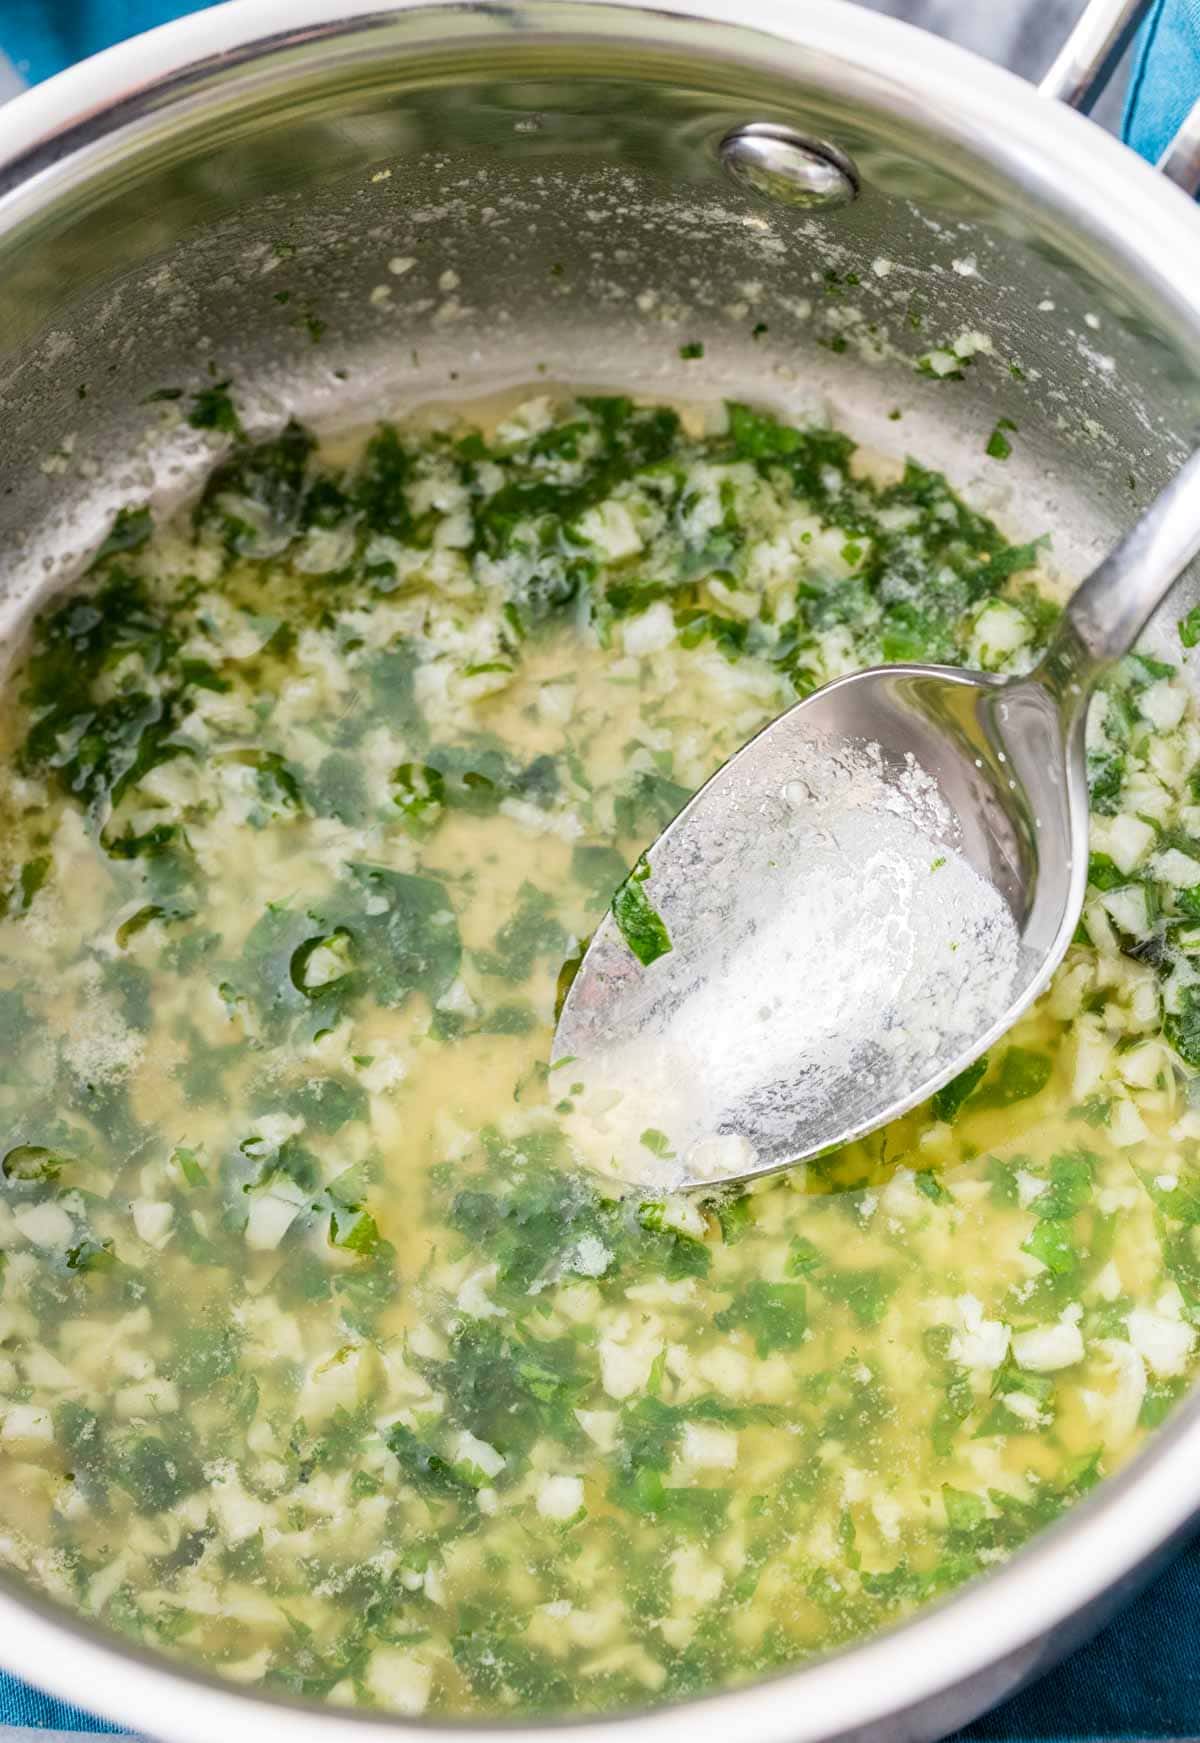
- Combine butter and garlic in a small saucepan over medium/low heat. Cook until butter is melted and garlic is fragrant.4 Tablespoons salted butter, 3 cloves minced garlic
- Remove from heat and stir in minced basil. Once knots have finished baking, use a pastry brush to generously brush garlic butter mixture over each knot. Sprinkle with grated parmesan, if desired.1 Tablespoon minced fresh basil, Grated parmesan cheese
- Enjoy served warm.
Notes
Nutrition
Nutritional information is based on third-party calculations and should be considered an estimate only. Actual nutritional content will vary based upon brands used, measuring methods, cooking method, portion sizes, and more.



Ash
These were amazing! Made them last week and they were the star of dinner. I’ve never used yeast before but your pictures had me feeling adventurous. I only had active yeast at the time but I proofed the yeast and let them rise longer as suggested and they came out perfectly. Thank you so much for this recipe! I’ll be making these often. 🙂
Sam
I am so glad you enjoyed them so much, Ash! 🙂
Pirahnavi Balasothy
If you use normal yeast will you have to let it sit for a while and if you do when should you let it sit. Or can you just use normal yeast like the instant stuff.
Sam
If you use active dry yeast the rise time will be longer. You can either proof the yeast and add it with the water or you can just use the active dry yeast instead of instant yeast following the instructions but make to give it enough time to rise. 😊
Darius Harrison
De freaking licious! I would make no changes or substitutions. I added Parmesan cheese to the garlic basil butter after it was cooked and sprinkled some on top.
Sam
I am so glad you enjoyed them so much, Darius! 🙂
kim
I rarely leave comments regardless of how bad or good the recipe is and with that said…these are life changing. Make them and you will see!
Sugar Spun Run
I am so glad that you loved them, Kim! Thank you for trying my recipe and for commenting. 🙂
Joanna
Incredibly good! I’ve been testing a lot of bread recipes and this one is really excellent and so much easy!thanks sam!I bake a lot of your recipes and they are all good!
Sam
I am so glad you enjoyed it so much, Joanna! 🙂
Evans
Just loved these easy knots. They were perfect for a light summer supper but I’m definitely going to make them to go with soup. I’ve marked this recipe.
Sam
I am so glad everyone enjoyed them so much! 🙂
lisa
I have made these twice now and they always turn out so good. This recipe is easy and the dough is easy to handle. Tysm for the recipe 😋
Sam
I am so glad you enjoyed them so much, Lisa! 🙂
jamie
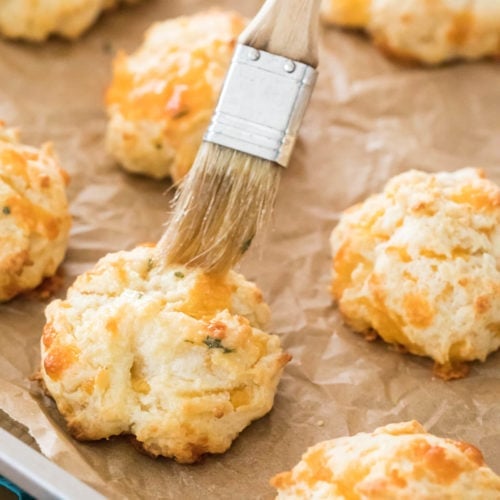
Okay, so, we’ve made these a dozen times or more already, they’ve quickly become our favorite recipe. And I mean, yes, there are other recipes we make of yours that are more decadent or insane (like the banana bread, which is a little too delicious for mortal humans, or the garlic cheese drop biscuits, which we make only about once every *other* week) but this one is a good go-to because it’s SO delicious, but not as decadent, and a little more suitable for regular eating.
And our latest development? You’re going to love this… omg. Last time, we broke the dough into 8 separate pieces and then stuffed each piece with some tomatoes we had already oven-roasted (to remove some of the moisture and intensify the flavor) and some ricotta cheese (we have a ricotta cheese source that is to die for – this stuff: https://bellwetherfarms.com/product/whole-milk-basket-ricotta/ – pricey but SOOO worth it). Basically it was the most amazing thing ever. A bit like a tray of mini calzones, but if calzones were made out of garlic knots dough. The key was to just liberally slather olive oil onto our hands and the dough, and (we’re using bread flour) it didn’t stick at all, and it was easy to stuff, then pinch them shut, and put the pinched side on the bottom when they baked. They looked like little round rolls when they were done, and we still brushed them generously with melted butter with garlic powder in it. It was heaven. Seriously, SO good. And if it takes you a while to eat them, it’s not too bad, because unlike mozzarella, the cheese stays wonderful even when these have cooled. But of course they’re best warm!
Sam
I am so glad you enjoyed them so much, Jamie! That sounds absolutely incredible! I will have to check out that cheese some time and try making the mini calzones. 🙂
jamie
Okay, latest development….. we made pizza out of this! Yes, I know you have a pizza dough recipe. I like your garlic knots so much, I didn’t want to stray from this recipe, lol. We followed Adam Ragusea’s video of how to make a pizza in cast iron pan (I like deep dish pizza best!) and his pizza dough uses 1 cup of flour, so I just split your garlic knot recipe in half, and it was about the right amount (though, honestly, because I love bread so much, I would love it with about 25% more dough, so I may try to figure out how to scale up a bit next time). So, he recommends rising in the fridge overnight, so that’s what we did. I had ZERO luck with the gravity method of stretching, so I re-balled it up into a nice round ball and started over, rounding it with my fingers until it was about 2/3 the size I needed, then patted it into the pan until I had the coverage I needed. Anyway, just wanted to share, this was PERFECTION! It was nice and crisp like you want it on the bottom, but still had a nice fluffiness to the inside. So good! It was nice to be able to walk into pizza-making with a recipe I had already mastered, which made it all less intimidating. I have now made my first and only pizza that turned out amazing! I have had so many pizza fails in the past, and I knew your garlic knot dough would not disappoint! I’ll let you know if I scale it up for a thicker deep-dish pizza.
Sam
That is so awesome! I’ve never made a pizza dough in cast iron but I bet it would be delicious! 🙂
Sutheera Chaisumrej
Thank you to share the recipe. I made pizza 4 times from your pizza dough and my husband and I love it so much. We will never buy pizza anymore.
Questions;
1.Could I keep the dough for the following day? If so, how.
2.How long does it last?
I’d love to have it in the refrigerator and eat it right out from the oven.
Sam
Hi Sutheera! You can keep the dough for about a week in the refrigerator. I would recommend letting it rise, deflating it and then wrapping tightly to store in the refrigerator. 🙂
r
Hey! Is it okay if I use active yeast instead?
Sam
Yes that will work just fine here. 🙂
jamie
that’s all we have, and we use it every time. as long as you wait for it to rise to about double the original size, you’re good. but it will probably be longer than with instant yeast. though we do actually use the method she talks about in one of the other recipes, of adding the sugar to the water before microwaving it and then adding the yeast to the warm water and after it gets foamy about 5 min later, then we add it to the salt/flour/garlic powder we already whisked together. i feel like it rises faster when you activate the yeast this way first. not sure though because with a baby in the house, our attention is very split and we never are sure how much time has elapsed and we just come check on it at random times. also sometimes we wait too long and it’s still fine. i have no idea if this is true for instant yeast, this may be a benefit of normal “active” yeast. but we’ve always made this with the normal kind and this is probably our favorite recipe. we make these at least once a week.
Donna
Used all purpose flour. These knots turned out great. I did roast some garlic cloves, then mashed them in the butter. So good. Love this recipe!!
Sam
I am so glad you enjoyed them so much, Donna! 🙂
Melinda
Delicious. I only use 2 cups of all purpose flour.
Sam
I’m so glad you enjoyed, Melinda! 🙂
Sophie
I’ve made this recipe like 7 times. Absolutely delicious! Thanks!
Sam
I am so glad you enjoy it so much, Sophie! 🙂
jamie
we’ve made these entirely too many times since discovering them, they’re that good! super addictive! but today we decided to make a mini-batch! wanted to share for anyone who wants to make a mini-batch:
this worked wonderfully for two knots (great for those of us who can’t control ourselves, and i think that’s everyone who tastes this recipe):
1/2 cup flour (you know, +/- a smidge, as she says)
1/2 tsp sugar (“level” with your finger so it’s concave, a bit less)
1/2 tsp yeast (a tiny bit heaping)
1/4 tsp salt (“level” with your finger so it’s concave, a bit less)
3 tbsp warm water (heat up a large quantity, you can’t accurately gauge temperature of only 3 tbsp)
and we eyeballed the olive oil (we used garlic olive oil, yummm!)
and we also incorporated about 1/4 cup of parmesan cheese into the dough as soon as it was well mixed with the water.
i recommend getting familiar with the recipe by making it a few times the original way and then you’ll feel confident that you know how the dough should look/feel and you’ll be able to tell if you need a few more drops of water or a few pinches more of the flour. i’m actually stoked about this quantity modification, b/c it’s easy to remember. soon we’ll be making these from scratch. and i know it doesn’t seem like changing the quantities should make the recipe faster, but somehow it does. we made the mini batch in like 5 min (well, before the first rise – we’re using normal rather than instant yeast, so we let it rise an hour or two before making the knots, then let those rise 15 min or until they look ready for the oven, though we aren’t timing any of it, impossible to do with a baby in the house, lol)
jamie
oops, i can’t edit my comment. typo! i said “soon we’ll be making these from scratch” — we’re already doing that. i meant, from memory. 😛
Sam
I am so glad you enjoyed them so much, Jamie! I have never had to self control to make less! 🤣 Thank you for this comment. I typically just eat them all. We also have a baby in the house so I need extra calories to keep up with the baby (or some excuse like that 🤣).
Carolyn
Tried this and enjoyed making them. They were a hit 😊😊
Soft and delicious
Sam
I am so glad everyone enjoyed them so much, Carolyn! 🙂