
Homemade Garlic Knots Recipe
This post may contain affiliate links. As an Amazon Associate I earn from qualifying purchases. Please read my disclosure policy.
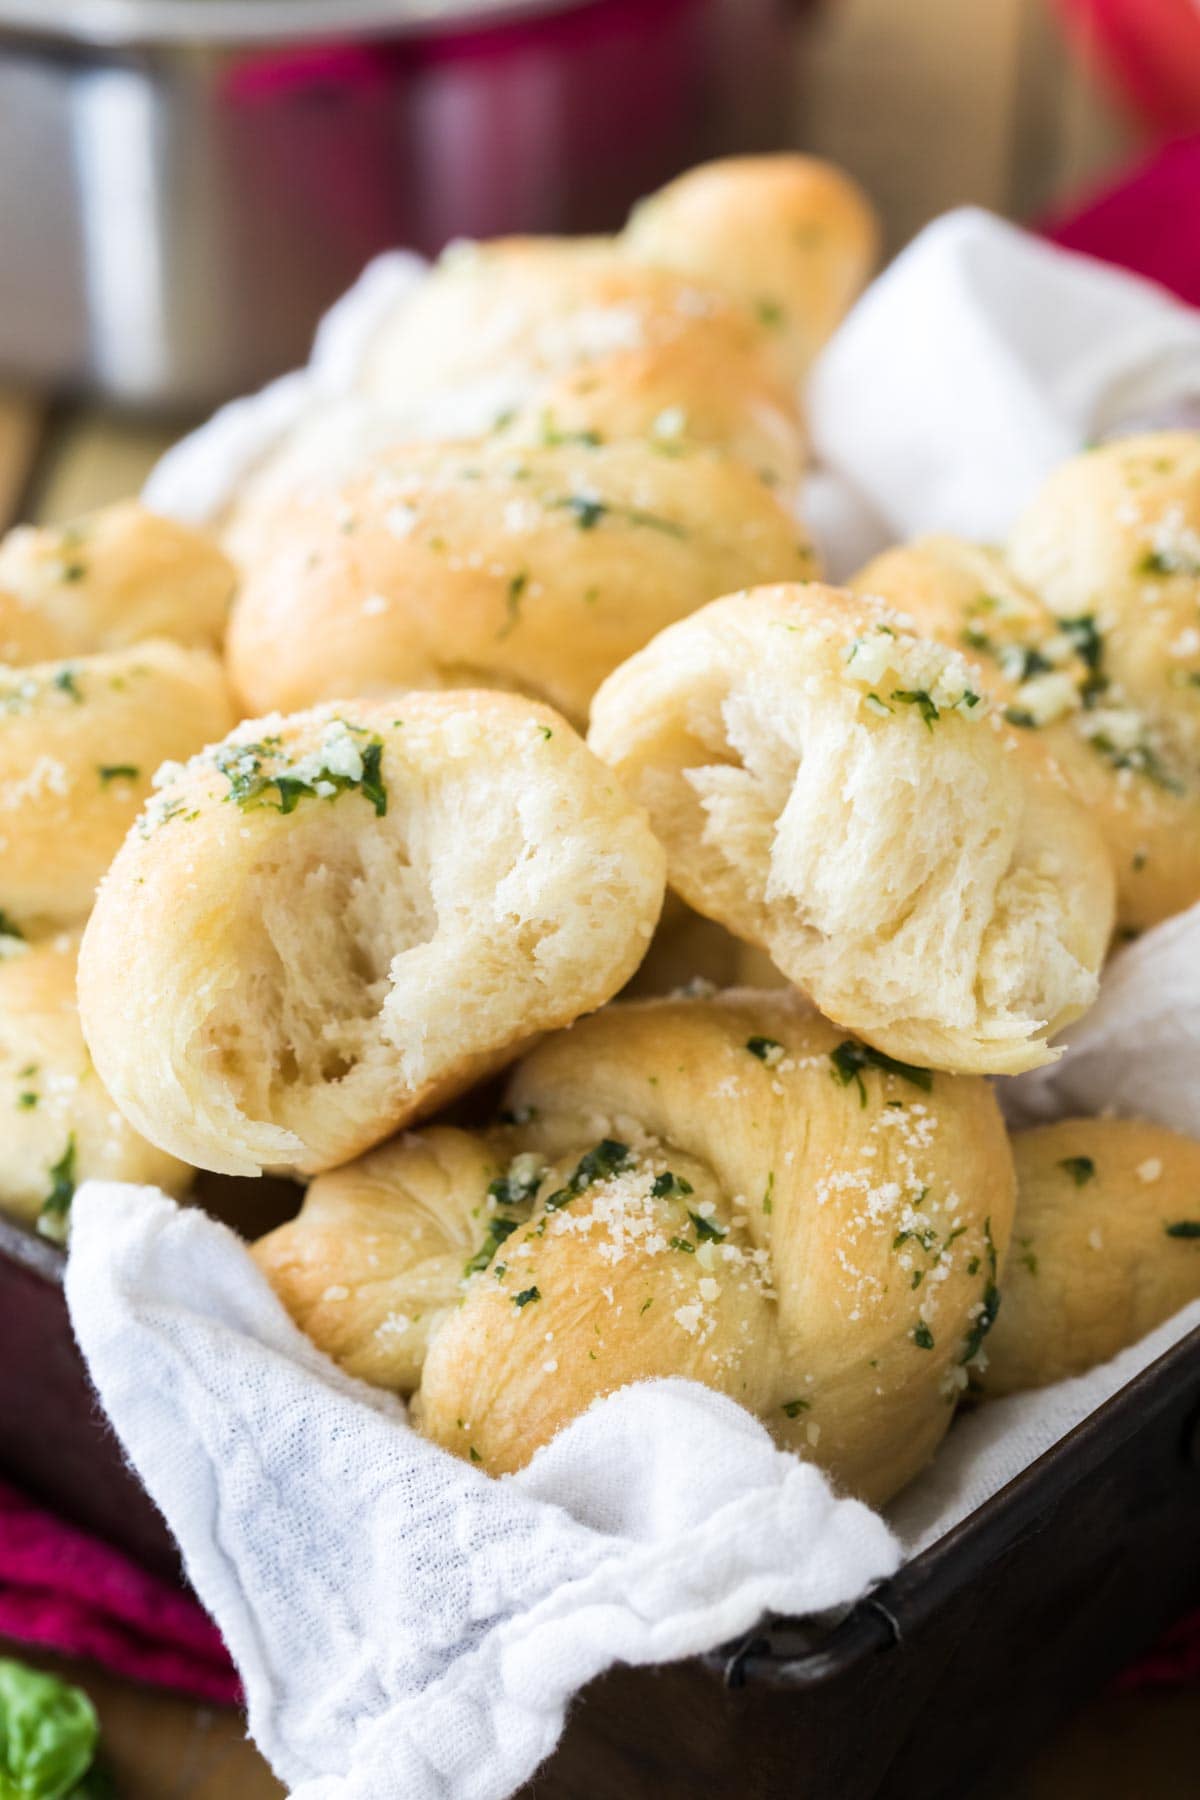
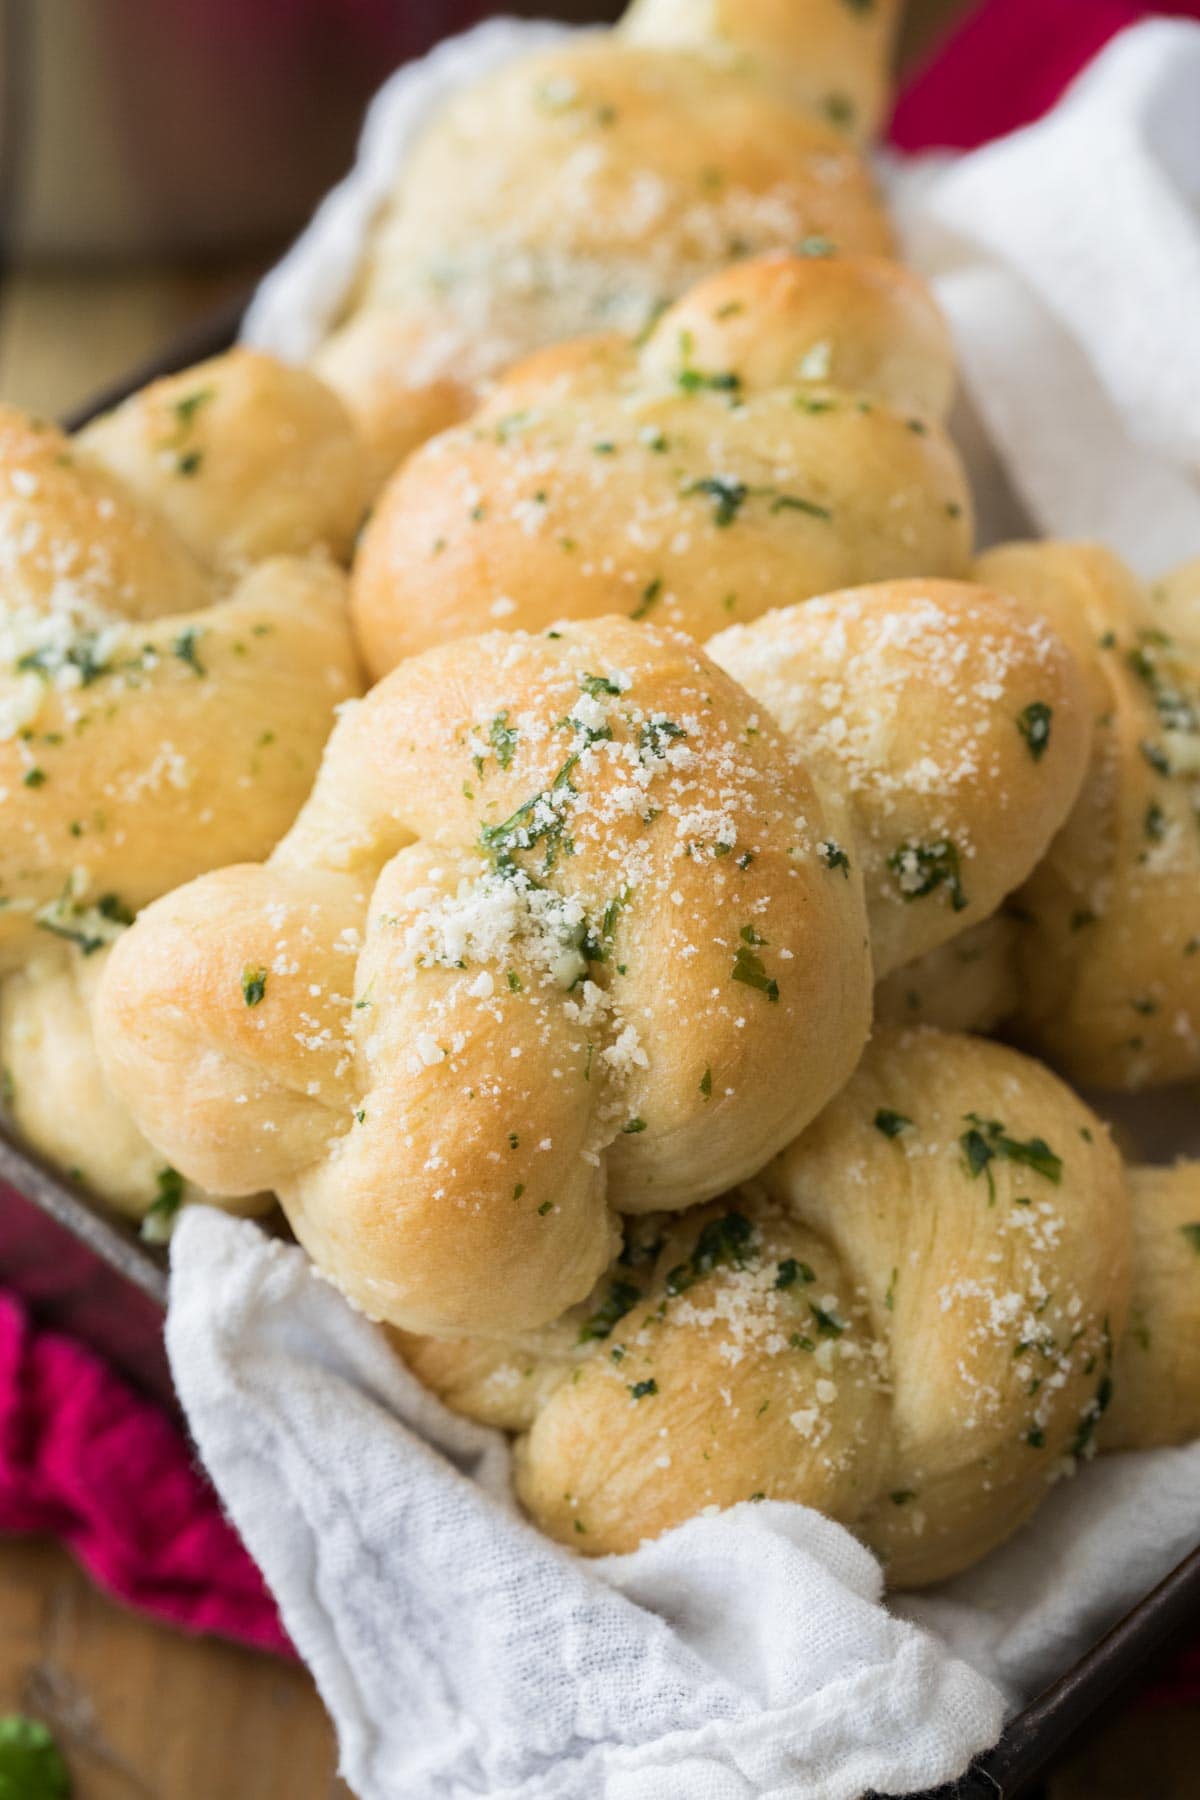
These homemade Garlic Knots are made completely from scratch in just over an hour! My recipe is easy (no mixer needed) and makes perfectly chewy, buttery, and garlicky knots. Includes a how-to video!
Quick & Easy Garlic Knots
So many recipes for garlic knots start with pre-made dough, and while I totally understand being in a rush, nothing stacks up to the taste of a completely from-scratch recipe. Maybe I’m biased, but homemade is always better! Especially with a recipe as easy as this one.
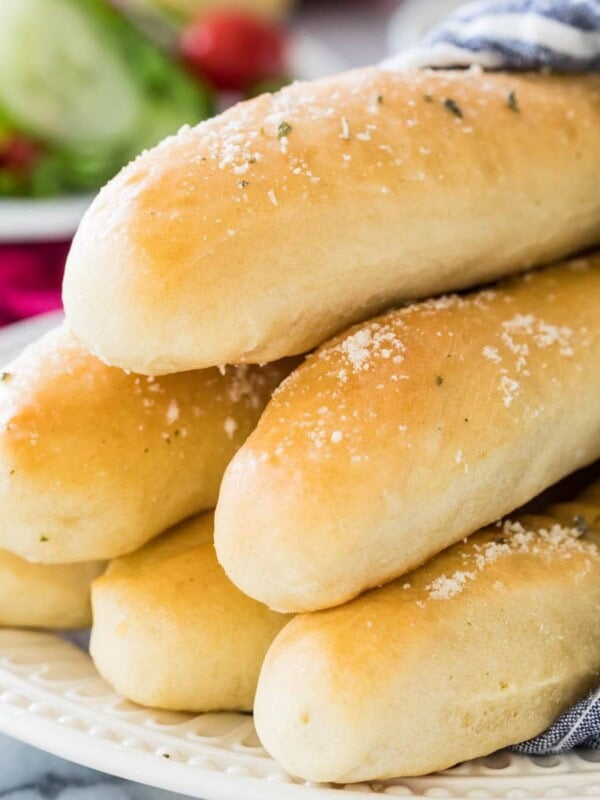
Just like my homemade breadsticks, this homemade garlic knots recipe starts with my simple, from-scratch pizza dough. It’s a very easy yeast dough that’s great for beginners, so don’t be intimidated if you don’t often bake with yeast (like I was for the longest time). If you can stir and you can tie a knot, you can make this recipe!
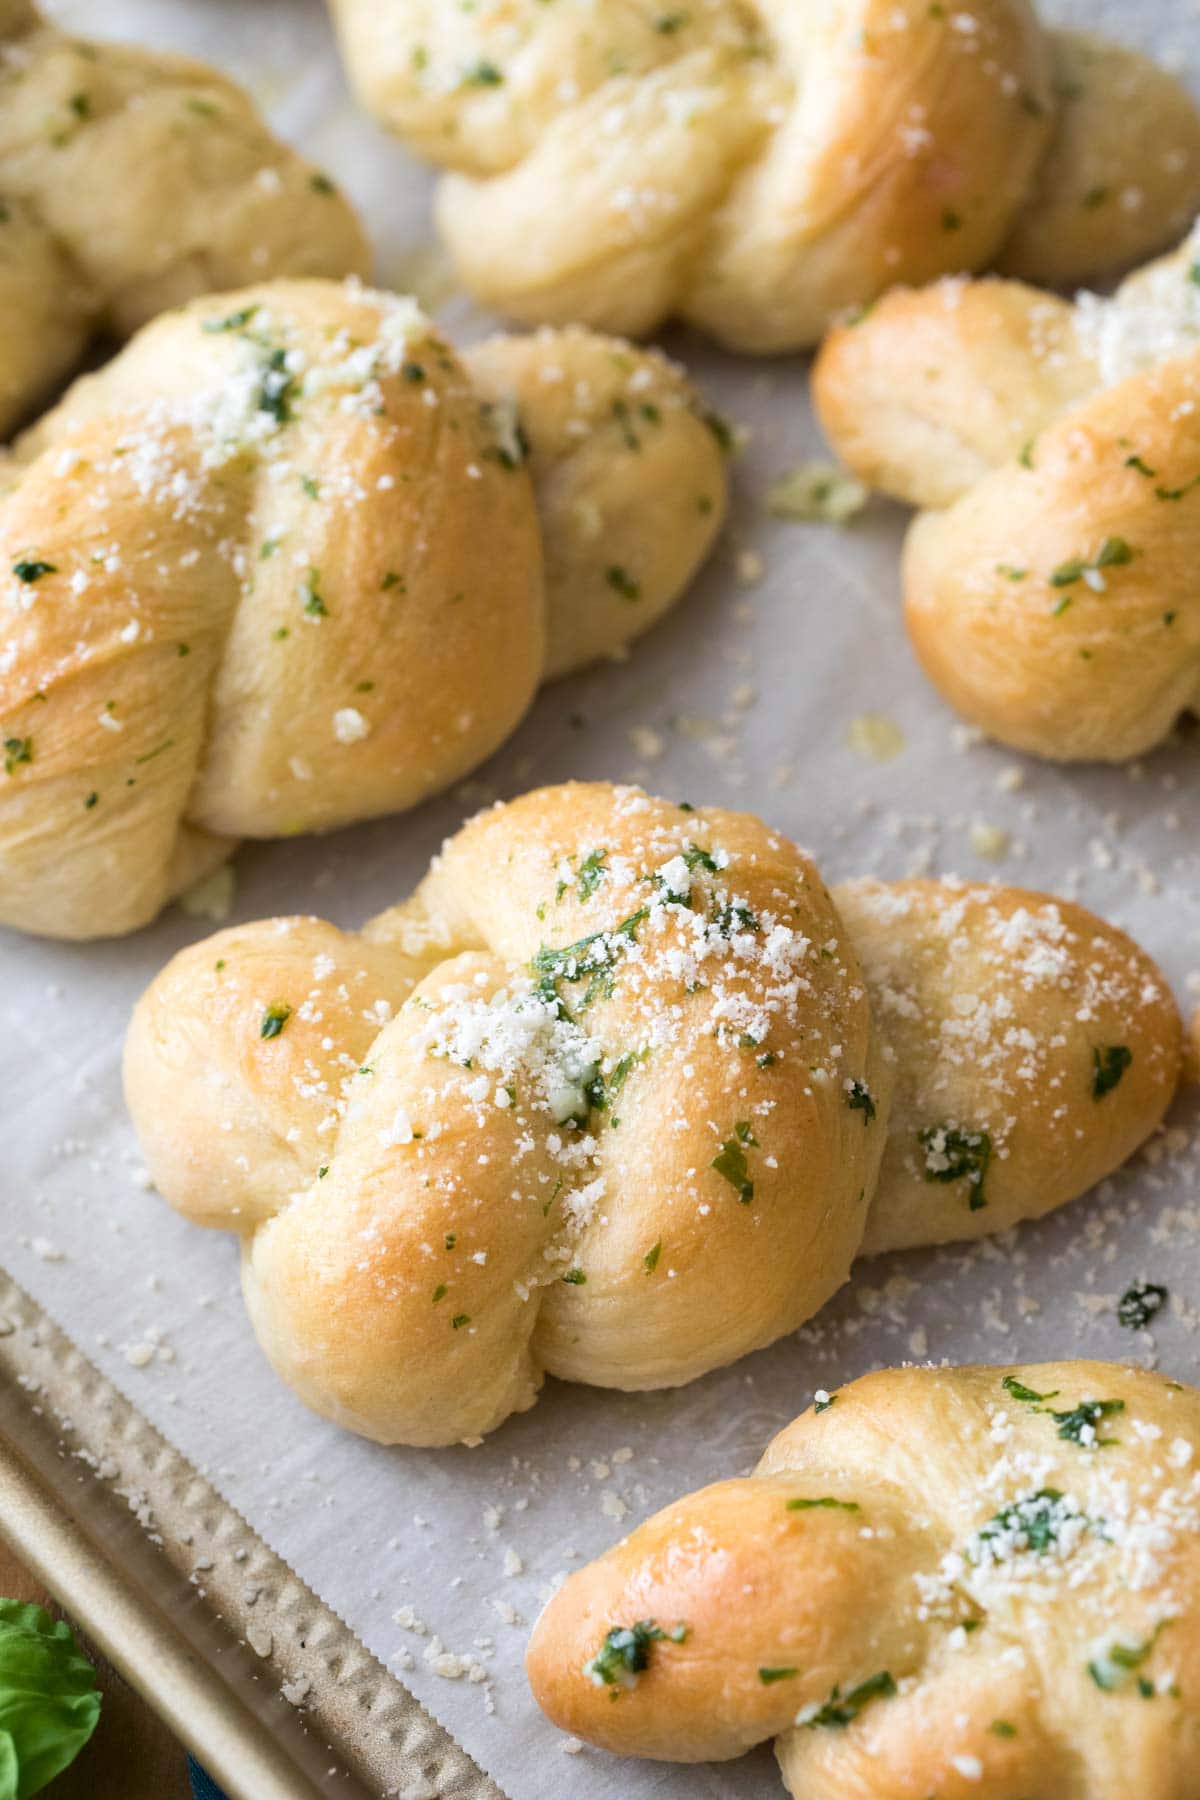
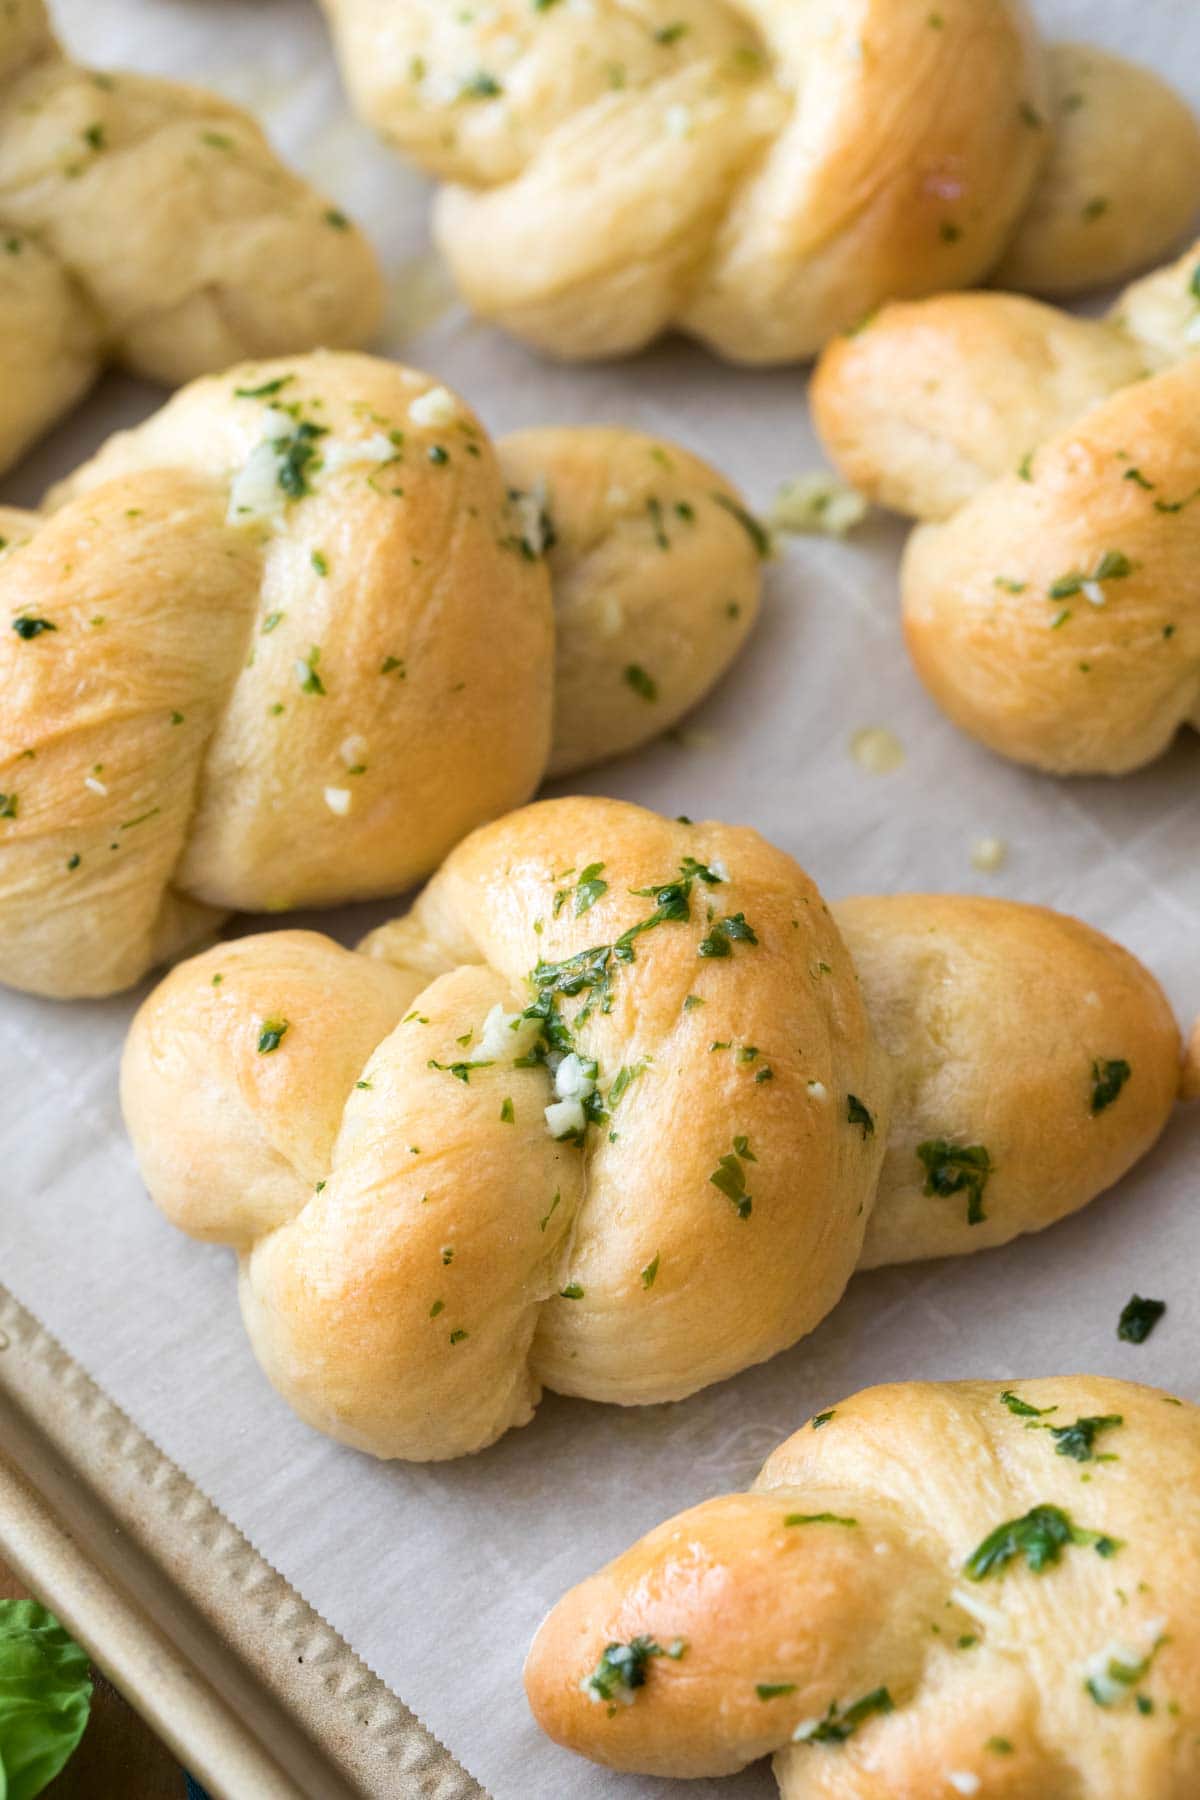
Once your knots are tied and baked, you will generously brush them with garlic butter before serving. The butter (and that garlicky flavor) will absorb into the bread for a burst of lip-smacking goodness. The final result is equally as tasty on its own as it is when dipped in sauce from baked ziti, beef ragu, or chicken pasta. You are just going to love these!
What You Need
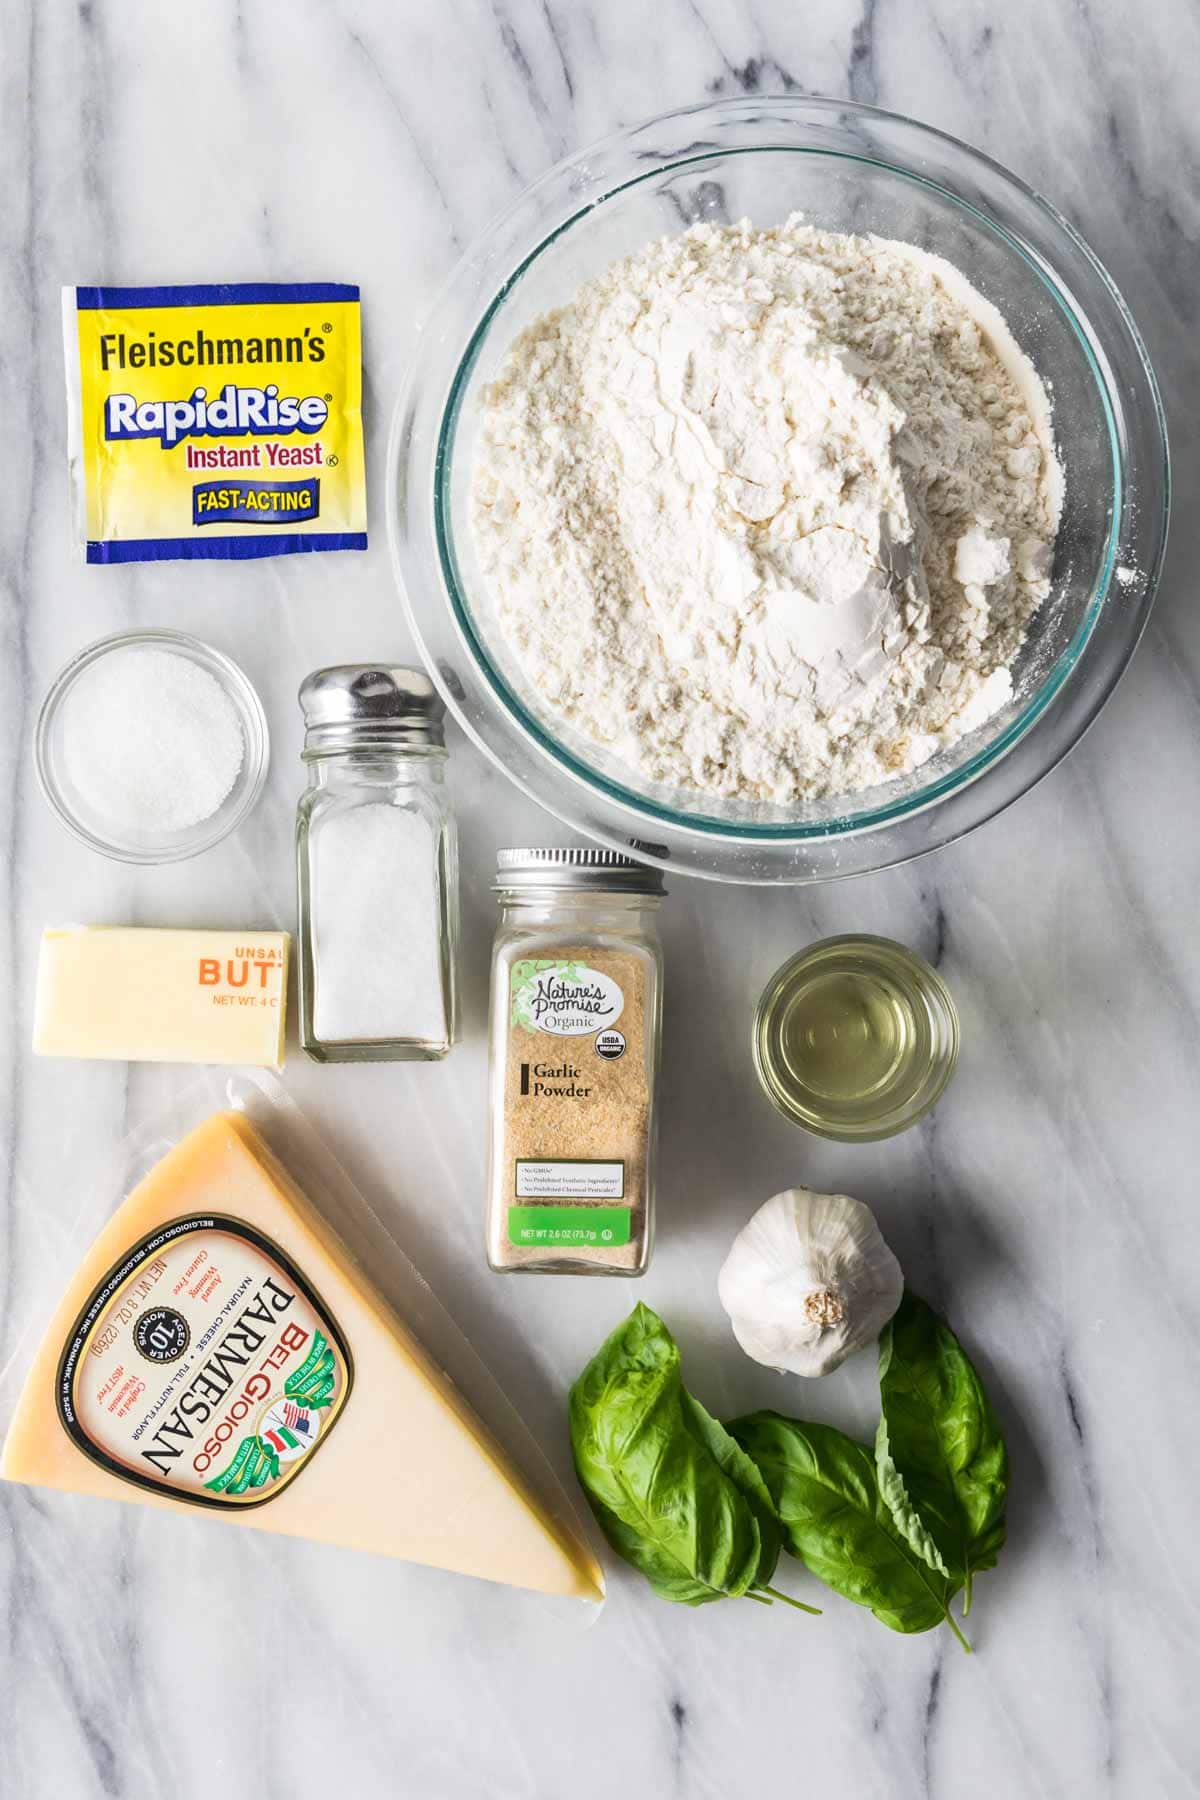
Look at that, only 10 ingredients! I told you this recipe was easy 😉 Here’s what you need:
- Flour. Either bread flour or all-purpose flour will work, but you will get slightly different results from each. Bread flour is my preference, as it gives the knots a slightly more crisp exterior and a chewier interior. All-purpose flour will make them softer and fluffier. While I like my cakes to be soft and fluffy, I prefer my garlic knots to be a bit chewier.
- Yeast. This recipe uses instant/rapid rise yeast for quick and easy results. If you’d like to use active dry yeast, you can. I talk a bit more about this below!
- Garlic. We are adding a bit of garlic powder (just half a teaspoon) into our dough, but most of the garlic flavor is going to come from our buttery, garlic-infused topping.
- Fresh basil. Fresh parsley would alternatively work!
- Parmesan cheese. Optional, but highly recommended for restaurant-style knots.
SAM’S TIP: As with many of my yeast recipes, the amount of flour you will ultimately need will vary depending on the conditions of your kitchen. Do NOT dump it all in at once; just add it gradually until your dough reaches the right consistency. Watch the video below if you would like a visual of what this looks like!
Remember, this is just an overview of the ingredients I used and why. For the full recipe please scroll down to the bottom of the post!
How to Make Garlic Knots
- Dry ingredients – Combine 1 cup of flour with the remaining dry ingredients, then stir in the oil and warm water.
- Gradually add more flour as needed until the dough becomes elastic and cohesive.
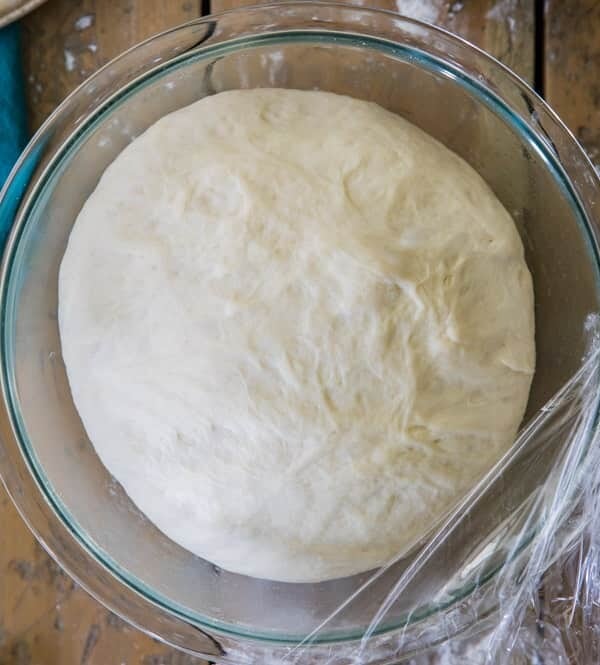
- Let rise – Place the dough in a lightly oiled bowl and cover with plastic wrap. Let rise in a warm spot for 30 minutes or until doubled in size.
- Deflate and divide – Gently deflate the dough and form it into a 15″ log before cutting into 9 even pieces.
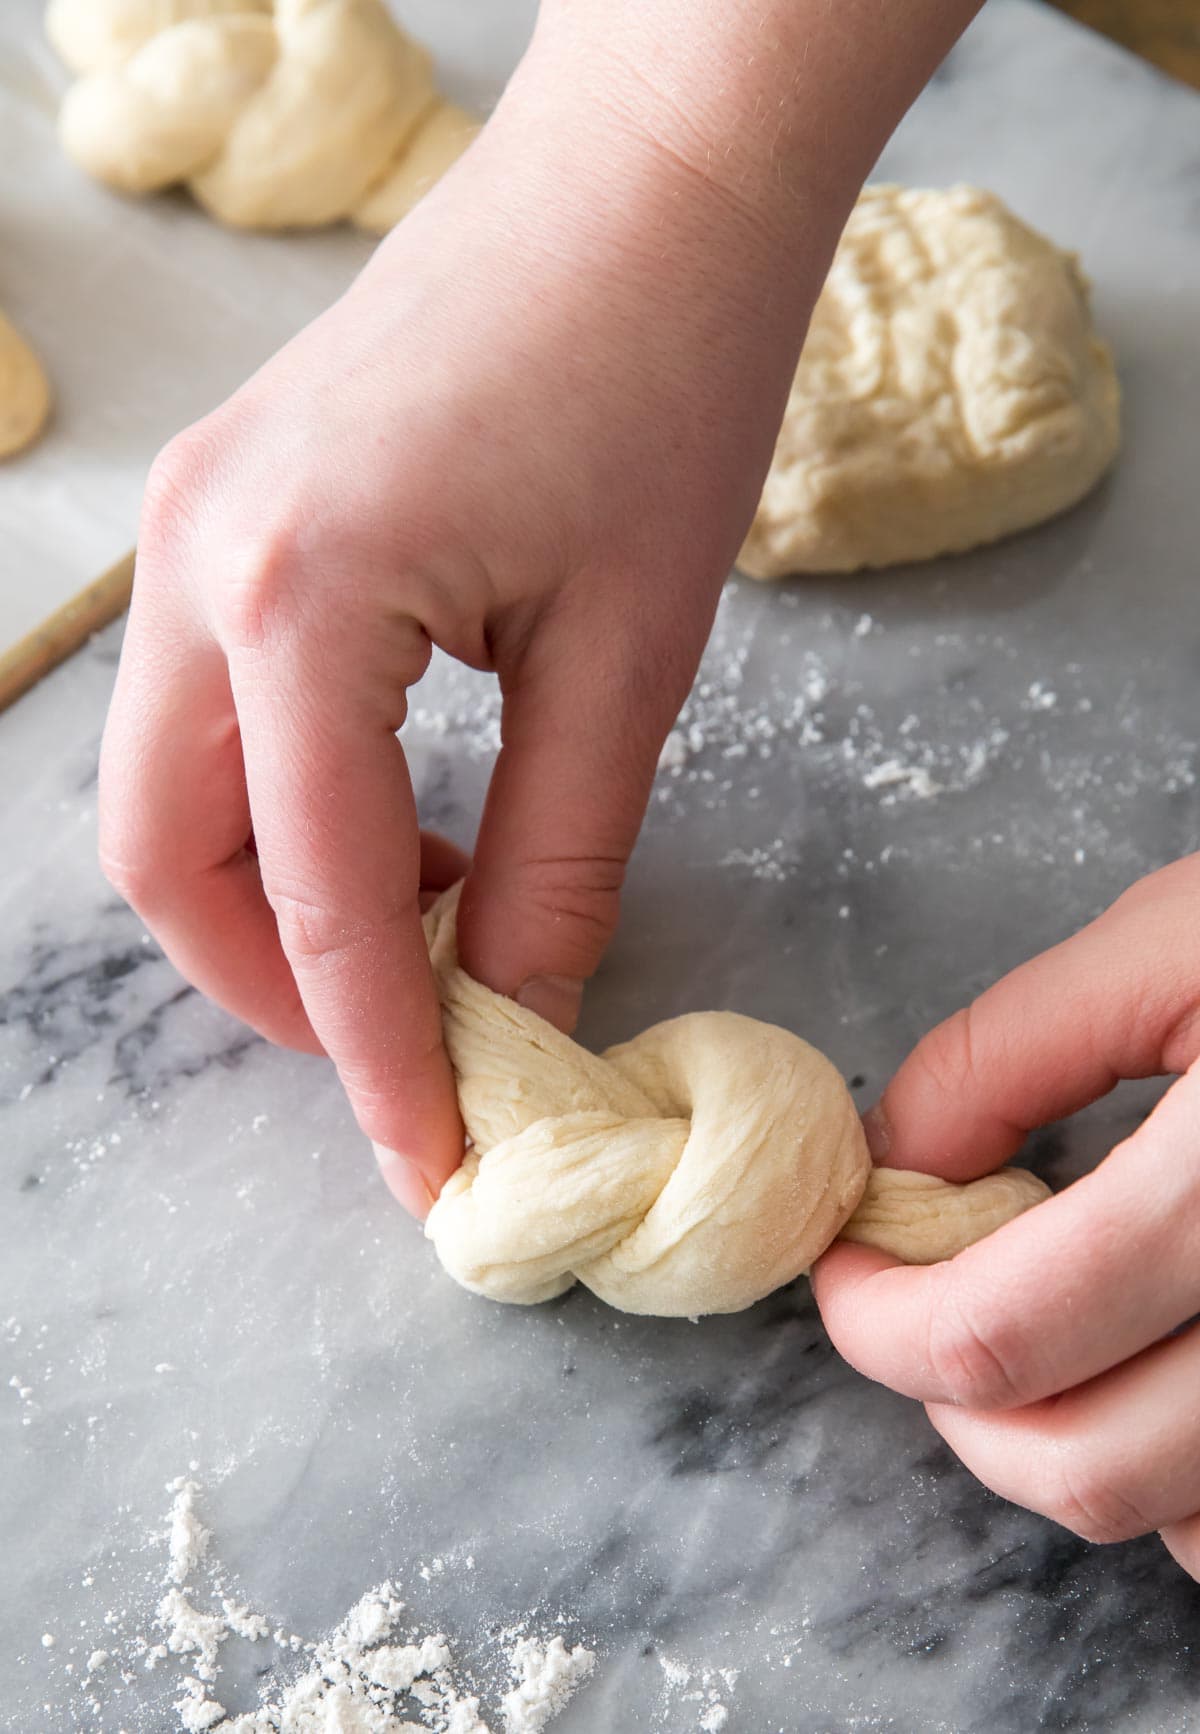
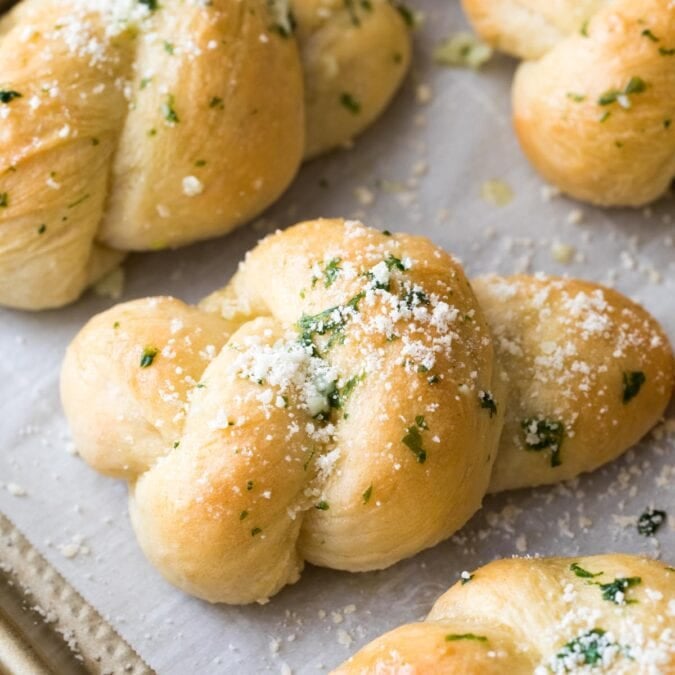
- Tie into knots – Roll each piece into an 8″ rope, tie in a knot, and place on a parchment lined baking sheet.
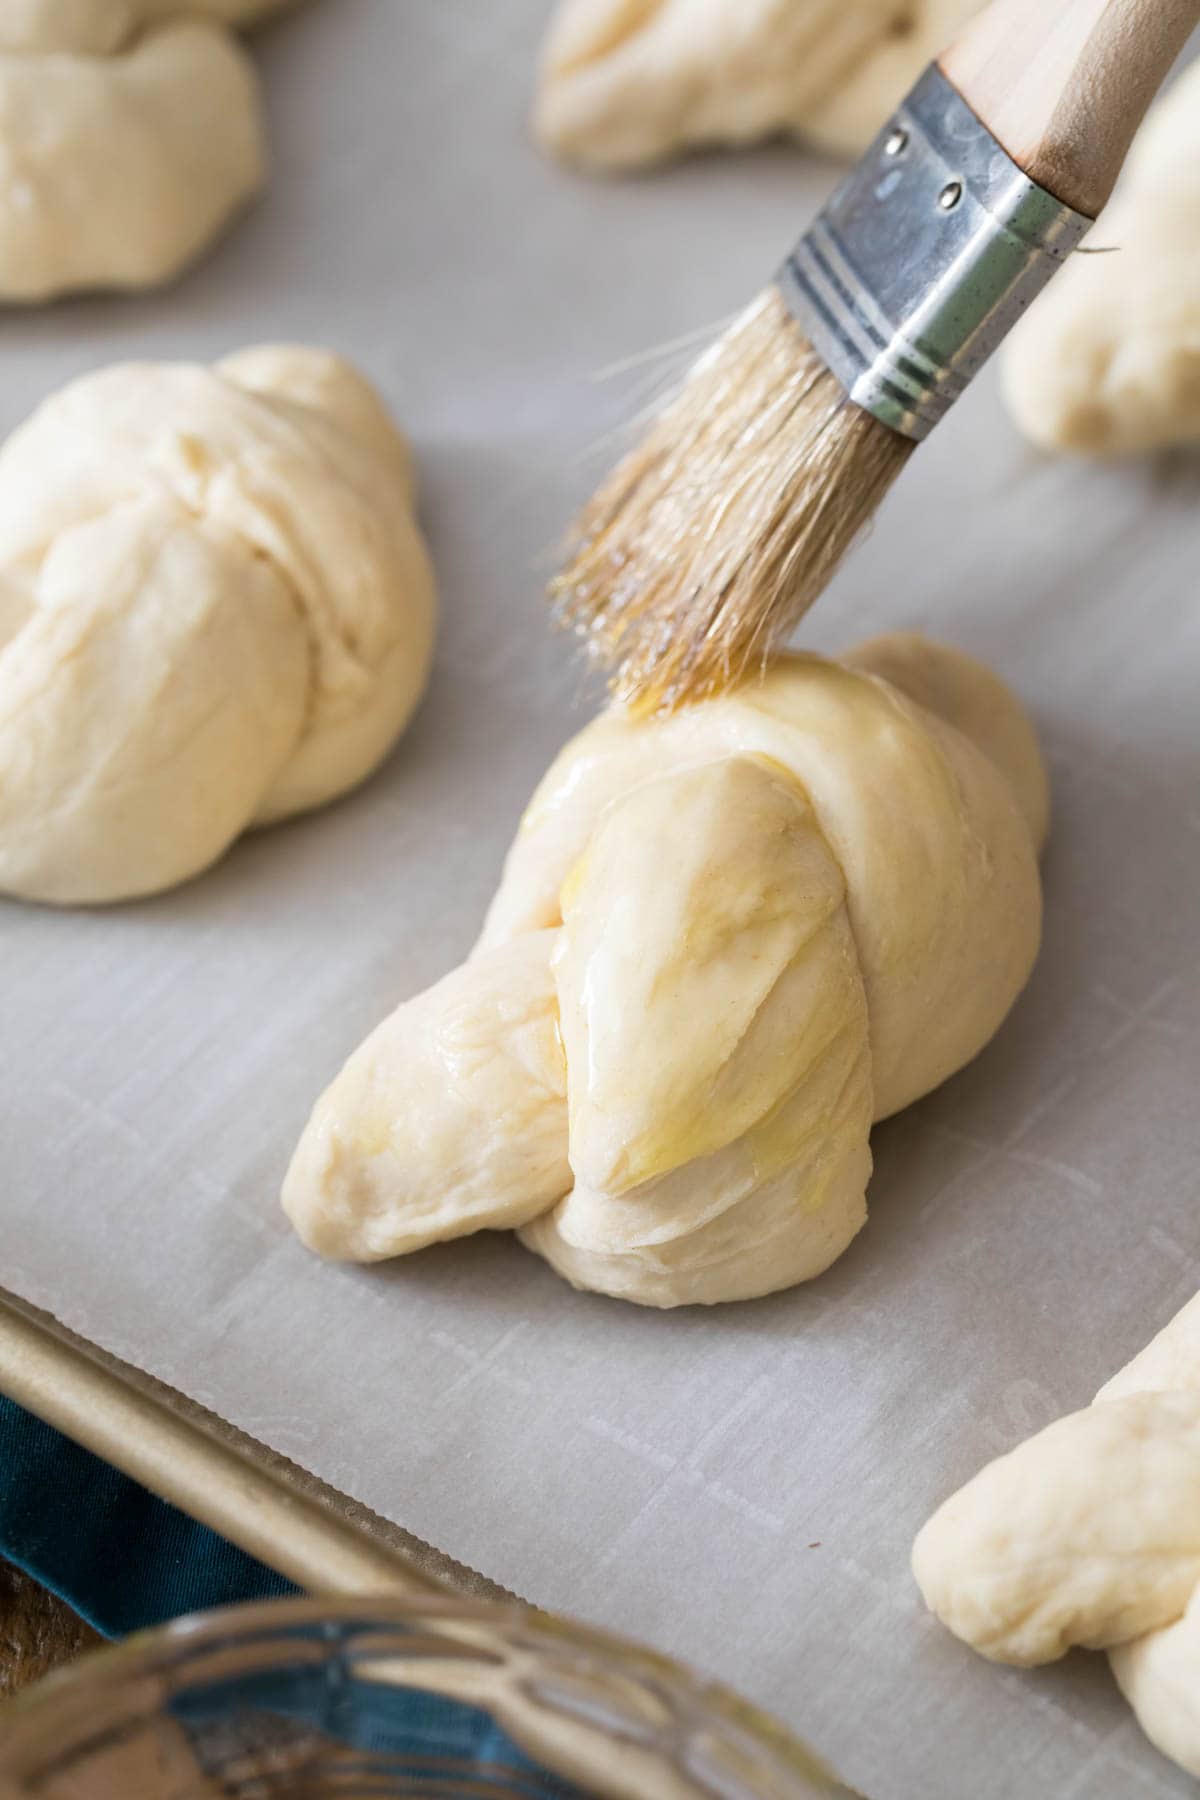
- Bake – Brush each garlic knot with olive oil (optional) and let sit for 5 minutes. Bake for 13 minutes at 400F.
- Brush with garlic butter after baking and sprinkle with grated parmesan just before serving.
SAM’S TIP: This is optional, but I like to brush my knots with olive oil before baking to encourage them to turn a beautiful golden brown in the oven. It’s a quick and simple extra step!
Frequently Asked Questions
Yes! You can prepare the dough as indicated and place in an airtight container in the fridge overnight. When ready to bake, brush your knots with olive oil and bake as directed.
If you’d like to freeze your homemade garlic knots before baking, make sure to do so in an airtight container as well. Frozen knots can be baked straight from the freezer (don’t forget to brush with olive oil before baking!), but they will need to a minute or two longer in the oven.
Active dry yeast will work, but your rise times will be longer than indicated here. I suggest you proof the yeast with the warm water and a pinch of the sugar before adding it to the dry ingredients.
Just like you would tie a regular knot! Once you have your dough in a rope shape, bring the two ends together, then cross one end over, under, and through the other. I demonstrate this in my video below, if you’d like a visual.
I hope you enjoy this recipe! We make these frequently and pair them with everything from my meatballs to beef stew! If you’re serving them as an appetizer instead of a side, I highly suggest making a batch of my homemade marinara for dipping.
Enjoy!
Let’s bake together! I’ll be walking you through all the steps in my written recipe and video below! If you try this recipe, be sure to tag me on Instagram, and you can also find me on YouTube and Facebook
Garlic Knots
Ingredients
- 2-2 ⅓ cups (250-295 g) bread flour*, divided
- 1 packet instant yeast, 2 ¼ teaspoons
- 1 ½ teaspoons sugar
- ¾ teaspoon salt
- ½ teaspoon garlic powder
- 2 Tablespoons olive oil
- ¾ cup (180 ml) warm water, 105-115F [40-46C]
- Additional olive oil for coating bowl
Garlic Butter:
- 4 Tablespoons salted butter
- 3 cloves minced garlic, about 1 ½ Tablespoons
- 1 Tablespoon minced fresh basil
- Grated parmesan cheese, optional
Instructions
- Preheat oven to 400F (205C) and line a baking sheet with parchment paper. Set aside.
- In a large bowl, combine 1 cup (125g) of flour, instant yeast, sugar, salt, and garlic powder and stir well.1 packet instant yeast, 1 ½ teaspoons sugar, ¾ teaspoon salt, ½ teaspoon garlic powder
- Add olive oil and warm water and use a wooden spoon to stir until all ingredients are well-combined.2 Tablespoons olive oil, ¾ cup (180 ml) warm water
- Gradually add another 1 cup (125g) of flour. Add any additional flour as needed (I've found that sometimes I need as much as an additional ⅓ cup), stirring until the dough forms a cohesive, elastic ball and is beginning to pull away from the sides of the bowl (see video below recipe for visual). The dough will still be tacky but still should be manageable with your hands.
- Drizzle a separate, large, clean bowl generously with olive oil and use a pastry brush to brush up the sides of the bowl.Additional olive oil for coating bowl
- Transfer your dough to prepared bowl and roll the dough through the oil until the entire surface of the dough is lightly coated with oil, then cover the bowl tightly with plastic wrap and place on top of your oven to rise for 30 minutes or until doubled in size.
- Once the dough has risen, use your hands to gently deflate it and transfer to a lightly floured surface. Form into a log about 15” long and cut into 9 even pieces.
- Roll each piece between your palms and slightly pull it to form a rope about 8” long (lightly dust the dough with flour if needed).
- Carefully tie each rope into a knot (see video for guidance) and place on prepared baking sheet. Lightly brush with olive oil if desired.
- Set tray on top of warm oven and let garlic knots rest/rise for 5 minutes before baking.
- Transfer to oven and bake on 400F (205C) for 13 minutes or until just beginning to turn a light golden brown. Meanwhile, prepare garlic butter.
Garlic Butter
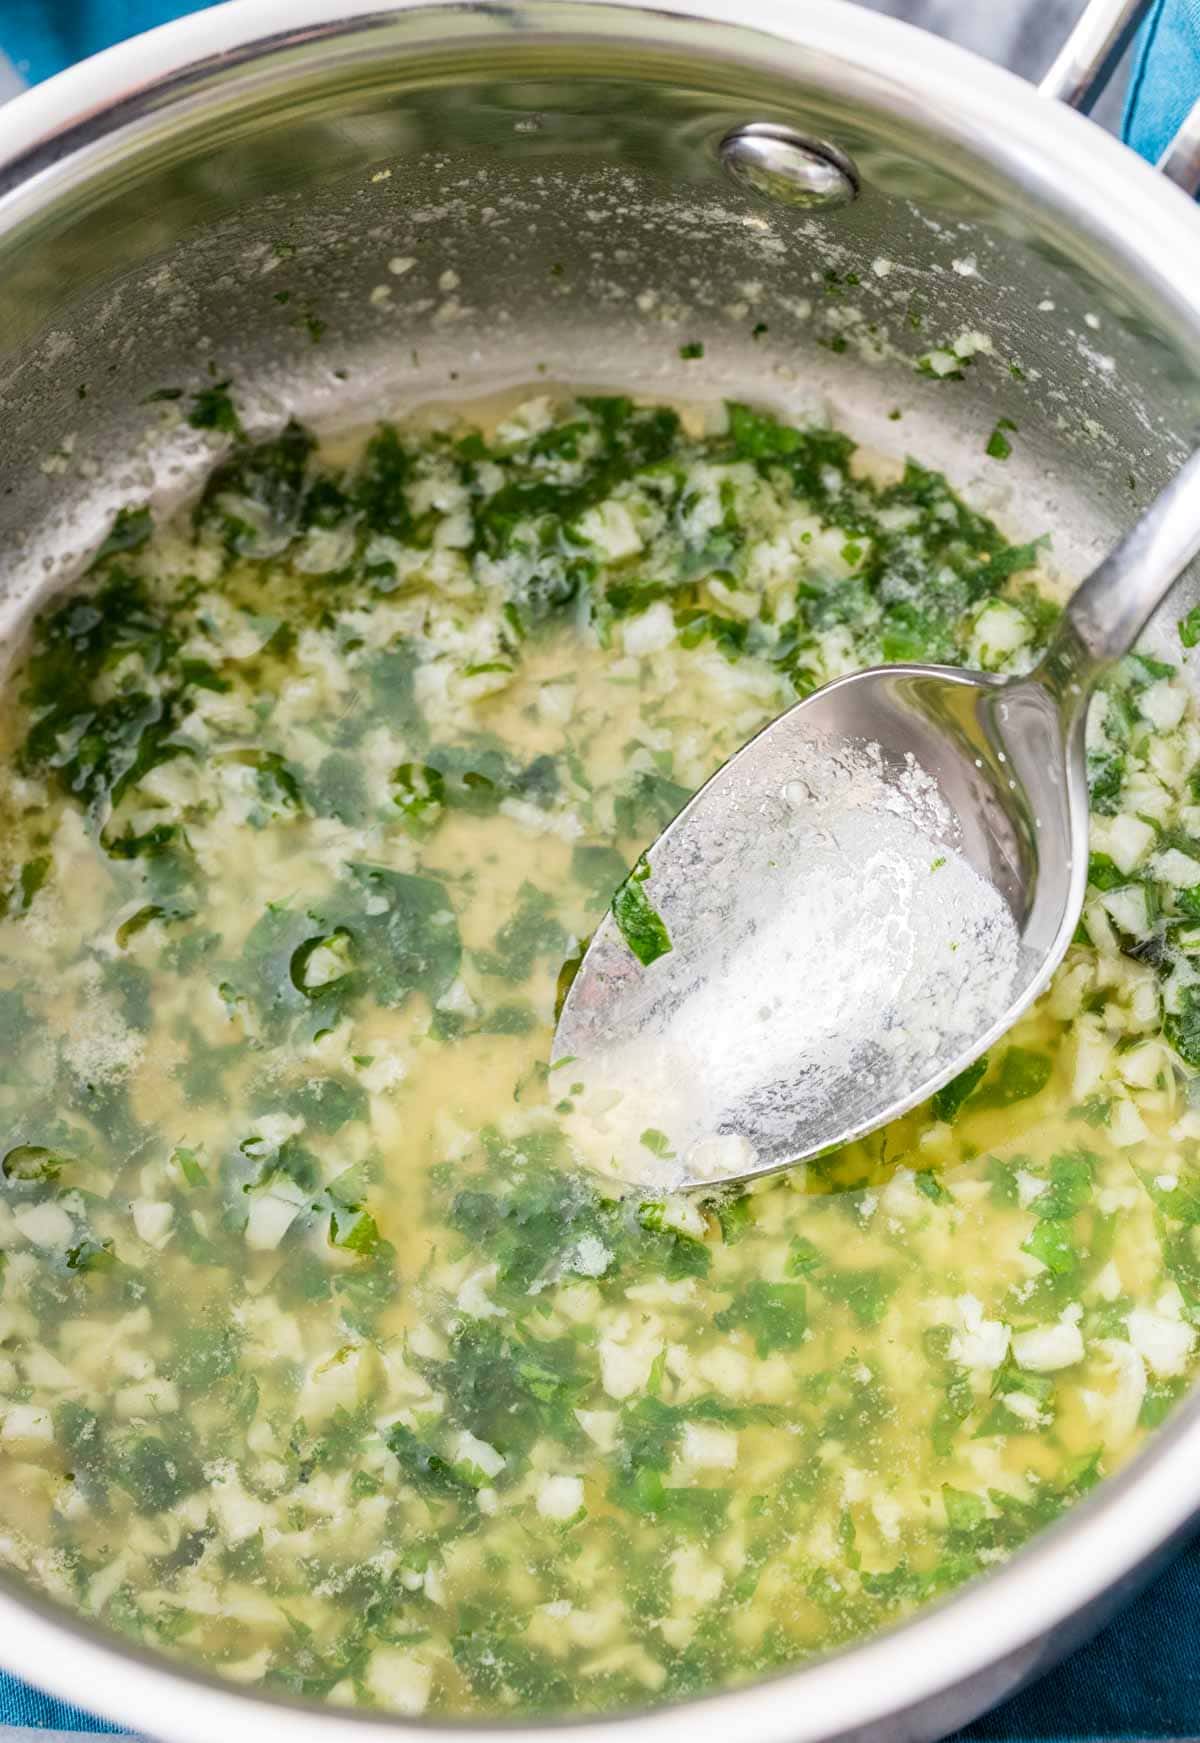
- Combine butter and garlic in a small saucepan over medium/low heat. Cook until butter is melted and garlic is fragrant.4 Tablespoons salted butter, 3 cloves minced garlic
- Remove from heat and stir in minced basil. Once knots have finished baking, use a pastry brush to generously brush garlic butter mixture over each knot. Sprinkle with grated parmesan, if desired.1 Tablespoon minced fresh basil, Grated parmesan cheese
- Enjoy served warm.
Notes
Nutrition
Nutrition information is automatically calculated, so should only be used as an approximation.
Like this? Leave a comment below!


At first I thought the dough was a little rough looking, but it was hard to tell in your video, but it came out pretty good.My oven needed a little bit more time than what you said on your recipe more like 16minutes , but oven’s vary. Overall it tasted pretty good
So glad they turned out for you, Cheryl! Thanks for the review 🩷
What do you mean by “additional” to the 2 Tb olive oil +additional?
I’m sorry for the confusion. I will correct this. The 2TB goes in with the water. The additional portion is to grease the next large clean bowl.
This recipe sounds great but I can’t find the video. When I tap ‘Jump to Video’ it lands at the start of the ingredients list, slightly below the jump to recipe header landing spot.
Please add if you can so I can avoid going to another site.
No reply needed and thank you for all of your delicious content!
If you are running an ad blocker it will unfortunately also block the video.
I “one and a halfed” this recipe for my big family and it was devoured! There are so many recipes out there for garlic knots but SSR is my go-to, the recipes never fail! These are very forgiving and I’ll be making them again and again! The basil added to the garlic butter on top was *chefs kiss* delicious!
So glad this one was a hit for you too, Jami! Enjoy 😊
Hi Sam, any way to make these with sourdough discard?
Hi Tricia! That’s a fun question! I haven’t experimented with it so I can’t say for sure, but I will definitely add it to my list. 🙂
Absolutely delicious! I’ve combined half reg flour half bread and .. oh my…
Thank you so much for this recipe, we are making italian dinner and these will be perfect. If they last that long 😉
Sounds like a tasty dinner! Enjoy 😊
Step 2 very confusing- is the 1 cup flour part of the 2-2 1/3 c bread flour??
Hi Harry! You will just want to use 1 cup of the 2 – 2 1/3 cup of flour. 🙂
I made the dough in my bread machine and it turned out amazing! Such a good recipe. Will be keeping for future use!!
This is a fabulously easy and VERY fast recipe. I made three batches for a gathering and will undoubtedly make them again. Followed the directions exactly. Thank you!
Perfect for gatherings, thank you.
Could you make them not bake them but freeze them and bake later?
Hi Sheri! While I haven’t personally tried it, I think it could work. 🙂
I use this dough recipe all the time! For simple yeasted rolls or bread sticks, and once used it for hamburger buns. They always turn out great! Super quick and easy. I don’t use instant yeast, just reg activate yeast and let the dough rise a little longer during the first rise with no issues.
So quick and easy, yet delicious!
I just had regular yeast, so proofed it with warm water and sugar first, and also used regular AP flour, and it worked fine.
I added some olive oil and extra garlic to the butter mixture and it was superb. I served it with eggplant Parm, so didn’t bother adding extra cheese this time.
Thank you for a wonderful, no-knead recipe!
i love these biscuits, make them almost every week!! instead of garlic cloves though, would i be able to replace it with garlic salt of any kinda or garlic powder mixed with the butter? the garlic to me tastes too bitter itself, but with garlic powder or salt would that be okay?
I’m so glad you enjoyed them, Skye! You could try using garlic powder. The flavor will definitely be less intense. Let me know how it goes if you try it. 🙂
ended up doing it!! was absolutely amazing, added a little bit of oregano aswell as making a sort of cheese stuffed garlic knot, absolutely incredible ^^
Yum! Thanks for sharing 😊
these are super quick, easy and delicious. my family begs for them on spaghetti and chili night. highly recommend!!!
Hey Sam! I love your recipe for the garlic knots, I always serve them with your pizza dough recipe, however, can I make them in advance? If I refrigerate right after I make the knots and the first proof, how long should I let them rest on the counter for the second proof before baking? I just find it a lot to make all the pizza dough and knots all at once since I tend to do 2-3 pizzas and 2 batches of knots at a time. Thank you!
I’m so glad they’ve been such a hit, Kaitlyn! I would probably pull the dough from the refrigerator, make the knots and just let them rise slightly. 🙂
It’s good
hi! can you use self rising flour?
Hi Juliana! I would not recommend self rising flour without other alterations.
thank you!
Delicious! I added a little garlic salt at the end too, so yummy!
Yum! Enjoy, Sara 😊
These were easy to make and turned out wonderfully!