Chocolate Scones
This post may contain affiliate links. As an Amazon Associate I earn from qualifying purchases. Please read my disclosure policy.

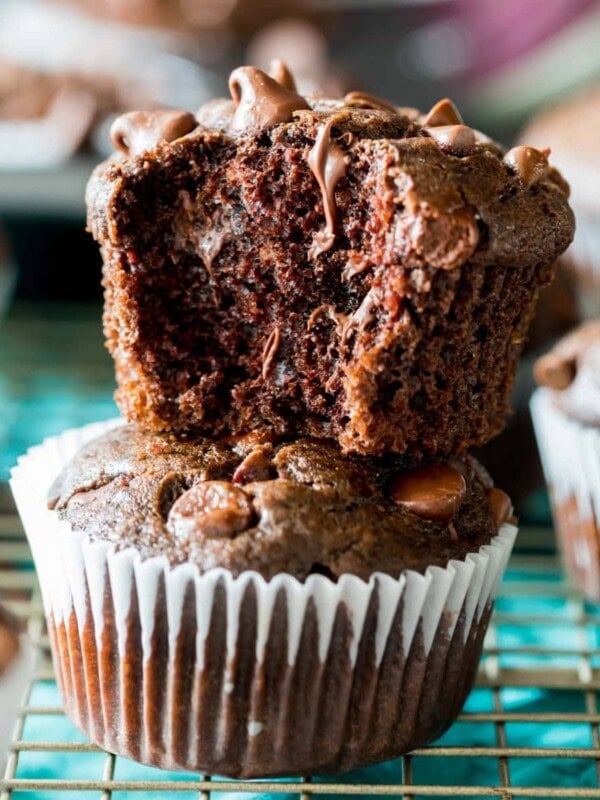
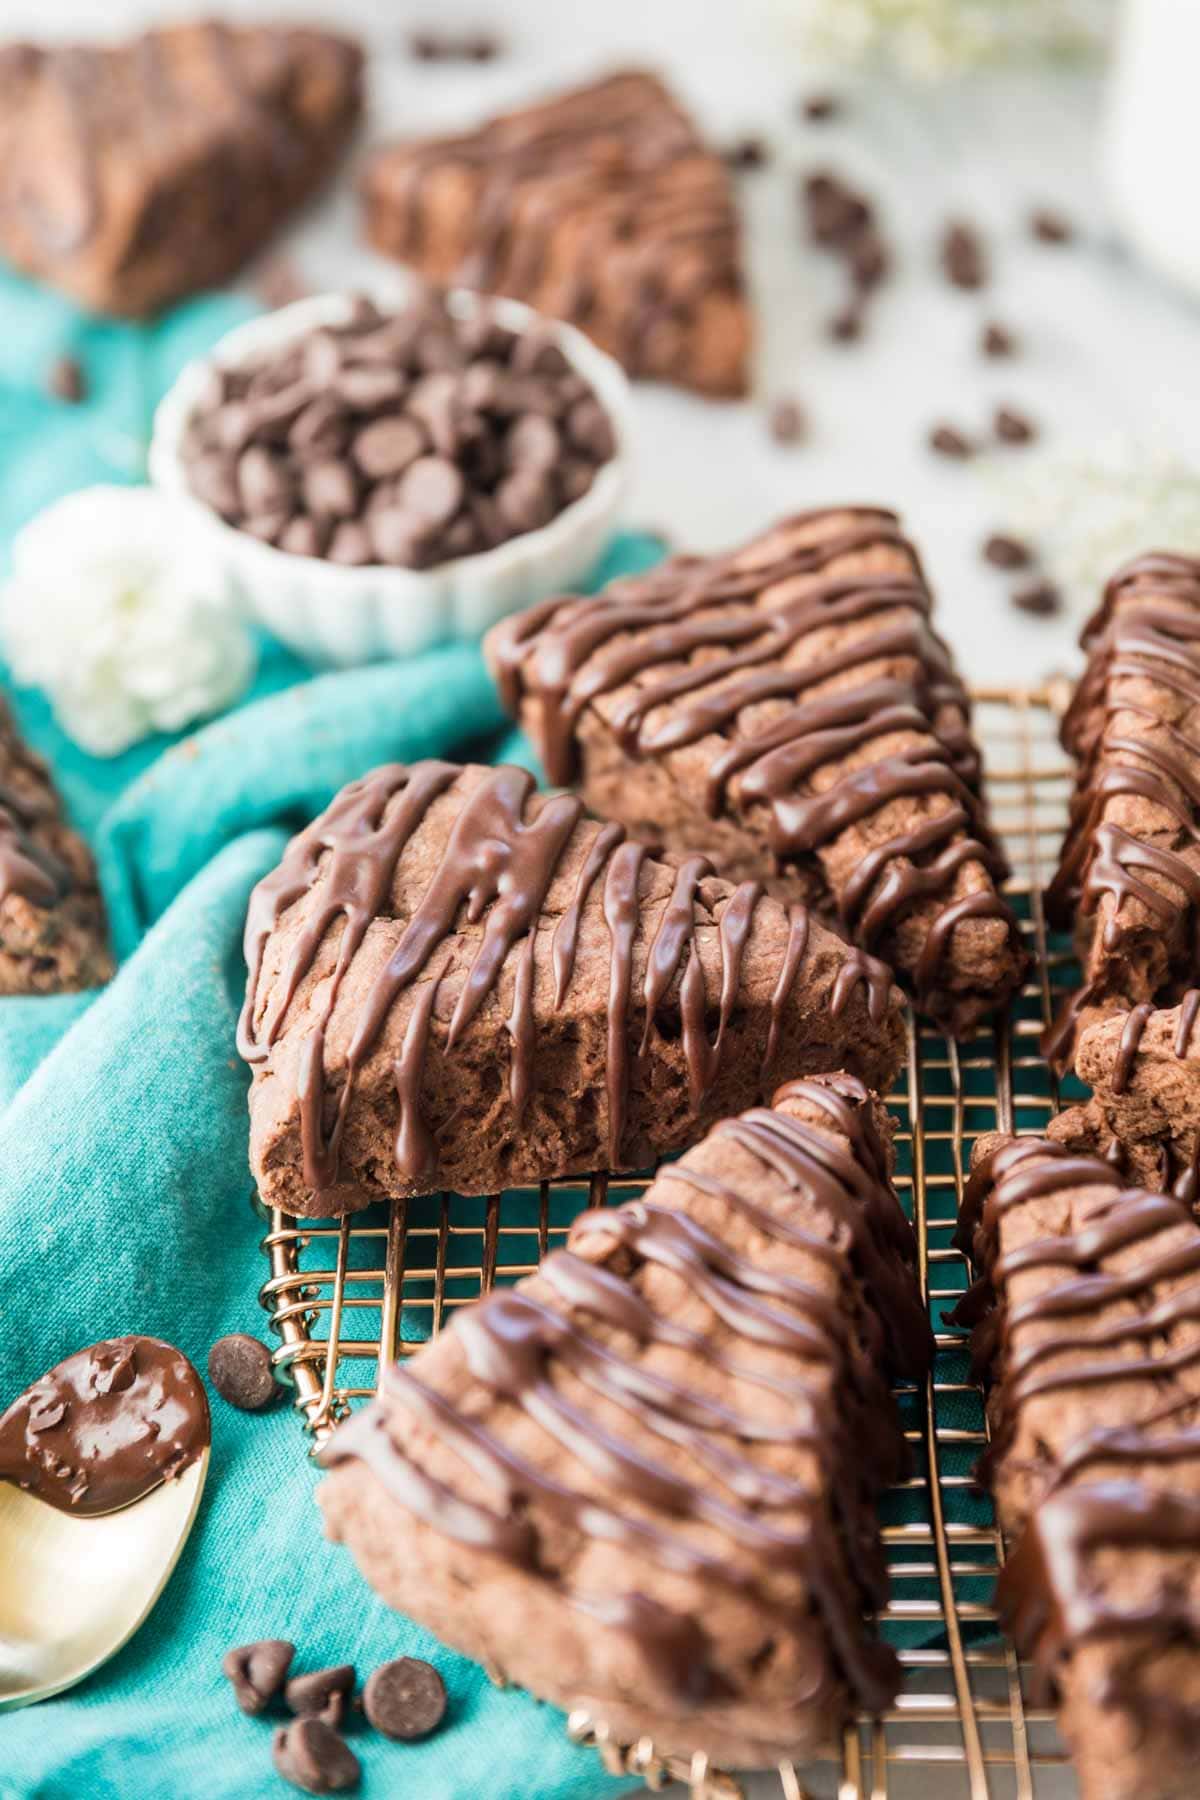
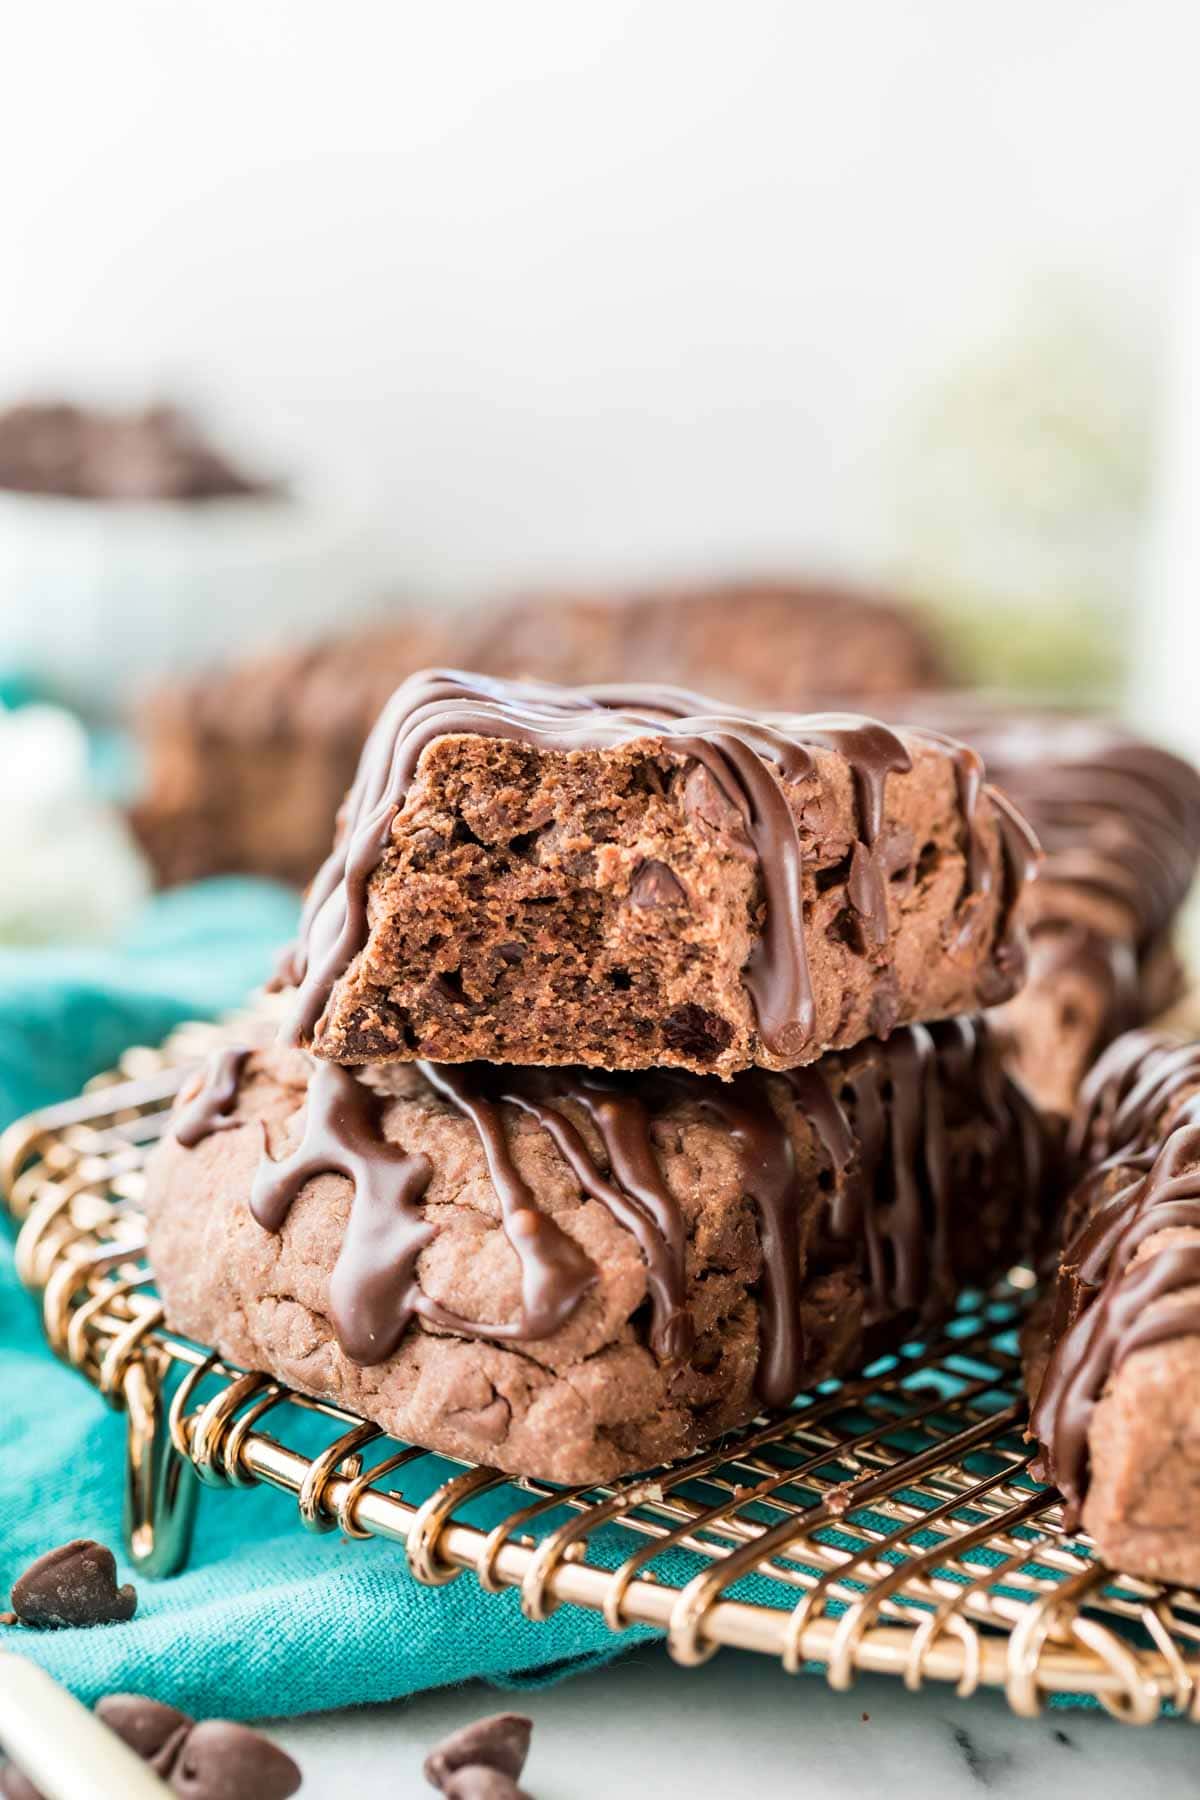
A chocolate lover’s dream, these tender Chocolate Scones are packed with chocolate chips and cloaked in a rich chocolate glaze. This recipe uses a food processor for quick and easy scones in just 30 minutes. Don’t forget to watch the how-to video!
Perfectly Chocolatey Chocolate Scones
If eating chocolate for breakfast is your thing then you’re going to love these chocolate scones. This was actually my first scone recipe on the blog, and today I’m sharing an updated version that makes tastier, more chocolatey, and easier to prepare scones.
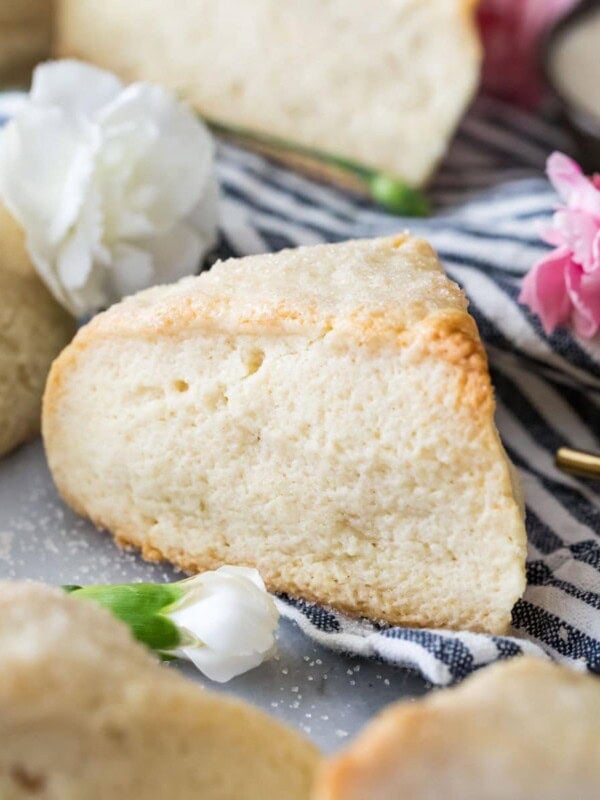
These not-new-but-improved chocolate scones are wonderfully tender with buttery, flaky interiors (similar to my biscuit recipe, though the layers aren’t quite as intense), and a rich chocolate glaze. They’re the dark and dreamy sister to my classic scone recipe, and they’re SO simple to make. I make mine with a food processor, but with a little extra elbow grease, they can definitely be made without one too (I’ve included notes on how to do so below).
The key technique for perfectly layered scones is the lamination (folding the dough over itself repeatedly), but even that isn’t tricky. I use this technique in my strawberry shortcakes and puff pastry too, and it creates the most beautiful, buttery layers. It’s totally worth the effort!
You’ll love these scones because:
- They’re easy to make (especially with a food processor).
- With cocoa in the dough and the glaze, plus two kinds of chocolate chips throughout, they’re perfectly chocolatey.
- The dough can be made in advance, so you can pop it in your fridge and enjoy warm scones for breakfast anytime.
- They’re perfectly sweet without being overly decadent (so you don’t feel too guilty enjoying them for breakfast or brunch!)
What You Need
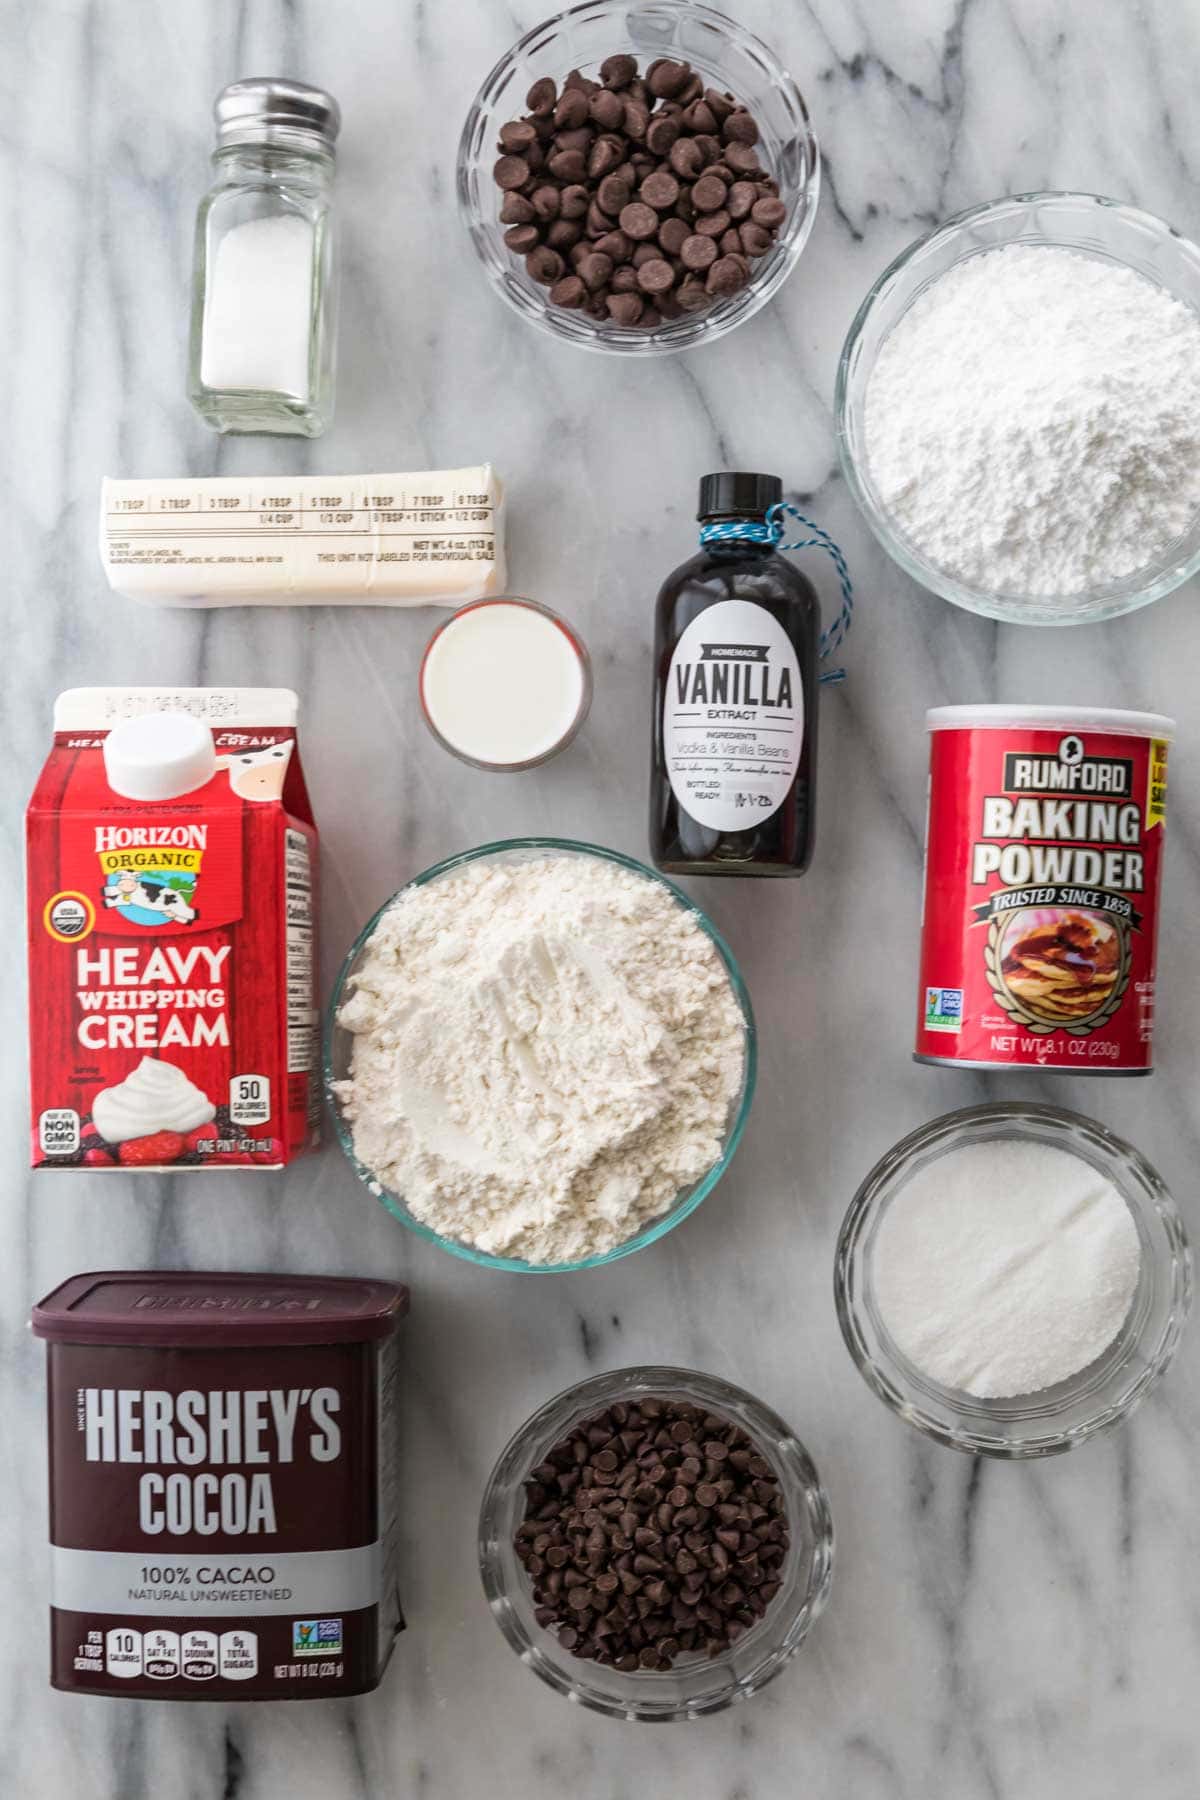
You only need a few pantry staples to make my chocolate scones. Here are some of the important ones!
- Cocoa powder. I recommend natural cocoa powder here. This is my preferred cocoa for many of my chocolate recipes, from my chocolate cake to my chocolate crepes. Dutch process could be used, but the flavor will not be the same.
- Cold butter and cream. Keeping these ingredients cold is key! The colder the butter, the lighter, fluffier, and more tender the interior of your scones will be. I actually like to freeze my butter for about 15-20 minutes before I start baking to make sure it is extra cold!
- Baking powder. Make sure your baking powder is fresh–bad baking powder will affect how your chocolate scones rise and could make them taste bitter.
- Chocolate chips. I use a blend of regular and mini semisweet chips. Peanut butter or white chocolate chips would be great too!
SAM’S TIP: Overbaked scones will be dry and hard, so pay attention to them while they’re in the oven.
Remember, this is just an overview of the ingredients I used and why. For the full recipe please scroll down to the bottom of the post!
How to Make Chocolate Scones
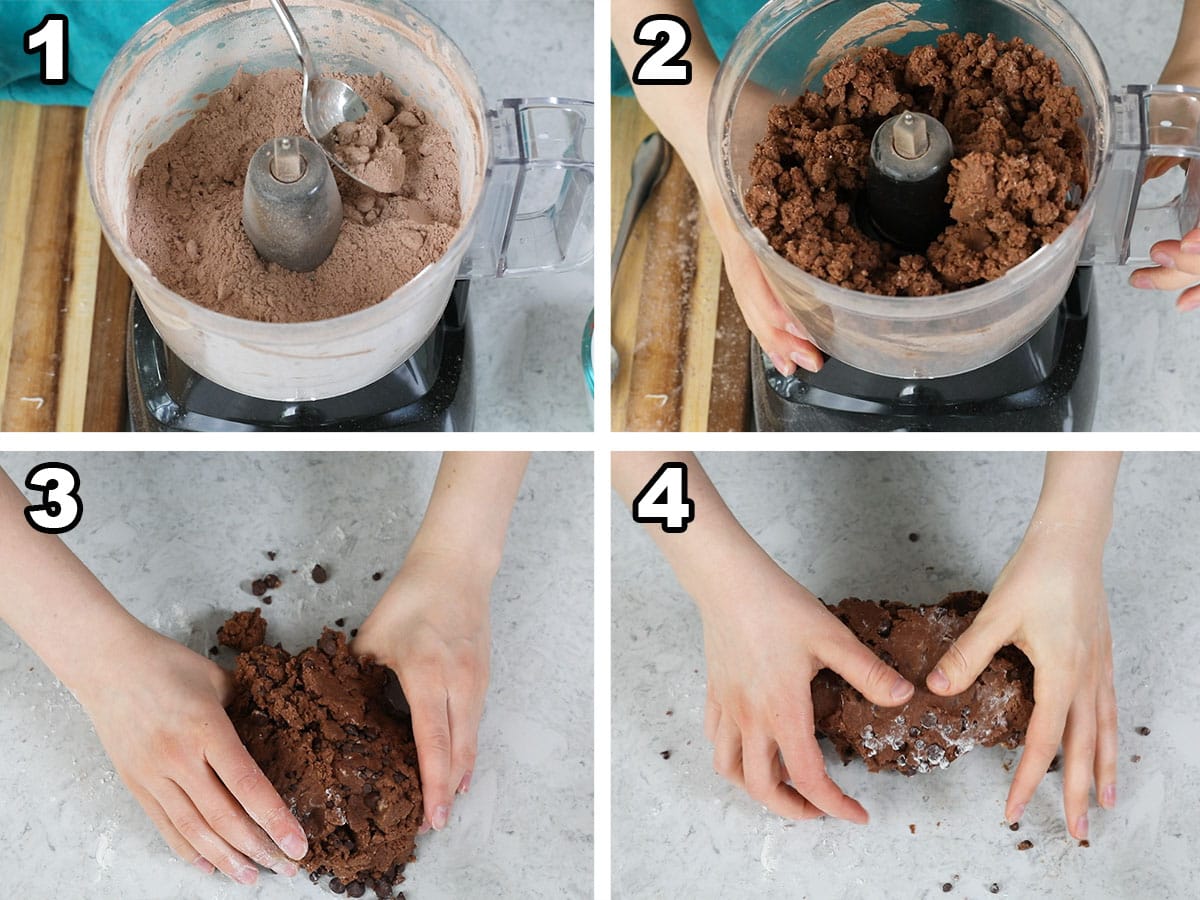
- Combine the dry ingredients in a food processor, then add the butter and pulse in 1-second increments to cut it in.
- Add the cream and vanilla and pulse again until dough the starts to clings to itself.
- Turn your dough out onto a lightly floured surface, add the chocolate chips, and briefly work them in.
- Begin laminating by folding your dough over itself, turning, and repeating about 5-6 times.
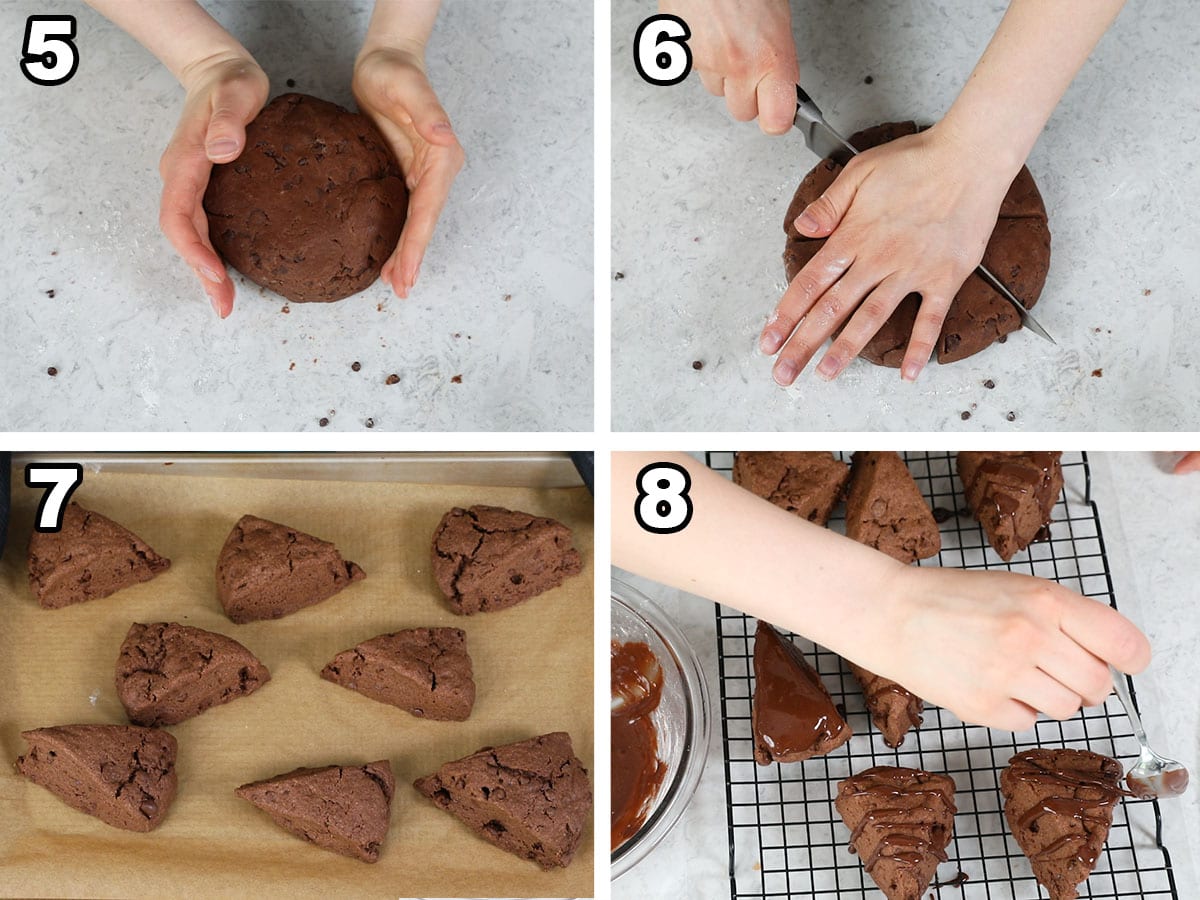
- Form the dough into a 1″ thick disc.
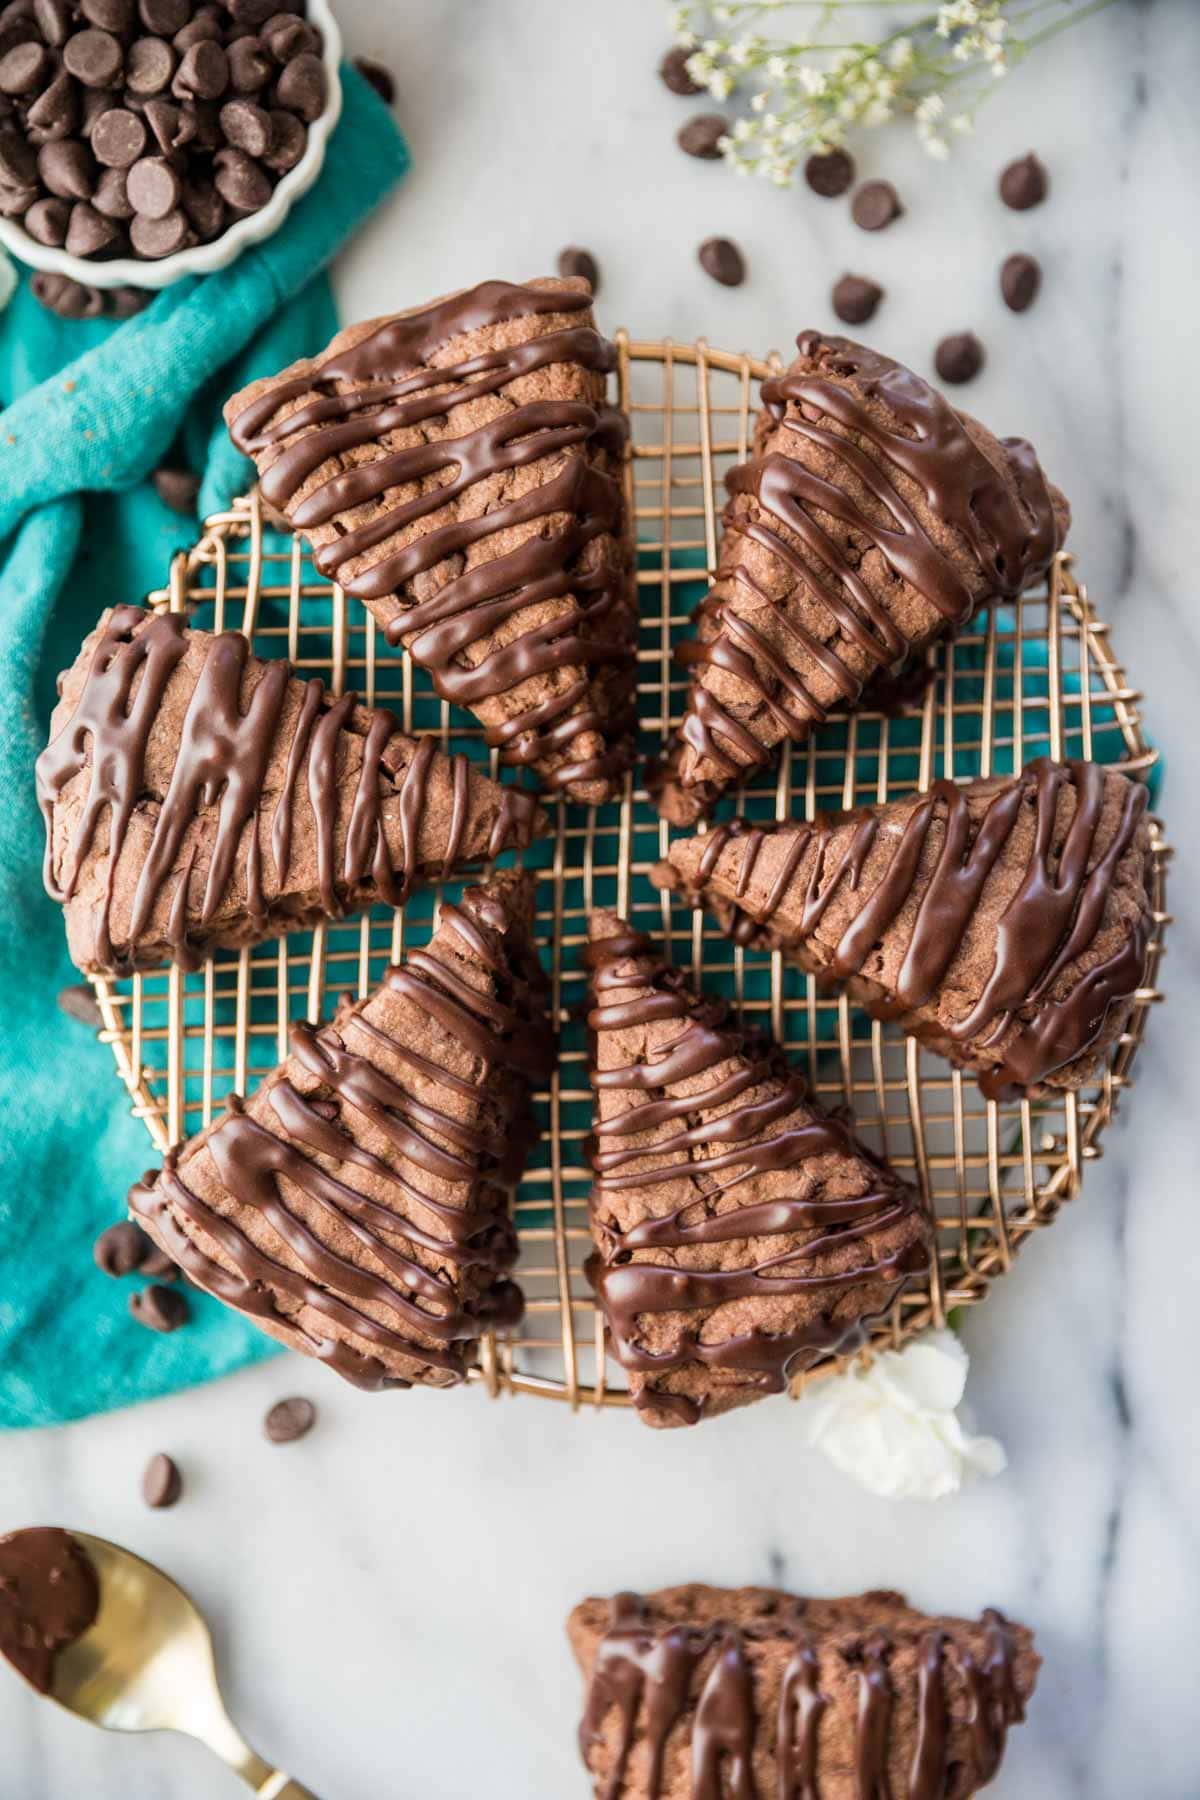
- Use a sharp knife and cut the disc into 8 equal wedges, then transfer the scones to a parchment lined baking sheet.
- Bake for 14-15 minutes and let scones cool completely on the baking sheet.
- Combine the glaze ingredients and drizzle it over the cooled scones.
SAM’S TIP: When cutting your scones into wedges, press straight down with your knife. Sawing into the dough can cause the scones to topple over in the oven. You can also cut your chocolate scones into squares, circles, or any shape using a glass or cookie cutter–just make sure to press straight down with them too!

Frequently Asked Questions
Typically this happens as a result of butter or cream that’s too warm, overworking the dough, or bad baking powder. Take care not to overwork or over-handle the dough when laminating, use cold ingredients, and always use high-quality, fresh baking powder–I use generic with many ingredients but when it comes to baking powder I recommend avoiding the store brands.
If you’re been a fan of my site for a while, you’ll notice this updated recipe no longer includes an egg. My original chocolate scones included an egg to counteract the drying nature of the cocoa powder. I’ve since reworked the recipe to be perfectly moist without the egg, as I find that scones are lighter, fluffier, and more buttery without it!
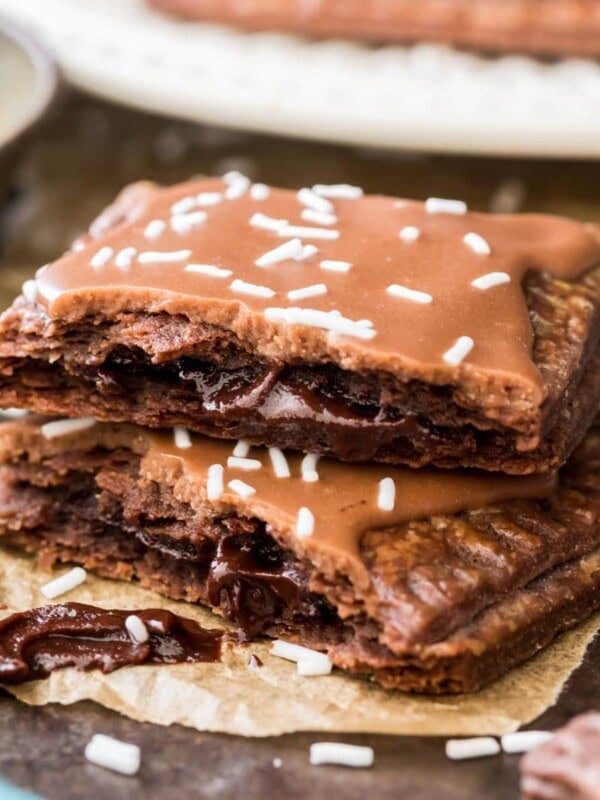
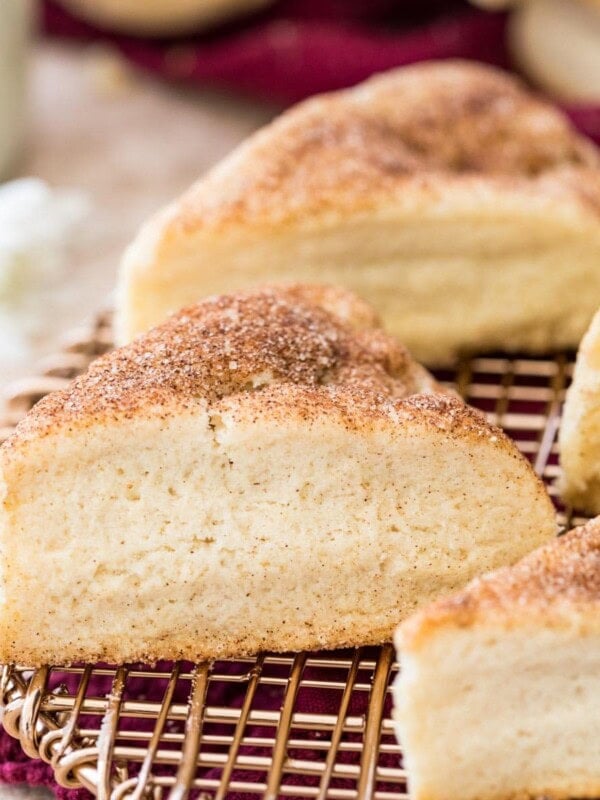
Sure! These chocolate scones taste great with or without the chocolate glaze (similar to the glaze I used on my chocolate pop tarts). If you do chose to skip it though, I highly recommend brushing them with cream and sprinkling with sugar instead.
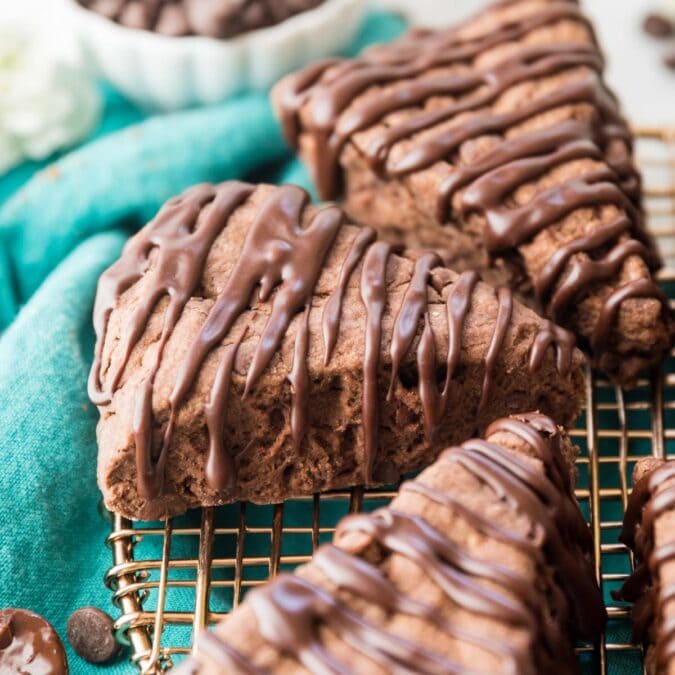
You’re only 30 minutes away from the butteriest, flakiest, best chocolate scones you’ve ever had!
Enjoy!
Let’s bake together! I’ll be walking you through all the steps in my written recipe and video below! If you try this recipe, be sure to tag me on Instagram, and you can also find me on YouTube and Facebook
Chocolate Scones
Equipment
Ingredients
- 1 ¾ cup (215 g) all-purpose flour
- ¼ cup (25 g) natural cocoa powder
- ¼ cup (50 g) granulated sugar
- 2 teaspoons baking powder
- ¼ teaspoon table salt
- ½ cup (113 g) unsalted butter, cut into 8 pieces (very cold, I recommend placing your butter in the freezer for 15 minutes before beginning)
- ½ cup (118 ml) heavy cream, cold
- ½ teaspoon vanilla extract
- ½ cup (85 g) semisweet chocolate chips, I like to use half mini and half regular-sized chocolate chips
Chocolate Glaze
- ¾ cup (95 g) powdered sugar
- 2 Tablespoons (14 g) natural cocoa powder
- 2-3 Tablespoons milk, I use whole milk, but any will do
- ½ teaspoon vanilla extract
Instructions
- Preheat oven to 375F (190C) and line a baking sheet with parchment paper and set aside.
- In the basin of a food processor (see note if you do not have a food processor) combine flour, cocoa powder, sugar, baking powder, and salt and pulse to combine.1 ¾ cup (215 g) all-purpose flour, ¼ cup (25 g) natural cocoa powder, ¼ cup (50 g) granulated sugar, 2 teaspoons baking powder, ¼ teaspoon table salt
- Scatter cold butter pieces over dry ingredients and pulse until butter is cut into the flour mixture and only pea-sized pieces remain.½ cup (113 g) unsalted butter
- Drizzle heavy cream and vanilla extract over mixture and pulse until mixture is beginning to cling together.½ cup (118 ml) heavy cream, ½ teaspoon vanilla extract
- Turn dough out onto a clean, lightly floured surface and sprinkle chocolate chips overtop.½ cup (85 g) semisweet chocolate chips
- Use your hands to quickly work dough together and work the chips into the dough (try to avoid over-handling or overworking the dough as much as possible, as this can cause the butter to become too warm and can diminish the flakiness of your scones!).
- Fold dough in half over itself and gently press the layers together. Rotate dough 90 degrees and fold in half again, repeating until you have done 5-6 folds.
- Form the dough into a disk about 1” (2.5cm) thick by 6” (15cm) round and cut into 8 wedges by pressing straight down with a large sharp knife (do not saw through the dough, which can cause the scones to topple over while they bake).
- Transfer wedges to prepared baking sheet, spacing 2” apart. If desired, pop in the freezer for 10-15 minutes before baking (this helps them maintain their shape a bit better).
- Transfer scones to 375F (190C) oven and bake for 14-15 minutes, until baked through.
- Allow scones to cool completely on baking sheet before drizzling with glaze (if desired).
Chocolate Glaze
- In a medium-sized bowl, whisk together powdered sugar, cocoa powder, 2 Tablespoons of milk, and vanilla extract. If glaze is too thick (it should ribbon off the whisk and hold its shape for a second or two before dissolving back into the bowl), add additional milk as needed.¾ cup (95 g) powdered sugar, 2 Tablespoons (14 g) natural cocoa powder, 2-3 Tablespoons milk, ½ teaspoon vanilla extract
- Drizzle scones with chocolate glaze and allow glaze to dry before enjoying.
Notes
Food processor
If you don’t have a food processor, you can make the scones by whisking together the dry ingredients in a bowl then using a pastry cutter or grater to cut the cold butter into the dry ingredients. Then use a wooden spoon to work the cream and vanilla into the mixture. You may need to use your hands or add a splash more cream to get the ingredients to work together into a cohesive dough as the dough is quite dry when made by hand.Making dough in advance
You can prepare the dough in advance. Form into a disc as indicated in step 8, wrap tightly in plastic wrap and store in the refrigerator for up to 4-5 days before cutting and baking as indicated.Storing
Chocolate scones are best enjoyed fresh (even better warm!) but will keep in an airtight container at room temperature for up to three days. I don’t recommend refrigerating, but you may freeze completely cooled scones (glazed or unglazed) tightly wrapped in an airtight container for several months.Nutrition
Nutrition information is automatically calculated, so should only be used as an approximation.
Like this? Leave a comment below!