
Caramel Apple Dip
This post may contain affiliate links. As an Amazon Associate I earn from qualifying purchases. Please read my disclosure policy.
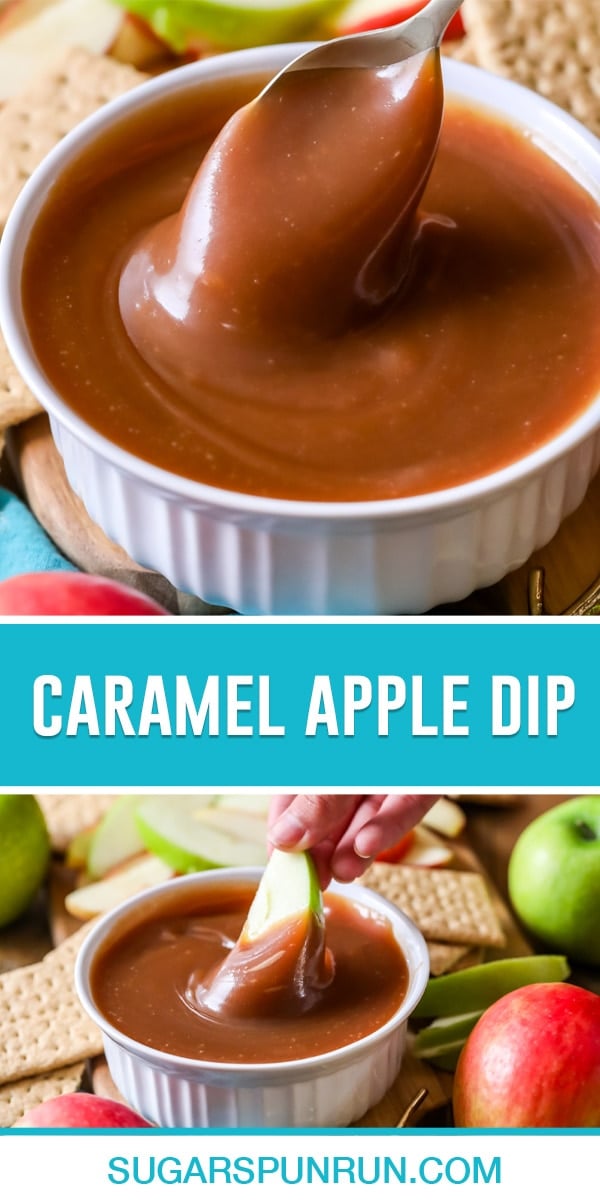
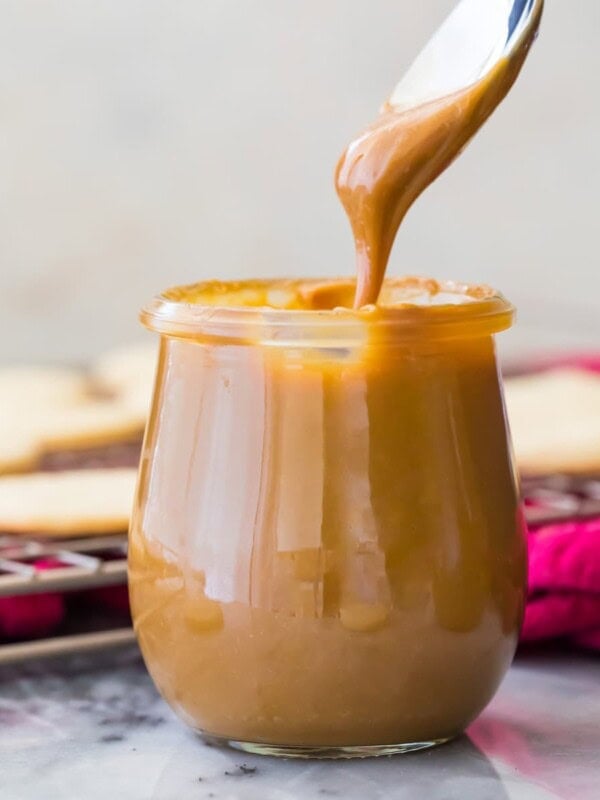
This homemade caramel apple dip is made 100% from scratch with real caramelized sugar–no condensed milk or brown sugar shortcuts! It’s thick, glossy, and tastes so much better than the store-bought kind.
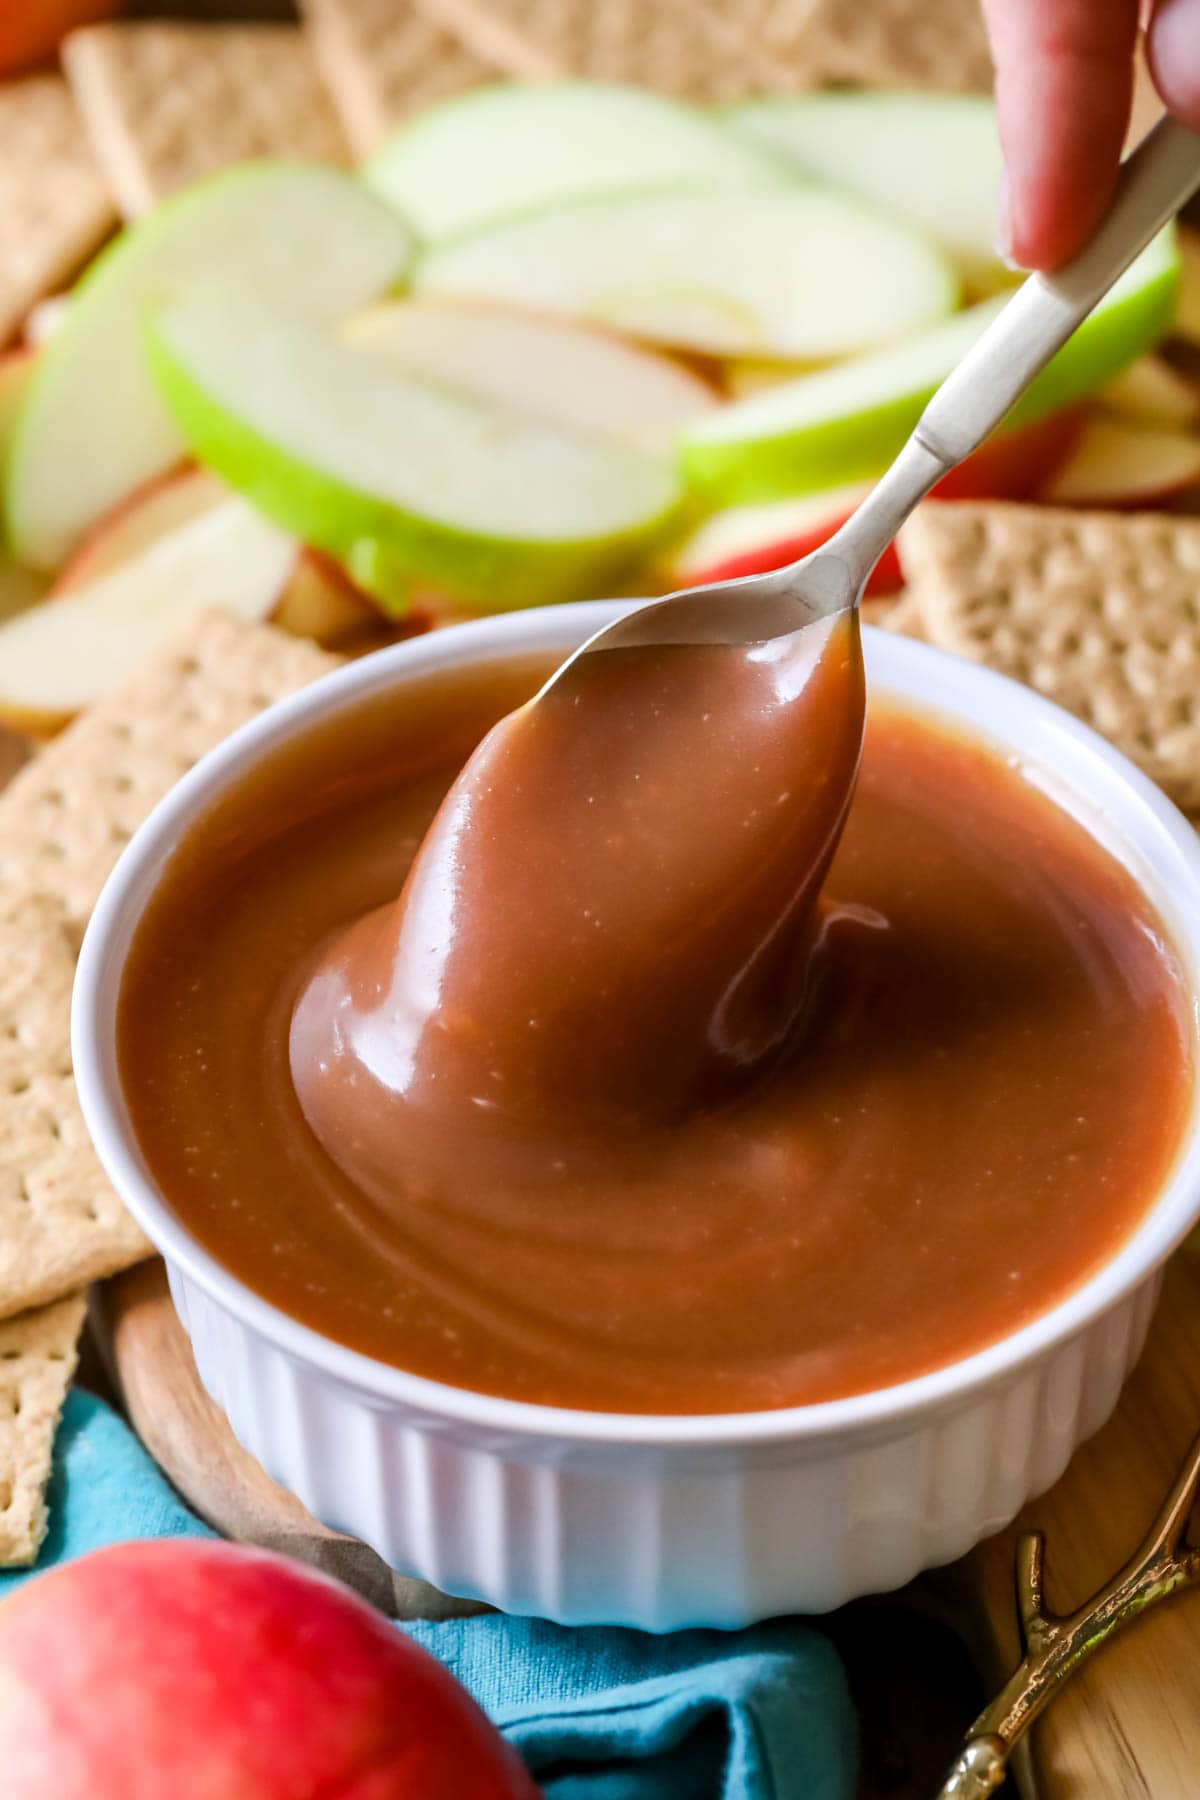
Homemade Caramel Dip
This caramel apple dip is perfect for when you’re craving one of those gourmet, old-fashioned caramel apples, but don’t want the hassle of making a whole batch. It’s a fun dessert dip that’s most commonly enjoyed in the fall, but now you can make it any time the caramel apple craving strikes!
What’s to love:
- No sweetened condensed milk or brown sugar shortcuts. Don’t get me wrong, those have a time and a place (hello, Millionaire’s shortbread)! However, for this recipe I wanted to deliver a real deal, true caramel.
- The lazy girl(/guy’s) guide to caramel apples. Have you ever made “real” caramel apples before? Honestly, they’re a pain in the butt. If you want the taste but could do without the fuss, this recipe is for you.
- Not just for apples! I include a few other dipping suggestions below, we love graham crackers!
Today’s recipe is quite similar to my caramel sauce, close enough that I almost didn’t post it, but after dipping nearly a bushel-worth of apple slices through it in the past month, I thought it was worth sharing on its own. It’s ever so slightly modified to be thicker and glossier, ideal for dipping rather than one for drizzling over ice cream or cheesecake (to make a salted caramel cheesecake), but the technique and the idea are the same.
It’s still not quite thick enough to make the old-fashioned caramel apples though; see the FAQ section below for more details.
What You Need
You can make homemade caramel dip with just 7 ingredients! Most of these will look familiar if you’ve made my caramel sauce (not be be confused with my quick & easy salted caramel sauce, which is a bit different).
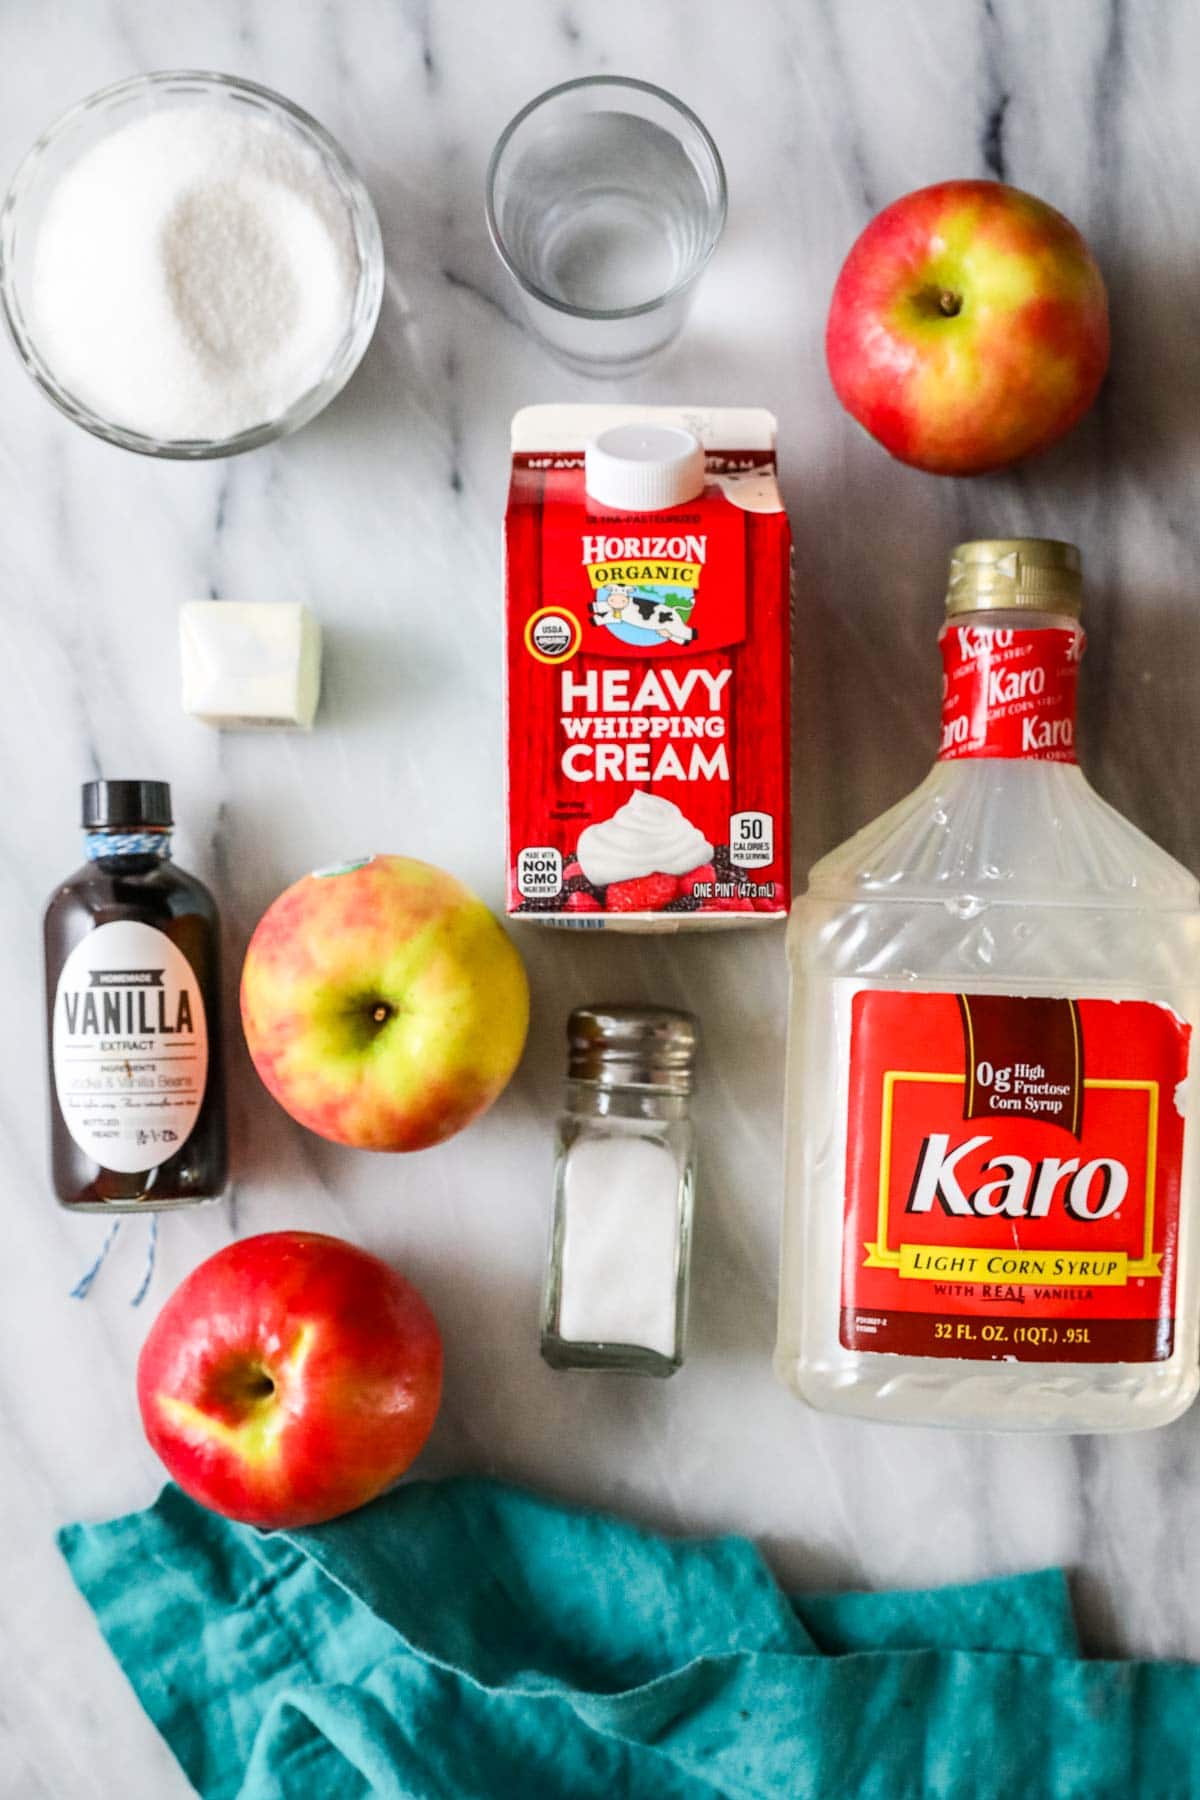
- Sugar. Today’s recipe is a classic caramel, which means it starts with granulated sugar. We’ll cook this down until it caramelizes into a beautiful golden caramel dip that’s perfect for apple slices!
- Corn syrup. While not always necessary when making caramels, I add corn syrup to this caramel dip to prevent it from becoming grainy. Remember, this is NOT the same thing as high fructose corn syrup! Golden syrup will also work here.
- Water. A splash of water helps the sugar cook evenly and is helpful for preventing crystallization from occurring while the caramel cooks.
- Heavy cream. I add this at the end of the cooking process so the sugars have time to caramelize properly. Make sure your cream is at room temperature before you add it.
- Vanilla and salt. Along with some unsalted butter, these two ingredients enhance the flavor of the caramel. I do include instructions in the recipe notes below for adjusting the salt to make a salted caramel apple dip.
You will also need a candy thermometer and a pastry brush. A candy thermometer is essential for knowing when your caramel reaches the right temperature and, ultimately, the right consistency. A pastry brush is useful for brushing away any sugar crystals that form on the sides of the pot.
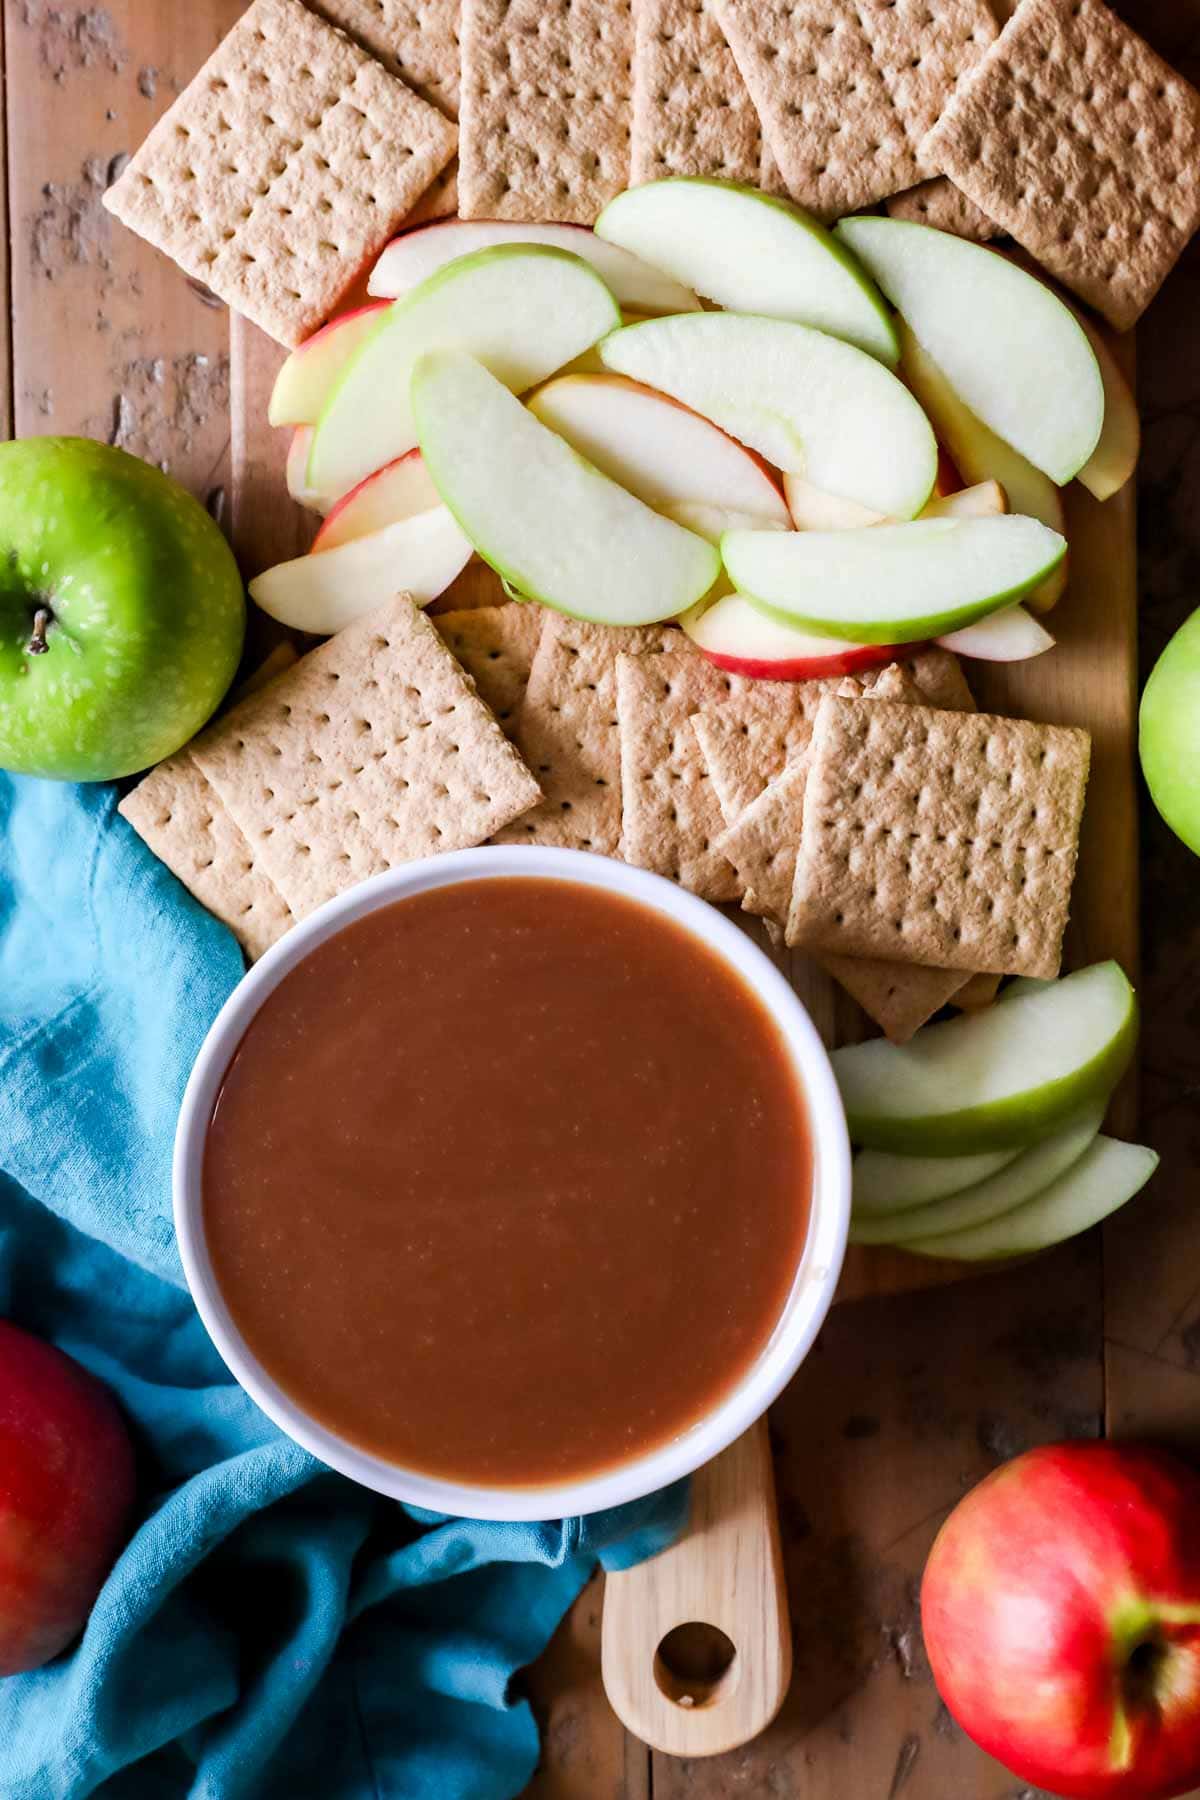
SAM’S TIP: This dip isn’t just for apples! We like to use it for graham crackers, pretzels or even sliced pears.
Remember, this is just an overview of the ingredients I used and why. For the full recipe please scroll down to the bottom of the post!
How to Make Caramel Apple Dip
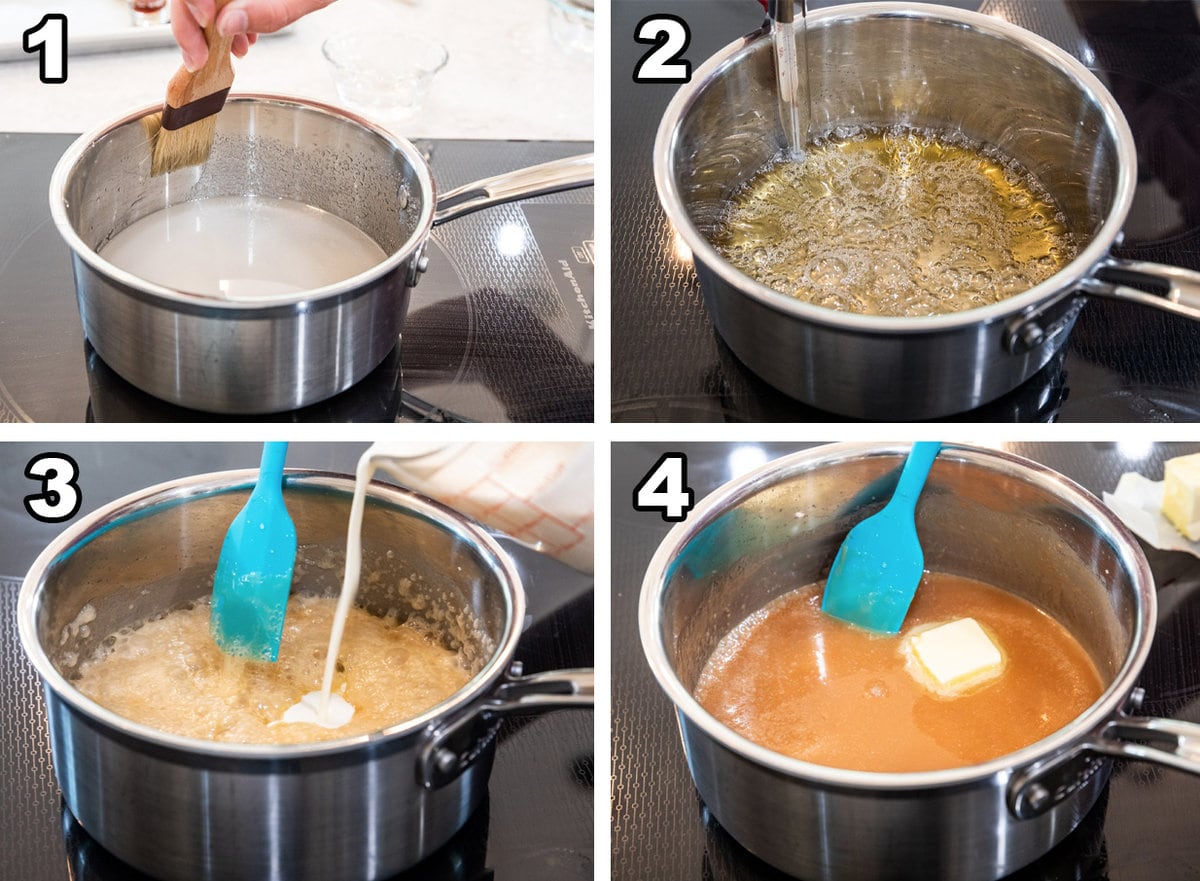
- Add the sugar, salt, water, and corn syrup to a saucepan over medium low heat and stir occasionally until the sugar dissolves. If sugar crystals form on the sides of the pot, use a damp pastry brush to brush them back into the pot.
- Increase the heat to medium and continue stirring occasionally until the mixture starts to boil. Once boiling, keep cooking until it turns a caramel color and reaches 340F (171C).
- Remove the pan from the heat and very carefully drizzle in the cream while stirring. This will cause the caramel to bubble and sputter, so be careful!
- Add the butter one piece at a time, then stir in the vanilla. Let the caramel cool before serving.
SAM’S TIP: I recommend that you stop stirring once the mixture starts boiling to prevent sugar crystals from forming. The only exceptions to this rule would be if you have only a thin pan (not a heavy bottomed one), if you have struggled in the past with your caramel burning, or if you find that your stovetop heat is inconsistent. You are more likely to end up with some graininess this way, but you are also less likely to end up with burnt caramel, so the tradeoff is worth it in my opinion.
Frequently Asked Questions
This caramel is best used for dipping apple slices–not coating whole apples. You’d need a much thicker and more sturdy caramel for that. If this is something you’d like to see, just leave me a comment below, and I’ll add it to my list of reader recipe requests.
Caramel dip will last for up to 10 days in the fridge, which may be shorter than the store-bought stuff, but I can assure you that this homemade (preservative-free!) version usually disappears well before 10 days pass.
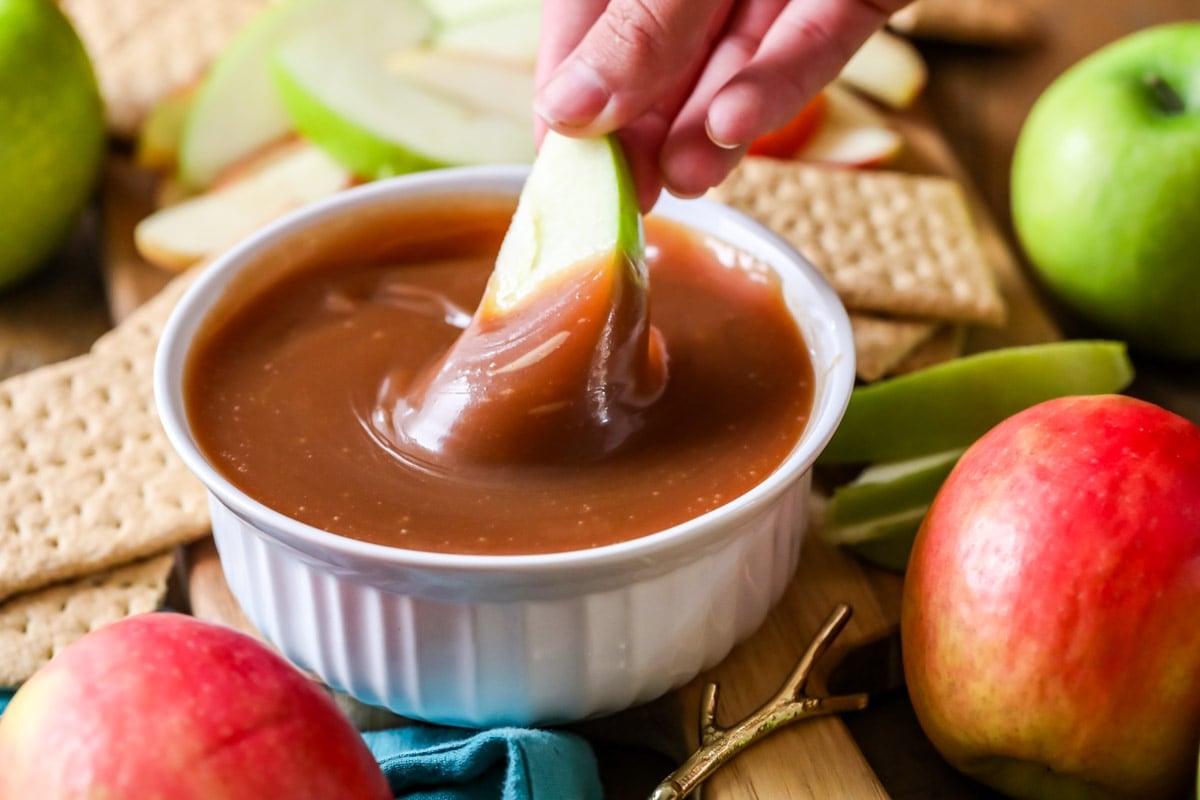
This dip won’t completely solidify like a caramel candy, but it shouldn’t be running off your apples. If it is, it likely just needs to just cool down a little bit more. If your dip is still very runny after cooling, you may not have cooked your caramel long enough; I recommend rereading through the post and making sure you have an accurate candy thermometer before trying again.
What other fall recipes would you like to see? Let me know in the comments below!
Enjoy!
Let’s bake together! I’ll be walking you through all the steps in my written recipe and video below! If you try this recipe, be sure to tag me on Instagram, and you can also find me on YouTube and Facebook
Caramel Apple Dip
Equipment
Ingredients
- 1 cup (200 g) granulated sugar
- ¼ heaping teaspoon salt
- ¼ cup (60 ml) water
- 2 Tablespoons light corn syrup
- ½ cup (120 ml) heavy cream, room temperature
- 2 Tablespoons (28 g) unsalted butter cut into 2 pieces room temperature
- 1 ½ teaspoons vanilla extract
- Apple slices, for dipping
Instructions
- Combine sugar, salt, water, and corn syrup in a small saucepan over medium-low heat. Stir occasionally until sugar is dissolved. If any sugar remains on the side of the pot, use a damp pastry brush to wash them down into the pot.1 cup (200 g) granulated sugar, ¼ heaping teaspoon salt, ¼ cup (60 ml) water, 2 Tablespoons light corn syrup
- Increase heat to medium and cook, stirring occasionally, until mixture comes to a boil.
- Once bubbling, allow mixture to cook until it begins to turn caramel in color and reaches 340F (171C).
- Immediately remove the pot from heat and, slowly, cautiously (because it will bubble a lot – don’t get splattered!), drizzle cream into the mixture while stirring.½ cup (120 ml) heavy cream
- Once cream is fully incorporated, stir in butter one piece at a time until the mixture is smooth.2 Tablespoons (28 g) unsalted butter cut into 2 pieces room temperature
- Stir in vanilla extract.1 ½ teaspoons vanilla extract
- Allow caramel to cool before serving (it will thicken as it cools). We like to dip apple slices and graham crackers but you can really dip anything you’d like!Apple slices
Notes
Thermometer
The caramel is very shallow in the saucepan so take care that your candy thermometer is inserted into the liquid but not touching the bottom of the pan.Salt
Use ¼ teaspoon salt for classic caramel dip, and ½ teaspoon salt for salted caramel dip.Storage
Store in an airtight container in the refrigerator for up to 10 days.Nutrition
Nutrition information is automatically calculated, so should only be used as an approximation.
Like this? Leave a comment below!










Absolutely delicious! It tastes exactly like store‑bought caramel. My husband and I were obsessed — we’ll definitely be making this again.
Thank you so much for trying my recipe, Zia! I’m so glad you enjoyed it so much! 🙂
This is such a yummy caramel sauce and perfectly for dipping!!
My first attempt came out a bit grainy, so I think I will try it again and stir it less! Anything else I need to do?
I saw the part where you says to add a little splash of water, but when do I do that?
Thank you’
Hi Sandy! You can use a lightly damp pastry brush to brush down any sugar crystals that form in the beginning when you are mixing everything together. I recommend that you stop stirring once the mixture starts boiling to prevent sugar crystals from forming. The only exceptions to this rule would be if you have only a thin pan (not a heavy bottomed one), if you have struggled in the past with your caramel burning, or if you find that your stovetop heat is inconsistent. You are more likely to end up with some graininess this way, but you are also less likely to end up with burnt caramel, so the tradeoff is worth it in my opinion. I hope this helps. 🙂