
Black Bottom Cookies
This post may contain affiliate links. As an Amazon Associate I earn from qualifying purchases. Please read my disclosure policy.

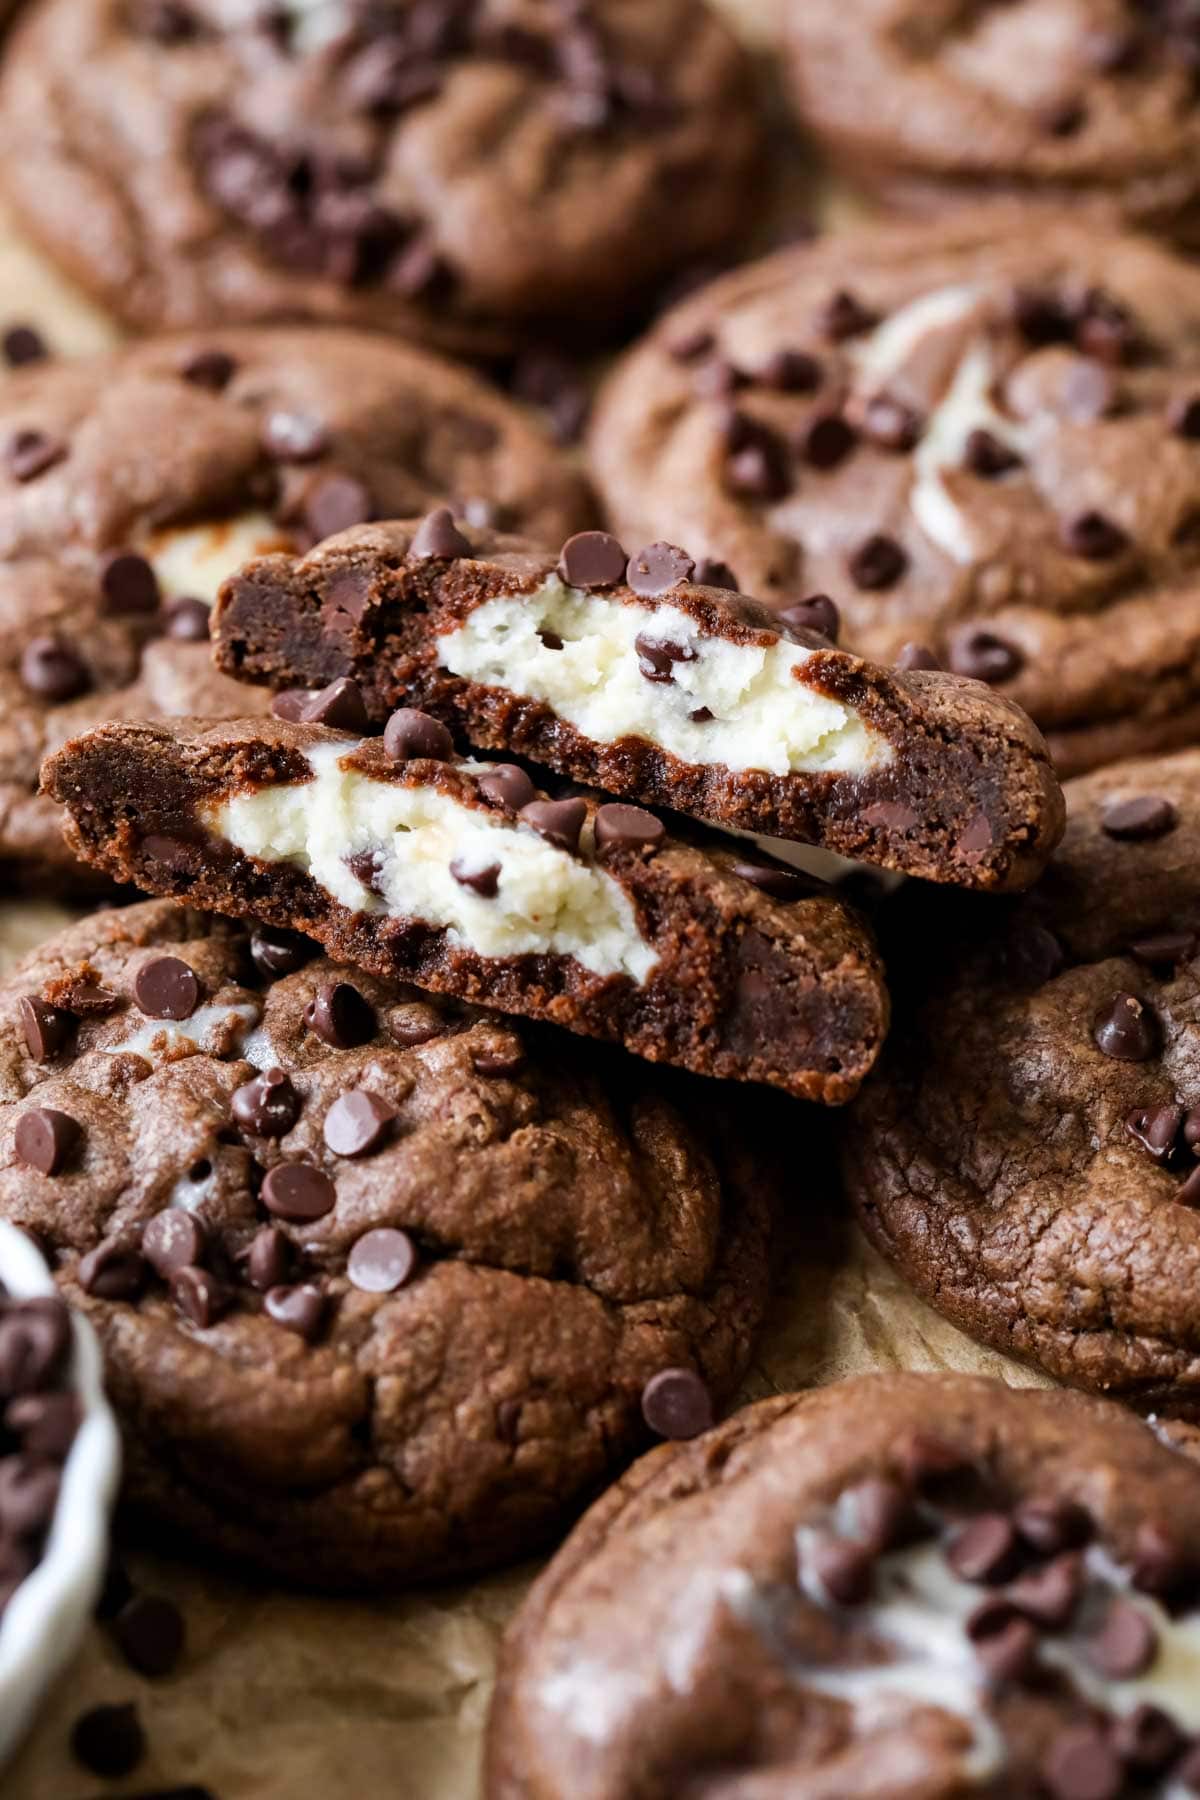
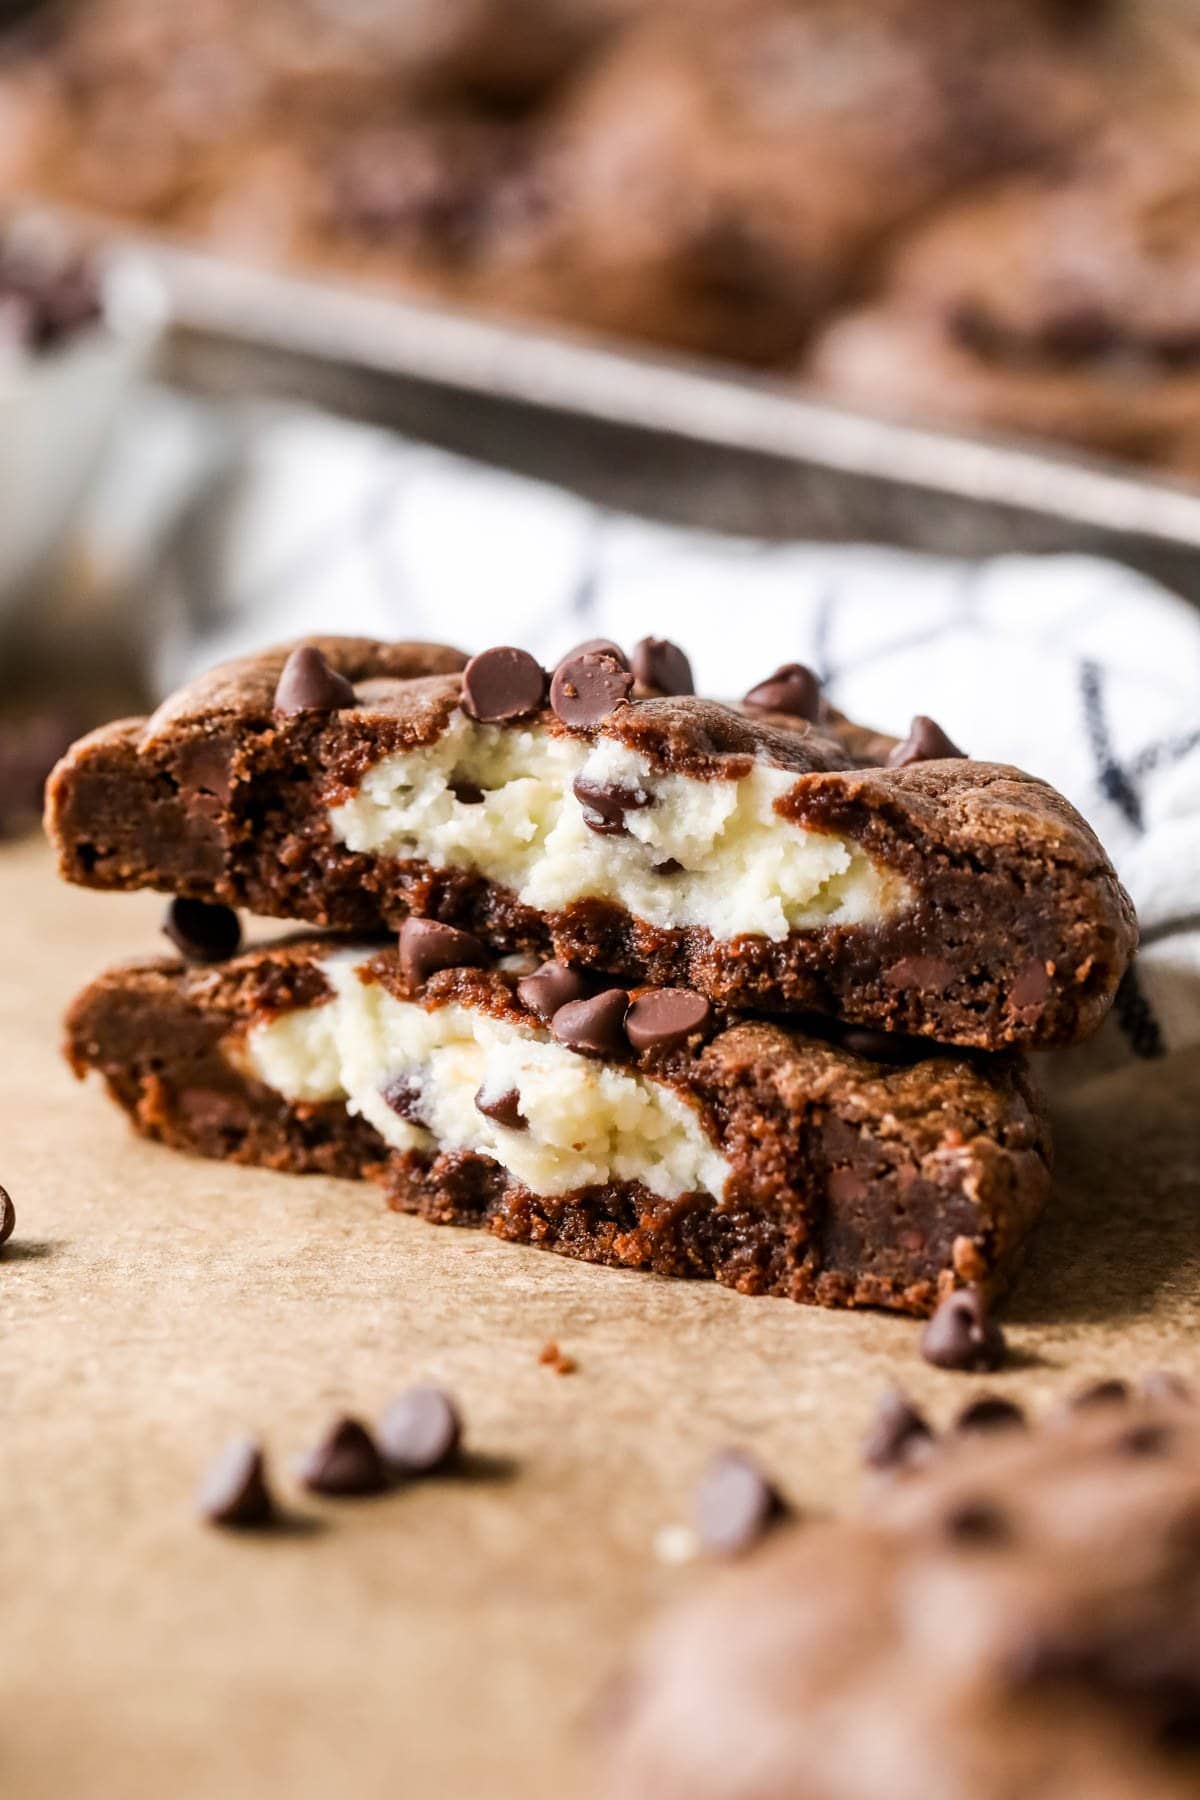
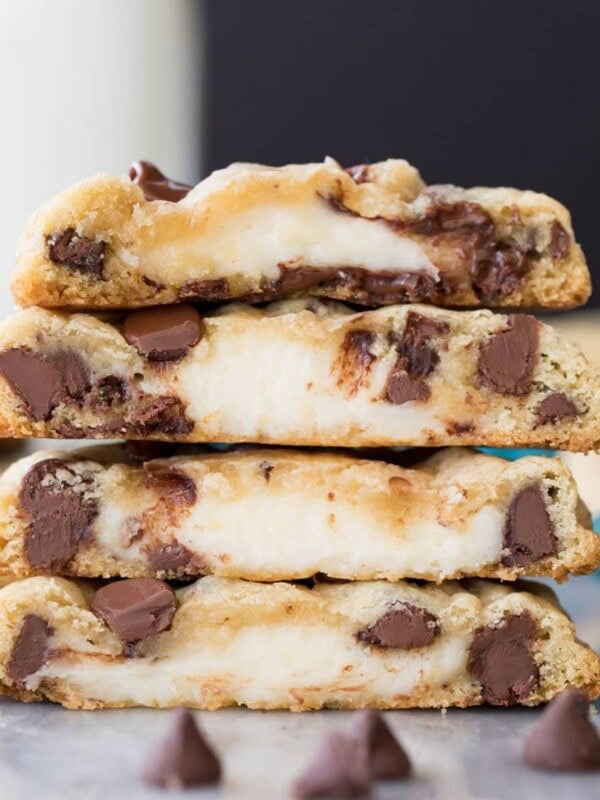
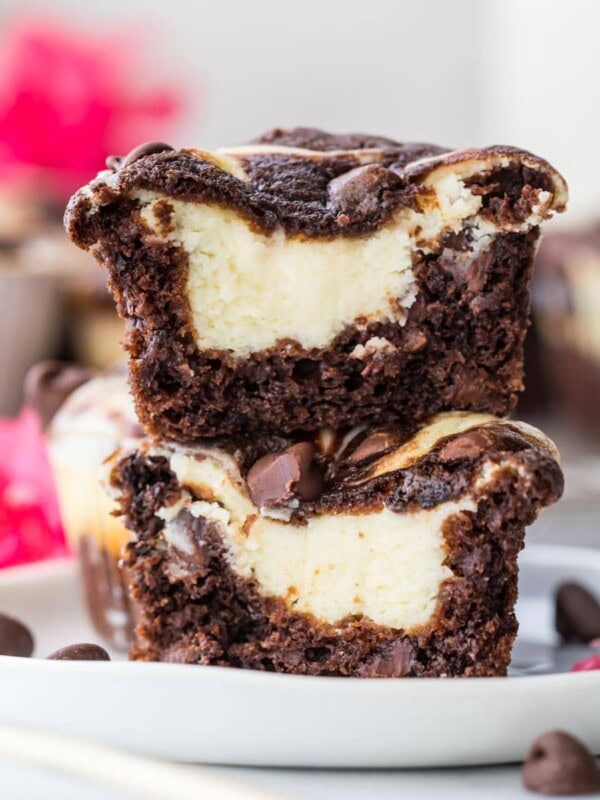
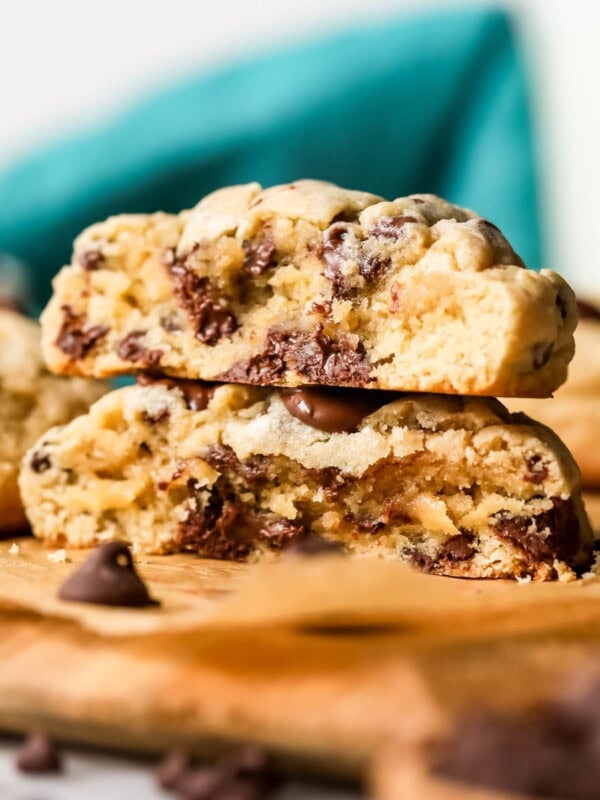
Inspired by the old-fashioned chocolate/cream cheese cupcakes, my gourmet black bottom cookies combine rich chocolate cookie dough with a chocolate chip cream cheese filling. A fun twist on the classic! Recipe includes a how-to video!
Black Bottom Cookies
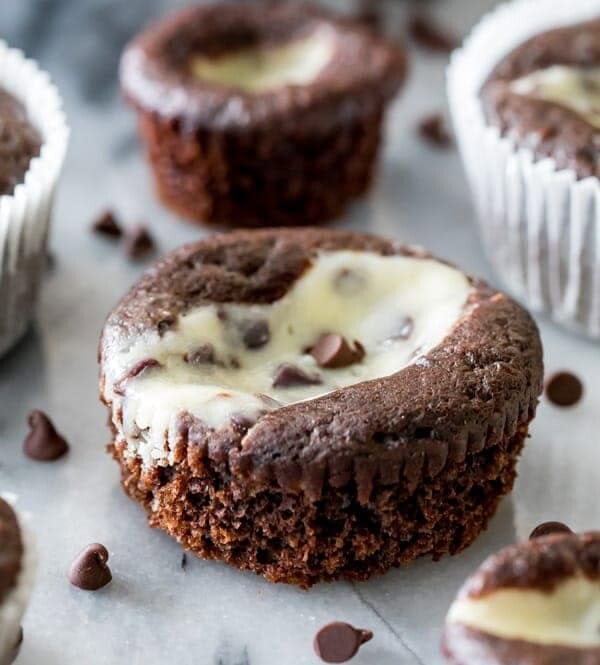
If you’re looking for a cookie that feels elevated but doesn’t require any special skills or fancy tools (you don’t even need a mixer!), my black bottom cookies are it. Inspired by my black bottom cupcakes (one of my favorites!), today’s recipe takes everything you love about that combo, and wraps it up in a soft, fudgy cookie loaded with decadent chocolate and sweet cream cheese. They’re indulgent, fun, and a little unexpected.
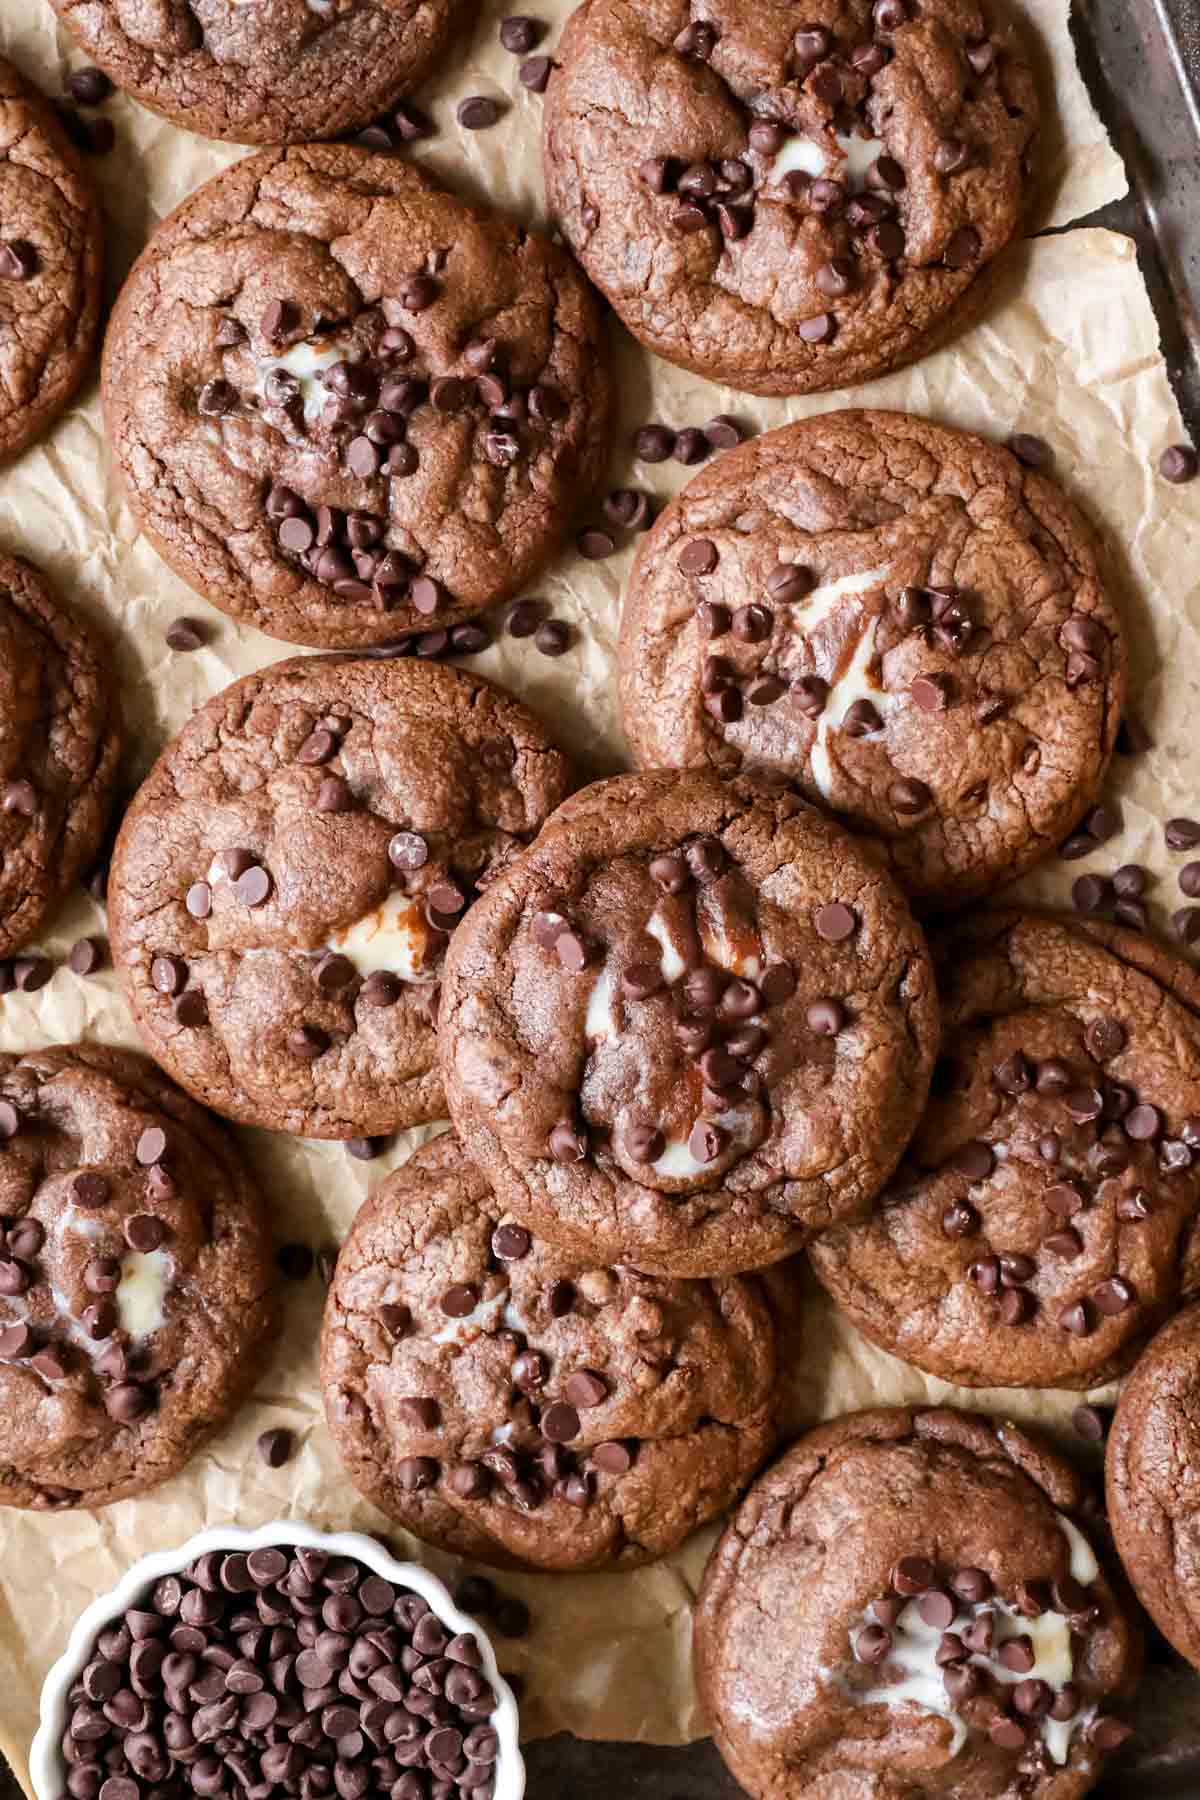
The cookie base is fudgy, rich, and full of deep chocolate flavor, thanks to cocoa, a touch of espresso, and brown sugar. There’s no mixer needed and the cookies store beautifully in the fridge, where they stay tender thanks to a few carefully selected ingredients (more on this below). Perfect for making ahead for a party or stashing for late-night cravings (be careful about the latter, or you’ll find yourself wide awake at midnight with a sugar high, thinking about nothing but eating more cookies. Ask me how I know).
These black bottom cookies are the newest addition to my gourmet cookie collection, see also my German chocolate cookies, apple pie cookies, and blueberry muffin cookies if you’re looking for more. 😉
Why You Should Drop Everything and Make These NOW:
- Recipe is carefully developed for perfection. The splash of oil and the call for cake flour? Slightly unusual but a total game changer in terms of texture. For absolutely best results, don’t skip these ingredients.
- Totally make-ahead friendly — they actually taste better cold.
- Crowd-friendly, but not basic. It’s a fun and indulgent twist that still feels familiar and comforting. I’m yet to meet anyone who didn’t go absolutely wild over them.
- People will think they’re from a gourmet cookie bakery. My sister made these (she tests a lot of recipes for me!) and sent them in to her husband’s work. Everyone loved them, and thought he’d stopped at Crumbl on his way in.
- Great for beginners and advanced bakers alike. While they’re bakery-level impressive and require a smidge of technique, they’re approachable for all skill levels (there’s not even a mixer required!). If you’re a newer baker, just check out my video tutorial in the recipe card before beginning.
Ingredients
There are a few key ingredients that you need to pay close attention to, so I’ll briefly review them below.
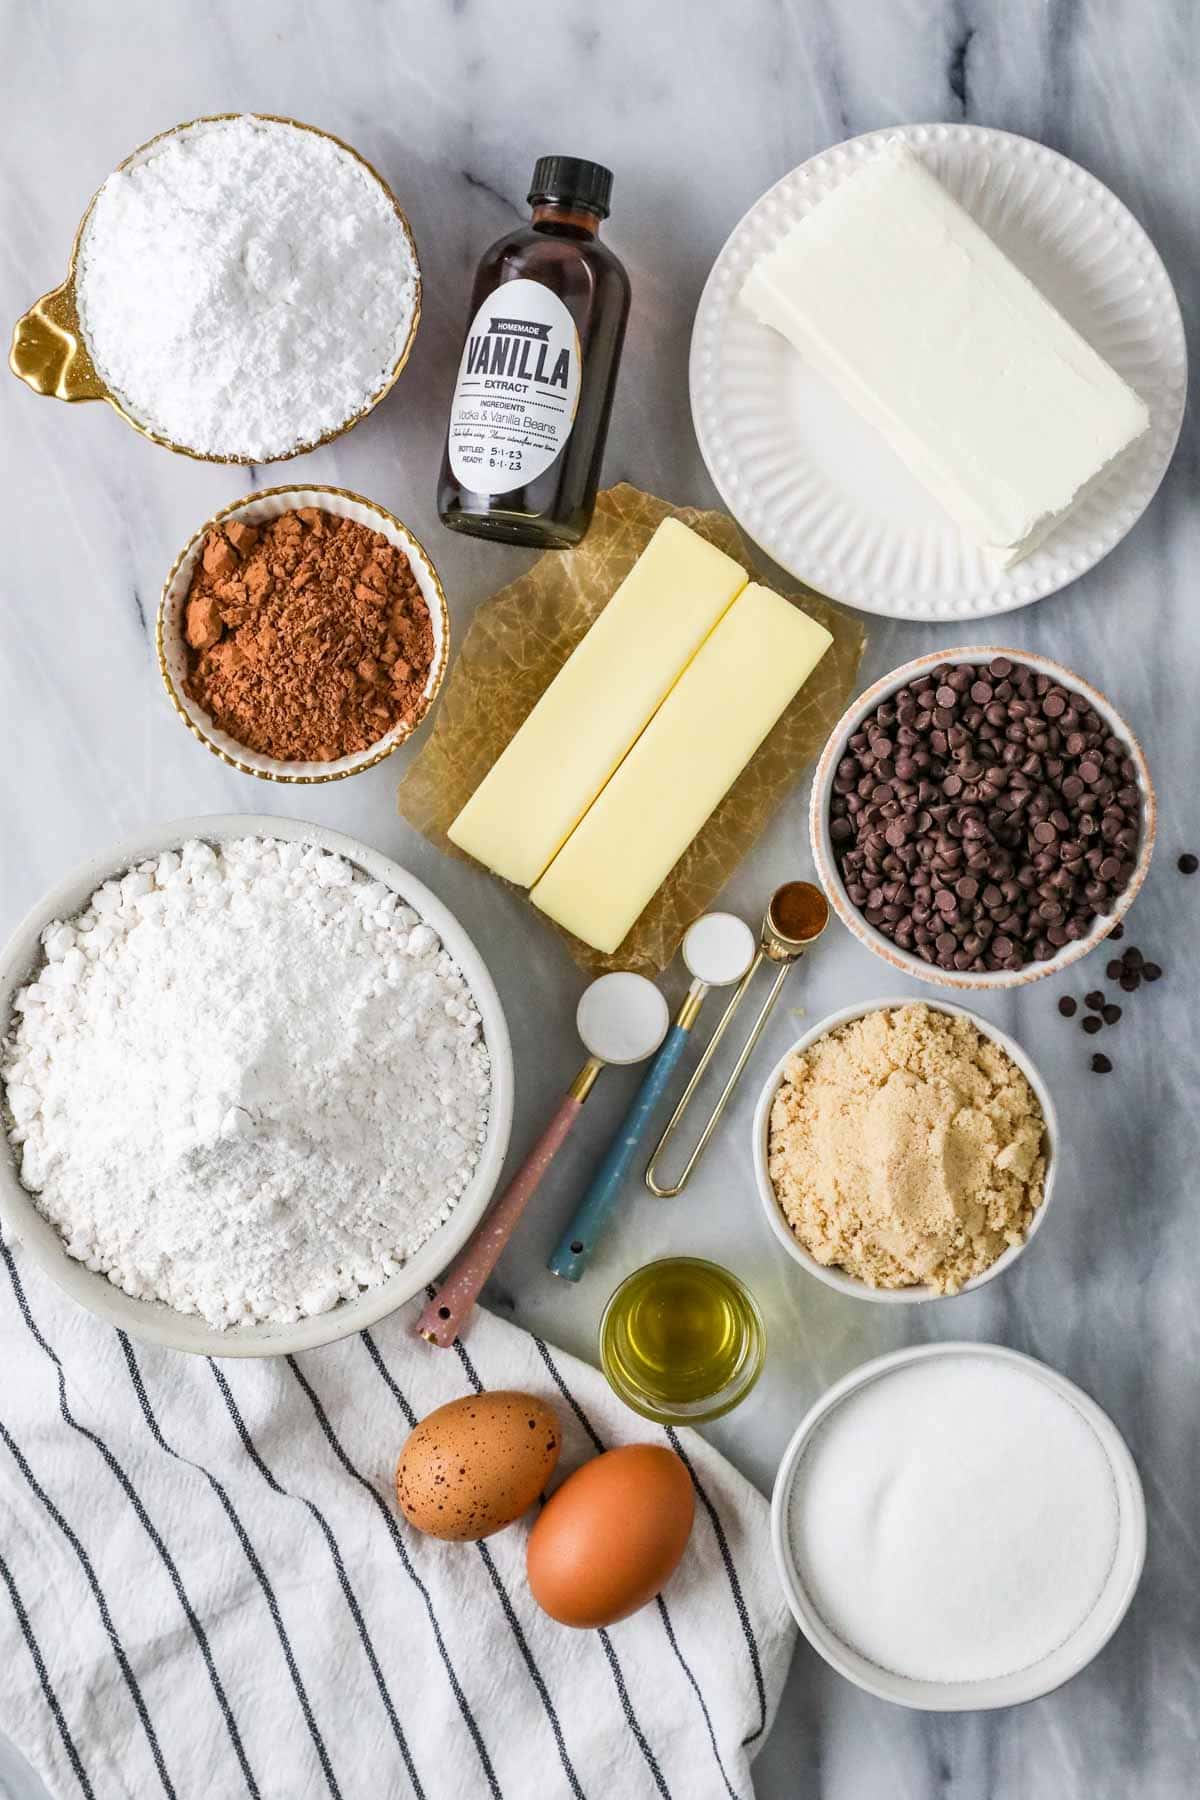
- Oil. Trust me on this one. While oil isn’t a classic cookie ingredient, it helps keep the crumb soft and tender. Since these particular cookies require refrigeration due to their cream cheese centers, it was super important to me that they stay soft and tender even after refrigeration. This is difficult to do with a purely butter-based dough, as butter solidifies in the cold and makes the cookies more dense and cold, but oil does not (at least not to the same degree). Use any neutral oil, I like avocado but canola or vegetable would also be fine. Avoid olive oil, which may impart a grassy flavor.
- Cream cheese. Full-fat, brick-style is my preference here, though you may be able to get away with the spreadable kind sold in tubs for this recipe.
- Cocoa powder. Stick with natural cocoa powder, as that’s what is traditional to the cupcakes.
- Cake flour. This gives you the most tender, softest results and is my firm recommendation. I really do not recommend all-purpose flour here at all. If you absolutely must use it, you can follow my substitution instructions in the recipe notes below; however, your cookies will not have the same texture or softness.
- Espresso powder. Optional, but this will enhance the chocolate flavor and make your cookies taste even more rich! I also use this in my French silk pie and chocolate mousse, in case you need more recipes to justify buying some 😉
- Mini chocolate chips. Do stick with mini if you can, they’re smaller and just have a better texture in the cookie.
SAM’S TIP: A cookie scoop isn’t a necessity, but it will make the job easier and give you the most consistent, uniform size for fast assembly. Use a 3 tablespoon scoop (or two scoops of a 1 ½ tablespoon scoop, like I do) for the cookie dough and 1 tablespoon scoop for filling.
Remember, this is just an overview of the ingredients I used and why. For the full recipe please scroll down to the bottom of the post!
How to Make Black Bottom Cookies
Make the filling
Make this first and scoop it, then pop it in your freezer so it has time to chill. Otherwise it won’t be possible to stuff the filling inside the cookie dough.
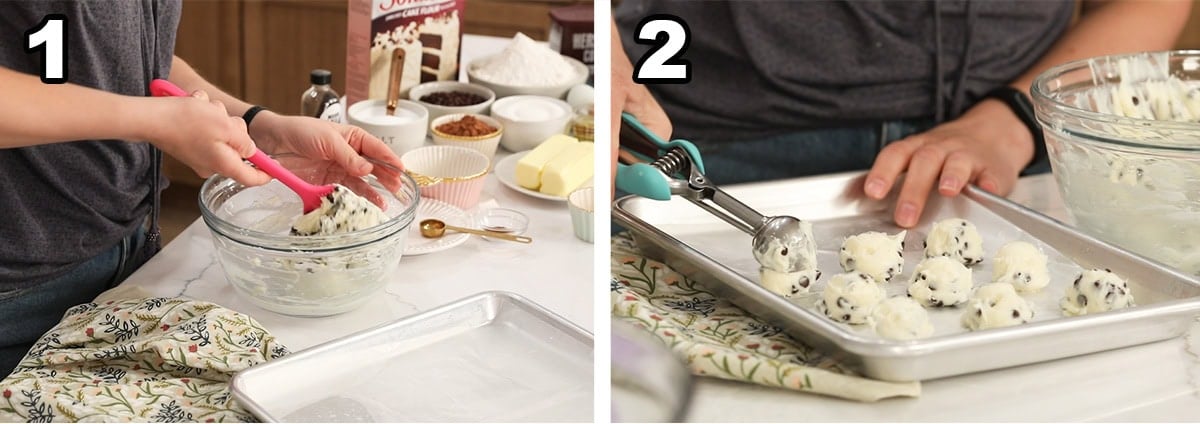
- Combine the cream cheese, sugar, and vanilla and stir until smooth, then stir in the chocolate chips.
- Drop heaping tablespoon dollops onto a parchment lined baking sheet and place in the freezer.
Make the dough
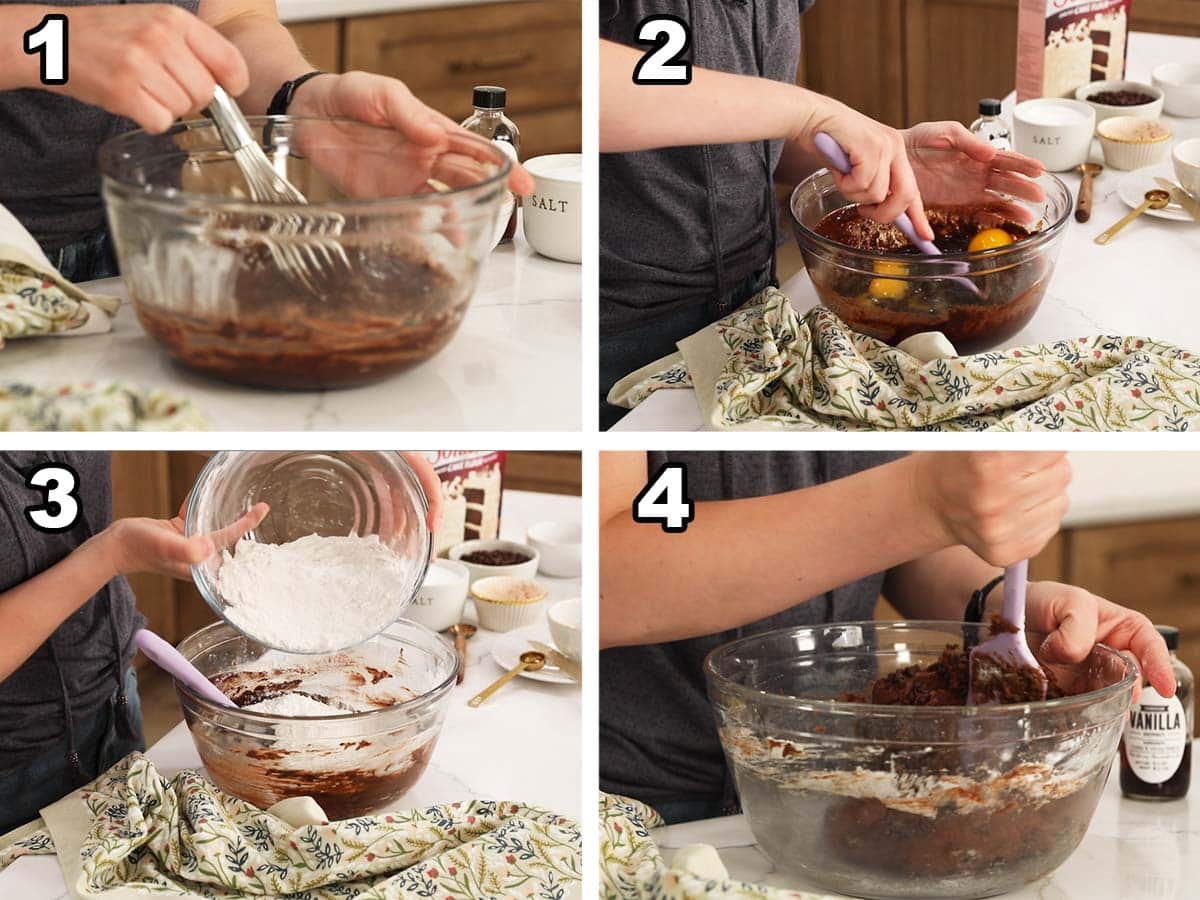
- Whisk the cocoa powder and espresso powder into the melted butter; this step blooms the cocoa and espresso to extract their flavors and intensify them even more! As a bonus, it helps cool down the butter a bit so we can move on with the cookies sooner.
- Add the oil, then let the mixture cool to the touch. Once the mixture has cooled, stir in the eggs and vanilla.
- Combine the dry ingredients in a separate bowl, then gradually stir them into the butter/egg mixture.
- Fold in the chocolate chips until evenly incorporated.
Assemble
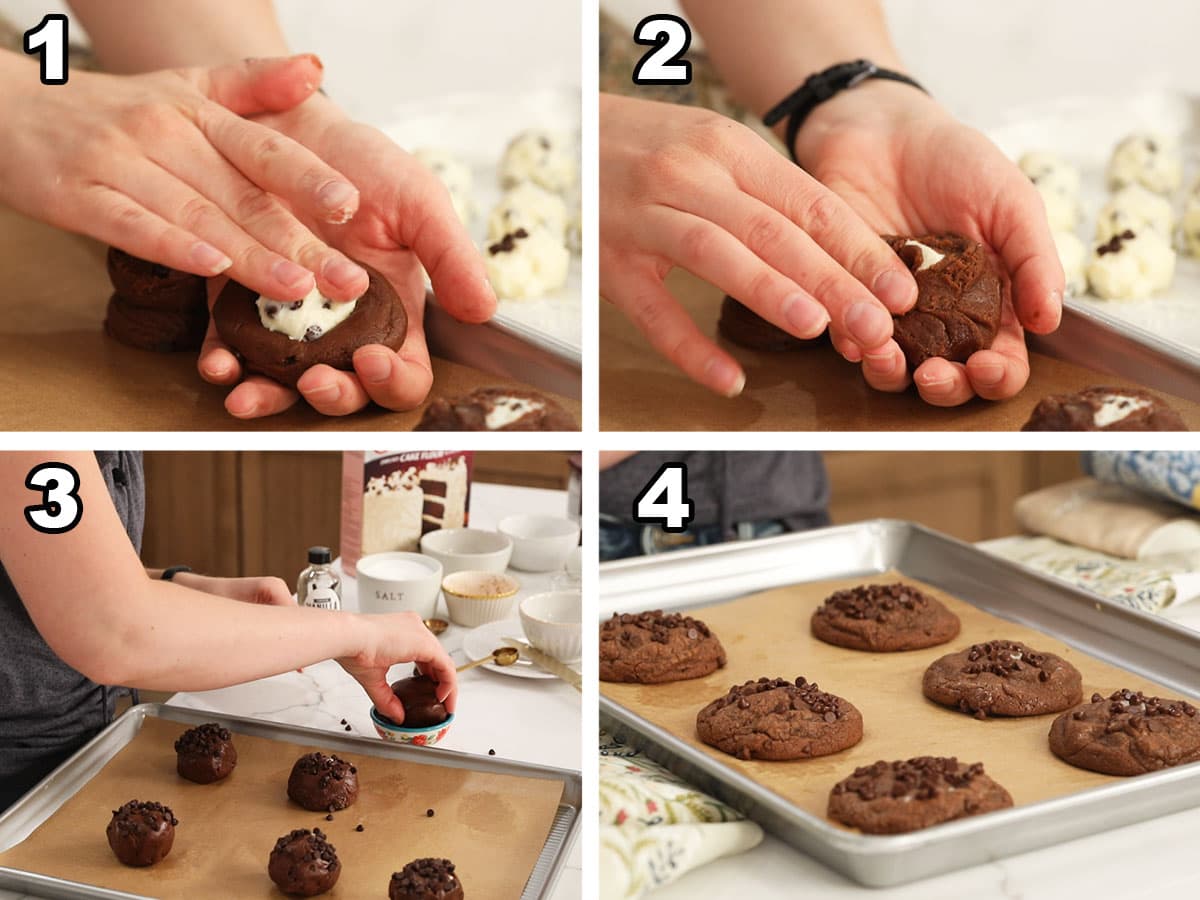
- Roll a 3 tablespoon scoop of dough between your palms, then make an indentation in the center with your thumb. Press one of your filling dollops into the indentation.
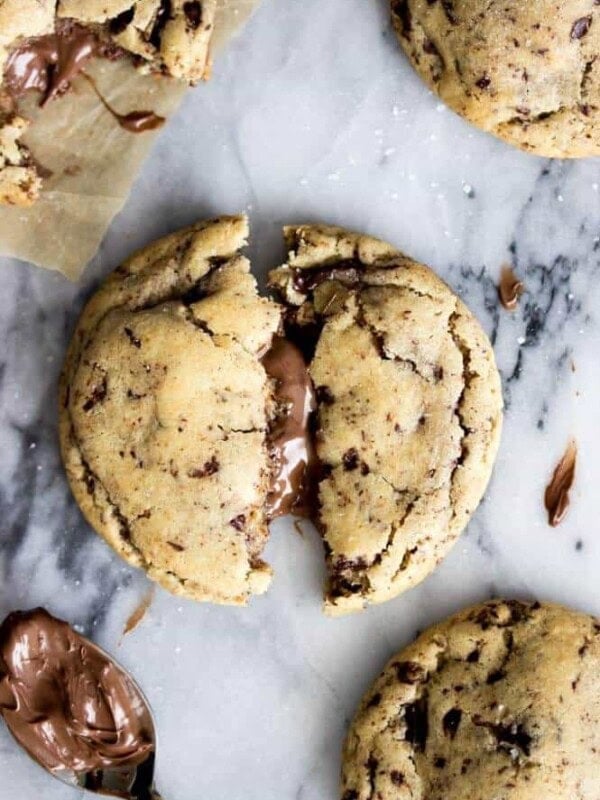
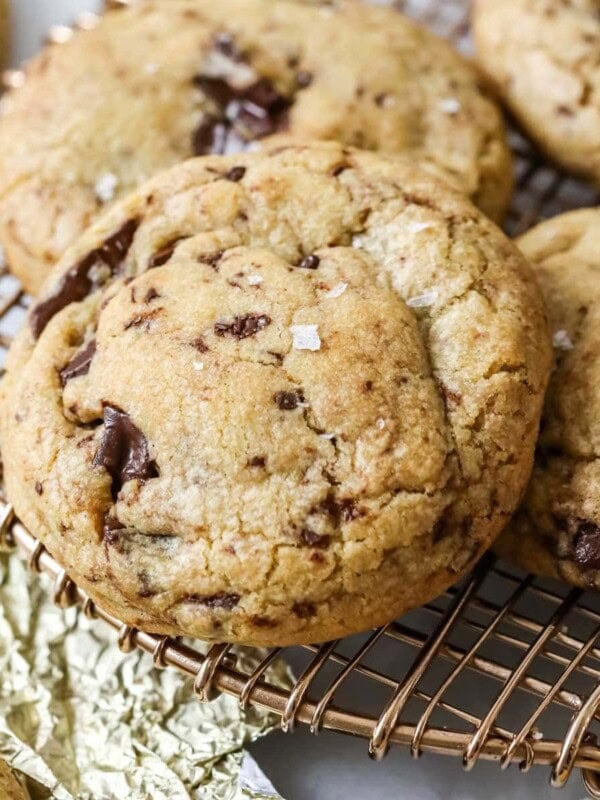
- Conceal the filling by molding the dough around the dollop; I like to add a “sneak peek” of what’s inside by swirling a bit of the cream cheese into the top (I just pinch and twist the top so some of the cream cheese is exposed), but this is optional.
- Repeat with the remaining dough and filling, then arrange your cookies onto your baking sheets. Top each cookie with additional chocolate chips and bake for 10 minutes.
- Let the cookies cool completely on the baking sheet. This allows them to finish cooking outside the oven and prevents you from ruining them during transfer, as they are so fragile when warm.
SAM’S TIP: Under-baking and cooling completely are critical for the proper texture here. If they’re not a tad under-baked, the cookies will be tough and dry after baking (after cooling, anyway).
Frequently Asked Questions
Yes! You will need to store these cookies in the fridge because of their cream cheese filling. While you may be worried about drying out the cookies in the fridge (a valid concern!), remember we’ve safeguarded against this by incorporating oil into the dough. This will keep them perfectly soft and tender, even after a stint in the fridge.
Still, be sure to store them in an airtight container to prevent them from absorbing any odors and to further protect their texture while in the fridge. You can also individually wrap each of them in plastic.
I modeled these cookies after traditional black bottom cupcakes, which feature a rich and moist dark chocolate cake base swirled with cream cheese and chocolate chips.
Yes! I actually recommend freezing after filling. You will want to wrap each dough ball individually in plastic wrap and store in an airtight, freezer-safe container. They will keep this way for up to 6 months. When ready to bake, you can thaw them overnight in the fridge or bake straight from the freezer (though they will likely take a bit longer when baked from frozen).
I talk more about how to freeze ANY type of cookie dough in my post on how to freeze cookie dough. Check it out if you like to keep a stock of cookie dough in your freezer!

Keep scrolling for more chocolatey cream cheese favorites!
Enjoy!
Let’s bake together! Subscribe to my newsletter to be notified of all the newest recipes, and find my free recipe tutorials on YouTube 💜

Black Bottom Cookies
Ingredients
Cream Cheese Filling
- 8 oz (226 g) cream cheese, softened
- 1 cup (125 g) powdered sugar
- 1 teaspoon vanilla extract
- ⅓ cup (60 g) mini chocolate chips
Chocolate Cookie Dough
- 1 cup (226 g) unsalted butter, cut into pieces
- ½ cup (50 g) natural cocoa powder
- Pinch of espresso powder, (optional but recommended)
- 2 Tablespoons avocado oil, (or canola/vegetable oil)
- 1 cup (200 g) granulated sugar
- ⅔ cup (133 g) light brown sugar, firmly packed
- 2 large eggs, room temperature preferred
- 1 ½ teaspoons vanilla extract
- 3 ½ cups (395 g) cake flour, (see note)
- 1 teaspoon baking soda
- ½ teaspoon baking powder
- 1 teaspoon table salt
- ¾ cup (135 g) mini chocolate chips
- ¼ (45 g) mini chocolate chips for topping cookies, optional
Instructions
- Preheat oven to 350F (175C) and line several baking sheets with parchment paper. Set aside.
Make the filling
- In a medium-sized mixing bowl, stir together cream cheese, powdered sugar, and vanilla extract until smooth and lump free. Fold in mini chocolate chips.8 oz (226 g) cream cheese, 1 cup (125 g) powdered sugar, 1 teaspoon vanilla extract, ⅓ cup (60 g) mini chocolate chips
- Scoop dough into heaping 1-Tablespoon portions (18g), you should have 20 portions (sometimes I get an extra, that’s OK!). Place on a parchment lined baing sheet and transfer to the freezer while you prepare your cookie dough.
Make the cookie dough
- Melt butter in a large, microwave-safe bowl. Add cocoa powder and espresso powder (if using) and whisk until smooth.1 cup (226 g) unsalted butter, ½ cup (50 g) natural cocoa powder, Pinch of espresso powder
- Add oil and whisk again. If the mixture is still warm, allow it to cool until no longer warm to the touch before proceeding.2 Tablespoons avocado oil
- Once no longer warm to the touch, add sugars and stir until well-combined.1 cup (200 g) granulated sugar, ⅔ cup (133 g) light brown sugar
- Add eggs and vanilla extract and stir well.2 large eggs, 1 ½ teaspoons vanilla extract
- In a separate, medium-sized mixing bowl, whisk together cake flour, baking soda, baking power, and salt.3 ½ cups (395 g) cake flour, 1 teaspoon baking soda, ½ teaspoon baking powder, 1 teaspoon table salt
- Gradually add dry ingredients to wet, stirring until just combined.
- Add mini chocolate chips and stir until well distributed through the dough.¾ cup (135 g) mini chocolate chips
Assemble cookies
- Scoop dough into 3 Tablespoon-sized scoops (67g). Roll into a ball and use your thumb to form an indent to the center of the dough. Remove a frozen cream cheese dollop from the freezer and gently press into the center of the dough. Fold the dough around the cream cheese to conceal it (if desired, pinch a bit of the cream cheese mixture through the dough and twist to reveal a bit of the cream cheese filling – I also demonstrate this in my video). The dough will be soft but manageable, if it’s too sticky to work with, just cover it and chill for 15 minutes or until workable.
- Dip or sprinkle the top of each cookie with additional mini chocolate chips, if desired.¼ (45 g) mini chocolate chips for topping cookies
- Transfer cookie dough balls to parchment paper lined baking sheet, spacing 2” (5cm) apart (I usually bake 6 cookies to a standard-sized cookie sheet).
- Transfer to center rack of 350F (175C) oven and bake for 10 minutes.
- After baking, allow cookies to cool completely on baking sheet before removing (they will be very fragile when warm!). Once cooled completely , refrigerate in an airtight container.
Notes
Flour
Cake flour is, tried-&-tested, hands-down going to give you the best results. If you must substitute, expect the cookies won’t be as soft and tender. You would use 3 cups + 2 Tablespoons of all-purpose flour (395 grams). Most cake flour substitutes don’t work well here unless you actually weigh the flour after preparing it, otherwise your dough will be too dry.Storing
Keep at room temperature for several hours, but beyond this refrigerate the cookies in an airtight container for up to 5 days. These cookies are actually excellent cold and designed to be enjoyable when eaten this way (that avocado oil helps them stay soft, even cold!). If you prefer yours to not be cold, simply remove the number of cookies you’ll be enjoying from the fridge and let them come to room temperature before enjoying – doesn’t take long (about 15 minutes).Nutrition
Nutrition information is automatically calculated, so should only be used as an approximation.
Like this? Leave a comment below!


Amazing and super soft
Another amazing recipe! I might actually prefer these without the cheesecake, the chocolate cookie base is just so amazingly good all by itself! And as per a friend’s request I am going to try to make a chocolate-espresso cookie using this base. Thank you for always making the best most infallible recipes on the internet!
You’re welcome, Burkuagh! Thank you so much for trusting my recipes! I’m so glad you’ve enjoyed them so much! 🙂
I have an almost full can of Guittard Red Dutch process cocoa powder could I use that or is it best to use the plain cocoa powder?
Hi Kathleen! If it’s all I had I would use it, but the more traditional, and personally I think better, taste comes from using the natural cocoa powder. 🙂
I made these for the first time. These cookies are the best. Kids loved them and my co-workers loved them.
I’m so glad they were such a hit, Lori! 🙂
Once baked, can these be frozen? Thanks. Dorothy
Sure thing! 🙂
Perfect. Thanks
We loved these!
Now the family wants a Red Velvet Cake version of them.
🙂
Oh THAT’S a good idea! Adding it to my list! So glad everyone enjoyed the cookies, Micki!
That looks like some super high quality vanilla that you’re using! 😁 One day soon, I’m going to use your technique and make my own vanilla. I’ve never cooked with the real thing, so that should be interesting.
Homemade vanilla is so good! 🙂
if I use the dough base but skip the cream cheese and made a blake bottom cookie no cream cheese can that stor at room temp for longer!
Without the cream cheese filling they can be stored at room temperature for 3-5 days in an air tight container. 🙂
These are my family’s new favorite cookie! They are the most delicious cookies I have ever made! 10/10!!!
I’m so glad they are such a hit! 🙂
These are the best cookies I’ve ever made. I may need to start keeping mini chocolate chips and cream cheese on hand.
I’m so glad you enjoyed them so much, Katy! 🙂
These look to absolutely die for!!!! Thanks for developing this recipe from the cupcake one.
I’m so glad you enjoyed them so much, Janet! 🙂
I love your recipes and have many. Question ..can I make them just a little smaller (filling too). Maybe use 2 tablespoons as opposed to three?
Yes that’s totally fine, just be sure to bake them for less time, too. I hope you love them, Marianne!
These sound delicious. Can they be frozen?
Hi Laura! These should freeze just fine. 🙂