Pecan Tassies (Mini Pecan Pies)

This post may contain affiliate links. As an Amazon Associate I earn from qualifying purchases. Please read my disclosure policy.
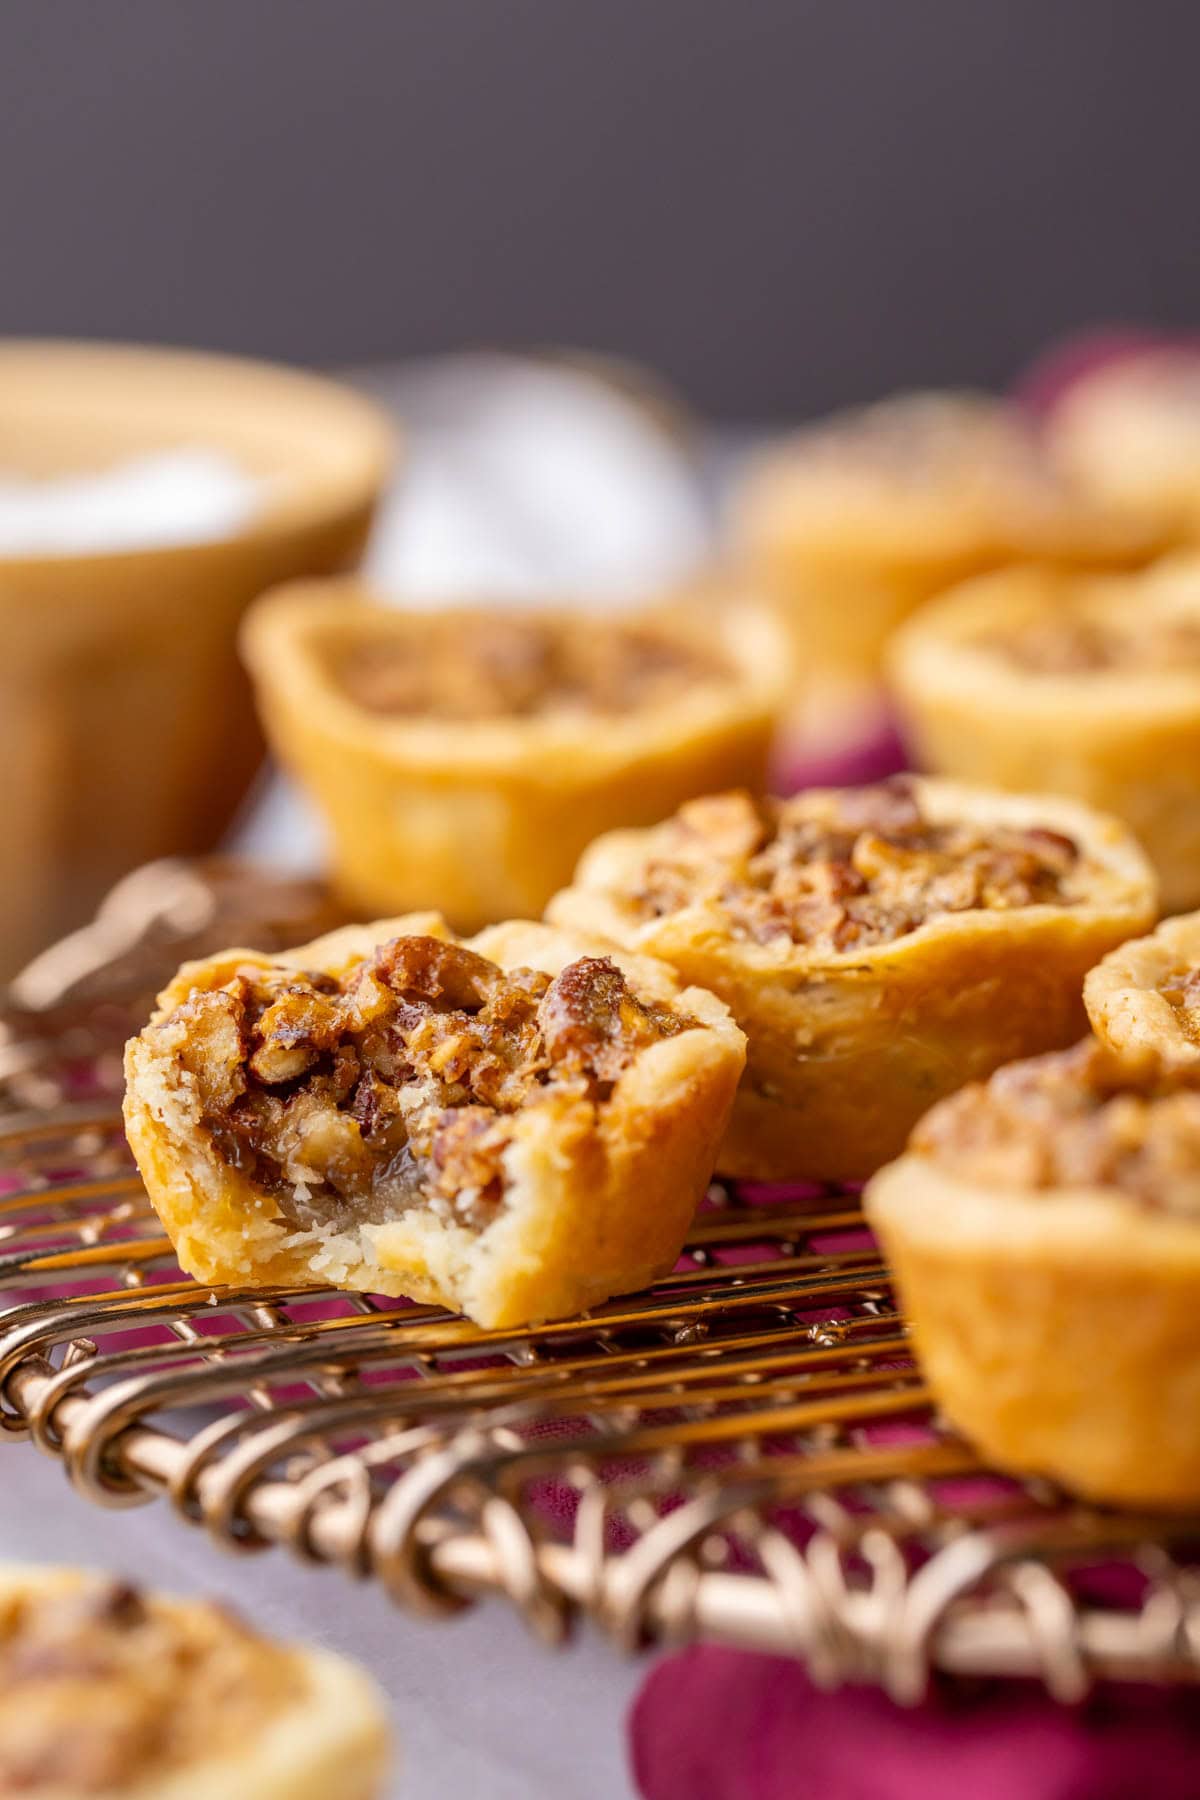
These homemade, party-ready pecan tassies (aka mini pecan pies!) have buttery tender cream cheese crusts and rich, slightly gooey pecan fillings. They’re perfect for holiday parties or cookie trays, and can be made with or without corn syrup! Recipe includes a how-to video!
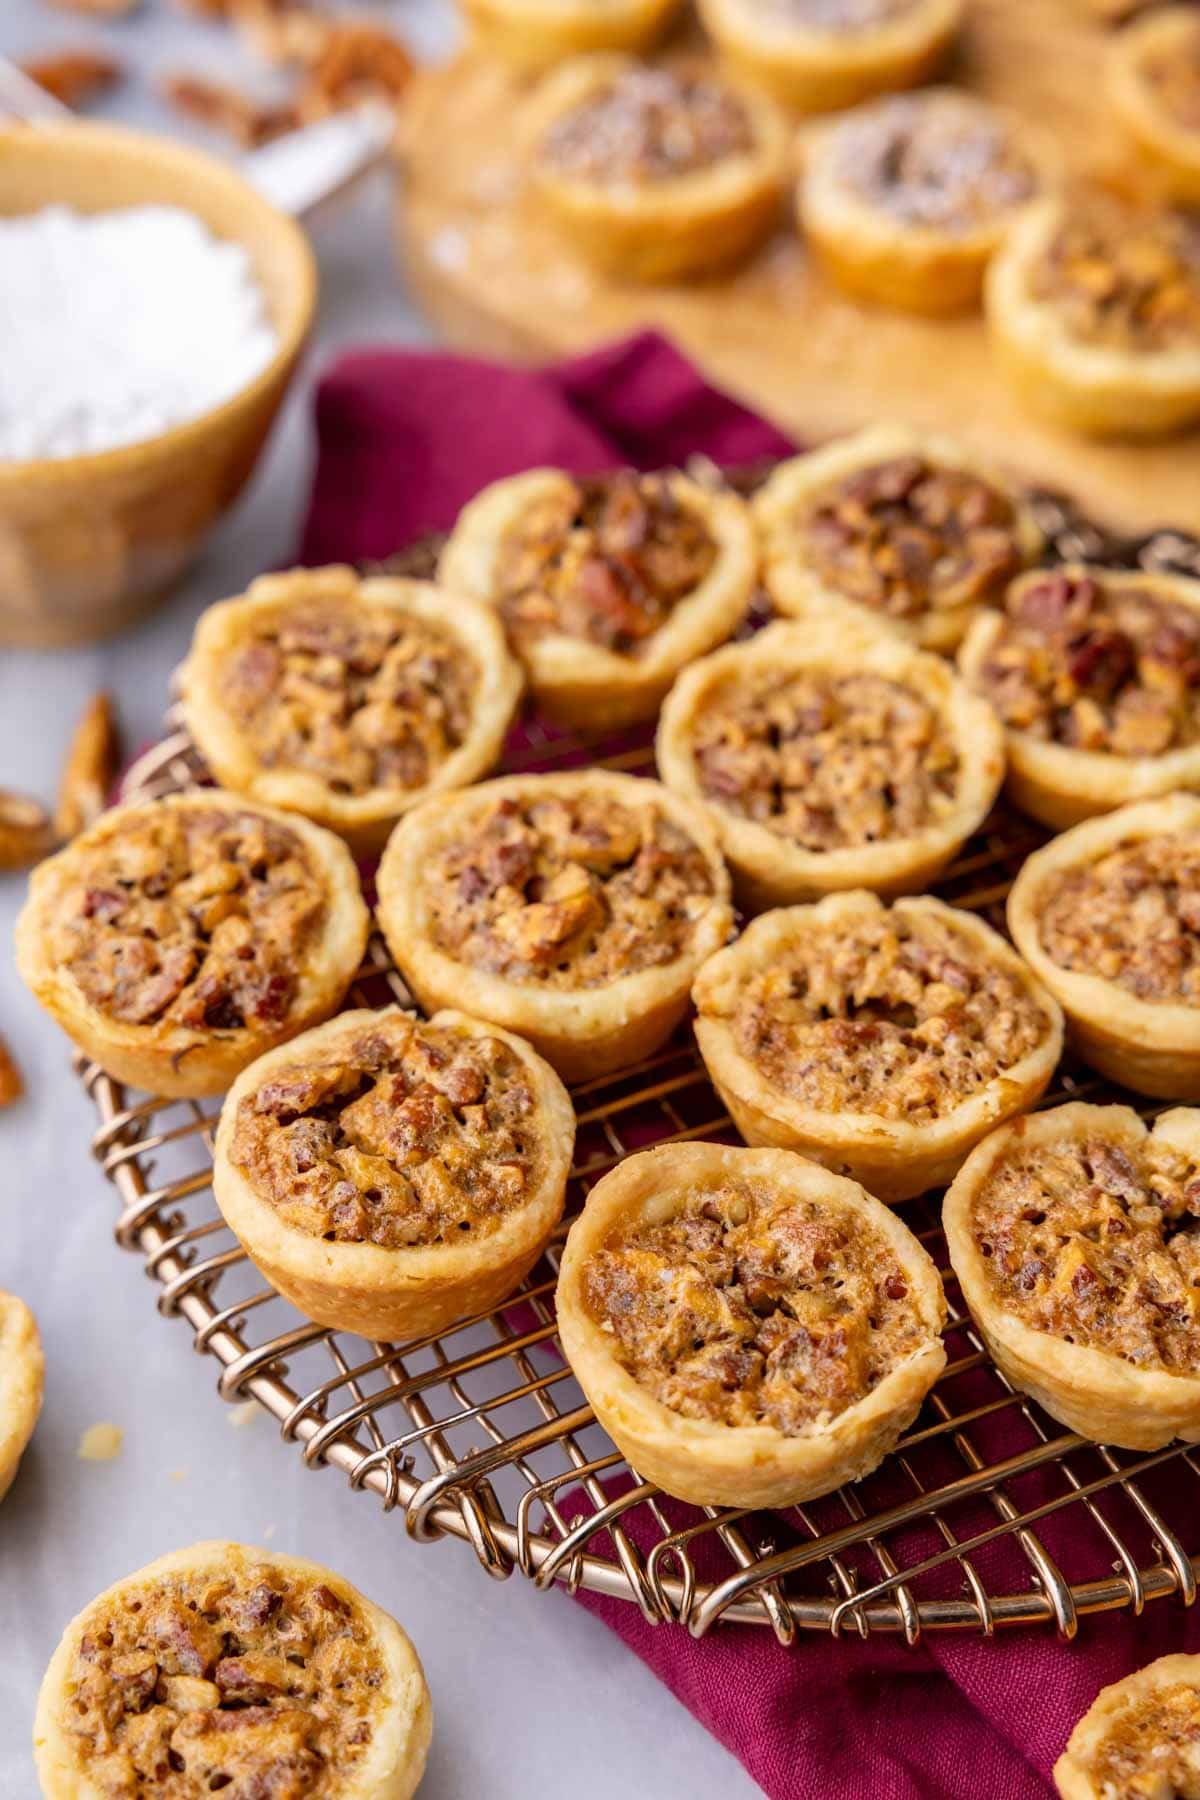
A Perfected Pecan Tassies Recipe
Not to be confused with my pecan pie cookies, pecan tassies are essentially mini pecan pies. They have a rich, sweet, nutty filling baked inside a buttery, tender pastry crust. Unlike my traditional pecan pie, my pecan tassies recipe has a smidge of cream cheese in the crust, which I love (and is reminiscent of my favorite pie crust recipe).
This recipe was inspired by an old “teatime tassie” recipe I found in my late grandmother’s cookbook, but I’ve spent quite a bit of time testing and tweaking it to perfection. These will absolutely be making an appearance at my Thanksgiving dinner this year!
Why This Recipe WORKS
- Party ready! Bite-sized and easy to serve to a crowd with no slicing or chilling needed. They are well-loved all year but especially popular as a Thanksgiving dessert or Christmas dessert.
- Extensively tested. We went through many versions of this recipe, testing different crusts and filling ingredients and ratios until we found what worked best. I talk more about this further down in the post.
- Buttery, flavorful crust, thanks to a small amount of cream cheese. The crusts are crisp but tender and the perfect complement to the sweeter filling.
- Easily doubles. Both the filling and crust recipe double well. Note: I’ve only tested this recipe in a mini muffin pan and can’t say how it would work in a regular muffin pan.
Recipe Testing: Behind-the-Scenes
In addition to testing variations with the crust (like adding sugar, that was a no-go) and with the filling (and toasted vs. untoasted pecans), the biggest thing we trialed was the addition of corn syrup.
Some recipes add it, some don’t, and I know some people prefer not to use it. I wanted to know if adding it really made a difference, so we tested a version with nothing (no corn syrup or substitute at all), with maple syrup, with light corn syrup, and with dark corn syrup.
Here are the results!
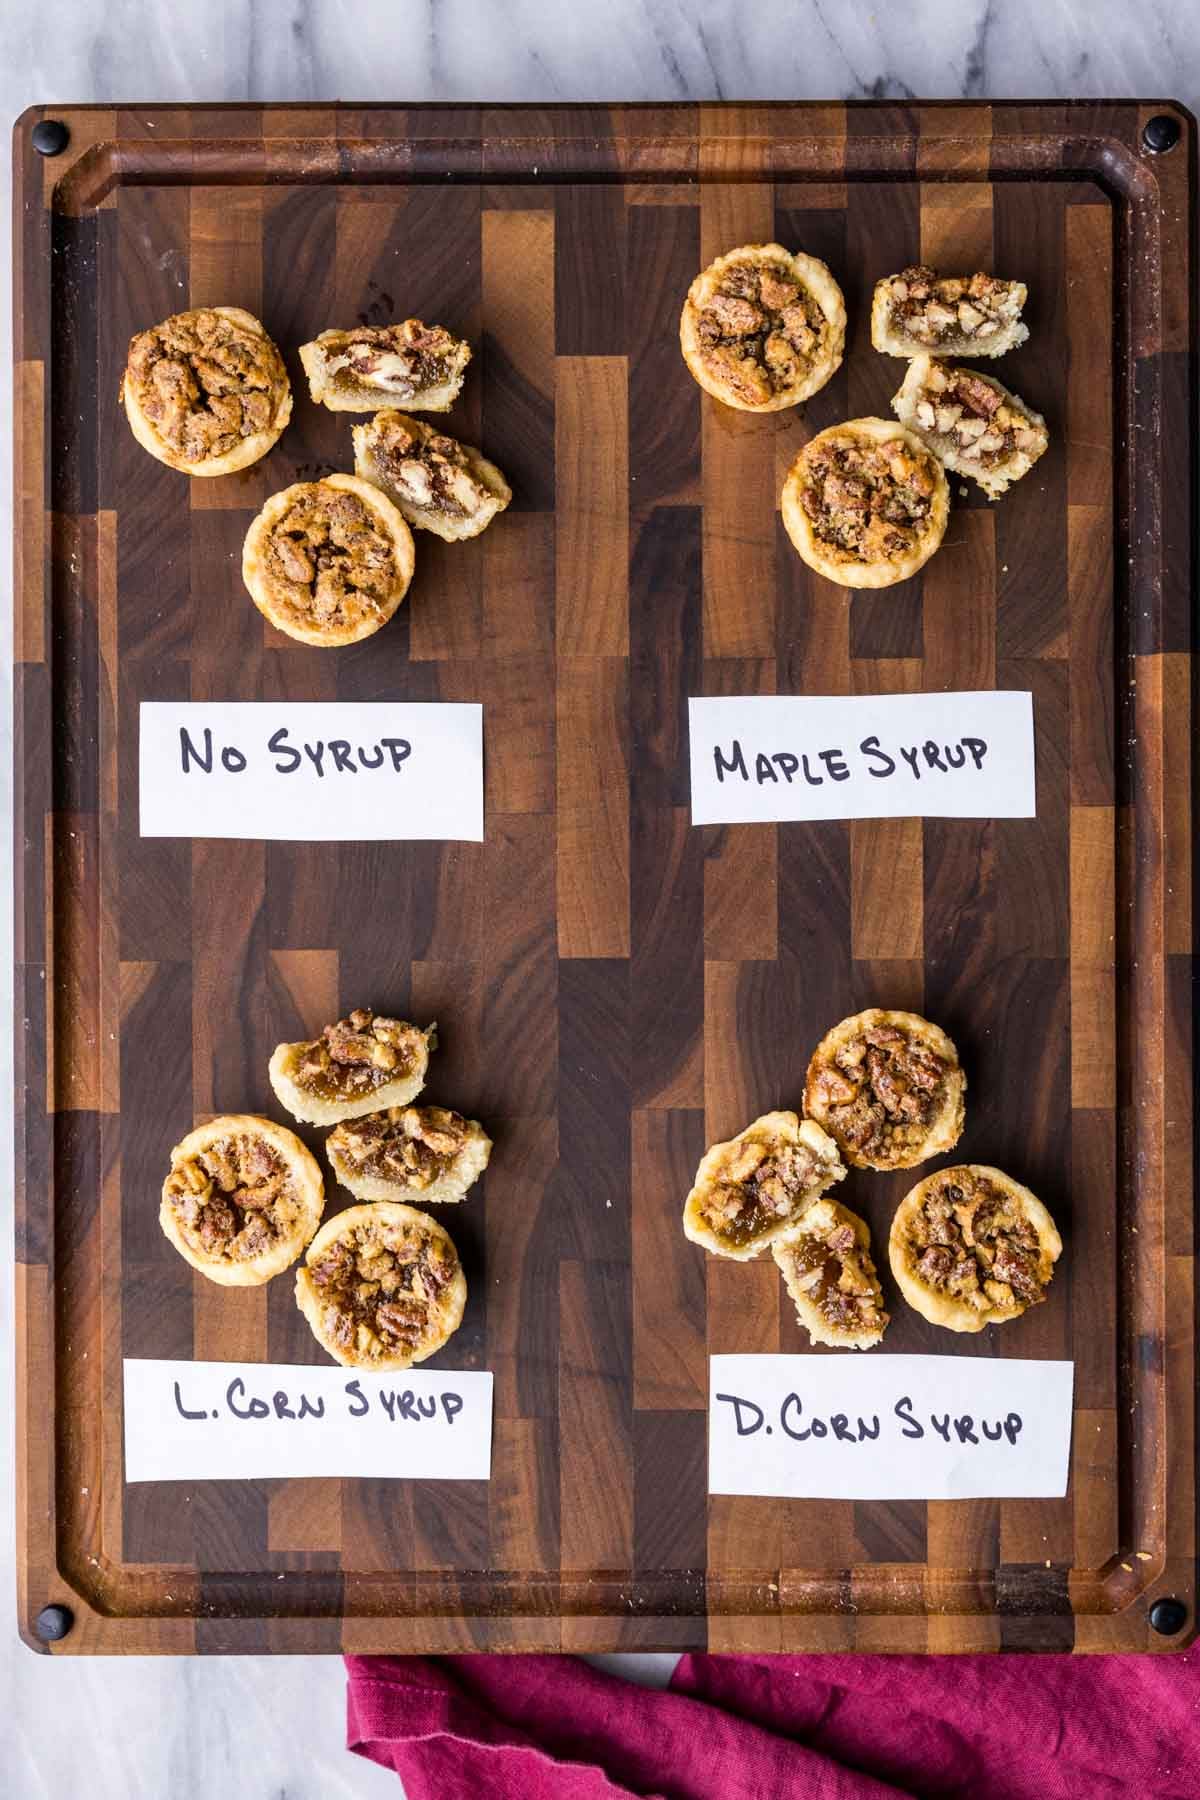
- Plain: Excellent and we all enjoyed it a lot, though the next day the sugar crystallizes slightly. This was barely noticeable and kind of like eating candied pecans, so still very tasty.
- Maple syrup: The crust was a bit softer, likely due to the wetter filling (maple syrup was the most watery of the add-ins). This was the sweetest of the bunch and was good, but not my favorite.
- Light corn syrup: The most underwhelming of the group with the least flavor.
- Dark corn syrup: The winner! This was the most liked filling with a slight edge over the plain version. It made the filling more fudgy in texture, had a good depth of flavor, and less crystallization. The main reason this edged out as the winner was because this ingredient addition most made the tassie taste like a true mini pecan pie.
Although we had a clear winner, I want to stress that this pecan tassies recipe still turns out quite well without any corn syrup at all and my grandmother’s recipe didn’t use it! I hope this is helpful for those of you who prefer to bake without this ingredient.
Ingredients
One thing I really love about this recipe is that the ingredients are so… basic, despite the results being truly extraordinary. Let’s talk about them…
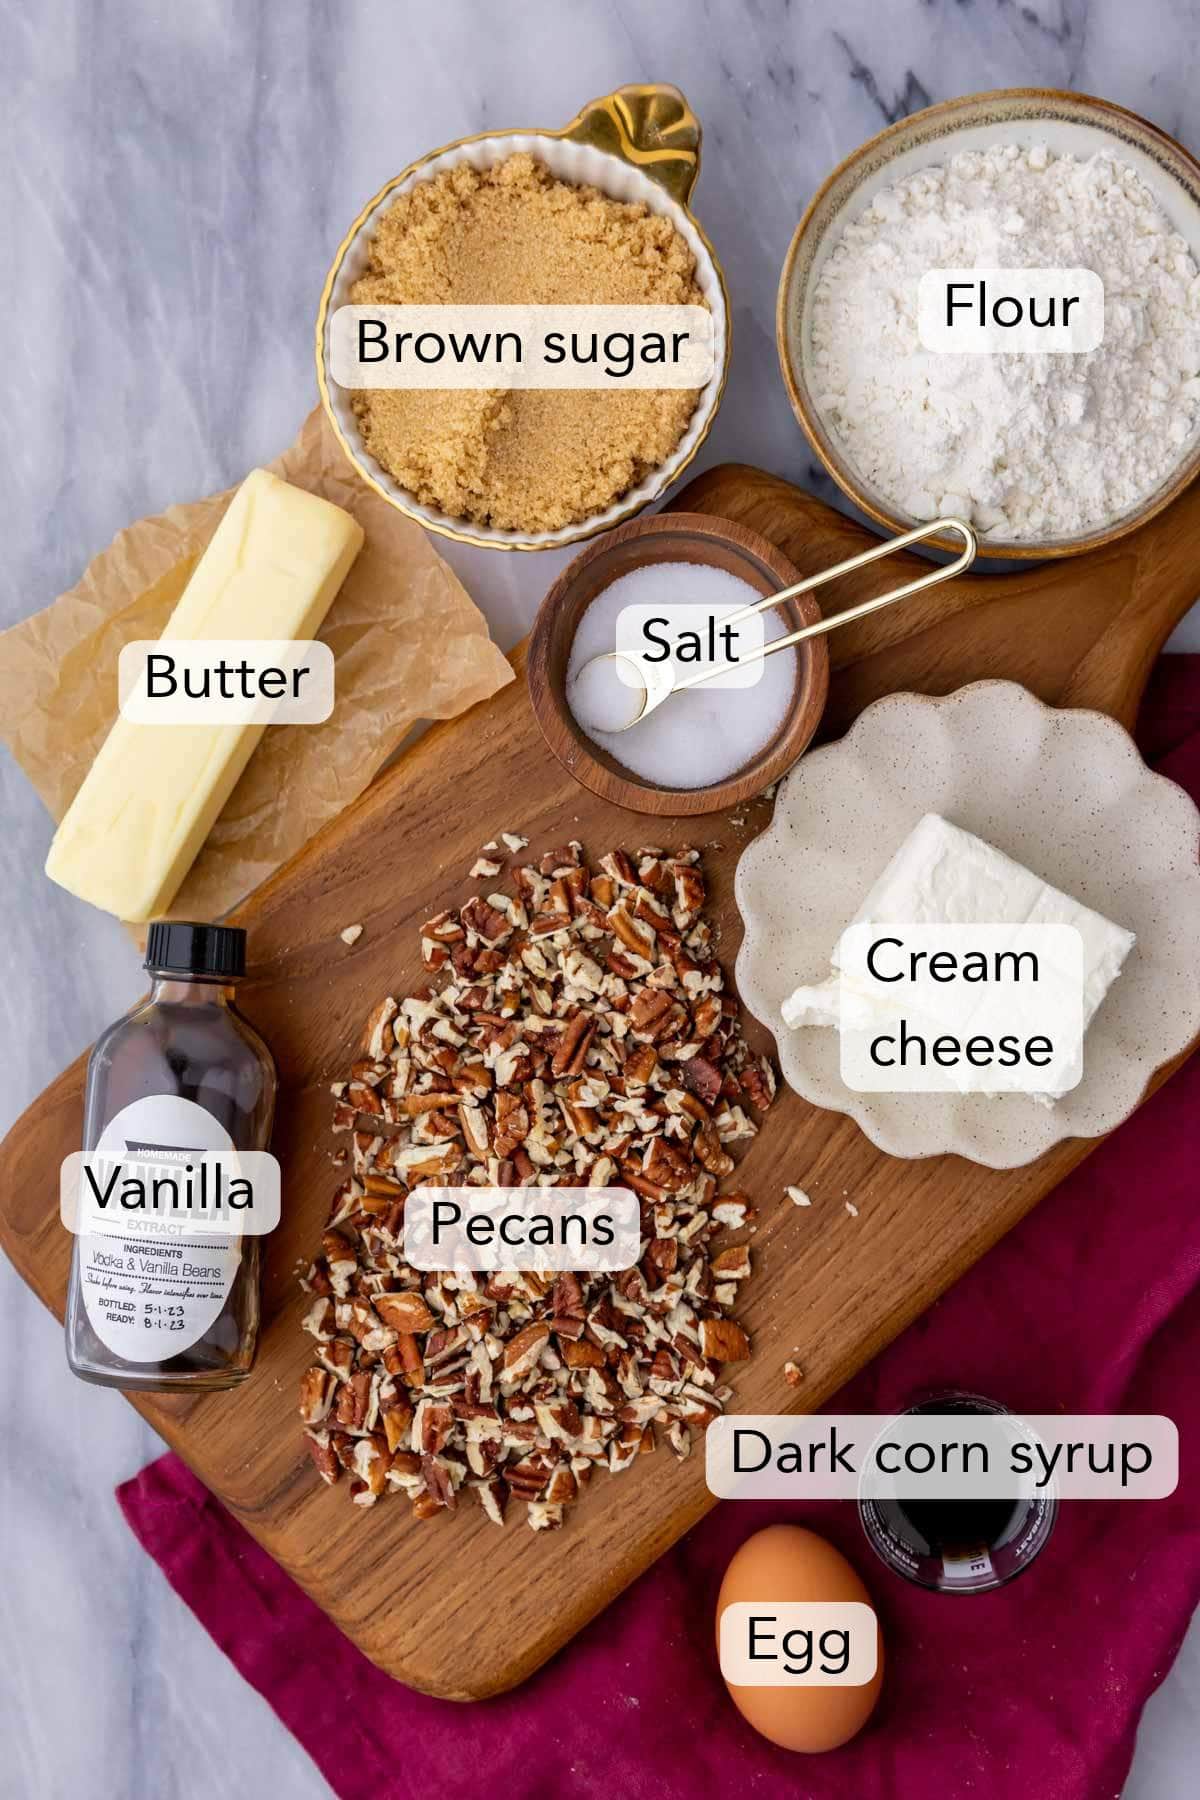
- Pecans. I recommend using toasted pecans for the best flavor, but pecans straight out of the bag will work just fine. If you haven’t toasted nuts before, I have a tutorial on how to toast pecans that will walk you through the easy process.
- Dark corn syrup. This is optional (see the section above for more details where we tested this extensively!), but adding just a few tablespoons will make your filling a bit more fudgy and more like pecan pie. Any more than that will make the filling too wet and diminish the other flavors.
- Flour. Make sure you are taking steps to measure flour properly, or you could make your crust too dry and crumbly.
- Cream cheese. This is a must for the crust. Block-style cream cheese is essential (since the type in tubs often contains additives that can make the dough too soft and difficult to work with. And if you don’t care for the taste of cream cheese and worry you’ll taste it in the crust, you won’t. It’s critical for the texture of the dough and simply adds depth of flavor (just like it does in my sugar cookie bars!).
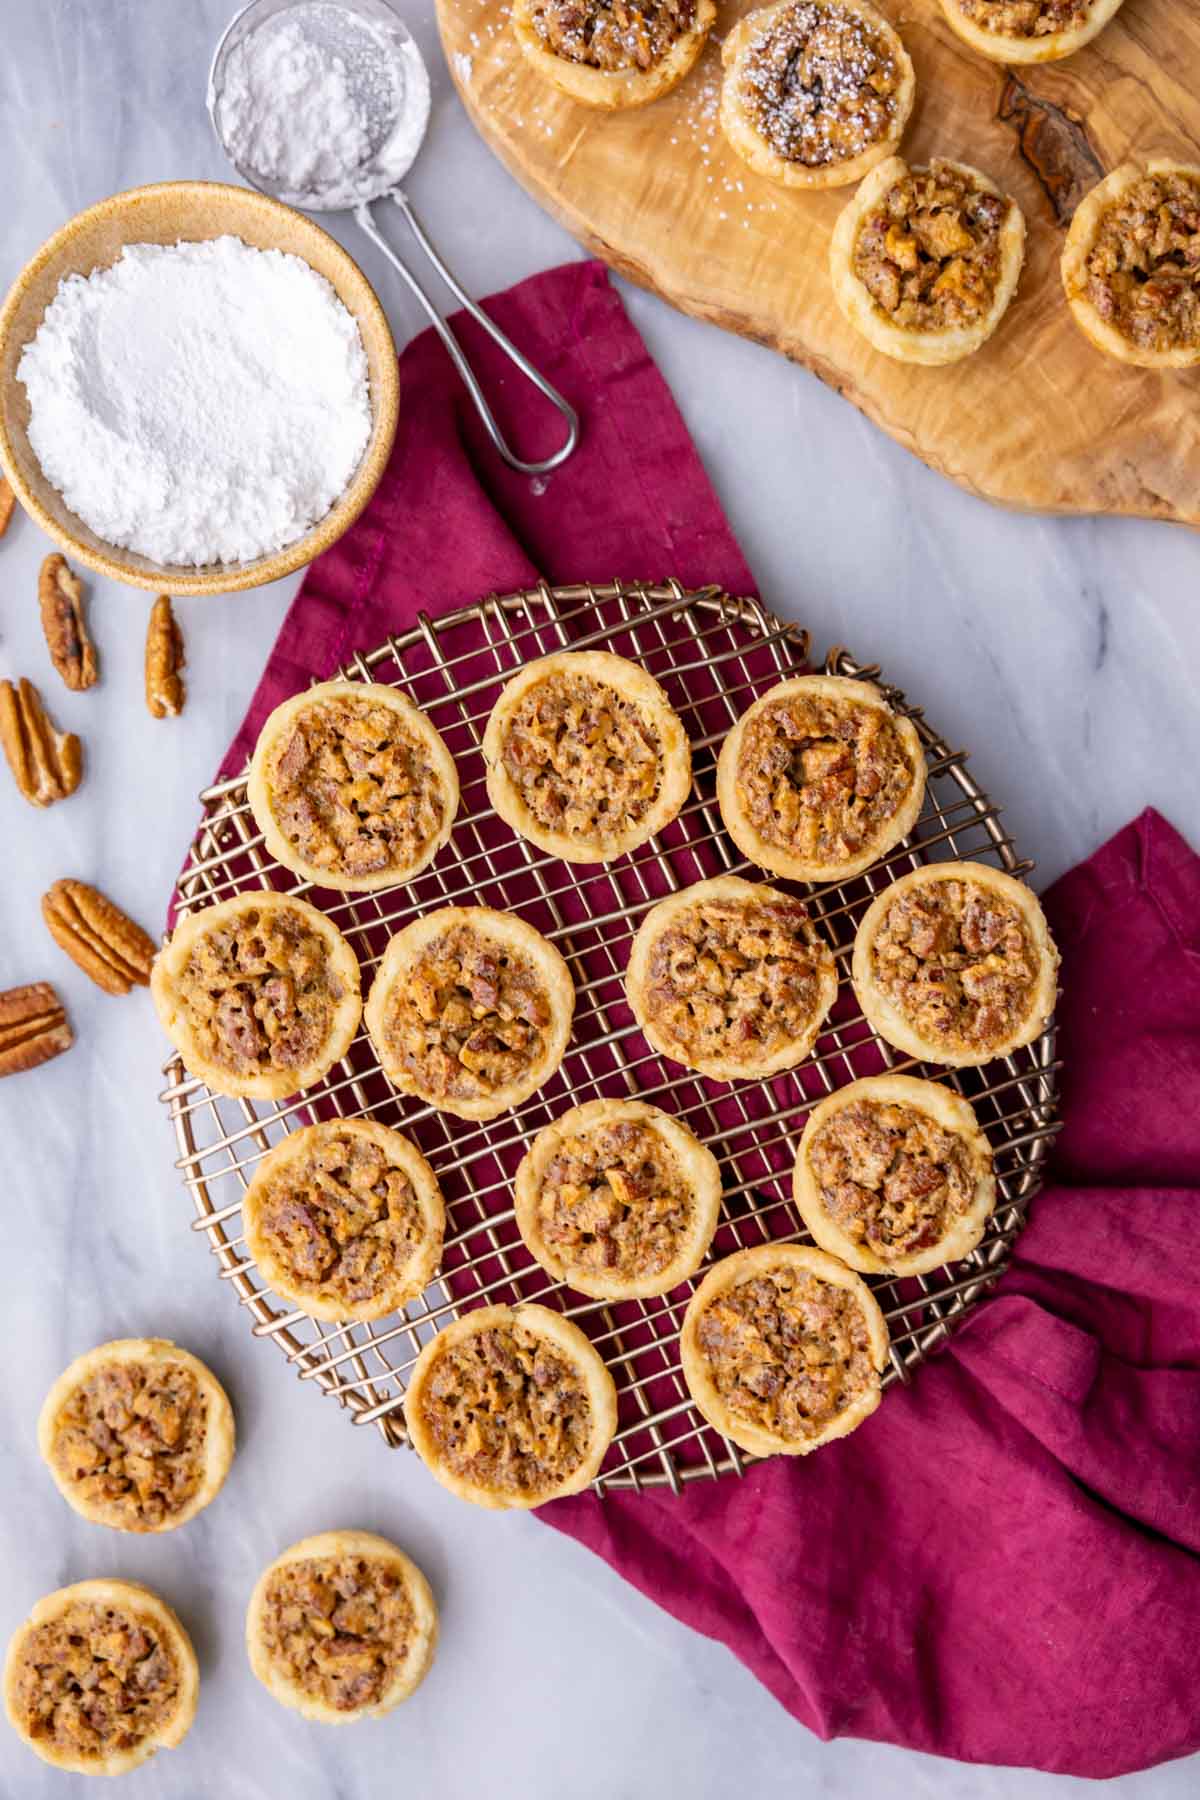
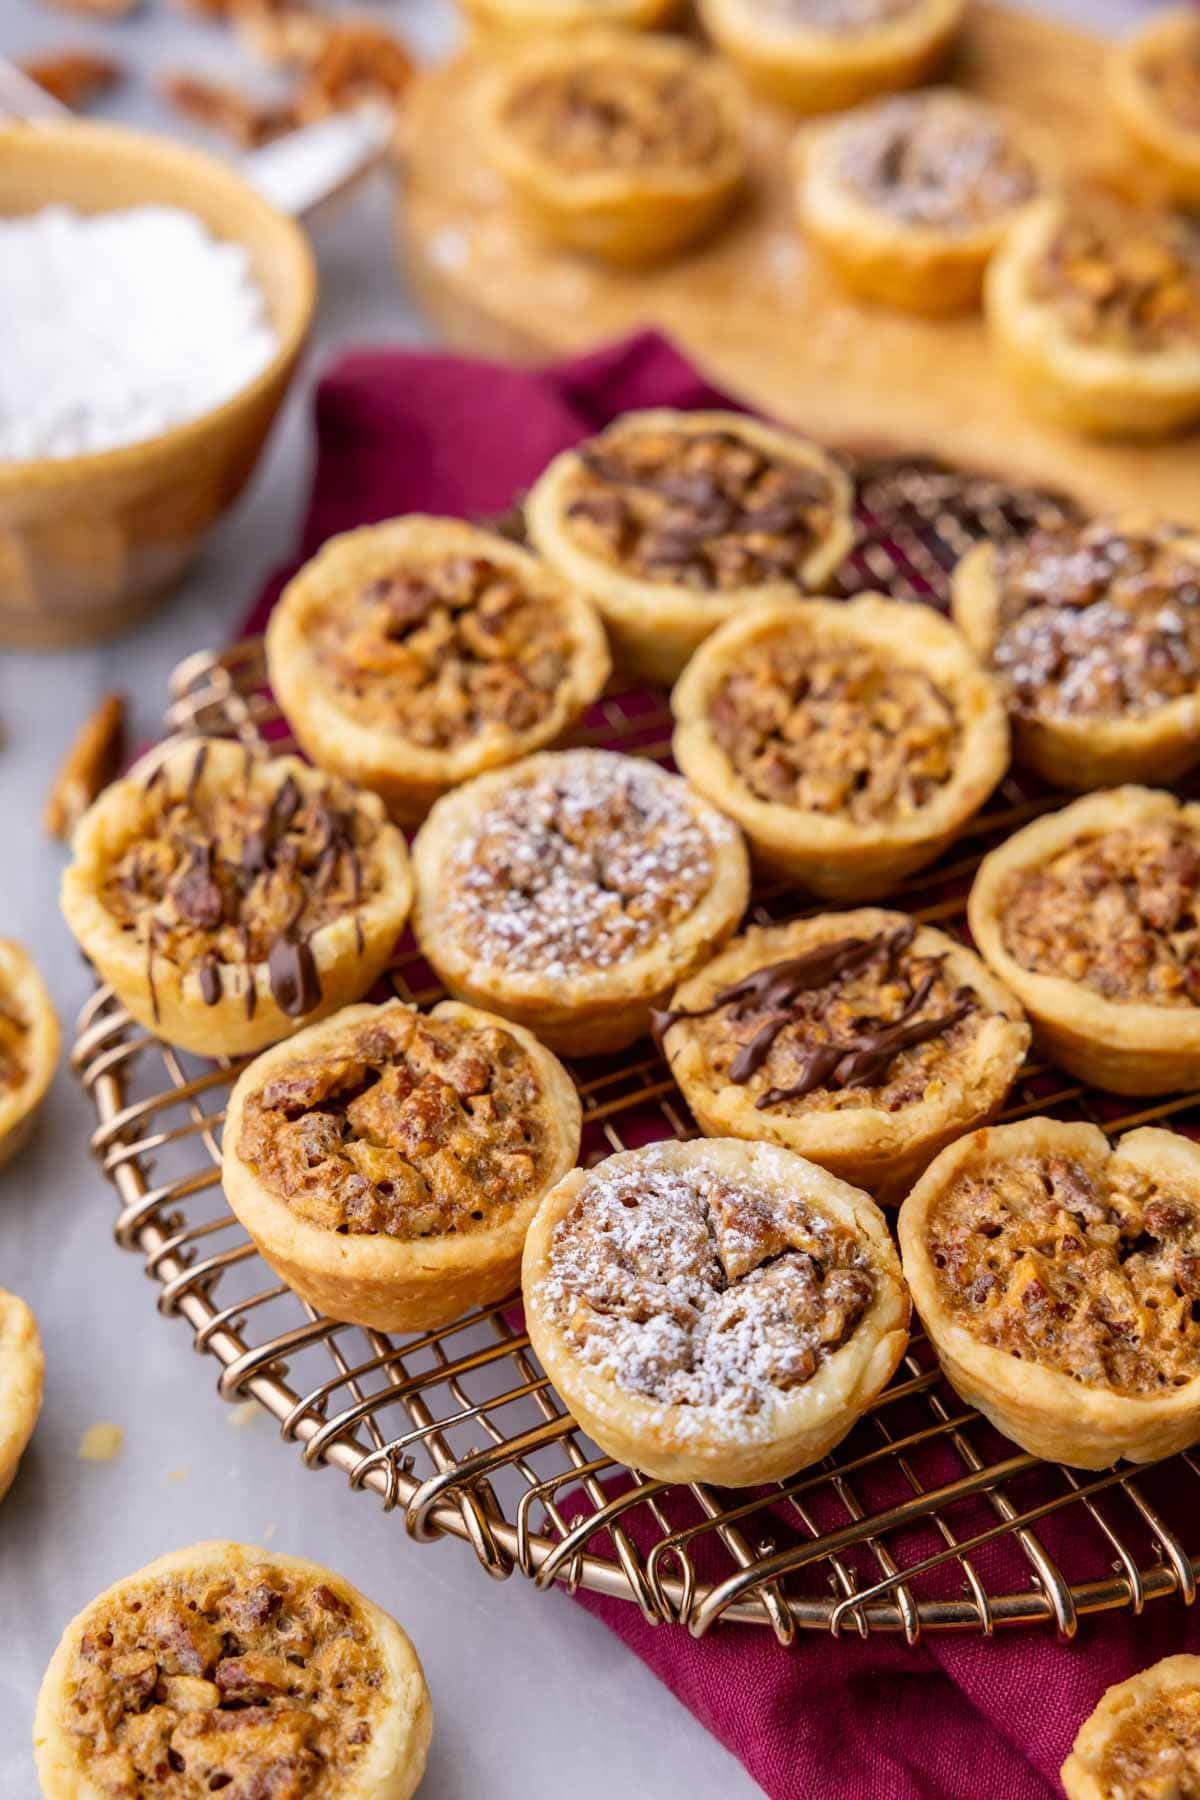
- Toppings. If you’d like, you can top your mini pecan pies with a dusting of powdered sugar or a drizzle of melted semisweet chocolate (my preference). Not totally necessary, but extra tasty and indulgent!
Remember, this is just an overview of the ingredients I used and why. For the full recipe please scroll down to the bottom of the post!
Sam’s Tip
If you plan to toast your pecans, it’s best to chop them after toasting. I find that chopping them before makes uneven cooking and burned pecans more likely.
How to Make Pecan Tassies (Step-by-Step)
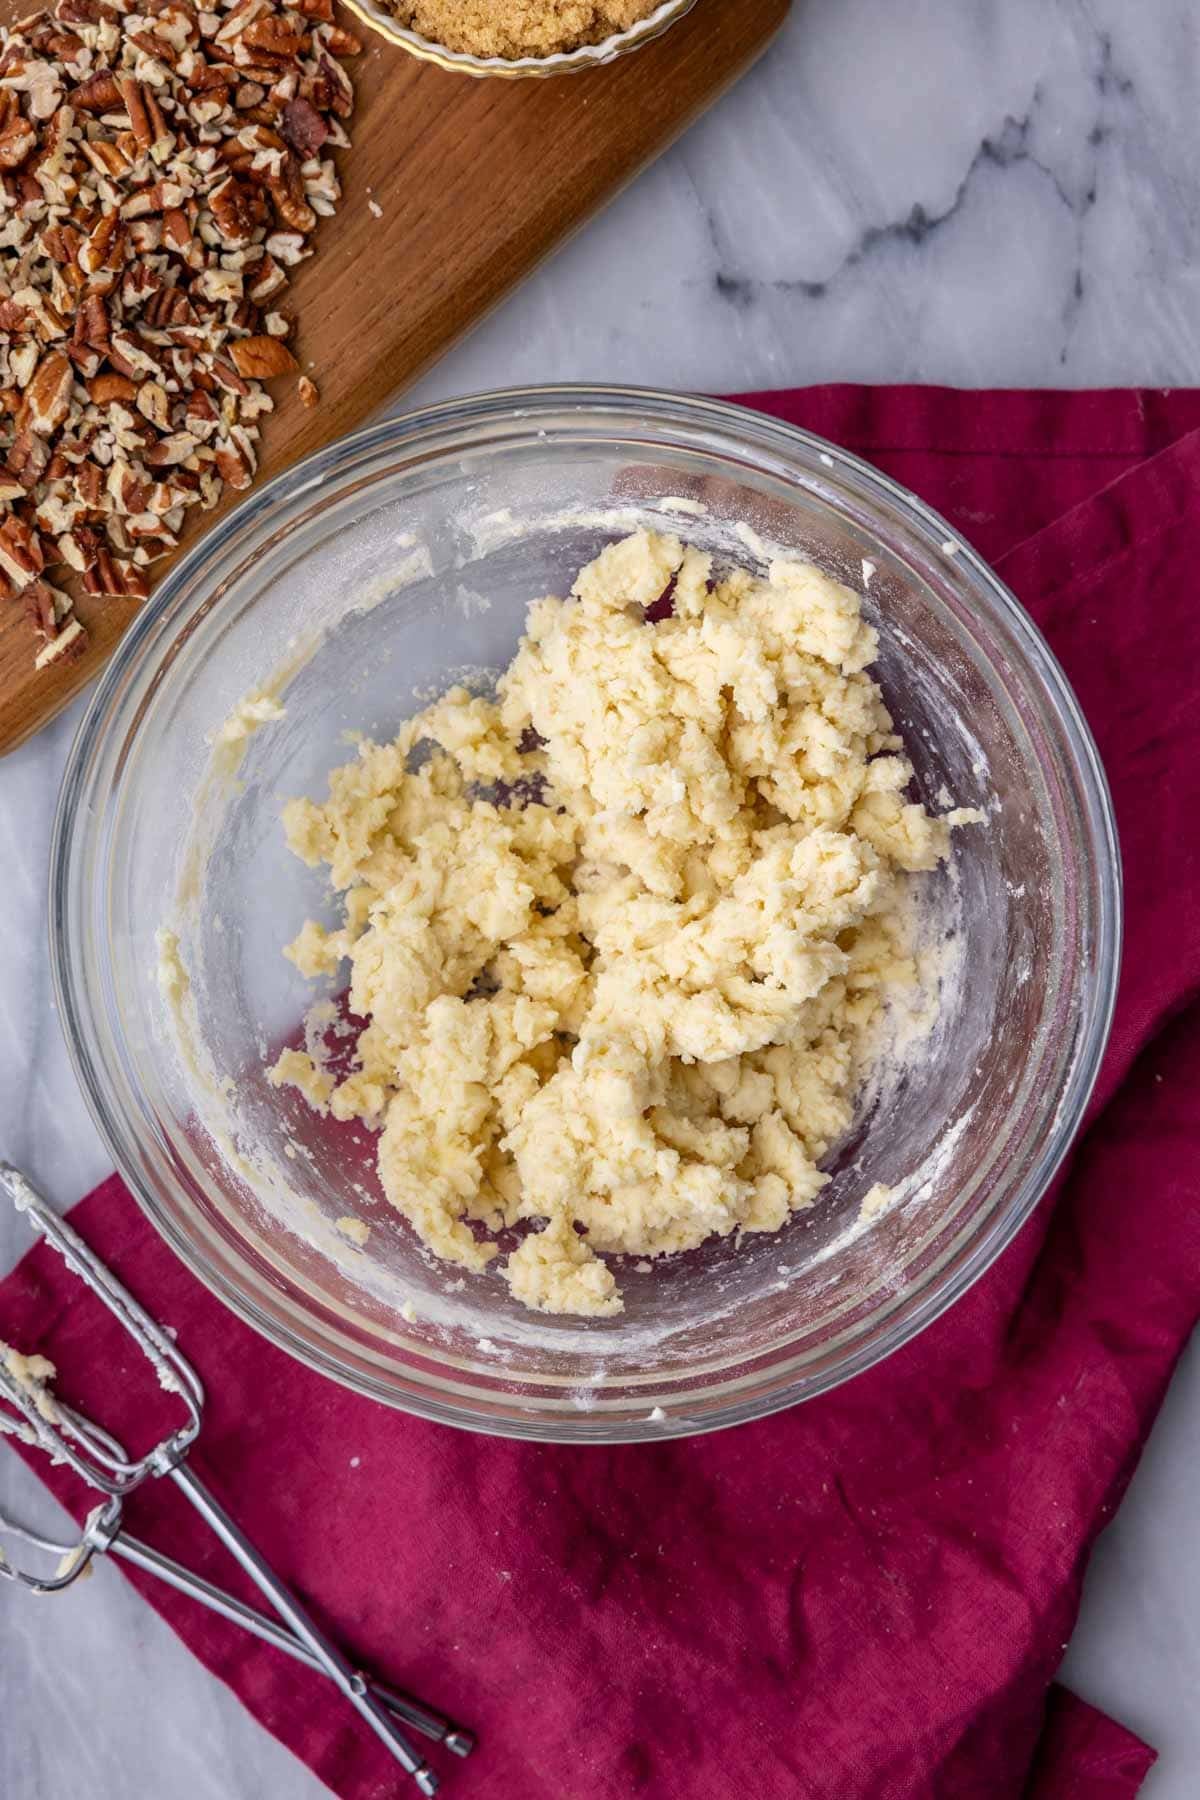
- Make the crust. Beat the butter, cream cheese, and salt together until smooth, then add the flour and mix again until evenly moistened. The dough will look crumbly (as you can see above), but should hold together when pressed between your fingers. Cover and let chill for 30 minutes; while the dough chills, you can toast your pecans, prep your pan, and preheat your oven.
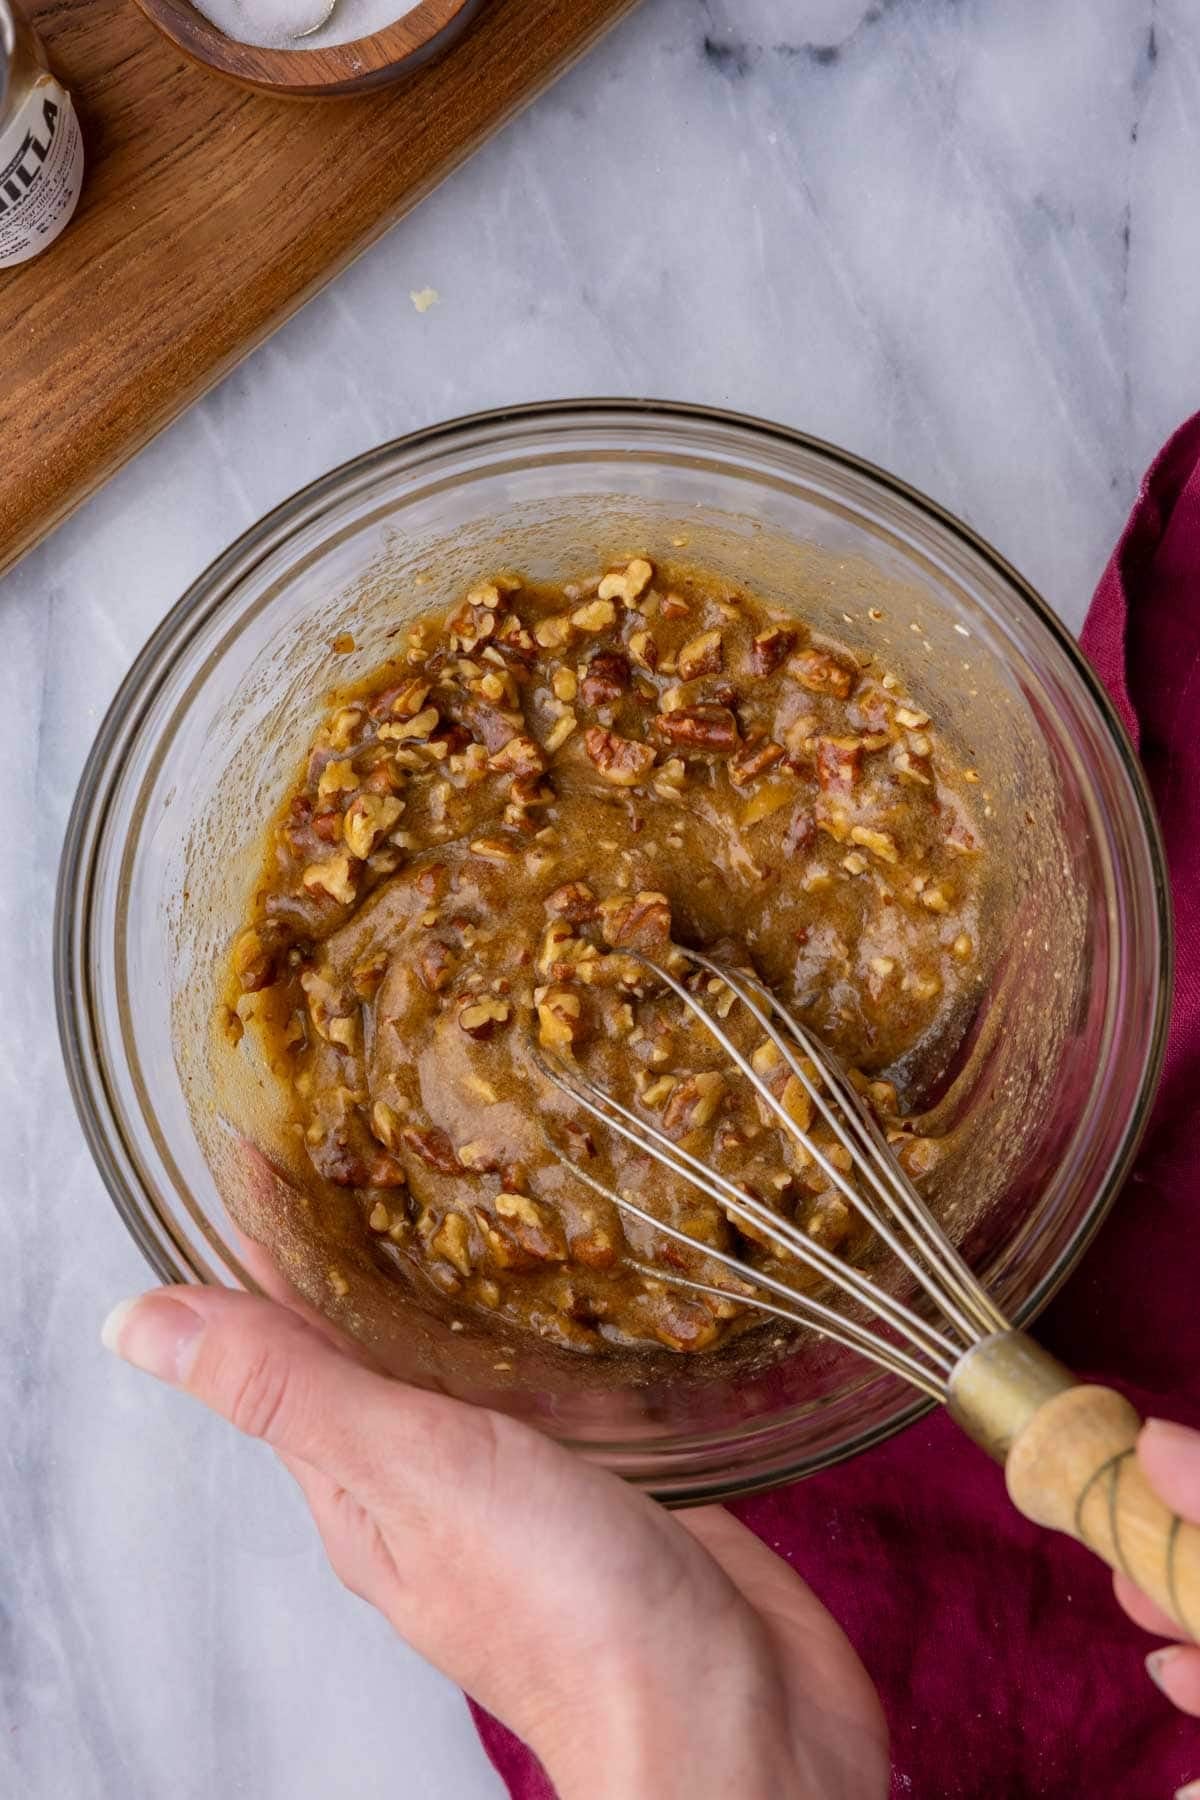
- Make the filling. Whisk the sugar, egg, corn syrup, melted butter, vanilla, and salt together in a separate bowl. Stir in the pecans, then set this to the side.
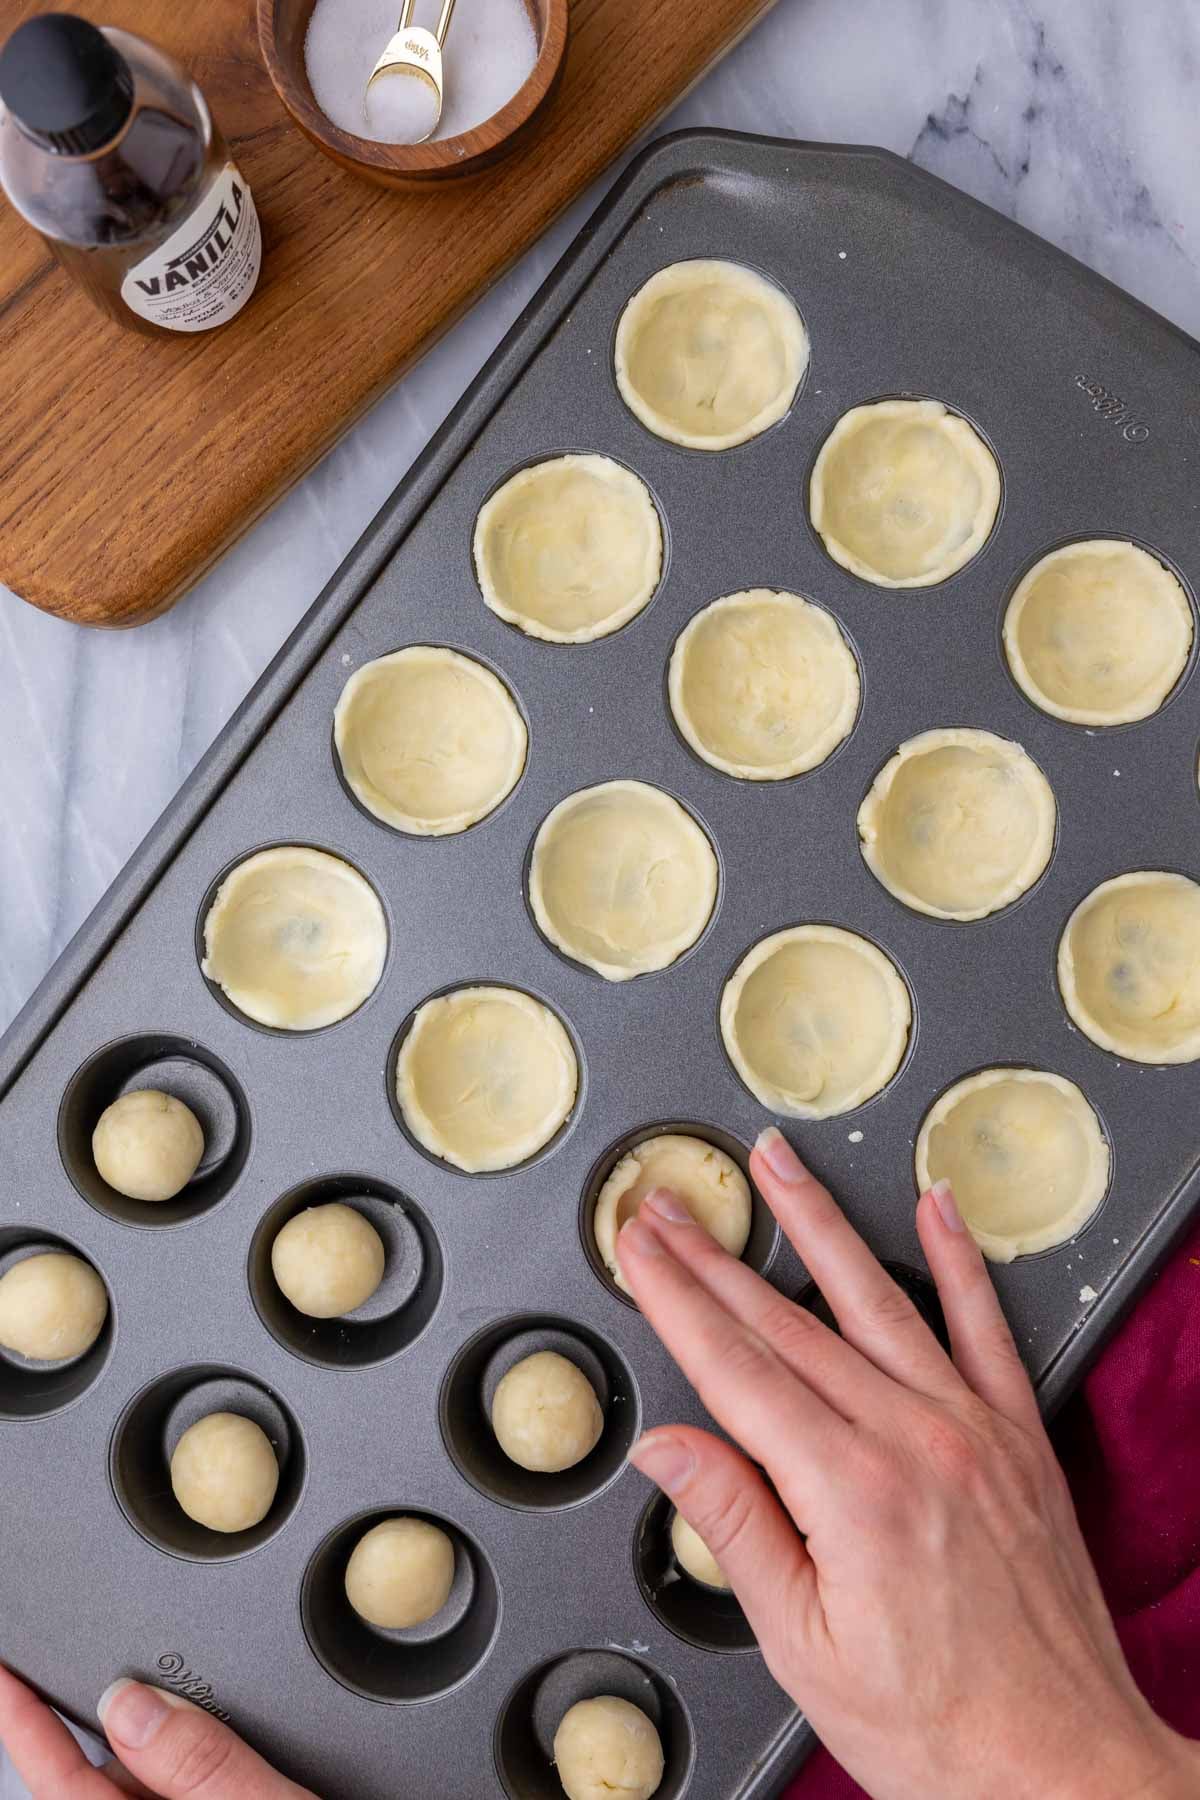
- Press crust in pan. Divide the crust dough into 24 balls, then press each ball evenly into your prepared mini muffin pan so you have 24 little cups (or tassies!). You can either flatten the crusts and then form them into the pan (like mini pie crusts in a pie dish) or just mold them up the sides with your fingers.
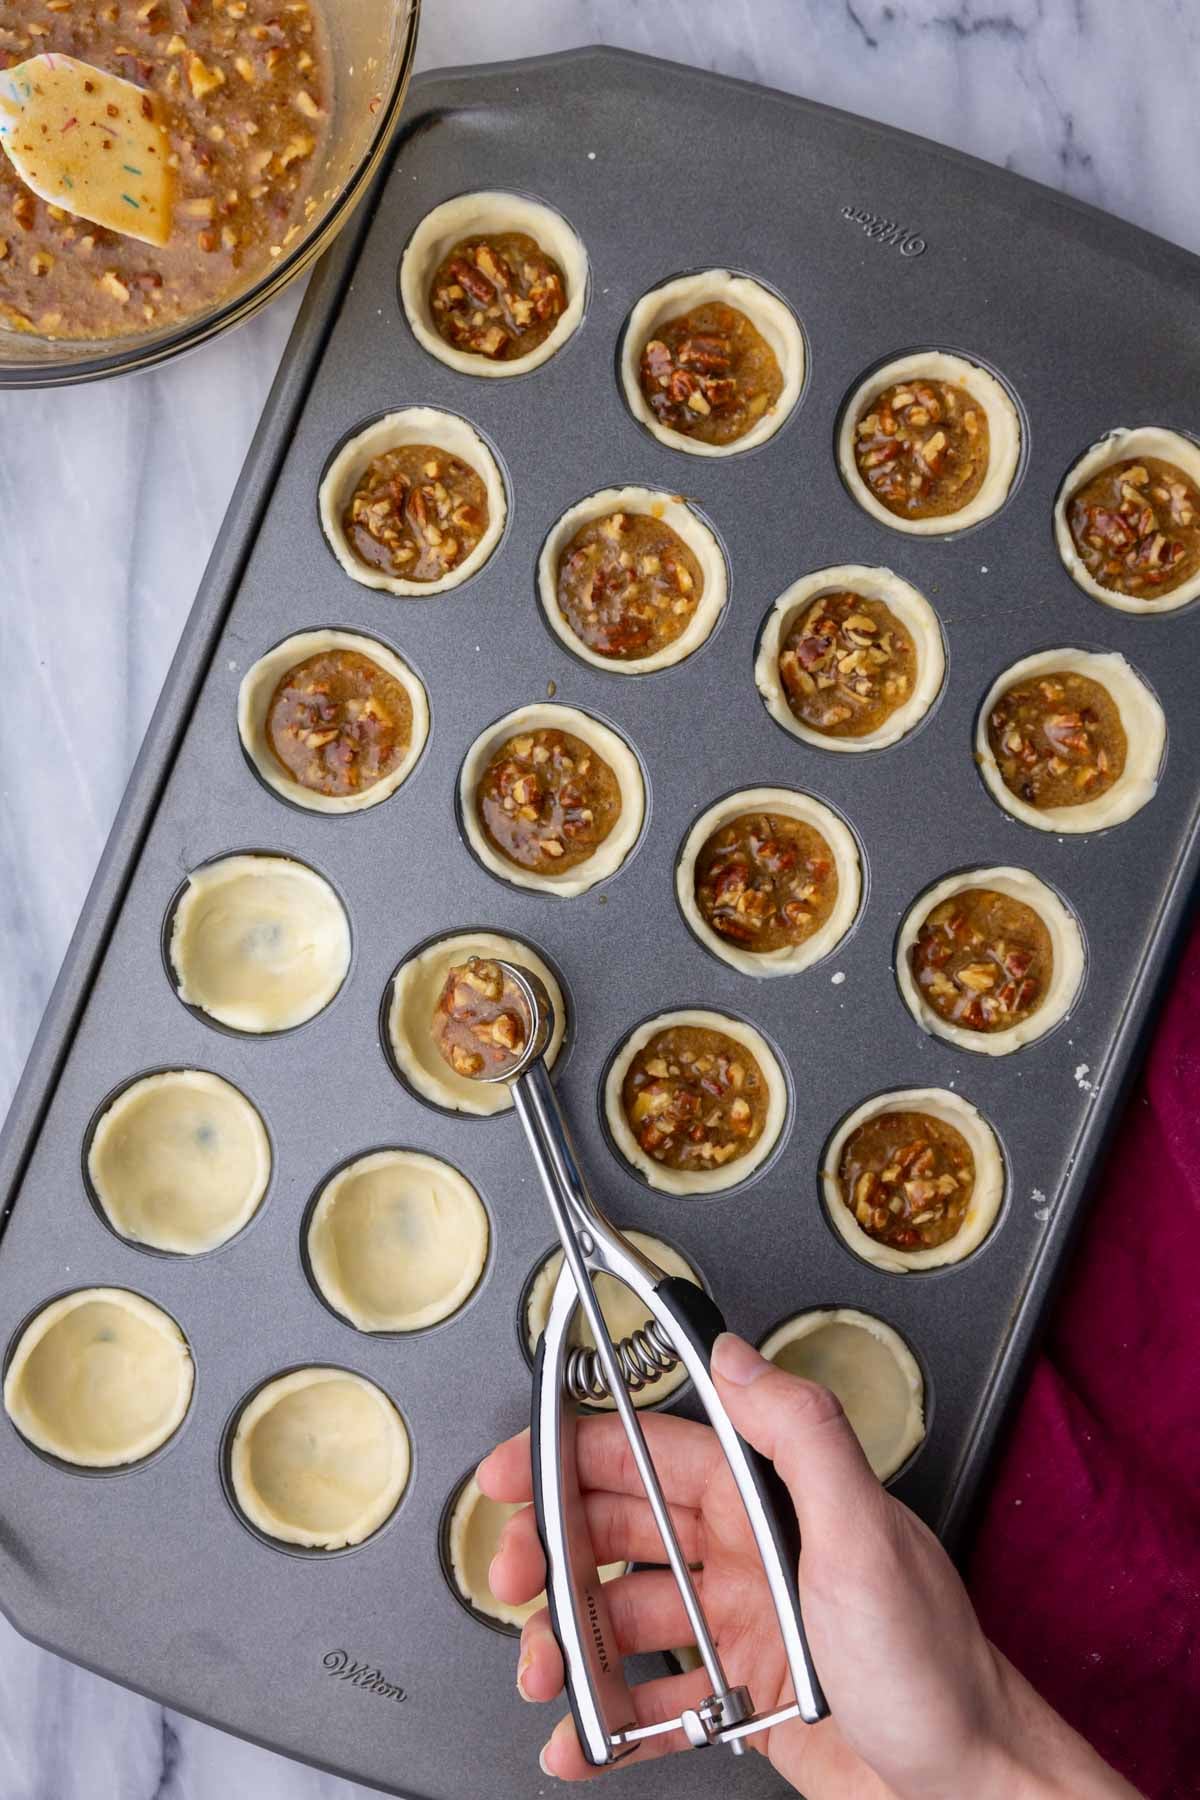
- Add filling. Divide the filling evenly among your crusts. I recommend using a teaspoon cookie scoop and portioning 2 teaspoons of filling per crust.
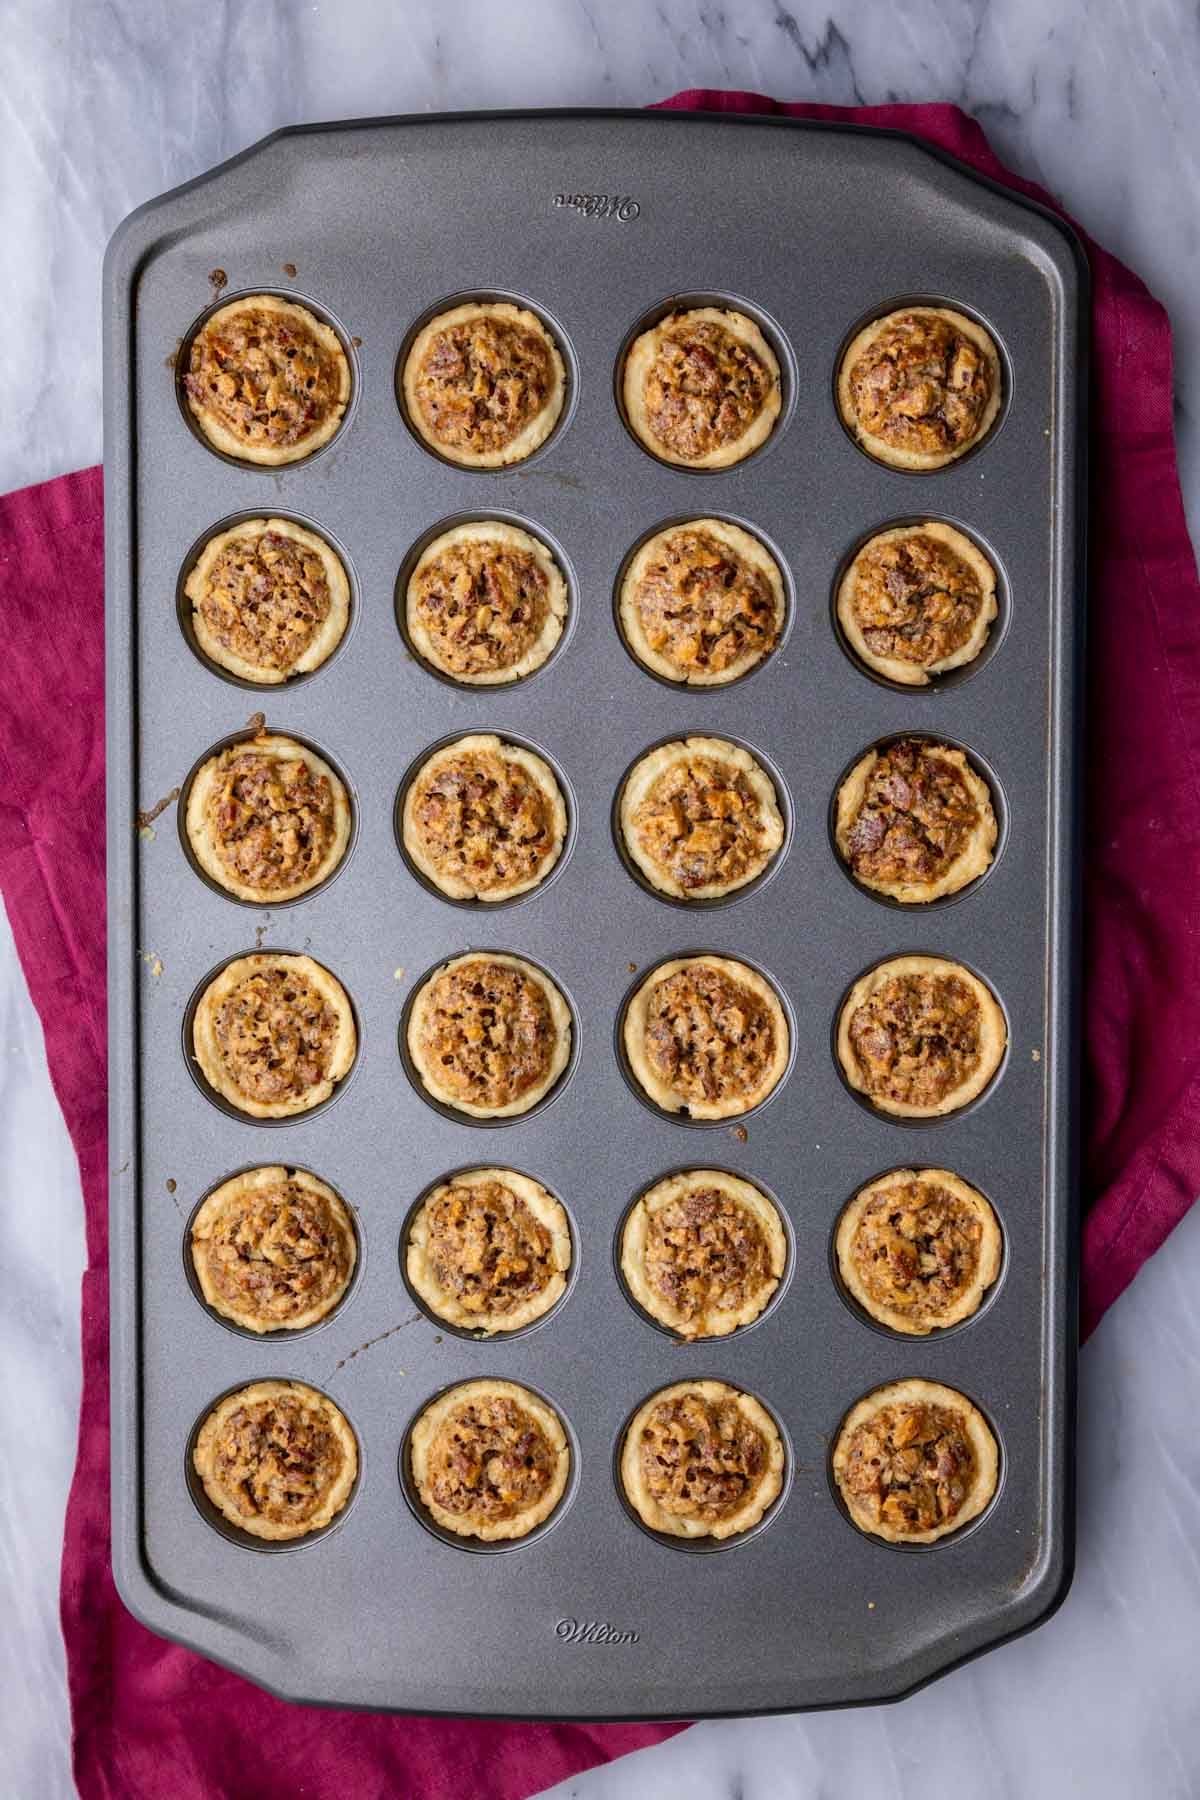
- Bake, cool slightly, and remove. Bake until the centers are set and the crusts are starting to brown, about 20 minutes. Let the tassies cool for a few minutes before loosening and removing to a cooling rack.
Sam’s Tip
Don’t let the pecan tassies cool completely in the pan! As they cool, steam and moisture can get trapped between the crusts and the pan which can make the pastry soggy (when it should be crisp and tender!). I recommend letting them cool in the pan just enough to firm up for easy removal (about 8-10 minutes) then carefully removing them to a cooling rack to cool completely.
Frequently Asked Questions
Greasing your mini muffin pan thoroughly (but lightly) is important, even if you have a nonstick pan. It’s even more important to avoid overfilling the crusts because the filling will harden like a sticky candy to the side and make them difficult to remove.
I recommend using a cookie scoop for precise filling and filling no more than ¾ of the way full to avoid any sticking.
Pecan tassies get their name from the Scottish word “tassie”, which means small cup. This is quite appropriate, since they are essentially “small” or mini cups of pecan pie!
No, at least not immediately. Pecan tassies can be stored at room temperature (in an airtight container) for up to 2 days. However, they will keep longer under refrigeration–up to 5 days. If I ever refrigerate mine, I like to let them sit at room temperature for 15 minutes or so before serving.
Related Recipes


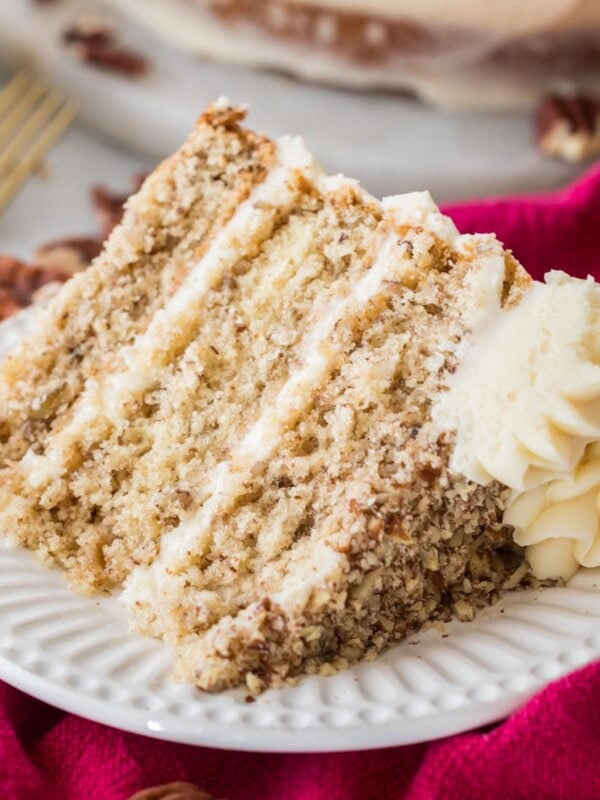

If you’re a pecan fan, also give my chocolate pecan pie a try!
Enjoy!
Let’s bake together! Subscribe to my newsletter to be notified of all the newest recipes, and find my free recipe tutorials on YouTube 💜
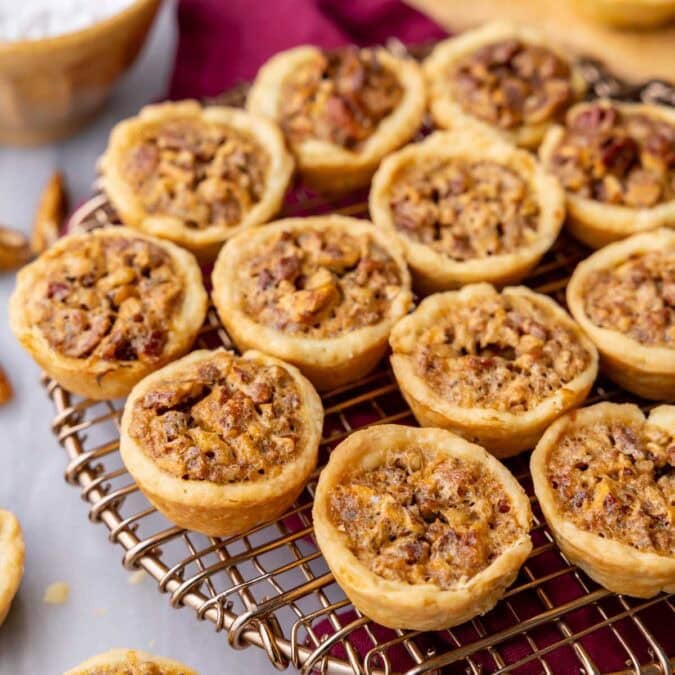
Pecan Tassies (Mini Pecan Pies)
Ingredients
Crust
- 3 oz (85 g) full-fat brick-style cream cheese, softened
- 7 Tablespoons (100 g) unsalted butter, softened
- ½ teaspoon table salt
- 1 cup (125 g) all-purpose flour
Filling
- ¾ cup (150 g) light brown sugar, firmly packed
- 1 large egg
- 2 Tablespoons dark corn syrup, (optional, see note)
- 1 Tablespoon (14 g) unsalted butter, melted
- 1 teaspoon vanilla extract
- ¼ teaspoon table salt
- ¾ cup (83 g) finely chopped toasted pecans, (see note)
- Powdered sugar for dusting or melted chocolate for drizzling, optional
Instructions
- In a medium-sized mixing bowl, combine cream cheese, butter, and salt and use an electric mixer to beat until smooth and well combined.3 oz (85 g) full-fat brick-style cream cheese, 7 Tablespoons (100 g) unsalted butter, ½ teaspoon table salt
- Add flour and beat on low speed until all flour is completely incorporated and no dry streaks remain. The dough may appear somewhat crumbly but should hold together easily when pressed between your fingers.1 cup (125 g) all-purpose flour
- Cover bowl tightly with plastic wrap and chill in the refrigerator for 30 minutes. While dough is chilling, preheat your oven and prepare your baking tin and your filling.
- Preheat oven to 350F (175C). Grease each cavity of your 24-count mini muffin tin by lightly spraying with baking spray or grease with butter and set aside.
- In a medium sized mixing bowl, whisk together brown sugar, egg, corn syrup (if using), butter, vanilla, and salt until combined.¾ cup (150 g) light brown sugar, 1 large egg, 2 Tablespoons dark corn syrup, 1 Tablespoon (14 g) unsalted butter, 1 teaspoon vanilla extract, ¼ teaspoon table salt
- Stir in pecans and set aside.¾ cup (83 g) finely chopped toasted pecans
- Once dough has chilled, remove from the refrigerator and divide into 24 equal portions (about 2 ½ teaspoons/ 11-13 g each). Roll each portion into a smooth ball.
- Place one dough ball into each prepared muffin tin cavity. Use your fingers to press the dough evenly into the bottom and up the sides of the cavity, forming a small pastry cup. Repeat with remaining portions.
- Stir the filling once more then divide evenly among prepared crusts, using about 2 teaspoons of filling per tassie. Don’t fill more than ¾ full as the filling can spill over and cause the tassies to stick to the baking tin.
- Transfer to center rack of 350F (175C) preheated oven and bake for 20-22 minutes, until centers are set and crusts are turning golden brown. Allow tassies to cool in the pan for about 8 minutes before carefully loosening them and transferring to a cooling rack to cool completely (otherwise the crusts can become greasy or soggy if cooled in the pan for too long).
- Once cooled, dust with powdered sugar or drizzle with melted semisweet chocolate (my favorite option!) before serving.Powdered sugar for dusting or melted chocolate for drizzling
Notes
Corn syrup
This recipe is adapted from an old “teatime tassie” recipe I found in my late grandmother’s cookbook. Her recipe did not call for corn syrup and the tassies can be made without it, no substitutions necessary. However, if you’d like them to taste more like pecan pies, I do recommend including the corn syrup.Pecans
For a richer, deeper flavor, I recommend toasting your pecans. However, the recipe can also be made with untoasted pecans.Storing
Store in an airtight container at room temperature for up to 2 days or in the refrigerator for up to 5.Nutrition
Nutrition information is automatically calculated, so should only be used as an approximation.
Like this? Leave a comment below!