
Peanut Butter Balls
This post may contain affiliate links. As an Amazon Associate I earn from qualifying purchases. Please read my disclosure policy.
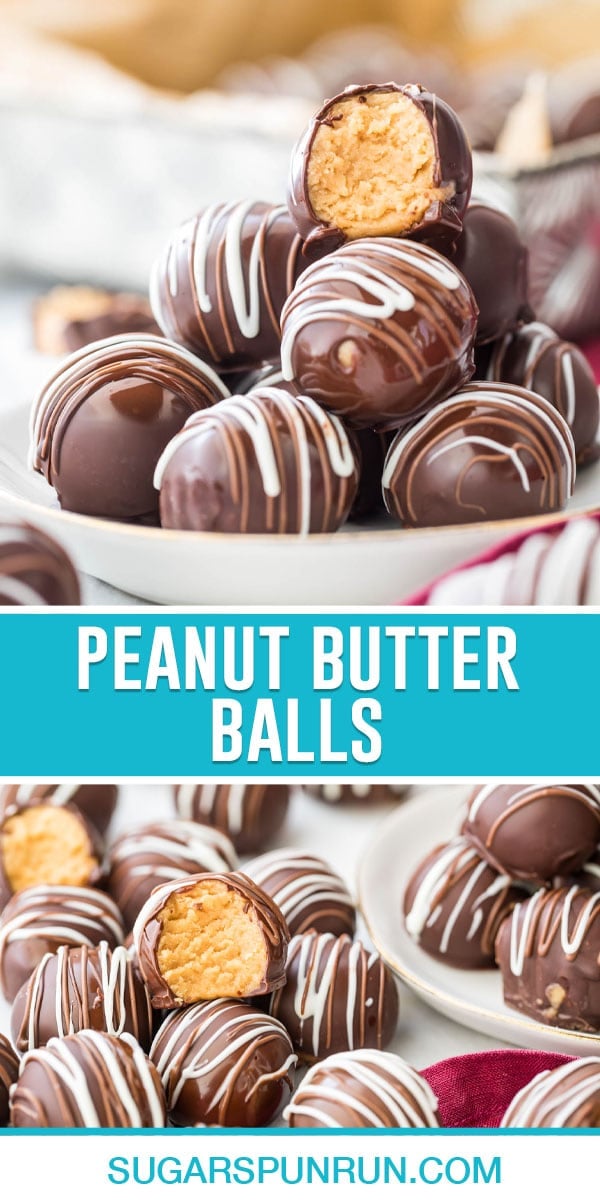
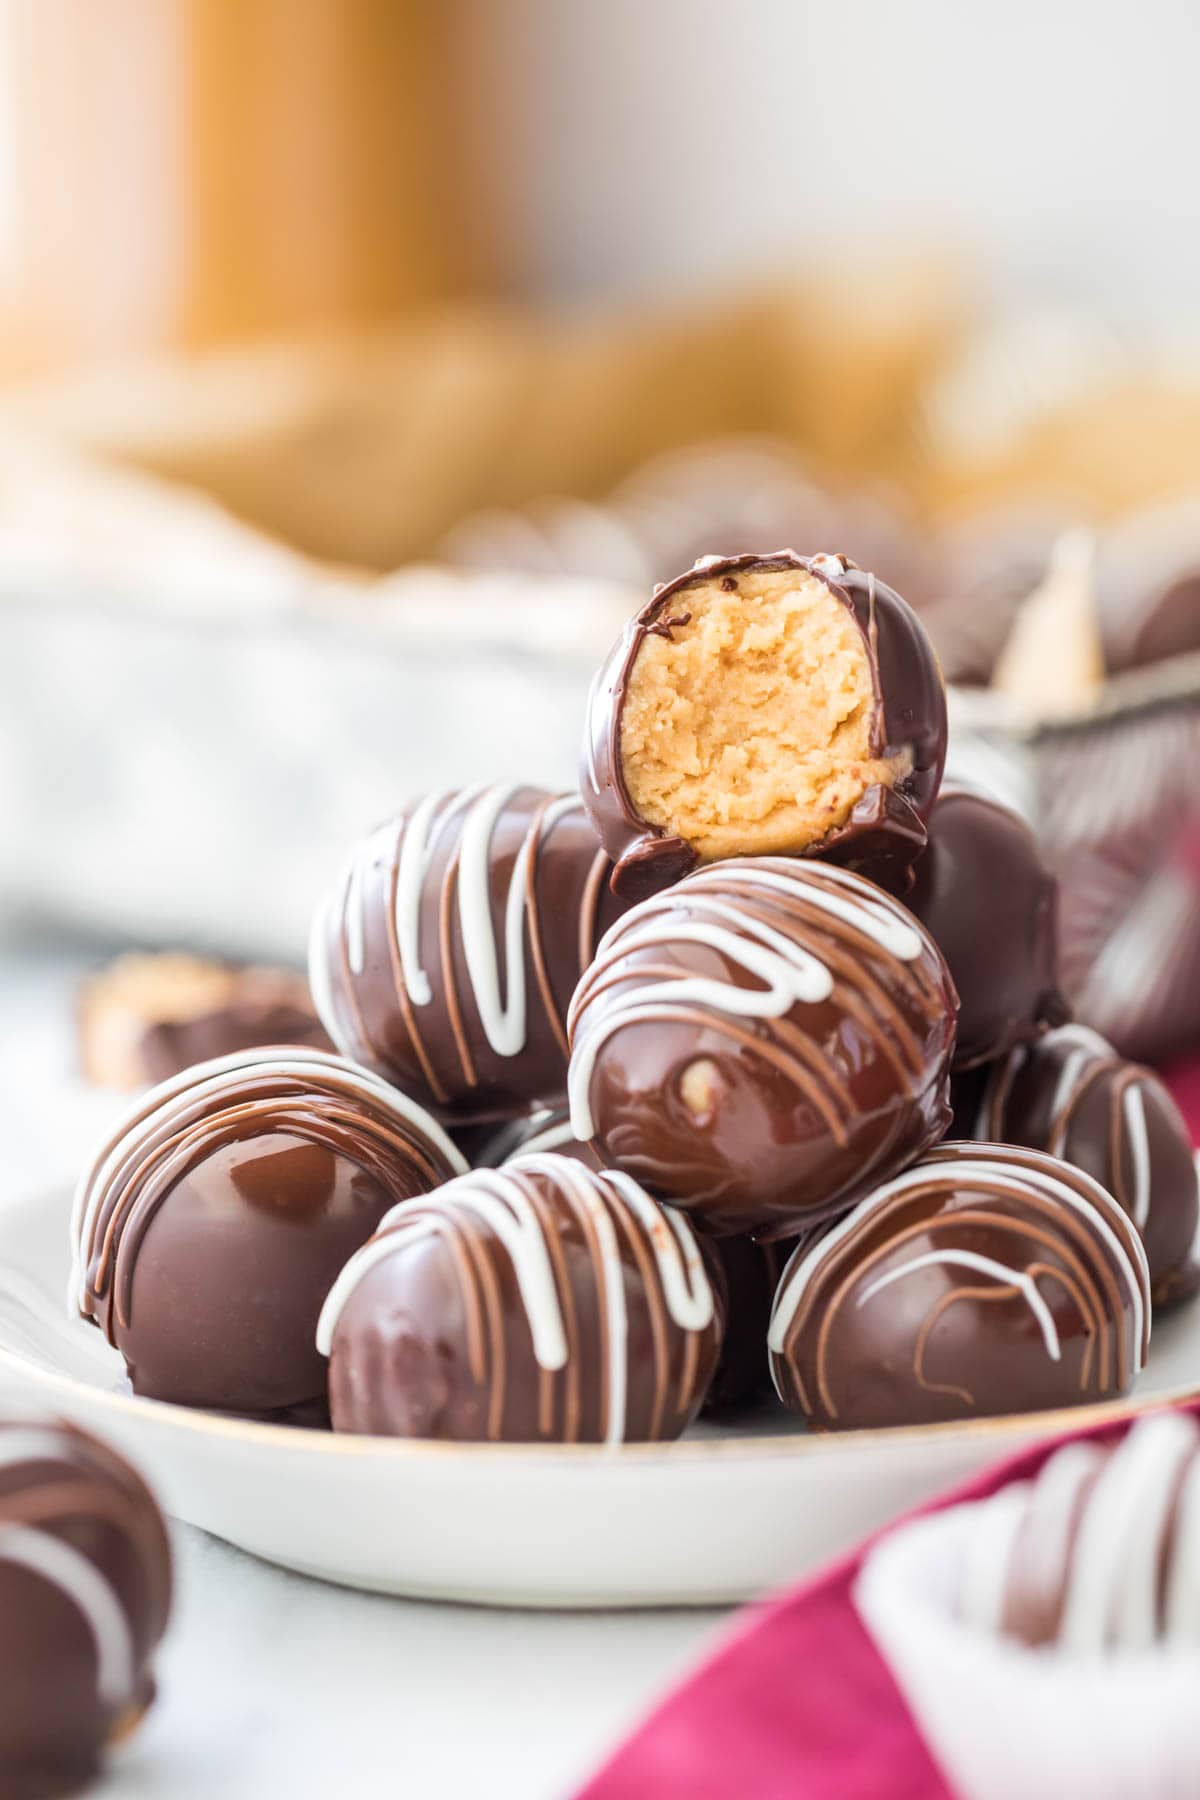
Smooth, creamy peanut butter meets shiny smooth chocolate in these classic Peanut Butter Balls. This no-bake recipe includes tips for tempering chocolate for professional-looking results at home (but you could also skip this step!). Watch the how-to video for step-by-step instructions!

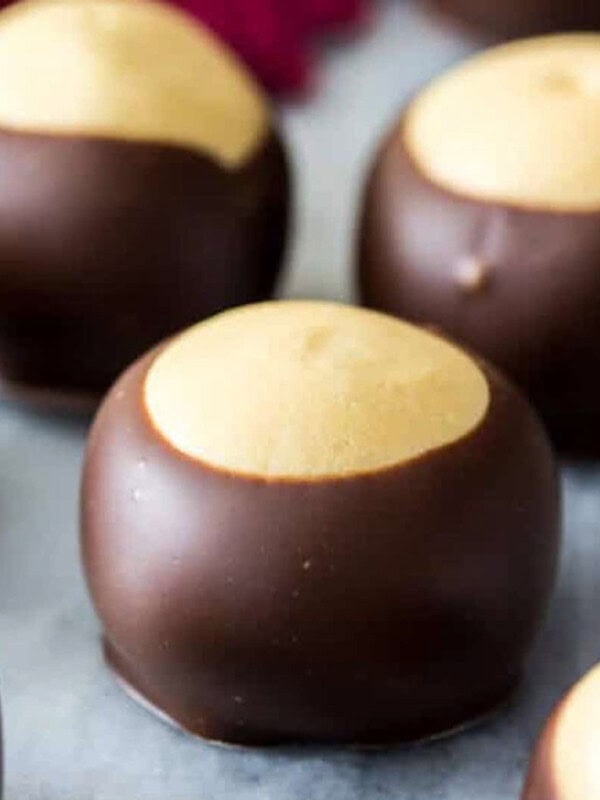
I have a crave-worthy, no-bake dessert for you today, and I think you’re really going to love it! Not to be confused with my buckeye recipe, these peanut butter balls are made with cream cheese and have their own distinct taste that’s so smooth and creamy.
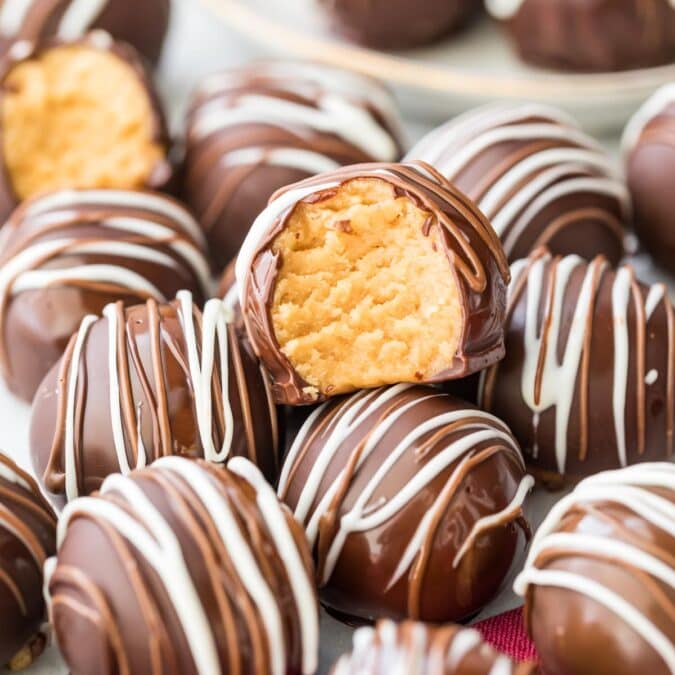
They’re the perfect marriage of peanut butter and chocolate, and their shiny chocolate shells are sure to impress anyone you serve them to.
While the peanut butter balls themselves are super easy to make, you may run into some challenges if you choose to temper your chocolate. Tempering chocolate simply means that you’re heating your chocolate to a particular temperature so it hardens to be smooth and shiny without any chalky white streaks.
You can temper chocolate in a number of ways (I use a stovetop method in my chocolate covered strawberries), but I really love using the microwave method that I’m sharing here today. I used this same technique to make flawlessly shiny hot chocolate bombs (if you’re a beginner, check out that post for a very thorough overview of tempering).
I’m going to walk you through every step of the process, but if tempering simply isn’t something you’re interested in, you can always just skip it and melt your chocolate normally, and I talk about that below, too.
Let’s get started!
What You Need
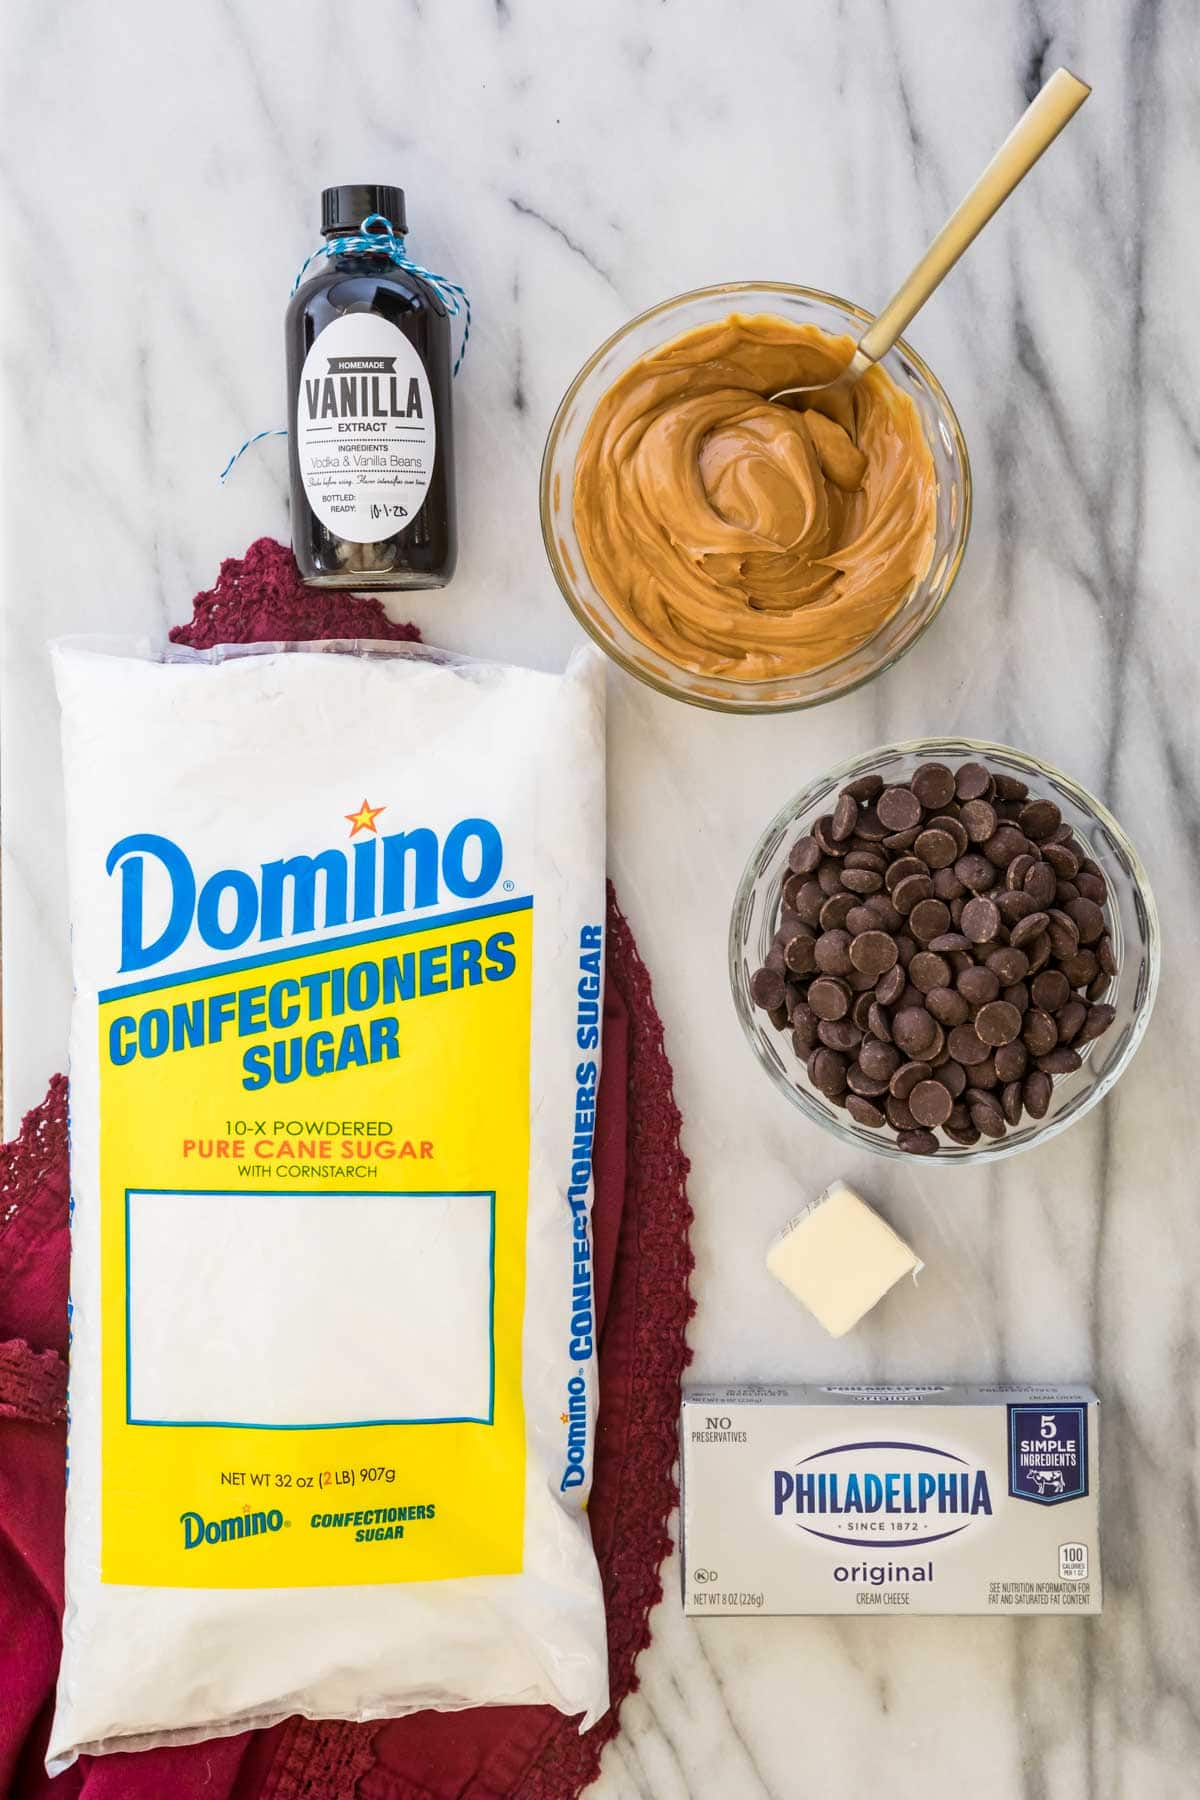
My peanut butter ball recipe uses only a few ingredients and no oven or stovetop. Here’s what you need:
- Cream cheese. Make sure you use the full-fat, brick-style cream cheese and not the kind that comes in a plastic tub. The cream cheese adds a wonderful, subtle flavor without overshadowing the peanut butter.
- Butter. Just a little bit of butter helps keep these nice and creamy inside. Unlike most of my recipes, you can use either unsalted butter or salted butter here.
- Peanut butter. Use regular peanut butter, not the “natural” kind as I’ve found it can separate and leave you with greasy results.
- Powdered sugar. Sugar helps make the dough roll-able without making it too sweet.
- Vanilla. Just a little bit of vanilla rounds out the filling. Use homemade vanilla extract, if you have some!
- Chocolate. Use dark or semisweet chocolate. My preference is couverture chocolate or finely chopped high quality baking bars, but you can use melting wafers in a pinch. I do not recommend using chocolate chips, as they contain added ingredients that inhibit smooth melting, and the quality of the chocolate simply isn’t as good.
SAM’S TIP: I like to drizzle some melted white and milk chocolate over the tops of my dipped peanut butter balls as decoration. To do this, melt your chocolate in the microwave at 15-20 second intervals, stirring in between. Let it cool slightly, then either pour it in a squeeze bottle or use the tip of a spoon to zig zag the melted chocolate over the balls. You can also just leave them plain!
Remember, this is just an overview of the ingredients I used and why. For the full recipe please scroll down to the bottom of the post!
How to Make Peanut Butter Balls
This peanut butter filling is super easy to make. Here’s how you do it!
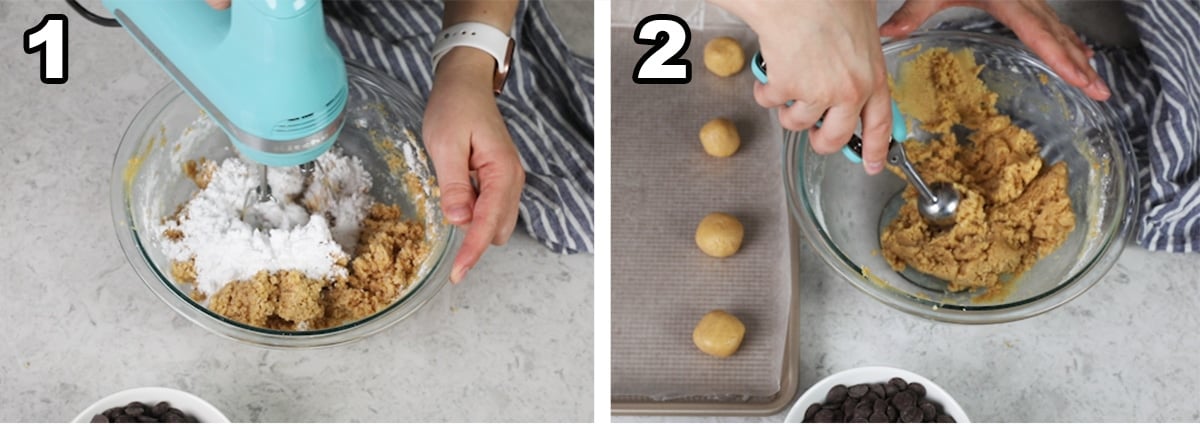
- Combine cream cheese and butter until smooth and creamy, then stir in powdered sugar and vanilla. The mixture will be thick, this is normal!
- Scoop your dough into tablespoon-sized scoops and roll between your palms to make them nice and smooth. Place on a wax paper lined baking sheet and chill in the fridge for 20 minutes.

Now comes the hard(er) part…tempering the chocolate! Tempering chocolate takes some patience, practice, and a good thermometer. If your chocolate doesn’t come out perfectly–even if you feel like you did everything right–just chalk it up as a lesson for next time. I promise they will still taste good even if the chocolate looks imperfect!
- Place your chocolate in a microwave-safe bowl. Microwave for 25 seconds, then remove from the microwave and give it a stir; it won’t look melted, but it still needs to be stirred.
- Place your chocolate back in the microwave and heat in 15-second intervals, stirring thoroughly and scraping the sides of the bowl each time, until the chocolate begins to melt. Begin checking the temperature once your chocolate appears to be about 50% melted. To temper your chocolate, you must maintain a temperature above 87F and below 91F. If your chocolate has exceeded 87F, but the chocolate still isn’t completely melted, keep stirring until the temperature drops or chocolate has melted completely. If your chocolate exceeds 91F, add more chopped chocolate and stir until it reaches the right temperature.
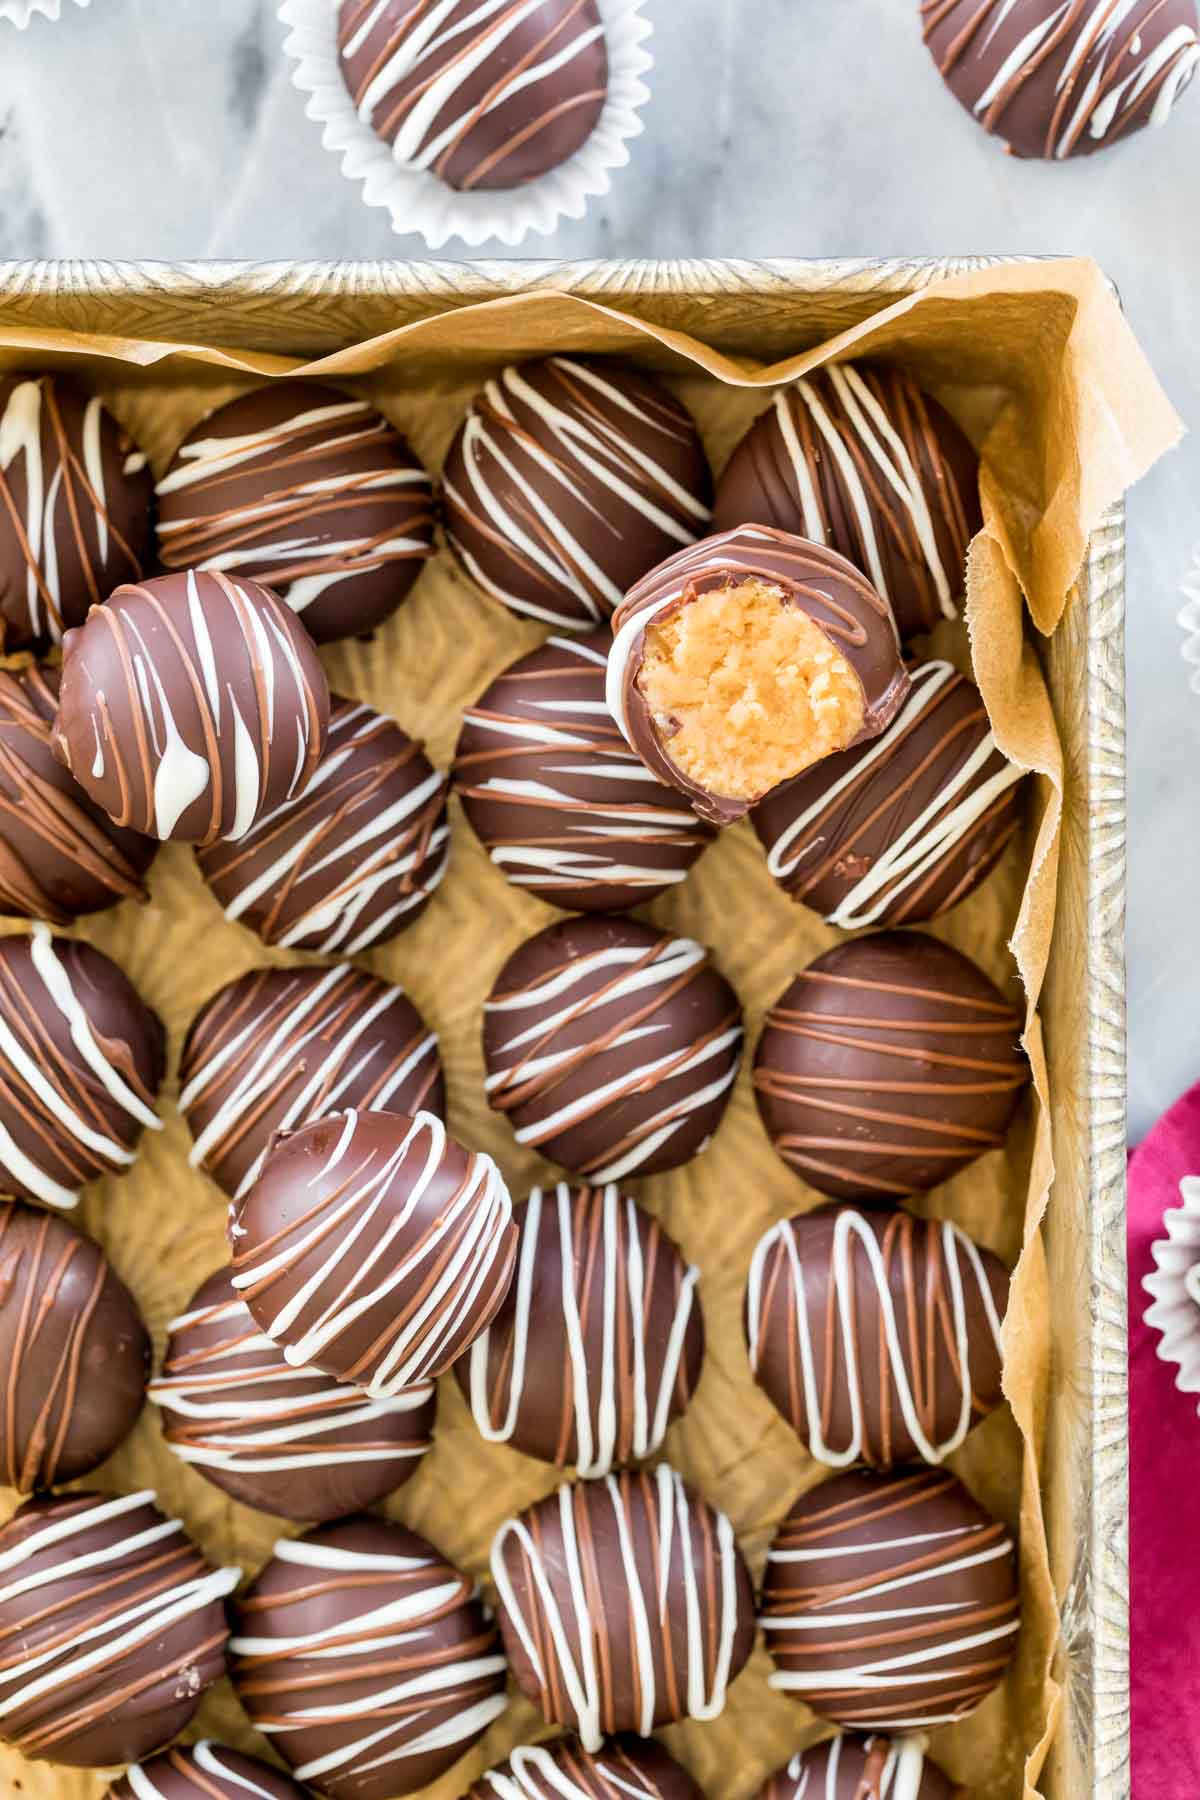
- Once your chocolate is tempered, remove your peanut butter balls from the fridge. Dip the bottoms then drizzle the top with chocolate until it’s entirely coated. Carefully slide the coated ball onto a wax paper lined baking sheet and repeat with remaining balls, monitoring the chocolate temperature as you work.
- Allow the chocolate to harden before eating. Store leftovers in a sealed container in the fridge.
SAM’S TIP: Keep an eye on your chocolate temperature while you are working with it; if it gets too cool, reheat it in the microwave in brief intervals. Always keep your chocolate in that temperature sweet spot!
Frequently Asked Questions
You can either add some more powdered sugar, or just pop the dough in the fridge for 10-15 minutes until it’s manageable.
No, you don’t have to! If you’re concerned about the appearance of the final product, you can use chocolate melting wafers instead. These are usually sold by the chocolate chips in the baking aisle of the grocery store and nice finish without a ton of extra work. Or you can still use regular chocolate and just skip the tempering–your peanut butter balls won’t look as pretty, but they will taste great!
Add more chopped chocolate and stir until it gets back down to the proper temperature. I always have some extra chopped chocolate on the side just in case this happens!
If you didn’t make sure to scrape and stir all of the chocolate (up the sides and down bottom of the bowl) when melting, if you let your chocolate drop out of the sweet spot range, or if you used an inaccurate thermometer, you could end up with imperfections in your finished product.
Don’t be hard on yourself, tempering chocolate can be tricky. If this is your first time, consider it a learning experience.
Enjoy!
Let’s bake together! I’ll be walking you through all the steps in my written recipe and video below! If you try this recipe, be sure to tag me on Instagram, and you can also find me on YouTube and Facebook
Peanut Butter Balls
Ingredients
- 4 oz (113 g) cream cheese, full-fat, brick-style, softened
- 2 Tablespoons (28 g) butter, softened (salted or unsalted butter will work here)
- ¾ cup (185 g) creamy peanut butter, see note
- 2 cups (250 g) powdered sugar
- 1 teaspoon (5 ml) vanilla extract
- 12 oz (340 g) quality dark or semisweet chocolate, I like to use couverture chocolate or finely chopped quality baking bars (alternatively you may use dark chocolate melting wafers)
Instructions
- Combine cream cheese, butter, and peanut butter and stir together (I like to use an electric mixer) until smooth, creamy, and completely combined.4 oz (113 g) cream cheese, 2 Tablespoons (28 g) butter, ¾ cup (185 g) creamy peanut butter
- Gradually stir in powdered sugar until completely combined, then stir in vanilla extract. Mixture should be very thick.2 cups (250 g) powdered sugar, 1 teaspoon (5 ml) vanilla extract
- Scoop dough into Tablespoon-sized scoops and roll between your palms until you have a smooth ball (if the dough is sticky or difficult to work with, you may either add a bit more powdered sugar or transfer the dough to the refrigerator to chill for 10-15 minutes before rolling).
- Transfer to wax paper lined baking sheet and repeat until you have scooped all of your dough. Transfer the baking sheet to the refrigerator to chill for 20 minutes.
Chocolate (see note)
- Place couverture chocolate or chopped chocolate in a microwave-safe bowl and heat for 25 seconds. Remove from microwave and stir thoroughly (even though it will look like not much has happened).12 oz (340 g) quality dark or semisweet chocolate
- Return chocolate to the microwave and heat in 15-second intervals, stirring thoroughly and scraping down the sides of the bowl each time until chocolate begins to melt. Once chocolate appears to be about 50% melted, start checking the temperature.
- In order to properly temper chocolate (semisweet or dark chocolate in this instance), you must maintain a temperature above 87F (30C) but below 91F (33C). If you notice your chocolate has exceeded 87F but the chocolate still isn’t completely melted, just keep stirring it until the temperature has dropped or the remaining chocolate has melted).
- Once your chocolate is in temper, remove your peanut butter balls from the refrigerator.
- Dip the bottom of the peanut butter ball into the chocolate and then place on a candy fork (or just a regular fork, if you don’t have one!). Use a spoon to drizzle chocolate over the entire peanut butter ball until it is entirely cloaked in chocolate, then carefully slide off of the fork onto a wax paper lined baking sheet. Allow chocolate to resolidify before enjoying, and store in an airtight container in the refrigerator.
Notes
Peanut Butter
I do not recommend using a “natural” variety of peanut butter (the kind where the oil separates to the top). Unfortunately this often results in greasy peanut butter balls.Chocolate
I am providing instructions on how to properly temper your chocolate. This can be a bit tricky if you’ve never done it before and takes some practice for perfect results, but the goal of this is to prevent the unattractive white streaks that often form if chocolate is simply melted without being tempered. If you aren’t worried about appearance you can simply skip this step and melt your chocolate in 25 second increments. If following instructions for tempering, I do not recommend using chocolate chips.If you are using chocolate melting wafers or almond bark, you can simply melt your chocolate according to the package instructions and dip without worrying about temperature.
Storing
Store in an airtight container in the refrigerator for up to 1 week.Nutrition
Nutrition information is automatically calculated, so should only be used as an approximation.
Like this? Leave a comment below!


Will these freeze well?
Hi Kristen! We haven’t tried freezing them, but it shouldn’t be an issue. 🙂
I made some minor adjustments to make them into (21+)edibles for a party and we were eating them right out of the freezer, almost ice cream like it was so gooooood!!
Oh my goodness, these are the best!! Our family and neighbors LOVED them
We are so happy they were a hit, KT! 🩷
These are amazing !! They are super easy to make and so soft and delicious. My family and neighbors love them!
I’m so glad you enjoyed them so much! 🙂
Hello Sam,
Is there a replacement of the chocolate that you use? Would chocolate chips and butter/vegetable oil work for melting the chocolate chips?
Hi Dolan! I provide some information on why I don’t like to use chips below the recipe and instructions.
HI Sam,
Can you use this as cake pops?
Hi Jackie! I haven’t tried it, but they may be a bit too soft to hold on the stick. 🙁
I made these today. They turned out extremely greasy, although I used regular creamy peanut butter and I weighed all ingredients. I put them in the fridge for over 30 minutes prior to covering them with chocolate, hoping they would improve, but no such luck. They taste pretty good, but I will not make them again.
I’m so sorry this happened, Siggi! Sometimes if the cream cheese and butter are a little too warm this can happen. Some brands of peanut butter are a little bit oily as well. You can always add a little bit more powdered sugar to fix that. 🙂
I love your videos, they are so helpful!! This recipe looks amazing, all your recipes turn out amazing!! What is the name of fork you use to hold the peanut butter balls while drizzling the chocolate on them? I’ve been trying to research it, but I can’t find anything. Thank you!!
Thank you so much, Christine! I just went in to the “recommended equipment” section (below the ingredients in the recipe card) and added a link to the tools, it’s a simple set from Wilton that I use. I hope that helps, and I Hope you love the recipe! 🙂
These truffles look so scrumptious! And you know I love peanut butter! 🙂
Your photos are gorgeous!
Thanks so much Stephanie! A lot of time goes into them so I really appreciate that! :).
Have a great weekend!
Approximately how many can you make per recipe? Going to try these!
About 30. 🙂
These truffles look amazing- what a way to make the best of a bad situation! Also love how quickly they come together 🙂 Pinning!