
Edible Cookie Dough Recipe
This post may contain affiliate links. As an Amazon Associate I earn from qualifying purchases. Please read my disclosure policy.

This edible cookie dough recipe is a quick, easy, and safe to eat recipe made with no eggs and no raw flour. It tastes just like classic chocolate chip cookie dough, is ready in minutes, and includes plenty of flavor variations so you can make it your own. If you’ve ever been tempted to sneak a bite of cookie dough but thought better of it, this is the safer way to enjoy it. Includes a video tutorial.

The BEST Edible Cookie Dough Recipe (Safe to Eat Raw!)
My edible cookie dough recipe will curb all of your cookie dough cravings and spare you the risks that come with traditional raw cookie dough.
If you’re anything like me, you’ve probably had your fair share of “unsafe” cookie dough (most of the dough from my chocolate chip cookie recipe gets eaten before it even makes it on the baking sheet 🙈), but most of us know we’re not supposed to indulge. Here’s an edible cookie dough recipe that you can enjoy without the worry.
Why This Recipe Works:
- Heat-treated flour and no eggs. So you can feel comfortable eating this raw.
- Tastes like real cookie dough. Because it is real cookie dough, made with the same base ingredients. Creamed butter with brown sugar, salt, vanilla, and flour deliver classic flavor while a splash of milk replaces the eggs without sacrificing texture.
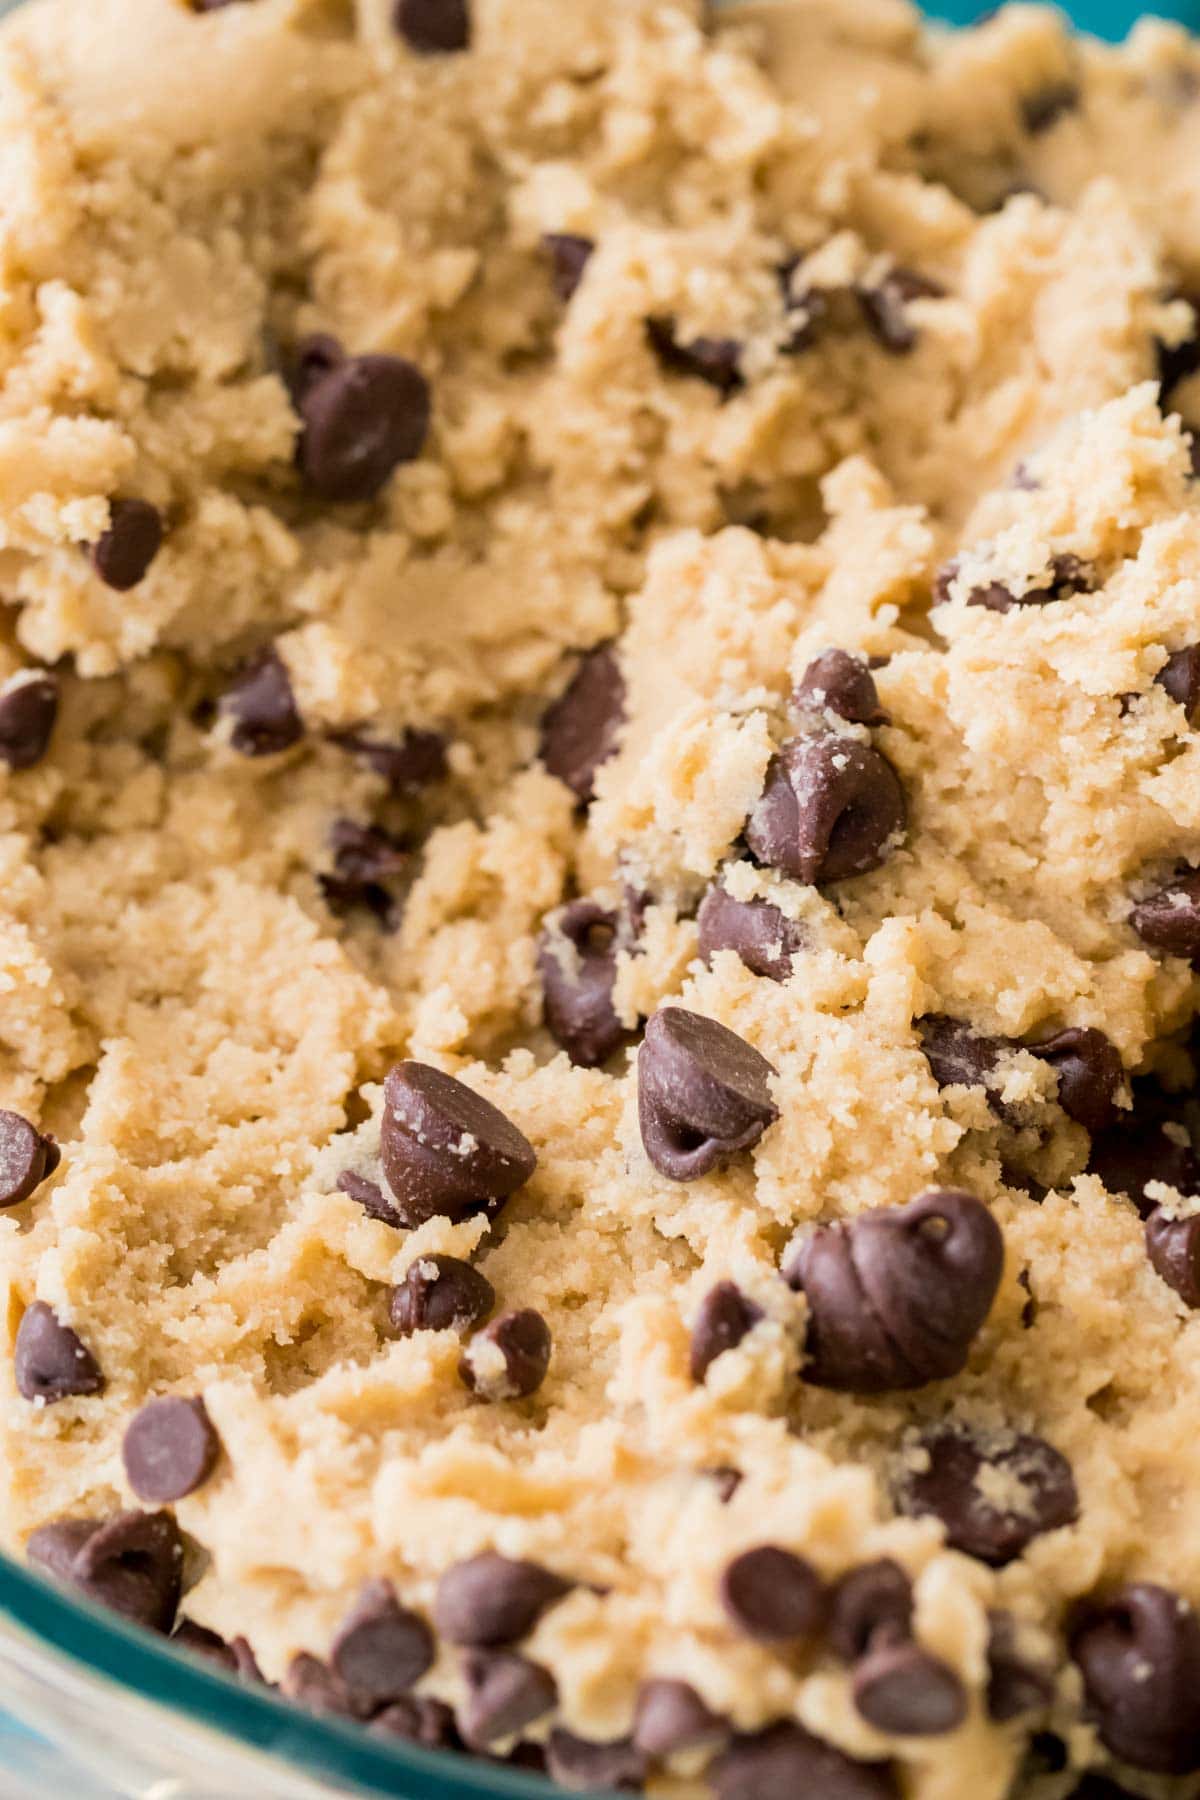
- Authentic cookie dough texture. Real cookie dough has a subtle grain due to the unmelted sugar, and we maintain that here.
- Customizable for any edible cookie dough craving. Feel free to add peanut butter, Oreos, sprinkles or any of your favorite mix-ins to-taste to make it your own.
Ingredients
The ingredients for an edible cookie dough recipe are going to be pretty similar to your favorite chocolate chip cookie recipe, with the obvious exception of eggs. Let’s talk about them.
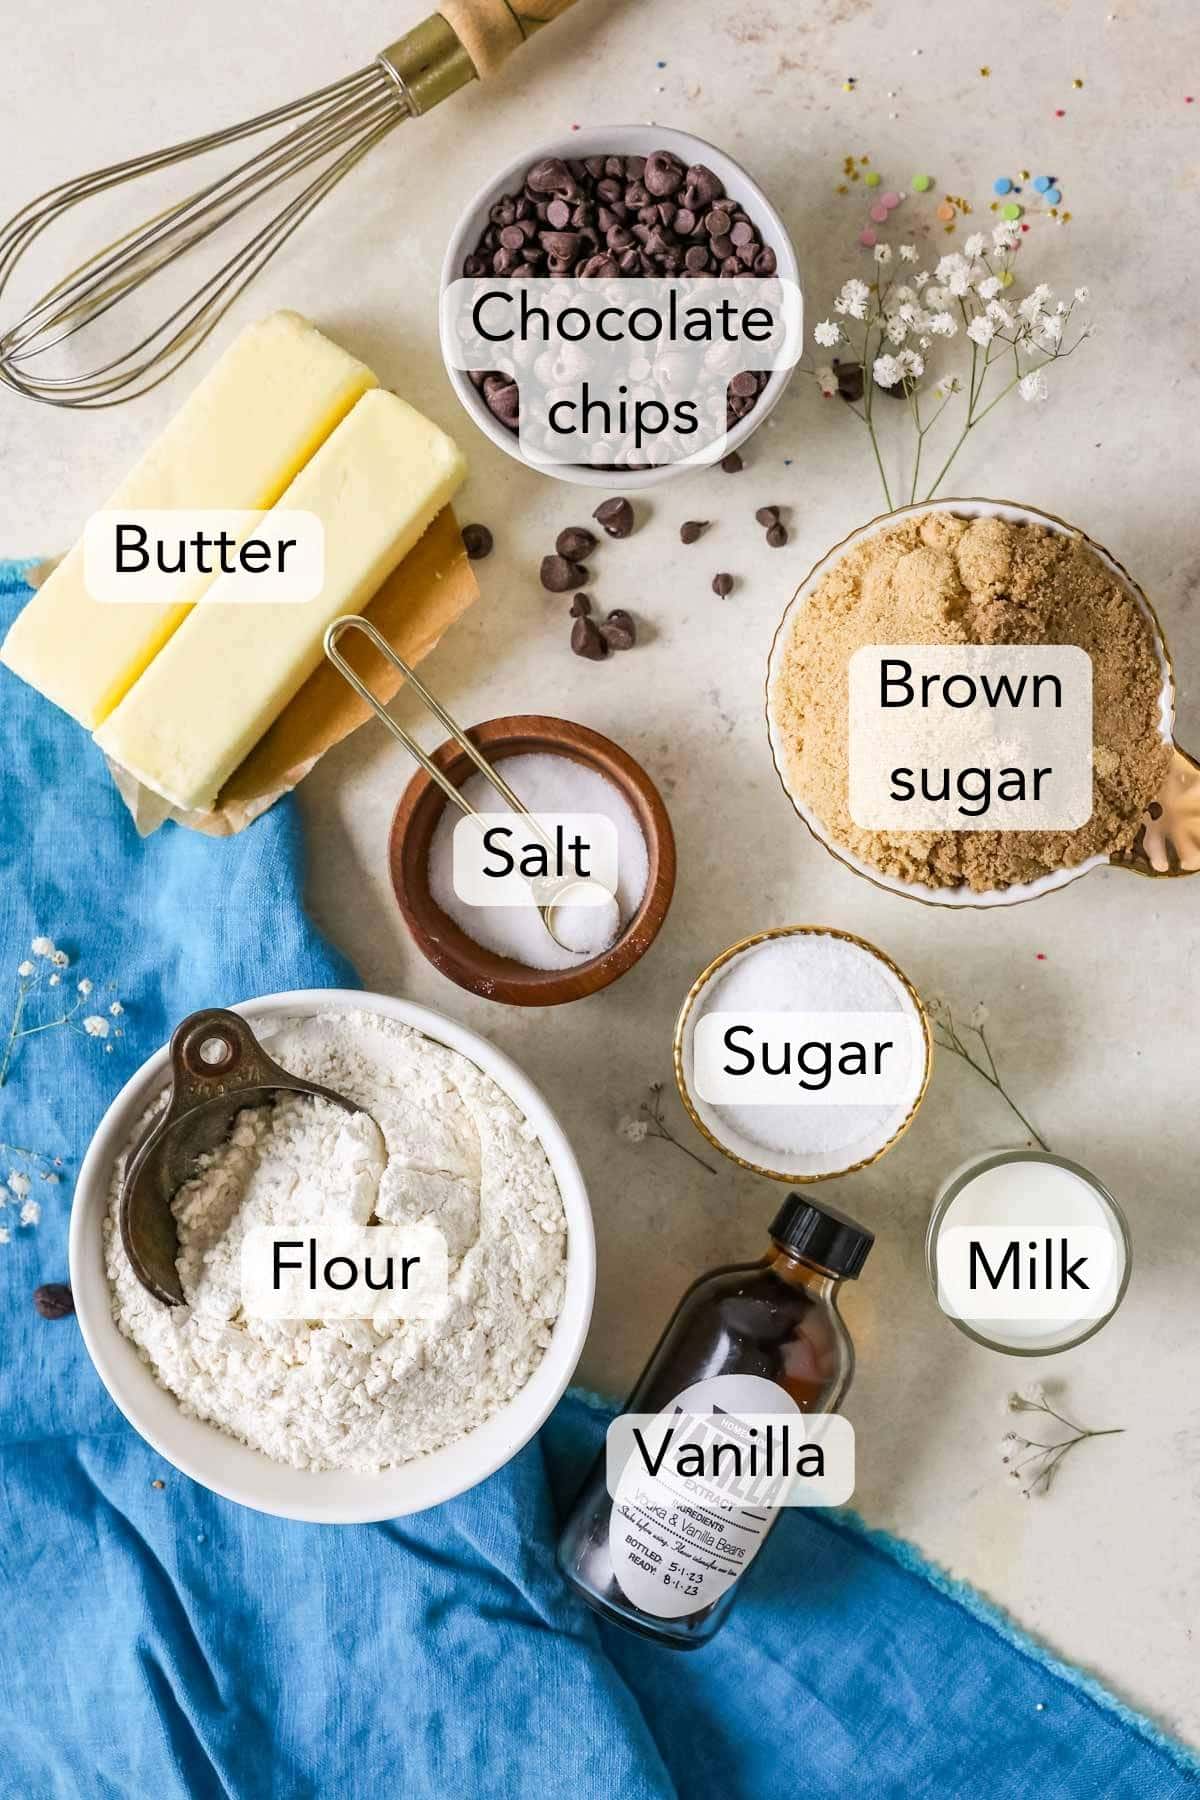
- Butter. Using unsalted butter allows us to control the salt level in our edible cookie dough. If all you have on hand is salted, just reduce the salt called for to 1/4 teaspoon.
- Sugar. Most of the sugar in this recipe is brown sugar. You can use light, dark, or a combination of the two, which is my preference. You can even make your own brown sugar.
- Heat treated flour. Heat treating takes just a few minutes and significantly reduces risk associated with eating raw flour. It’s key to making this edible cookie dough recipe. I’ll show you how to do it below.
- Vanilla extract. Don’t go overboard; a teaspoon is just the right amount to add depth without making the results cloying (just like with my cinnamon roll icing, I like to remind people it can actually ruin your recipe if you “measure with your heart” here).
- Milk. You may or may not need to add milk. I’ve made this recipe dozens of times and have never needed to add milk, and if you measure your flour properly, you likely won’t need it either. If your cookie dough seems dry, crumbly, or just not smooth enough, a few splashes of milk (or cream) will fix it right up.
What you won’t find: While I tried this edible cookie dough recipe with baking powder and baking soda, they made no difference in the flavor so we skip them there.
As always, this is just an overview of the ingredients I used and why. For the full recipe please scroll down to the bottom of the post!
How to Heat Treat Flour
According to the CDC, flour that is raw, or hasn’t been processed with heat may not be safe to eat. However, according to MSU flour that is heated to 165F will eradicate these concerns. Now, the FDA cautions that flour that is not properly and thoroughly heated to this temperature could still be risky, so it’s important that you understand this risk, and also that you check the temperature properly. Let’s talk about how to do this; there are two methods:
Method One: The Oven:
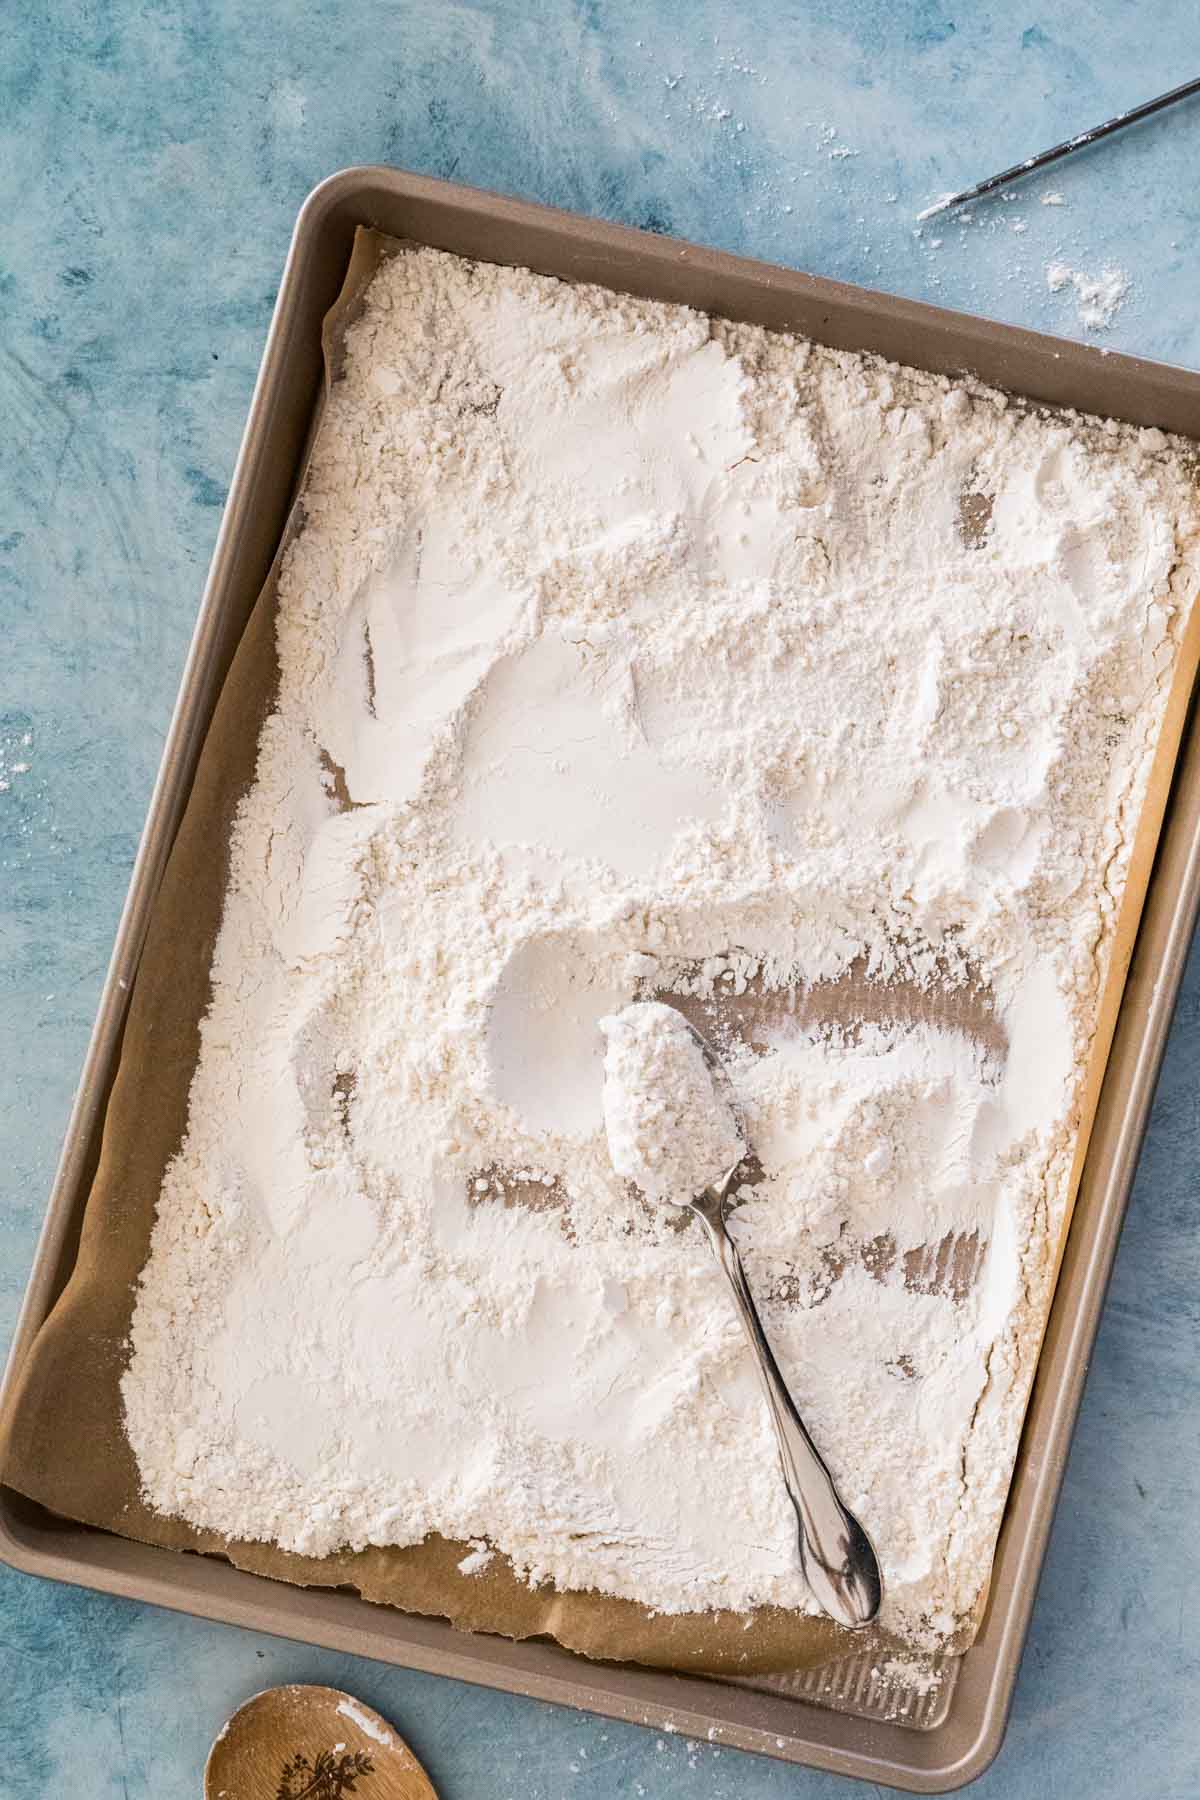
- Preheat your oven to 350F and line a cookie sheet with parchment paper (this will make transferring the flour later easy) and spread the flour in an even layer.
- Bake in your preheated oven for 5-7 minutes (may need longer).
- To ensure that the flour is safe, form it into a mound and check with an instant read thermometer to verify that the temperature is at least 165F. Give it a quick stir and check the temperature again, then do this again. Multiple checks of different sections of the flour will let you know if you’ve been successful.
Method 2: The Microwave:
- Place the flour in a small dish in an even layer.
- Heat for 30 seconds, stir, and check the temperature with an instant-read thermometer.
- Return to the microwave and heat in 15-second bursts until the temperature meets or exceeds 165F (always stir before testing).
Whichever method you choose, let the flour cool a bit before using.
Sam’s Tip
During the heat treating process, I found that some of the flour has the tendency to clump or bake together. To keep these clumps out of your cookie dough, run the flour through a sifter before stirring it into your edible cookie dough.
How to Make Edible Cookie Dough
- Heat treat your flour, let it cool, then sift it (sometimes lumps form as the flour cools, sifting it will break up any clumps!).
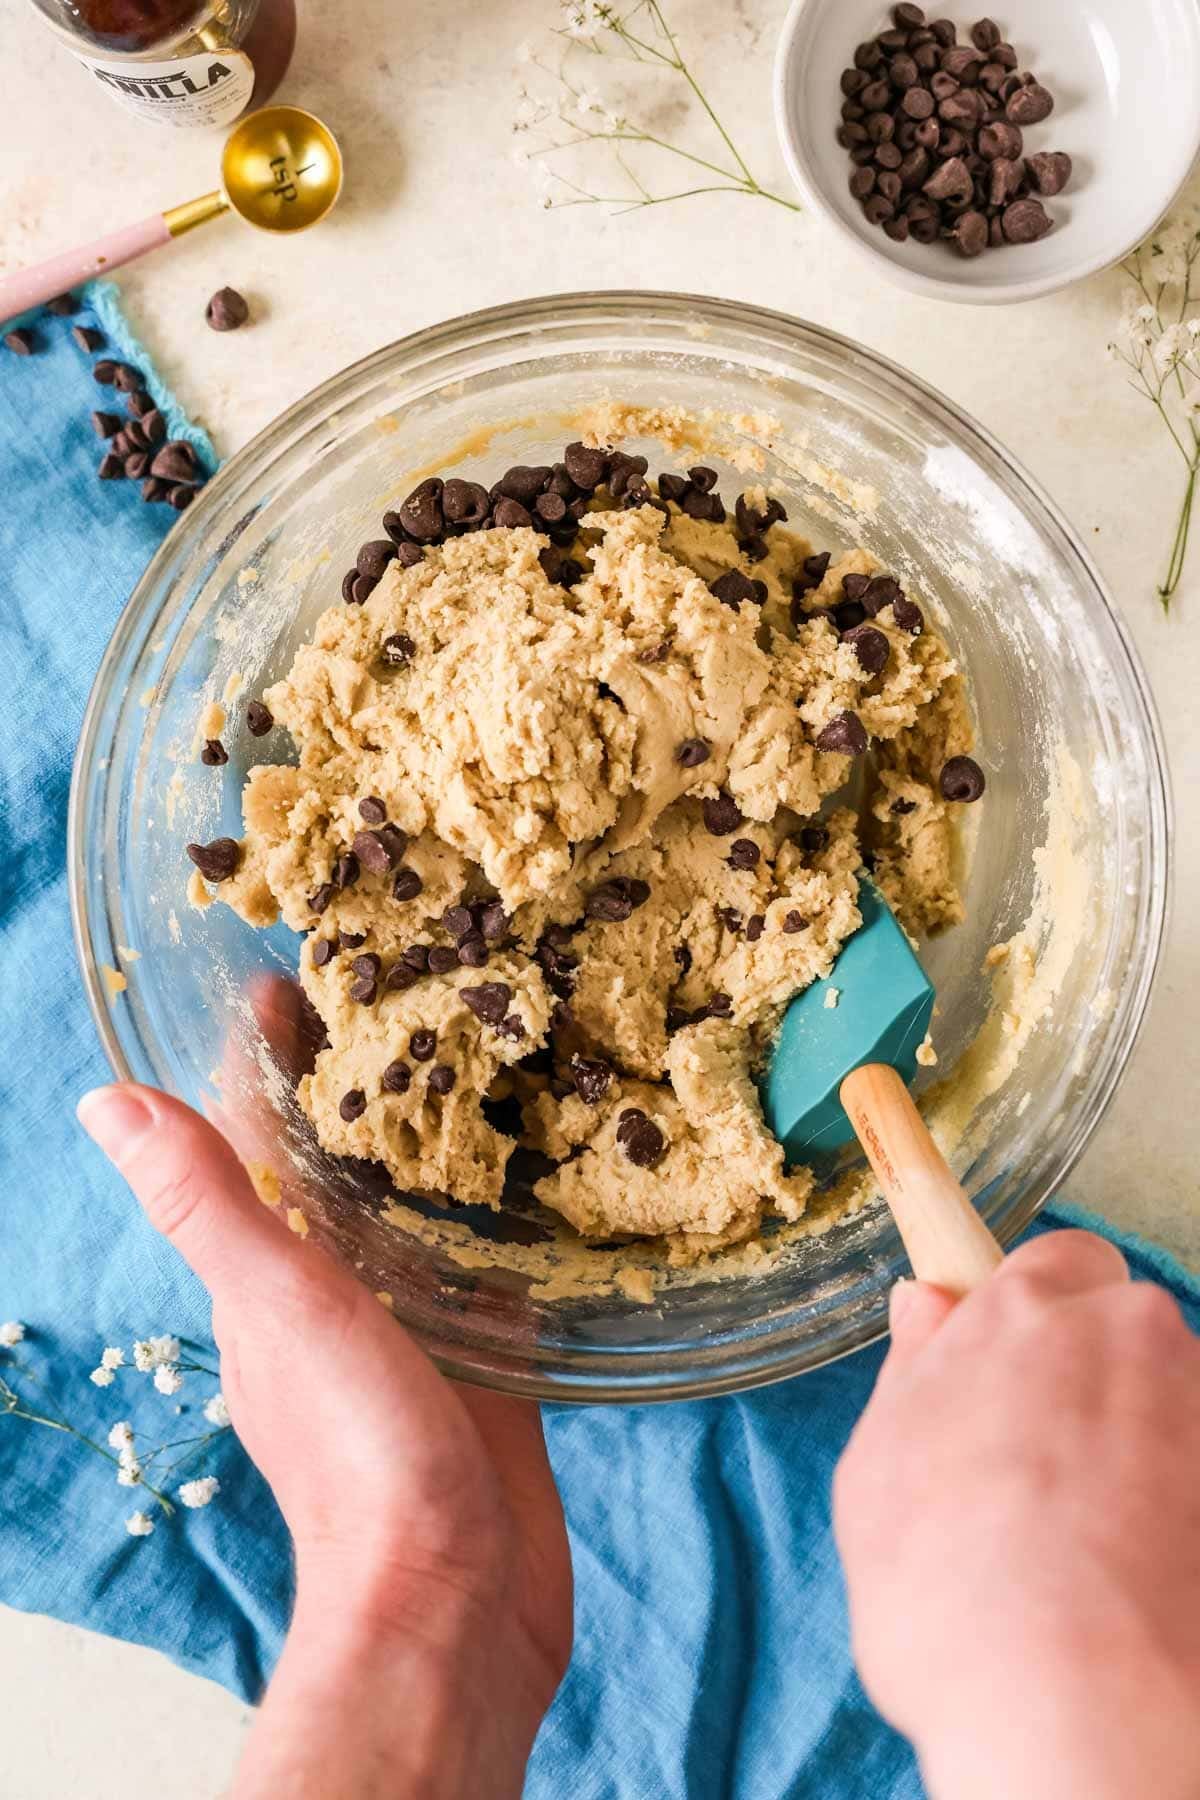
- Beat together the butter, sugars, vanilla extract, and salt in a separate bowl until creamy and very well-combined. I do this for several minutes on high speed (it helps the sugar dissolve a bit and makes the cookie dough creamier, too).
- Gradually stir in the flour until it’s well incorporated.
- Stir in your chocolate chips or other favorite add-ins.

Frequently Asked Questions
Typically this is a result of accidentally over-measuring flour or not mixing your dough well enough. To fix this, simply add a splash of milk (any kind will work) until your dough begins to come together again and is as creamy as you’d like it to be. If you’re not using a kitchen scale, check out my post on how to measure your flour properly, it contains a few helpful hints .
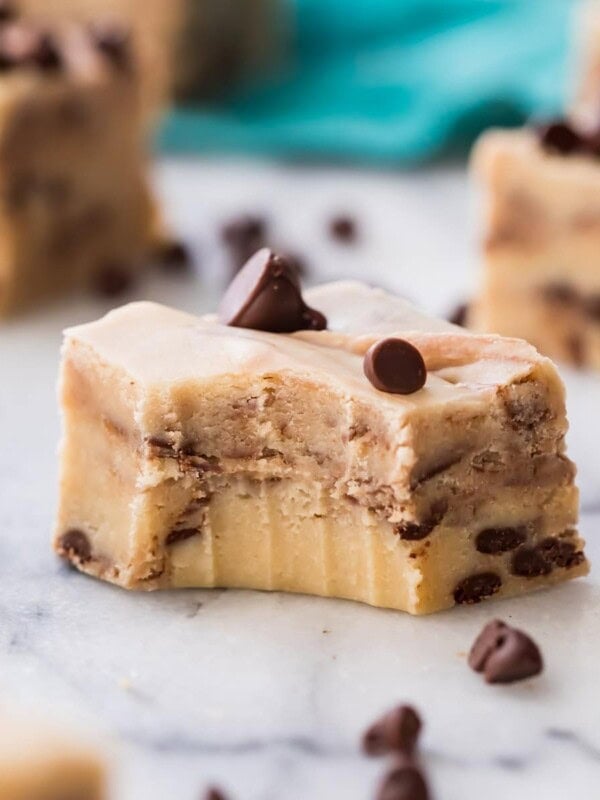
An authentic edible cookie dough recipe should have a bit of grit-like texture to it, because the real thing does! When cookie dough is raw/un-baked, the sugars in the dough have not yet melted. Anyone who has ever swiped a fingerful of cookie dough from their mixing bowl knows there’s a texture to it that comes from the sugar. Once the dough is baked, the sugars melt, and that texture goes away.
If the grit bothers you, my cookie dough bites and my cookie dough frosting tend to be less gritty and more smooth (thanks to a secret ingredient!), so feel free to try those to get a smoother cookie dough fix!
Yes, that’s one of my favorite things with my recipe. After making the dough, feel free to experiment with your favorite mix-ins. Make peanut butter cookies dough by stirring in peanut butter (to taste). Swap out the brown sugar for granulated sugar and add sprinkles for a Funfetti cake or sugar cookie version (a sprinkling of sanding sugar on top adds a nice touch). Chopped white chocolate and salted macadamia nuts make a white chocolate macadamia nut cookie version. Get creative and have fun, it’s hard to mess up this one!
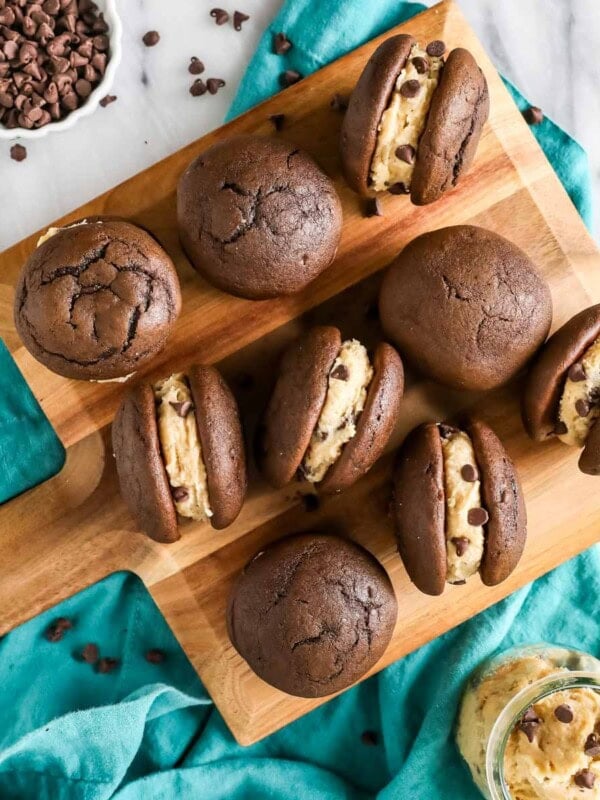
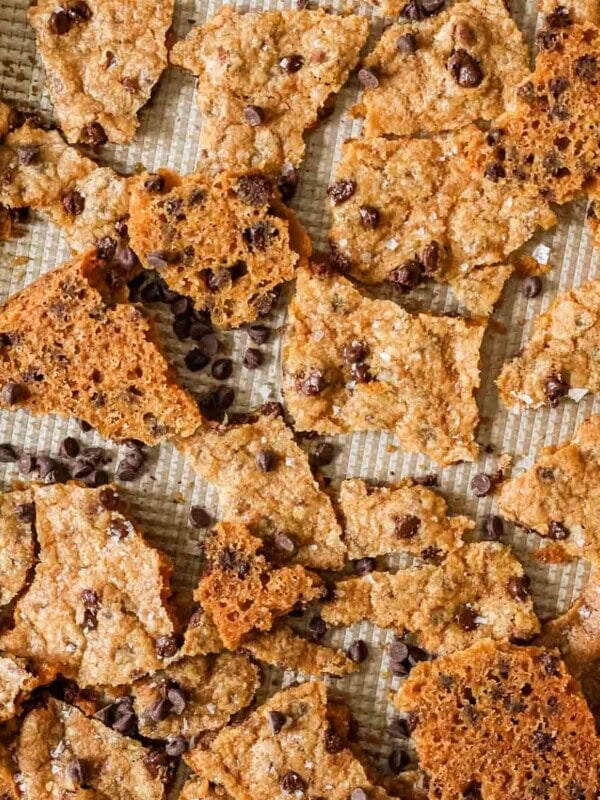
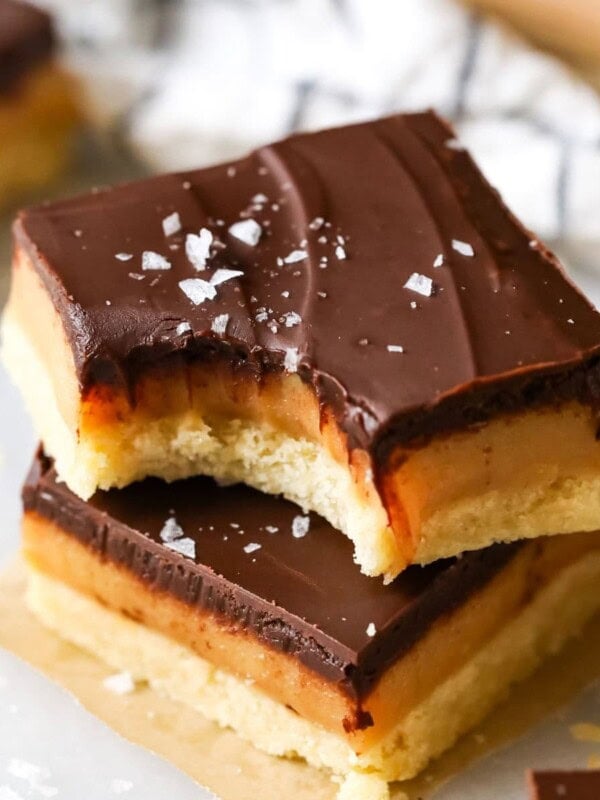
Related Recipes

I’d love to hear about the flavor combinations you come up with, so drop me a note in the comments 😊
Enjoy!
Let’s bake together! I’ll be walking you through all the steps in my written recipe and video below! If you try this recipe, be sure to tag me on Instagram, and you can also find me on YouTube and Facebook

Edible Cookie Dough Recipe
Equipment
- Baking pan
Ingredients
- 1 ¾ cup (215 g) all-purpose flour
- 1 cup (226 g) unsalted butter, softened to room temperature
- 1 ¼ cups (250 g) brown sugar, tightly packed, see note
- ¼ cup (50 g) granulated sugar
- 1 teaspoon vanilla extract
- ½ teaspoon table salt
- 1-2 Tablespoons milk, as needed (see note¹)
- ½ cup (85 g) semisweet chocolate chips, I recommend using a mix of mini and regular sized
Optional Mix-Ins
- creamy peanut butter
- colored sprinkles
- broken Oreo pieces
Instructions
- Heat treat your flour (please see note): Preheat your oven to 350F (175C). Line a baking sheet with parchment paper and spread flour in an even layer over the parchment paper. Bake in center of 350F (175C) oven for 5-7 minutes. Form the flour into a mound and insert a thermometer into the center to check the temperature (it must exceed 165F/74C). Give it a quick stir, form a new mound, and check the temperature again. Do this at least once more to confirm that the flour truly exceeds 165F (74C).1 ¾ cup (215 g) all-purpose flour
- Allow flour to cool completely, then run it through a sifter to break up any clumps that may have formed while heating. Set aside.
- In a large bowl (preferably a stand mixer), combine softened butter, sugar, vanilla extract, and salt. Use an electric mixer to cream together until very creamy and very well-combined, 1-3 minutes.1 cup (226 g) unsalted butter, 1 ¼ cups (250 g) brown sugar, tightly packed, ¼ cup (50 g) granulated sugar, 1 teaspoon vanilla extract, ½ teaspoon table salt
- Gradually add cooled, sifted flour, stirring until completely combined. If dough is too stiff after thoroughly stirring, add milk, one tablespoon at a time, until desired consistency is reached.1-2 Tablespoons milk
- Stir in chocolate chips (and any additional add-ins you might like!)½ cup (85 g) semisweet chocolate chips
- Enjoy!
Notes
Heat treating flour — alternative method
You can microwave your flour instead of baking it. Place it in a microwave-safe bowl in an even layer. Heat for 30 seconds, stir, then heat in 15-second bursts until temperature exceeds 165F (74C). Always stir before checking the tempreature.Heat treating flour — safety note
It’s worth noting that the FDA recently said, without much elaboration, that heat treating your flour at home could still be risky. I’m comfortable with this personally since I feel confident that my flour has reached safe temperature, but I wanted to share so you can be fully informed and please only do what you are comfortable with and consume at your own risk.Brown sugar
I like to use a blend of light and dark brown sugar (sometimes a bit heavier on the dark sugar), but if you only have one or the other on hand it’s completely fine to use whatever you have.¹Milk
I’ve never needed to use milk, but if your cookie dough is too stiff/crumbly add milk as needed, one Tablespoon at a time, to reach desired consistency.Storing
This cookie dough is best enjoyed immediately after preparing. It becomes quite firm and difficult to scoop in the fridge, so if you have leftovers, I recommend scooping them into 1 Tablespoon-sized scoops, rolling into balls, and storing in an airtight container in the fridge for up to a week. You’ll have cookie dough bites at the ready!Nutrition
Nutrition information is automatically calculated, so should only be used as an approximation.
Like this? Leave a comment below!
This recipe was originally published in April of 2022, I’ve updated it to include more information and additional helpful photos. Recipe remains the same!


I made this recipe yesterday. It tastes great, but what can I do to make it smooth and not so gritty? It’s like eating chocolate chip cookie flavored crunchy sand. I creamed the room temperature butter and sugars together in my stand mixer for 3 minutes. Was that not long enough? I thought leaving it to sit in the fridge overnight would help it out but it did not. Any advice?
Hi Amanda! That subtle grittiness is actually part of the cookie dough experience, unfortunately! It’s not meant to be totally smooth (since the sugar isn’t baked, it doesn’t melt, and that’s where that texture is coming from) but if you would like you could try cutting the brown sugar by 1/4 cup or so and whipping in a little heavy cream, that might help!
I am really looking forward to making these for my niece! I haven’t tried this one yet, but in the past, when my final product is drier than what the recipe states it’s due to the very dry climate I live in. I live in the Prairies (in Canada) and I have to always add a little more liquid or improvise a liquid in my recipes (if they aren’t created by chefs in dry climates!) I’m not sure where you live, but perhaps your readers who experienced this were also living in dry climates! 🙂 Just a thought. Thank you for this recipe and for the heat treating flour tip!
Thank you for the tip Rey! I am in the northeast US so not an overly dry climate. I have never had this issue, but thanks for letting me know. 🙂
This tastes exactly like cookie dough! If someone blindfolded me and taste tested me, I would definetly think this is real cookie dough! Only exeption is that use a 1/2 cup more of white sugar and it will taste a lot more real!
I am so glad you enjoyed the cookie dough, Violet! 🙂
Love this! Great snack for anyone like me who would rather eat the dough than the baked cookies…..lol. My only change is to use imitation vanilla as real vanilla extract left an off taste for me. (I usually only use real vanilla in my baking, but these won’t be baked and I can taste the alcohol since it wasn’t baked out) I used Baker’s Imitation Vanilla and the off taste is no longer there.
I’m so glad to hear you enjoyed, Kim! I’ve never noticed the taste using real vanilla but I am glad you mentioned that! Thank you for commenting 🙂
AMAZING! It tasted so good! Awesome recipe, Will make again! I couldn’t stop eating it! I added I tiny bit of whip cream to make it more creamy, it didn’t do much. EVERYONE TRY THIS! I want to rate it even more!
I’m so happy to hear you enjoyed, Heather! Thank you for commenting! 🙂
Hey um. Do you have to put the flour in the oven?
Hi Heather! The purpose of heat treating the flour is to eliminate the risk of E. Coli that has been linked to consuming raw flour. It will still taste great if you choose not to heat treat the flour. 🙂
It did taste really good! I couldn’t stop eating it.
Amazing taste!!! Tastes EXACTLY like the real cookie dough but edible… I advise everybody to try.
Thank you so much, Alexandra! I am so glad you enjoyed it. 🙂
How do I store any leftover dough ?? Refrigerator or on counter ?
While countertop would be OK for a few days, I recommend storing it an airtight container in the fridge, then letting it sit at room temperature to soften a bit before enjoying leftovers 🙂
I am so excited to try this!! My husband is a cookie dough junkie but I don’t let my kids eat it raw. This is just the solution we needed! And now my husband won’t have to sneak-eat dough. 🙂
😂 I hope everyone loves it. 🙂
The recipe was crumbly for them because they didn’t sift their flour. All in all, this is an awesome recipe and very versatile. YUMMERZ!!!
So glad you enjoyed it, Natalie!! 🙂
I would like to try a chocolate version, will have to experiment a little. Chocolate-chocolate chip sounds like a good start.
Let me know how it turns out! Chocolate-chocolate sounds great!!
I have just recently became addicted ! A new shop opened up close to where I work. Some flavors they have is Red Velvet cake with white chocolate chips and a pretzel & caramel. Yummy! Would love to try making them myself.
I have to confess that we didn’t toast the flour, but, it was DELICIOUS and nobody got sick so all is well! Five star recipe!
Absolutely love this post! My raw cookie dough obsession (especially chocolate chip) is unreal as well. I easily eat raw cookie dough without fear of food poisoning but that’s probably not the best thing to do so I truly appreciate your tips on properly toasting the flour for safer consumption. This recipe really looks incredible 🙂
I’m so glad you enjoyed, Kimberly! Thank you for commenting! 🙂
I didn’t even know raw flour was an issue…. I have no problem eating it either! Then again, I’m totally OK with not cooking eggs in ice cream or Caesar dressing. Anyway, I want to take a spoon to ALL of these! Also, I would TOTALLY get sick, but only because I’d way over-indulge… Maybe you need a disclaimer for that? 🙂
Haha, I like the way you think, Sues! I definitely made myself sick that way, too!