
Easy Homemade Biscuits
This post may contain affiliate links. As an Amazon Associate I earn from qualifying purchases. Please read my disclosure policy.
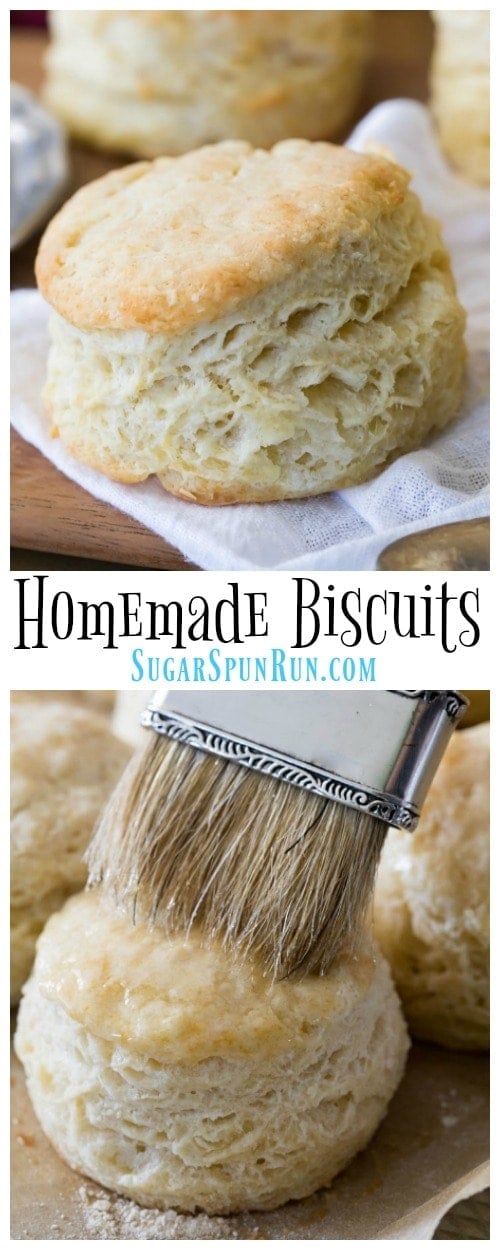
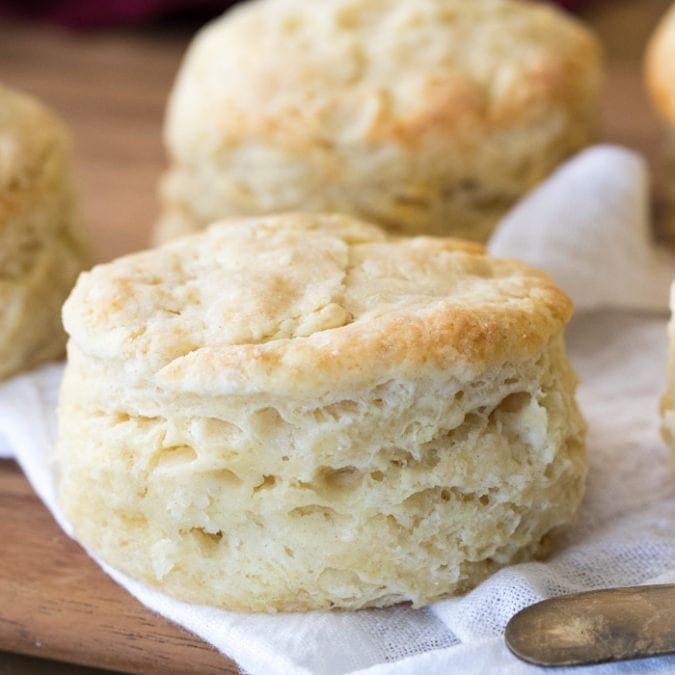
Buttery, soft, and made completely from scratch, this easy homemade biscuit recipe deserves a permanent place in your recipe repertoire. This recipe is made with all butter, no shortening!
With just 6 ingredients that I bet you already have on hand, these homemade biscuits are so simple to make and I’ve included plenty of tips (and a video!) to make sure you end up with perfect biscuits every single time.

Two reasons I’m super excited to share this homemade biscuit recipe with you today:
One: because homemade biscuits are delicious (obviously) and they’re so easy to make. So many people buy the canned version without realizing that they already have all of the ingredients to make them from scratch in their pantry.
The taste of a pre-made biscuit doesn’t hold a candle to a homemade biscuit. Not. even. close. Preservatives and artificial flavors, you aren’t welcome here.
Two: because ever since I started working on this biscuit recipe a few weeks ago, “Mind Your Own Biscuits” by Kacey Musgraves has been stuck in my head and I’ve been singing it off-key relentlessly.
Don’t get me wrong, I love Kacey Musgraves and her music, but every time I start singing my dog starts actually crying. It’s sad and hilarious, and if I wasn’t so embarrassed by my terrible singing voice I would have shared a video of it by now. Hopefully, by publishing this recipe I’ll release myself from the endless refrain and the animal abuse will finally stop.
But let’s talk more about the first reason.

Homemade biscuits call for just six ingredients: all-purpose flour, baking powder, sugar, salt, butter, and milk. And then more butter once they’re finished baking because of course we need more butter.
I mentioned that these biscuits are easy so do not be alarmed by all the tips that I have for you below. These biscuits are easy, but technique matters and I want to arm you with all the information that you need so that you can make these easily and have them come out perfectly the very first time.
The tips are simple but important, and while some more seasoned bakers already know them, I want to give everyone an even playing field.

Tips for Making Homemade Biscuits
- The butter and milk for this recipe need to be as cold as possible for fluffy and soft biscuits. I freeze my butter before using it and recommend keeping the milk in the refrigerator right up until it’s time to add it to the dry ingredients.
- Don’t overwork the dough! Keep in mind that you want your butter to stay as cold as possible when making these biscuits, and the more you have your hands on the dough the softer the butter will become. Definitely don’t use an electric mixer for this recipe.
- We’re going to do a little bit of laminating. This means folding the dough over itself multiple times (5-6 times here) to encourage flaky layers in our biscuits. You can watch the video below to see exactly how this is done.
- Don’t use a rolling pin, use your hands to gently work the dough into a flat rectangle before cutting out your biscuits.
- Don’t be afraid to add flour to the dough if it’s too sticky while you are handling it (and make sure to work on a lightly floured surface).
Visual clue: If you look at the pre-baked biscuit below, you’ll see that you can actually see the butter pieces in the dough. This is what you want, the ingredients won’t be well-combined like with a cookie dough and seeing bits of butter means you’ve actually done everything right here. Hooray!

A Few Notes on Butter in Homemade Biscuits
The butter is possibly the most important part of this recipe, and the way you handle it can make or break your homemade biscuits.
While you can certainly use a pastry cutter to cut your butter into the dry ingredients, I recommend freezing your butter for about 30 minutes before beginning. Then, use a box grater to grate the butter before combining this in with your dry ingredients.
I use this technique in my scone recipes and highly recommend it with these biscuits, too. Not only is it much easier than using a pastry cutter, but it does a great job of finely shredding and distributing the butter throughout the mixture without overworking the butter (remember, you want to manage the butter as little as possible so that it’s as cold as possible when going into the oven).
Alternatively you could also use a food processor (like I do with my pie crust recipe), but it’s just so easy to grate in the butter that I always use this method instead.
And yes, I do recommend using unsalted butter in this recipe and then adding salt. If you want to know more about why I write my recipes this way, you can read all about it (and an easy substitution if you only have salted butter on hand) in this post that I wrote about salted vs unsalted butter.

I know I’ve mentioned to you guys a few times that I’ve been working on a baking contest/challenge/I’m really not sure what to call it, but I’m planning a post where I encourage all of you to bake along with me. The goal is to get people baking recipes they may have not tried before, and I’m encouraging everyone to share their results for a chance to win a small prize.
Well, today’s homemade biscuit recipe is essentially the base for the baking challenge that I’ll be sharing in exactly one week, so take this as a hint that making today’s recipe is a great way to get a jump start for the challenge!
To make sure you’re among the first to be notified of all new recipes and baking challenges, make sure you’re subscribed to my e-mail list. It’s free, and you get a free e-book of 8 of my favorite cookie recipes.
Enjoy!
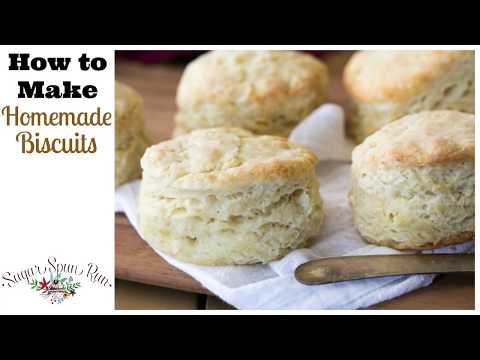
How to Make Homemade Biscuits
I know I talked a lot in this video, but I really feel that the tips are so important, and will help ensure your biscuits come out perfectly!
Homemade Biscuits
Ingredients
- 2 cups all-purpose flour, (250g)
- 1 Tablespoon baking powder
- 1 Tablespoon granulated sugar
- 1 teaspoon salt
- 6 Tablespoons unsalted butter, very cold (85g), unsalted European butter is ideal, but not required
- ¾ cup whole milk¹, (177ml) buttermilk or 2% milk will also work
Instructions
- For best results, chill your butter in the freezer for 10-20 minutes before beginning this recipe. It's ideal that the butter is very cold for light, flaky, buttery biscuits.
- Preheat oven to 425F and line a cookie sheet with nonstick parchment paper. Set aside.
- Combine flour, baking powder, sugar, and salt in a large bowl and mix well. Set aside.2 cups all-purpose flour, 1 Tablespoon baking powder, 1 Tablespoon granulated sugar, 1 teaspoon salt
- Remove your butter from the refrigerator and either cut it into your flour mixture using a pastry cutter or (preferred) use a box grater to shred the butter into small pieces and then add to the flour mixture and stir.6 Tablespoons unsalted butter
- Cut the butter or combine the grated butter until the mixture resembles coarse crumbs.
- Add milk, use a wooden spoon or spatula to stir until combined (don't over-work the dough).¾ cup whole milk¹
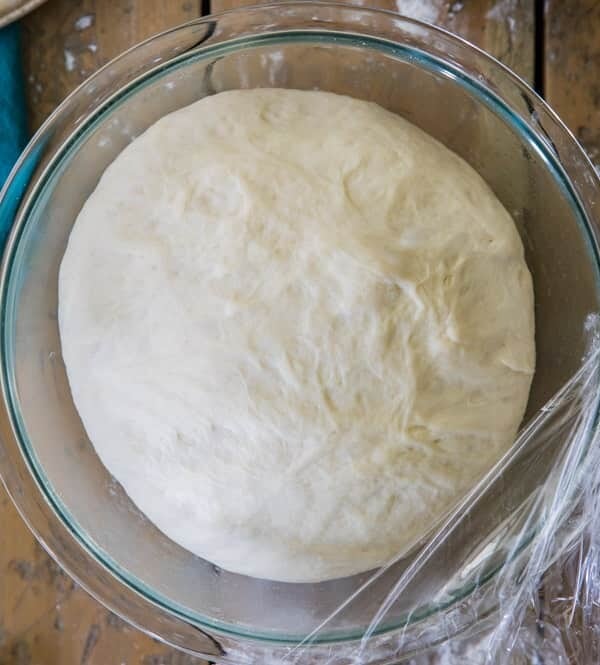
- Transfer your biscuit dough to a well-floured surface and use your hands to gently work the dough together. If the dough is too sticky, add flour until it is manageable.
- Once the dough is cohesive, fold in half over itself and use your hands to gently flatten layers together. Rotate the dough 90 degrees and fold in half again, repeating this step 5-6 times but taking care to not overwork the dough.
- Use your hands (do not use a rolling pin) to flatten the dough to 1" thick and lightly dust a 2 ¾" round biscuit cutter with flour.
- Making close cuts, press the biscuit cutter straight down into the dough and drop the biscuit onto your prepared baking sheet.
- Repeat until you have gotten as many biscuits as possible and place less than ½" apart on baking sheet.
- Once you have gotten as many biscuits as possible out of the dough, gently re-work the dough to get out another biscuit or two until you have at least 6 biscuits.
- Bake on 425F for 12 minutes or until tops are beginning to just turn lightly golden brown.
- If desired, brush with melted salted butter immediately after removing from oven. Serve warm and enjoy.
Notes
Nutrition
Nutrition information is automatically calculated, so should only be used as an approximation.
Like this? Leave a comment below!
Penny likes to supervise the photography process. Fortunately, this setup got her vote of approval.


Do you suppose these would still work if I used a veggie purée in place of milk?
Hi Jess! I haven’t personally tried it so I can’t say for sure how it would work.
these were the nastiest biscuits I’ve ever made. omg.
Hi Lisa! I would recommend replacing your baking powder as it’s the most likely culprit of a bitter taste. 🙁
Biscuits were very light and fluffy. I don’t know why, but mine raised and fell over. Any suggestions. I only had 1% milk in the fridge, so that is what I used.
I’m glad you You still enjoyed them, Nancy! The 1% milk would just reduce the moisture in the biscuits a little bit. Sometimes if you don’t push the cutter down perfectly evenly it will smash one side and cause them to eventually fall over. 🙁
Thanks. I thought the milk might affect it. And will watch myself when I cut them out next time. Still very delicious.
I absolutely love this recipe!! Would you recommend freezing before or after baking when doing larger batches? And would you do multiple small batches or is it ok to increase 4x?
Thanks!
Hi Danielle! Personally I like to freeze before baking and then bake from frozen. They will take an extra minute or two to bake from frozen. A freshly baked biscuit is sooooo hard to beat! You can do a large batch if you’d like, I would just be very careful to not overwork the dough and warm up the butter too much. 🙂
Thank you for this recipe it’s the bomb!
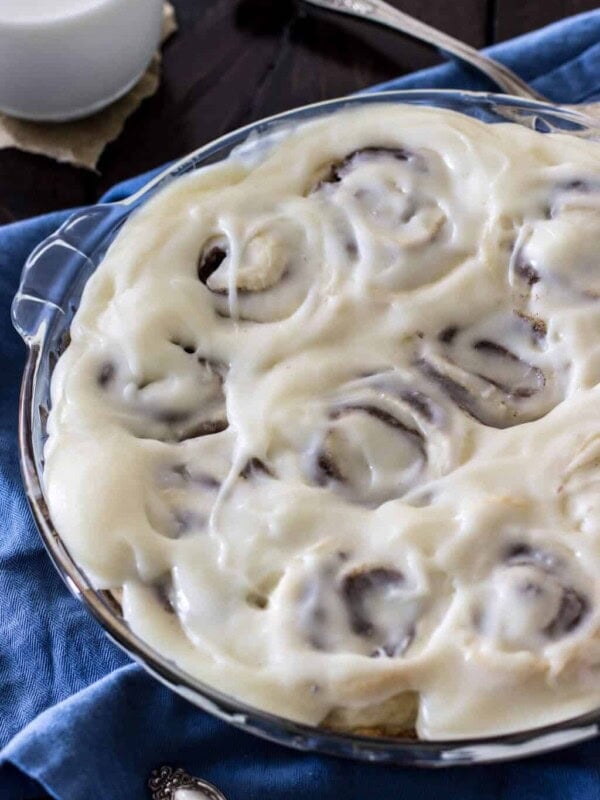
After making these biscuits about a billion and one times for my family and friends, I sorta just run this recipe on autopilot. I’m sure I’m not the only one since these really are the best homemade biscuits ever. Well I’d gotten a hankering for something sweet one evening and set out to make cinnamon rolls. I was gabbing with my son about our piglet and my autopilot must have kicked in as soon as I grabbed for the flour and so before I’d realized it, I’d made a double batch of biscuit dough rather than the cinnamon roll dough I’d originally intended to make. Not wanting to set these aside for later and then have to start all over to make another kind of dough – I said screw it – and used this dough recipe instead of the called for dough recipe to make my cinnamon rolls AND I’M TELLING YOU THIS BECAUSE IT WAS SO DARN GOOD THAT IT FELT SHAMEFULLY CRIMINAL NOT TO SHARE THE IDEA. You don’t even need any particular recipe. Just make this dough, roll it out, top with butter and cover in a cinnamon and sugar mixture, then roll it up into a log and chop into whatever thickness you’d like each to roll to be, then bake as directed in this recipe (give or take a few) and voila! If you’re looking for the whole experience here, you can whip up some icing to drizzle over the finished product and there you have it, folks! Heaven you can fit in your hand! Enjoy!
I’m so glad you enjoyed them so much, Mandy! I actually did the same thing in my no yeast cinnamon rolls. They are SOOOO good! 🙂
I made these this morning AND the sausage gravy. It was my first time making homemade biscuits. They do not look pretty, but the are soooooo delicious!!! I’ll be making them again for sure.
We are so happy you gave them both a try, Melissa! Enjoy 😊
my entire family LOVEs these biscuits and regularly requests them.
So glad they are such a hit, Sarah! Thanks for the review 🩷
These are the best biscuits I have ever made. I followed the recipe exactly and used buttermilk and they came out perfect. Husband loved them!
This has been my go to recipe for a while. It’s quick, easy, and delicious. I use white whole wheat flour to add some nutrition, and it works great without any recipe modifications. I now have a child with food allergies (milk, eggs, nuts, peanuts), so I’ve started making it with soy milk and plant butter, and it works just as well as regular milk and butter! This makes a great allergy friendly biscuit without being a specific allergy free recipe
So glad to hear that it’s working out for you with those alterations, Kimberly! Thanks so much for trusting our recipe 🩷
Can you bake them in an iron skillet rubbed down with butter?
While I haven’t personally done it I think that could work just fine. Your bake time may change a little bit, but just keep an eye on them. 🙂
I used this for my first time actually making homemade biscuits and they came out great. I love the measurements partway through as well because I can never be bothered to pre measure stuff most of the time
So glad you enjoyed them, George! Homemade biscuits are the best biscuits 😊
Quick and easy to follow instructions. Always turn out perfect
This is my go to Biscuit Recipe. Quick and easy to make and always come out delicious. My family loves them and even thought they were store bought.
Thank you for the recipe and easy to follow instructions.
Hi! In what way should I adjust the recipe if I am using salted butter?
Hi Lydia! You can reduce the salt in the recipe by about ¼ teaspoon.
Thank you for the info! I made some with salted butter and reduced it according to the info you gave me. It turned out great! I was delicious! 😋
Biscuits came out, fluffy, airy, and extremely tasty
thanks for the encouragement. I really think I actually forgot the oil in my cobweb b.p. biscuit recipe. the baseballs are still tasty.
Another 5 star review here! I rarely comment on recipes, but this is a must! I’ve never been a fan of biscuits, but was asked to make biscuits and gravy for a brunch at my son’s home. I decided to do a trial run of these today in case I needed to go to the store and buy biscuit mix, or even worse,, frozen or canned biscuits. I might add that I am in my 70’s so that’s how long I thought I wasn’t a fan of biscuits. Until today. OMGoodness, I can’t stay out of these! Absolutely the perfect biscuit. I’ll admit, I made the recipe twice because the first time the dough was too dry. My fault because I used a dry measuring cup (and I know better!) to measure the milk. The 2nd time I measured by weight using my kitchen scale and they are perfect. Now, I can’t wait to show off my biscuits at my son and daughter-in-laws brunch!
Really appreciate how the measurements are also written in the instructions. I’ve gone back And fourth So many times, because i’m not a pre measure out person to save on dishes and time.
For real!!! Recipes that show this truly are the MVP. So much faster and useful!
Impressed how easy to make – they came out golden & flaky my family loved them!
These were incredible!! First time making homemade biscuits and kicking myself for not doing it sooner. Easier than I thought and tastes way better than store bought of course! I plan on making a larger batch so I can freeze and save some time in the future 🙂