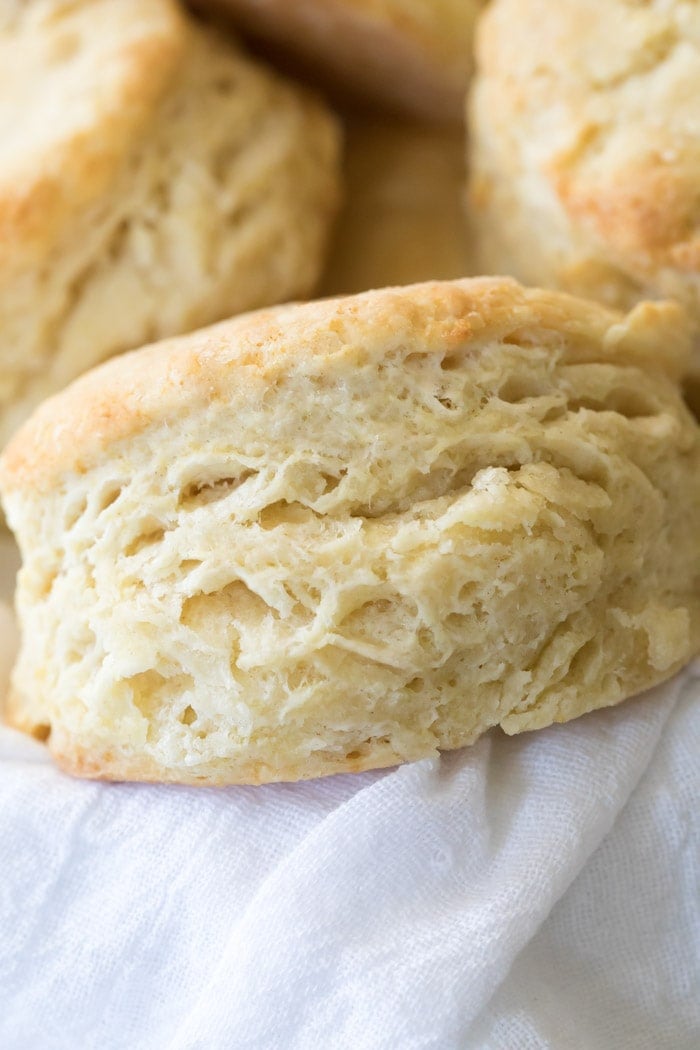
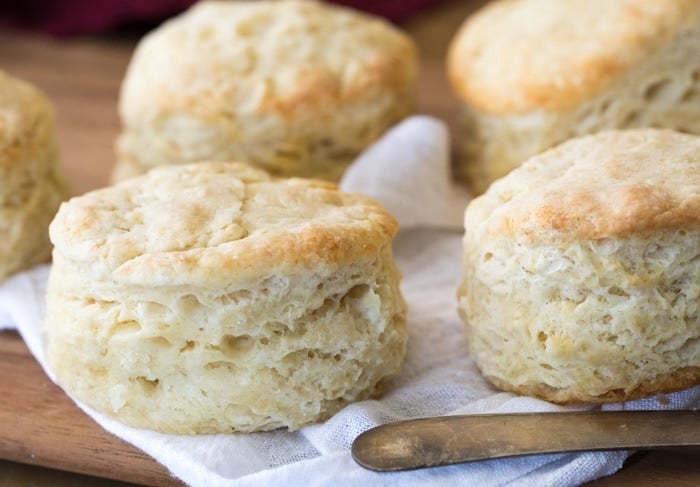
Buttery, soft, and made completely from scratch, this easy homemade biscuit recipe deserves a permanent place in your recipe repertoire. This recipe is made with all butter, no shortening!
With just 6 ingredients that I bet you already have on hand, these homemade biscuits are so simple to make and I’ve included plenty of tips (and a video!) to make sure you end up with perfect biscuits every single time.
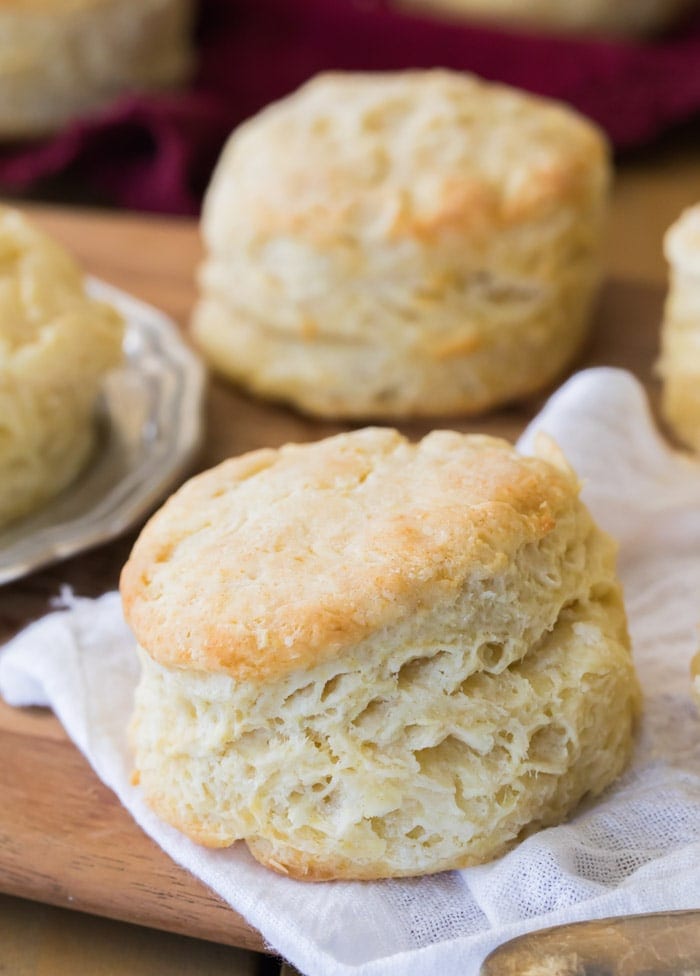
Two reasons I’m super excited to share this homemade biscuit recipe with you today:
One: because homemade biscuits are delicious (obviously) and they’re so easy to make. So many people buy the canned version without realizing that they already have all of the ingredients to make them from scratch in their pantry.
The taste of a pre-made biscuit doesn’t hold a candle to a homemade biscuit. Not. even. close. Preservatives and artificial flavors, you aren’t welcome here.
Two: because ever since I started working on this biscuit recipe a few weeks ago, “Mind Your Own Biscuits” by Kacey Musgraves has been stuck in my head and I’ve been singing it off-key relentlessly.
Don’t get me wrong, I love Kacey Musgraves and her music, but every time I start singing my dog starts actually crying. It’s sad and hilarious, and if I wasn’t so embarrassed by my terrible singing voice I would have shared a video of it by now. Hopefully, by publishing this recipe I’ll release myself from the endless refrain and the animal abuse will finally stop.
But let’s talk more about the first reason.
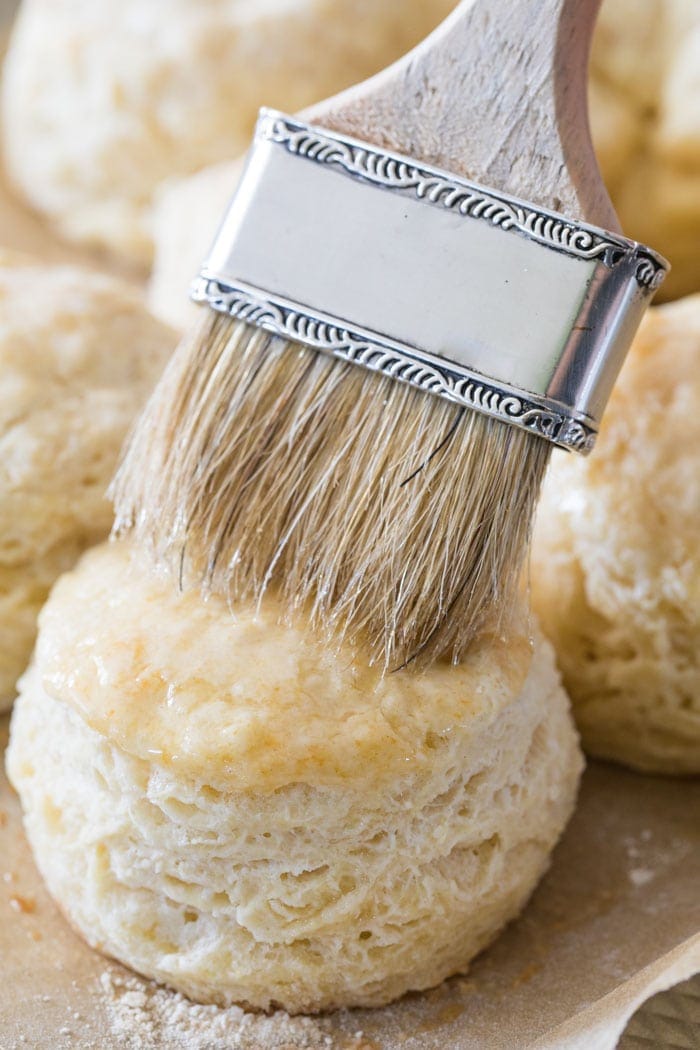
Homemade biscuits call for just six ingredients: all-purpose flour, baking powder, sugar, salt, butter, and milk. And then more butter once they’re finished baking because of course we need more butter.
I mentioned that these biscuits are easy so do not be alarmed by all the tips that I have for you below. These biscuits are easy, but technique matters and I want to arm you with all the information that you need so that you can make these easily and have them come out perfectly the very first time.
The tips are simple but important, and while some more seasoned bakers already know them, I want to give everyone an even playing field.
Tips for Making Homemade Biscuits
- The butter and milk for this recipe need to be as cold as possible for fluffy and soft biscuits. I freeze my butter before using it and recommend keeping the milk in the refrigerator right up until it’s time to add it to the dry ingredients.
- Don’t overwork the dough! Keep in mind that you want your butter to stay as cold as possible when making these biscuits, and the more you have your hands on the dough the softer the butter will become. Definitely don’t use an electric mixer for this recipe.
- We’re going to do a little bit of laminating. This means folding the dough over itself multiple times (5-6 times here) to encourage flaky layers in our biscuits. You can watch the video below to see exactly how this is done.
- Don’t use a rolling pin, use your hands to gently work the dough into a flat rectangle before cutting out your biscuits.
- Don’t be afraid to add flour to the dough if it’s too sticky while you are handling it (and make sure to work on a lightly floured surface).
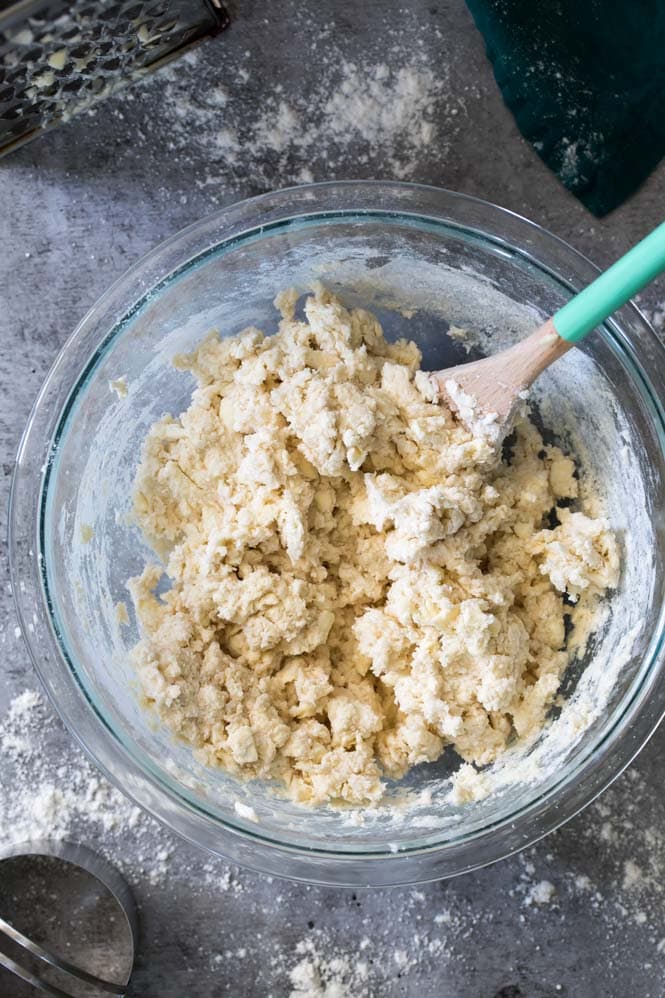
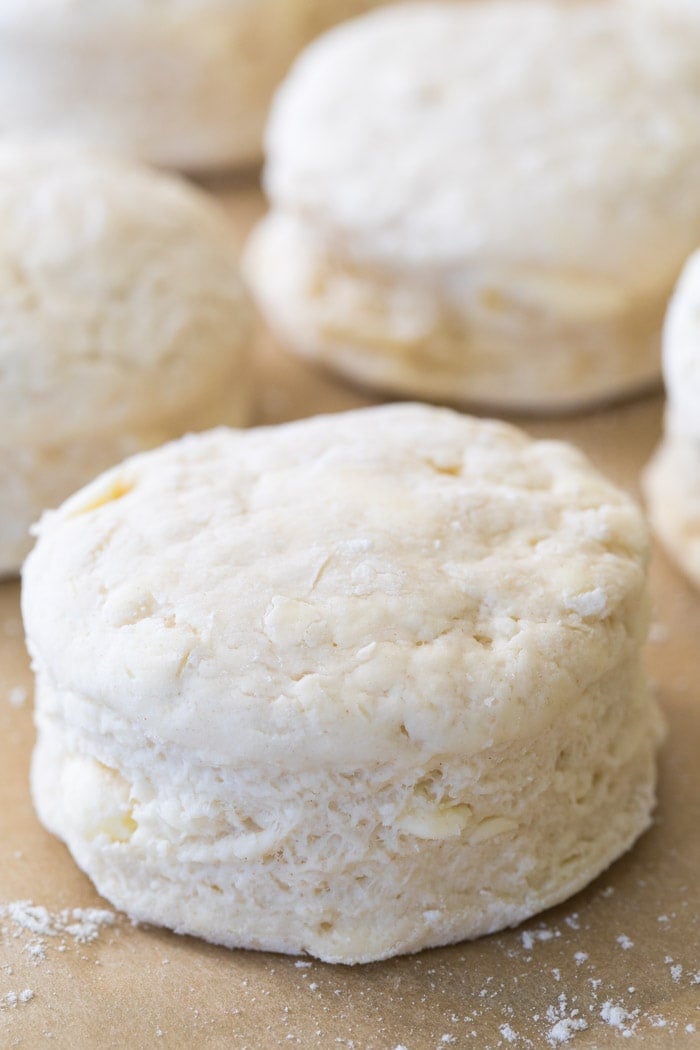
Visual clue: If you look at the pre-baked biscuit below, you’ll see that you can actually see the butter pieces in the dough. This is what you want, the ingredients won’t be well-combined like with a cookie dough and seeing bits of butter means you’ve actually done everything right here. Hooray!
A Few Notes on Butter in Homemade Biscuits
The butter is possibly the most important part of this recipe, and the way you handle it can make or break your homemade biscuits.
While you can certainly use a pastry cutter to cut your butter into the dry ingredients, I recommend freezing your butter for about 30 minutes before beginning. Then, use a box grater to grate the butter before combining this in with your dry ingredients.
I use this technique in my scone recipes and highly recommend it with these biscuits, too. Not only is it much easier than using a pastry cutter, but it does a great job of finely shredding and distributing the butter throughout the mixture without overworking the butter (remember, you want to manage the butter as little as possible so that it’s as cold as possible when going into the oven).
Alternatively you could also use a food processor (like I do with my pie crust recipe), but it’s just so easy to grate in the butter that I always use this method instead.
And yes, I do recommend using unsalted butter in this recipe and then adding salt. If you want to know more about why I write my recipes this way, you can read all about it (and an easy substitution if you only have salted butter on hand) in this post that I wrote about salted vs unsalted butter.
I know I’ve mentioned to you guys a few times that I’ve been working on a baking contest/challenge/I’m really not sure what to call it, but I’m planning a post where I encourage all of you to bake along with me. The goal is to get people baking recipes they may have not tried before, and I’m encouraging everyone to share their results for a chance to win a small prize.
Well, today’s homemade biscuit recipe is essentially the base for the baking challenge that I’ll be sharing in exactly one week, so take this as a hint that making today’s recipe is a great way to get a jump start for the challenge!
To make sure you’re among the first to be notified of all new recipes and baking challenges, make sure you’re subscribed to my e-mail list. It’s free, and you get a free e-book of 8 of my favorite cookie recipes.
Enjoy!
How to Make Homemade Biscuits
I know I talked a lot in this video, but I really feel that the tips are so important, and will help ensure your biscuits come out perfectly!

Homemade Biscuits
Ingredients
- 2 cups all-purpose flour (250g)
- 1 Tablespoon baking powder
- 1 Tablespoon granulated sugar
- 1 teaspoon salt
- 6 Tablespoons unsalted butter very cold (85g), unsalted European butter is ideal, but not required
- ¾ cup whole milk¹ (177ml) buttermilk or 2% milk will also work
Recommended Equipment
Instructions
- For best results, chill your butter in the freezer for 10-20 minutes before beginning this recipe. It's ideal that the butter is very cold for light, flaky, buttery biscuits.
- Preheat oven to 425F and line a cookie sheet with nonstick parchment paper. Set aside.
- Combine flour, baking powder, sugar, and salt in a large bowl and mix well. Set aside.2 cups all-purpose flour, 1 Tablespoon baking powder, 1 Tablespoon granulated sugar, 1 teaspoon salt
- Remove your butter from the refrigerator and either cut it into your flour mixture using a pastry cutter or (preferred) use a box grater to shred the butter into small pieces and then add to the flour mixture and stir.6 Tablespoons unsalted butter
- Cut the butter or combine the grated butter until the mixture resembles coarse crumbs.
- Add milk, use a wooden spoon or spatula to stir until combined (don't over-work the dough).¾ cup whole milk¹
- Transfer your biscuit dough to a well-floured surface and use your hands to gently work the dough together. If the dough is too sticky, add flour until it is manageable.
- Once the dough is cohesive, fold in half over itself and use your hands to gently flatten layers together. Rotate the dough 90 degrees and fold in half again, repeating this step 5-6 times but taking care to not overwork the dough.
- Use your hands (do not use a rolling pin) to flatten the dough to 1" thick and lightly dust a 2 ¾" round biscuit cutter with flour.
- Making close cuts, press the biscuit cutter straight down into the dough and drop the biscuit onto your prepared baking sheet.
- Repeat until you have gotten as many biscuits as possible and place less than ½" apart on baking sheet.
- Once you have gotten as many biscuits as possible out of the dough, gently re-work the dough to get out another biscuit or two until you have at least 6 biscuits.
- Bake on 425F for 12 minutes or until tops are beginning to just turn lightly golden brown.
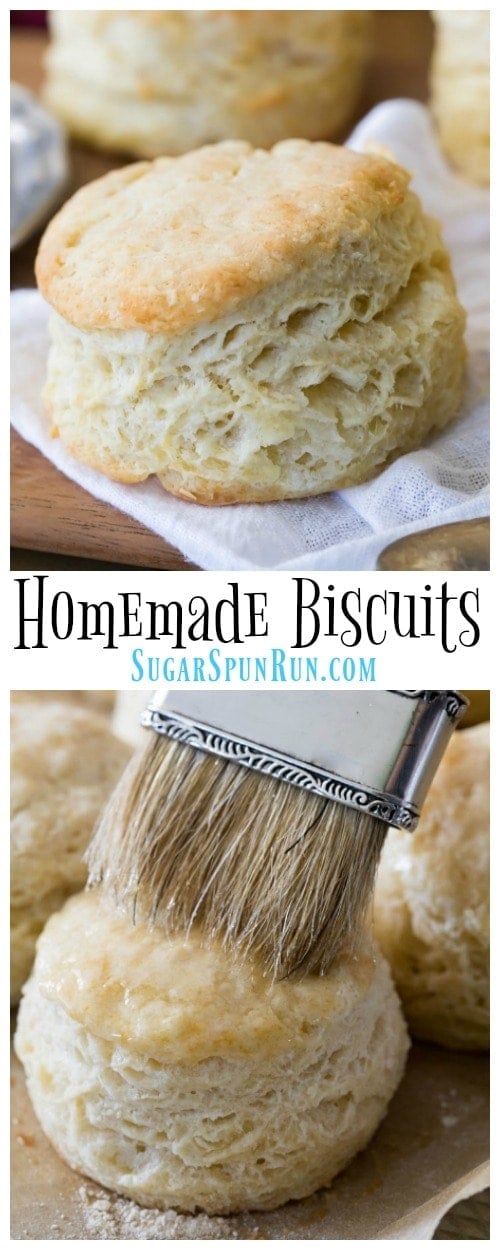
- If desired, brush with melted salted butter immediately after removing from oven. Serve warm and enjoy.
Notes
Nutrition
Nutritional information is based on third-party calculations and should be considered an estimate only. Actual nutritional content will vary based upon brands used, measuring methods, cooking method, portion sizes, and more.
Penny likes to supervise the photography process. Fortunately, this setup got her vote of approval.




Cheryle King
Thanks for the tips! I’ve tried making biscuits before, but they were just rocks. These came out tender AND delicious. Will never buy canned again. Thank you!
Sam
I’m so glad you enjoyed them so much, Cheryle! 🙂
Trisha KM
I gave up gluten and dairy but after making these for my family they were just too darn good. It to try. I made mini ones and made about 20. So freaking good with butter right out of the oven and some jam. Ate these with coffee the next day. Thank you!
Samantha
Has anyone tried making these using dairy free butter & milk (unsweetened almond)?
Sam
Hi Samantha! While I haven’t tried it myself, I know others have used almond milk and dairy free butter with success.
Carroll Larremore
A flaky delicious biscuit! This is actually the best biscuit recipe I’ve found and I’ve been cooking for many years. Great flavor and just the right amount of salt.
Teneramie C Jiménez
Delicious!
Robin Zimmerman
All I have is bread flour. Is ok to use bread flour?
Sam
Hi Robin! I haven’t tried using bread flour but I think it should work here. 🙂
Lily L.
These biscuits are better than my grandma’s, better than any restaurant’s, and better than any other recipe I’ve tried. I’ve been scared of laminated doughs, but this one really isn’t that rigorous and the result is worth it. The texture is impossibly tender – a welcome respite from the density of most biscuits. If you use a heavy bottomed baking pan, you’ll get the best crispy crunchy bottom.
Sam
I am so glad you enjoyed them so much, Lily! 🙂
Mary
I made these tonight and they were excellent! Easy to make too! I loved using the grater for the butter! Great idea and great recipe!
Sam
I’m so glad you enjoyed them so much, Mary! 🙂
Ron H
Was very good. I think ill use a touch more milk next time as they were a bit dry on the outside. But nice texture on the inside and very tasty.
PR
a carrot or potato skinner works ok for frozen butter. King Arthur baking flour makes the best bisquits.
Dee
I’ve tried several different biscuit recipes and I have to say that this is by far the best one!
lor
very very good
Christina
First time trying homemade biscuits! Wow! Amazing recipe. I will be back for more!
Marlyn
These are wonderful! I followed your instructions to the letter and they turned out perfect!
Thank you for such a simple and tasty way to make biscuits!
Sam
I’m so glad you enjoyed them so much, Marlyn! 🙂
Kimberly D Reese
This looks great! I plan on trying them out tonight. Any idea on how to freeze and reheat?
Sam
Hi Kimberly! You can either freeze the dough before baking, wrap them individually and store in an air tight container. You could bake them from frozen they will just take another minute or 2 in the oven. You could also freeze the cooked biscuits, doing the same thing, wrapping them individually and storing in an air tight container. These could just be reheated in the microwave. 🙂
Kimberly Reese
Thank you! I actually went ahead and made them all. I guess my biscuit cutter is a little bit smaller than yours because I was able to get 12 biscuits out of this. They’re so good! I’ll definitely be freezing some of them though but next time I’ll try freezing the dough and wrapping them individually. Thanks so much! Great recipe!
Sam
I’m so glad you enjoyed them! 🙂
Kylee
I used your recipe with oatmilk, avocado oil “butter” and gluten free all purpose flour. Biscuits didn’t rise much (probably flour related) BUT they are DELICIOUS! So hard to find a gluten free biscuit worth eating!
Sam
I’m so glad you still enjoyed them, Kylee! Thank you for your feedback using your substitutions. 🙂
Jue
Great on the first try !! I will make these again!!
Callie
Just made these …delish!
From start to finish, this recipe took me approximately 90 min and not 27 min. I was surprised that it took me 3 times as long.
I lost a bit of time grating butter with the box grater. I used butter straight from the freezer. I felt like you lost quite a bit of butter that sticks inside the box grater. Can you use a full stick of butter to compensate? How do you make that step less messy?
It also took 20 min to bake them at 425 F and not 12 min. I kept adding a minute at a time and watching closely for them to brown.
Have you ever used cream instead of milk?
Regardless of the time issues, I will make these again.
Sam
Hi Callie! I’m glad you enjoyed them overall. I would not recommend adding more butter. Unfortunately the grating step is just going to be a little messy. You can hold the butter with a plastic baggy and then just knock the grater on the counter to get all of the butter out. I have not tried cream but it should work. You may need a little bit more since it’s thicker. Hopefully it will be much quicker next time. 🙂