Buttermilk Biscuits
This post may contain affiliate links. As an Amazon Associate I earn from qualifying purchases. Please read my disclosure policy.
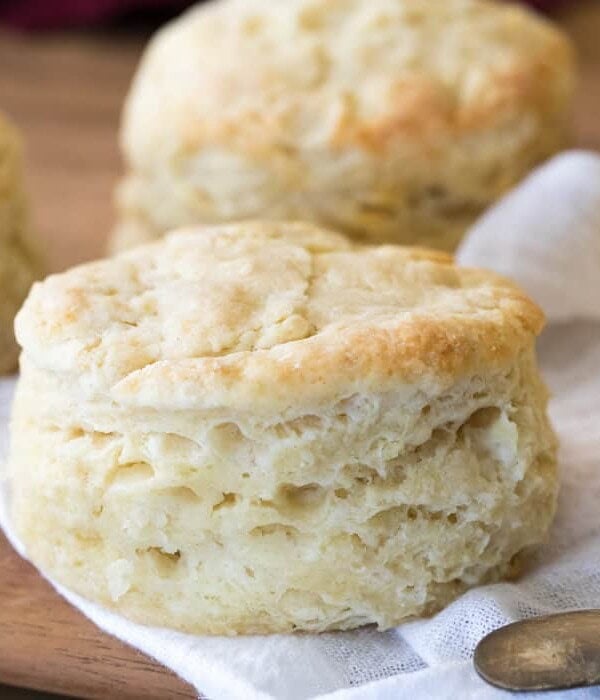
Anyone can make flaky, buttery buttermilk biscuits with my tried-and-true buttermilk biscuit recipe! You’ll be surprised by how quick and easy they are–just 15 minutes to prep! Recipe includes a how-to video!
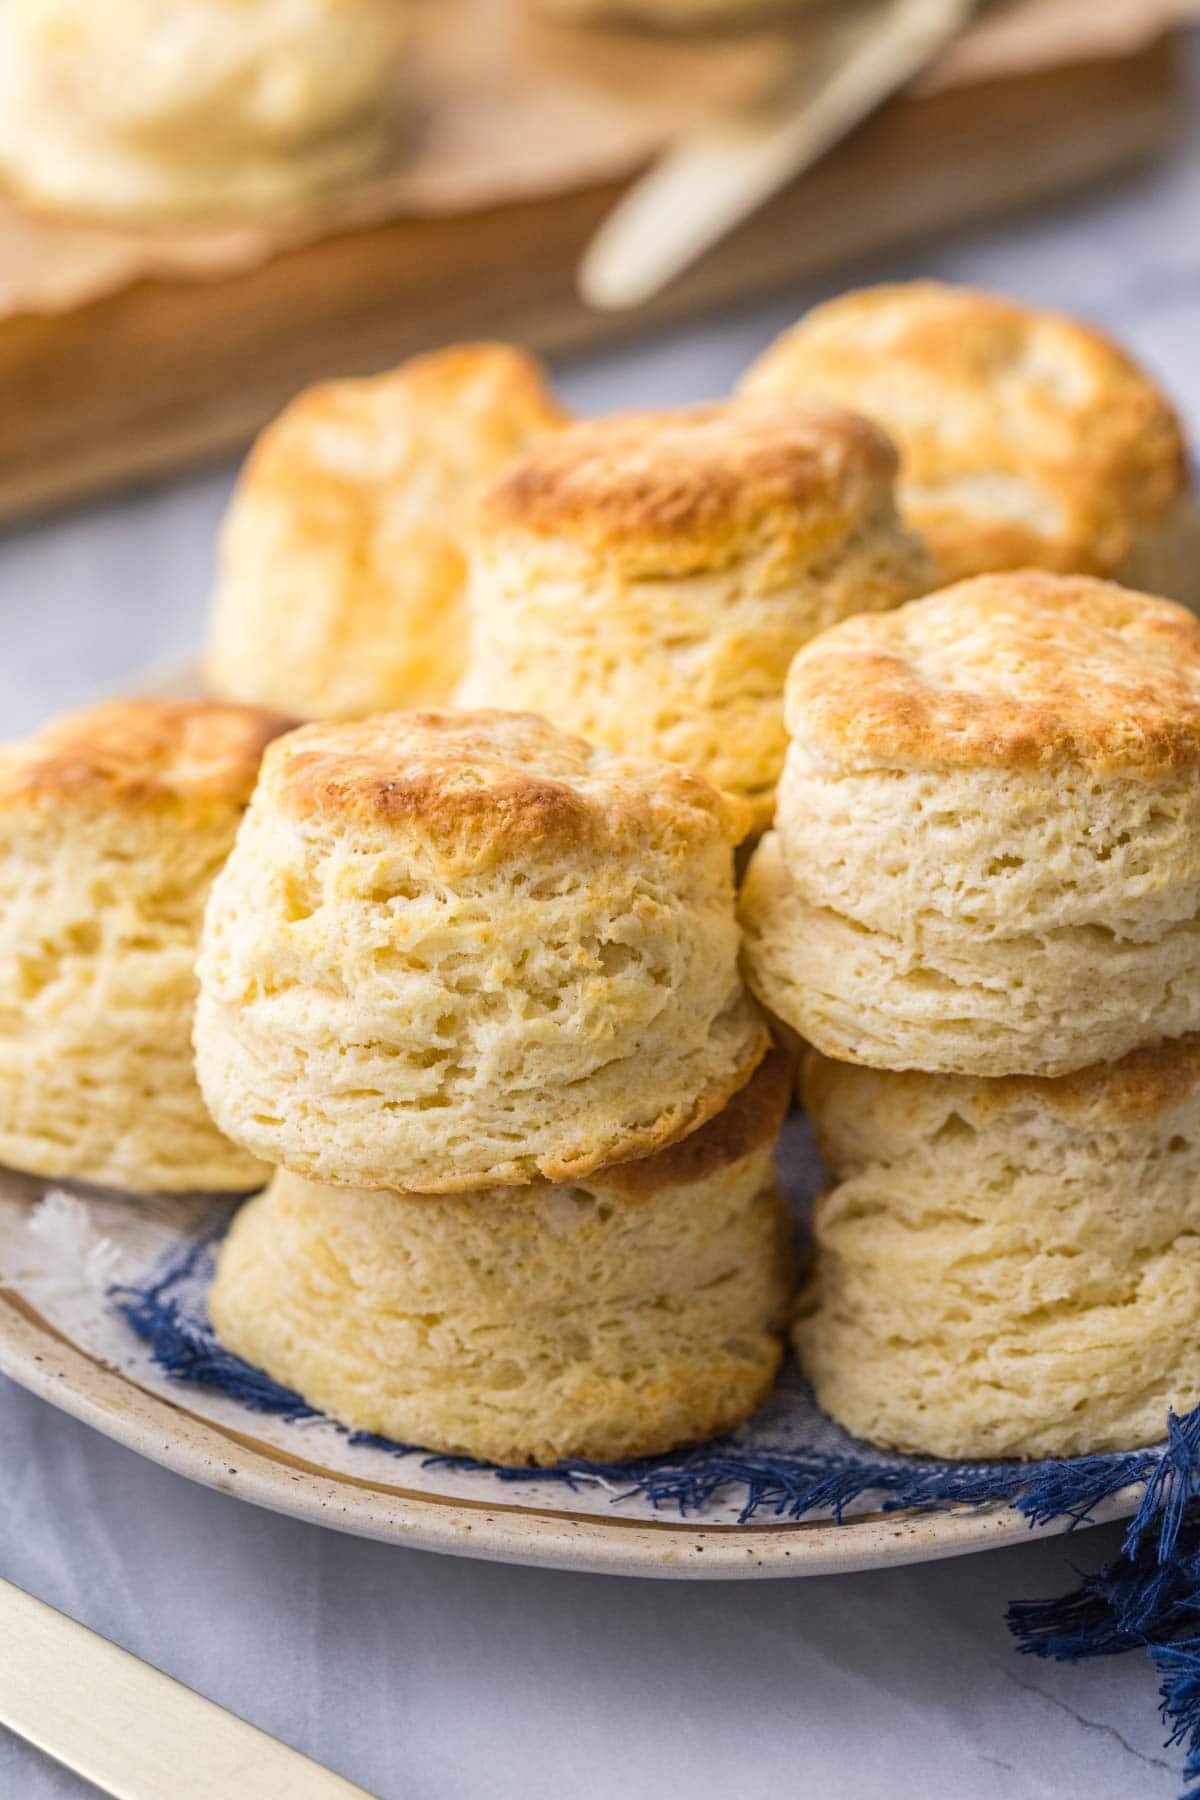
The Best Buttermilk Biscuit Recipe
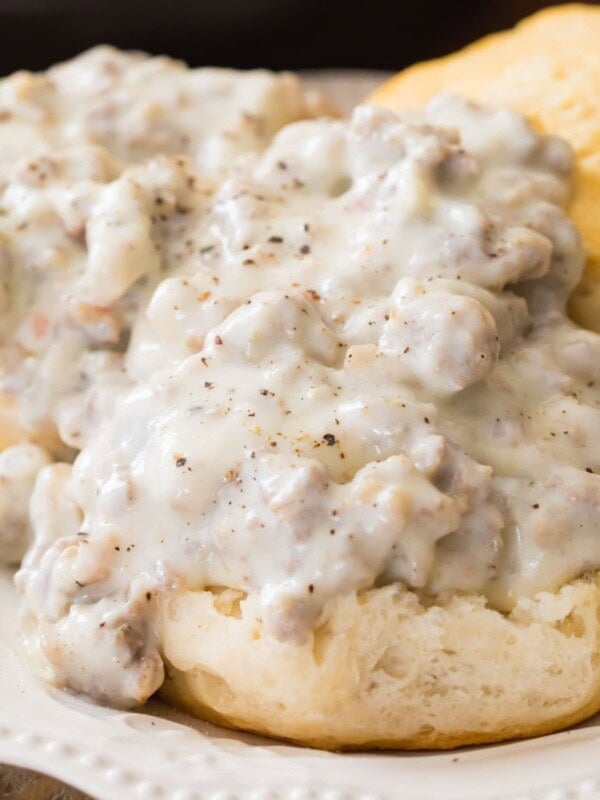
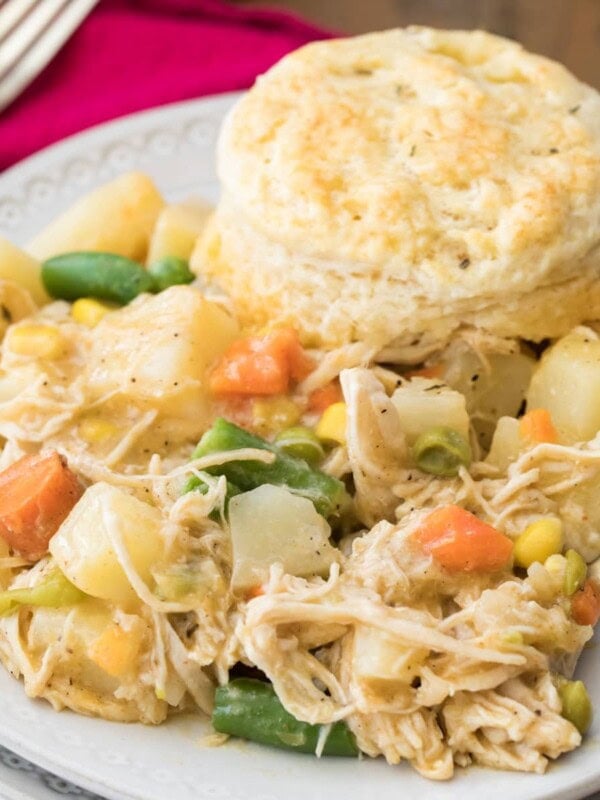
If you’ve ever been too intimidated to make biscuits from-scratch, my buttermilk biscuit recipe is about to change everything. These 100% homemade buttermilk biscuits are incredibly simple to make, and the results will truly amaze you! We love serving them alongside everything from my sausage gravy to my best chili recipe or for breakfast with a bit of butter and jam.
This recipe is a slightly modified version of my classic homemade biscuits. It uses the same super easy technique of grating the butter for light, flaky, and buttery layers (a total game changer)! A little more effort, yes, but so much better than anything you’ll get from a can.
Why You’ll Love This Recipe
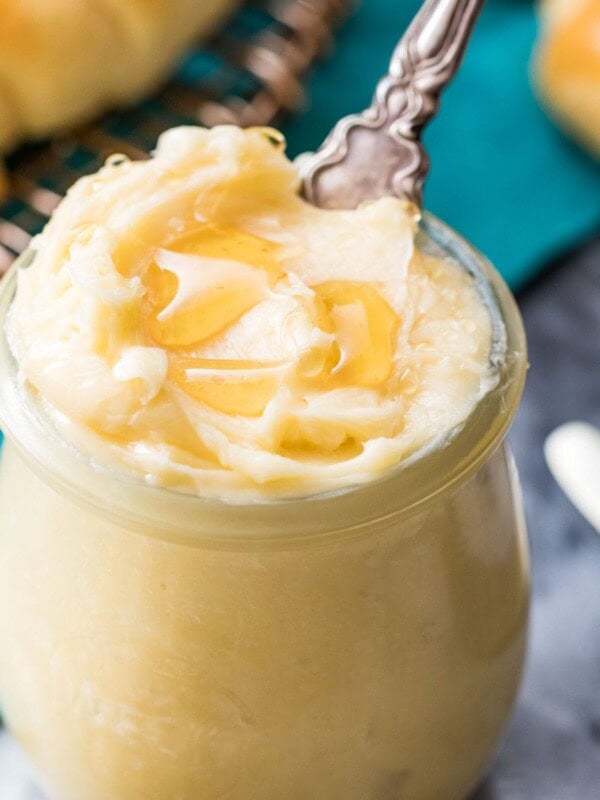
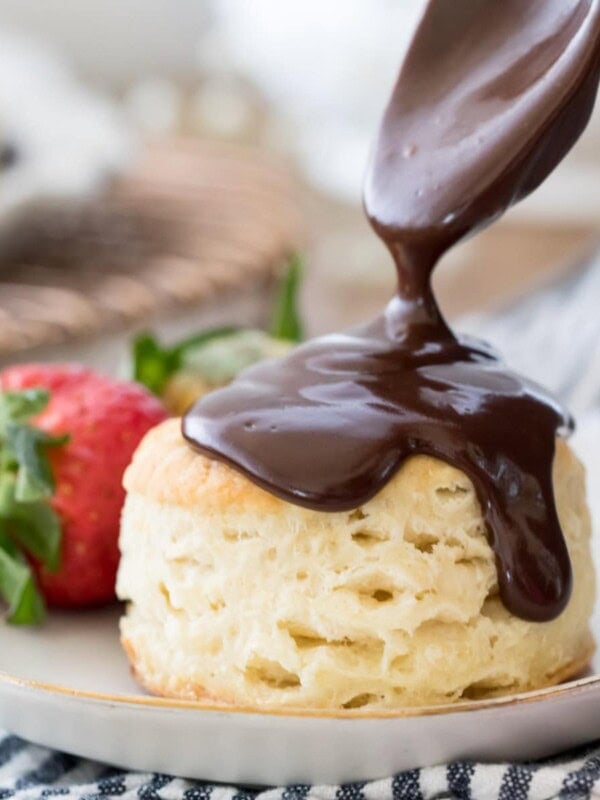
- Incredible flavor. The buttermilk paired with a bit of baking soda gives them an amazing flavor. They are truly perfect on their own, but you can of course dress them up with butter (or honey butter)!
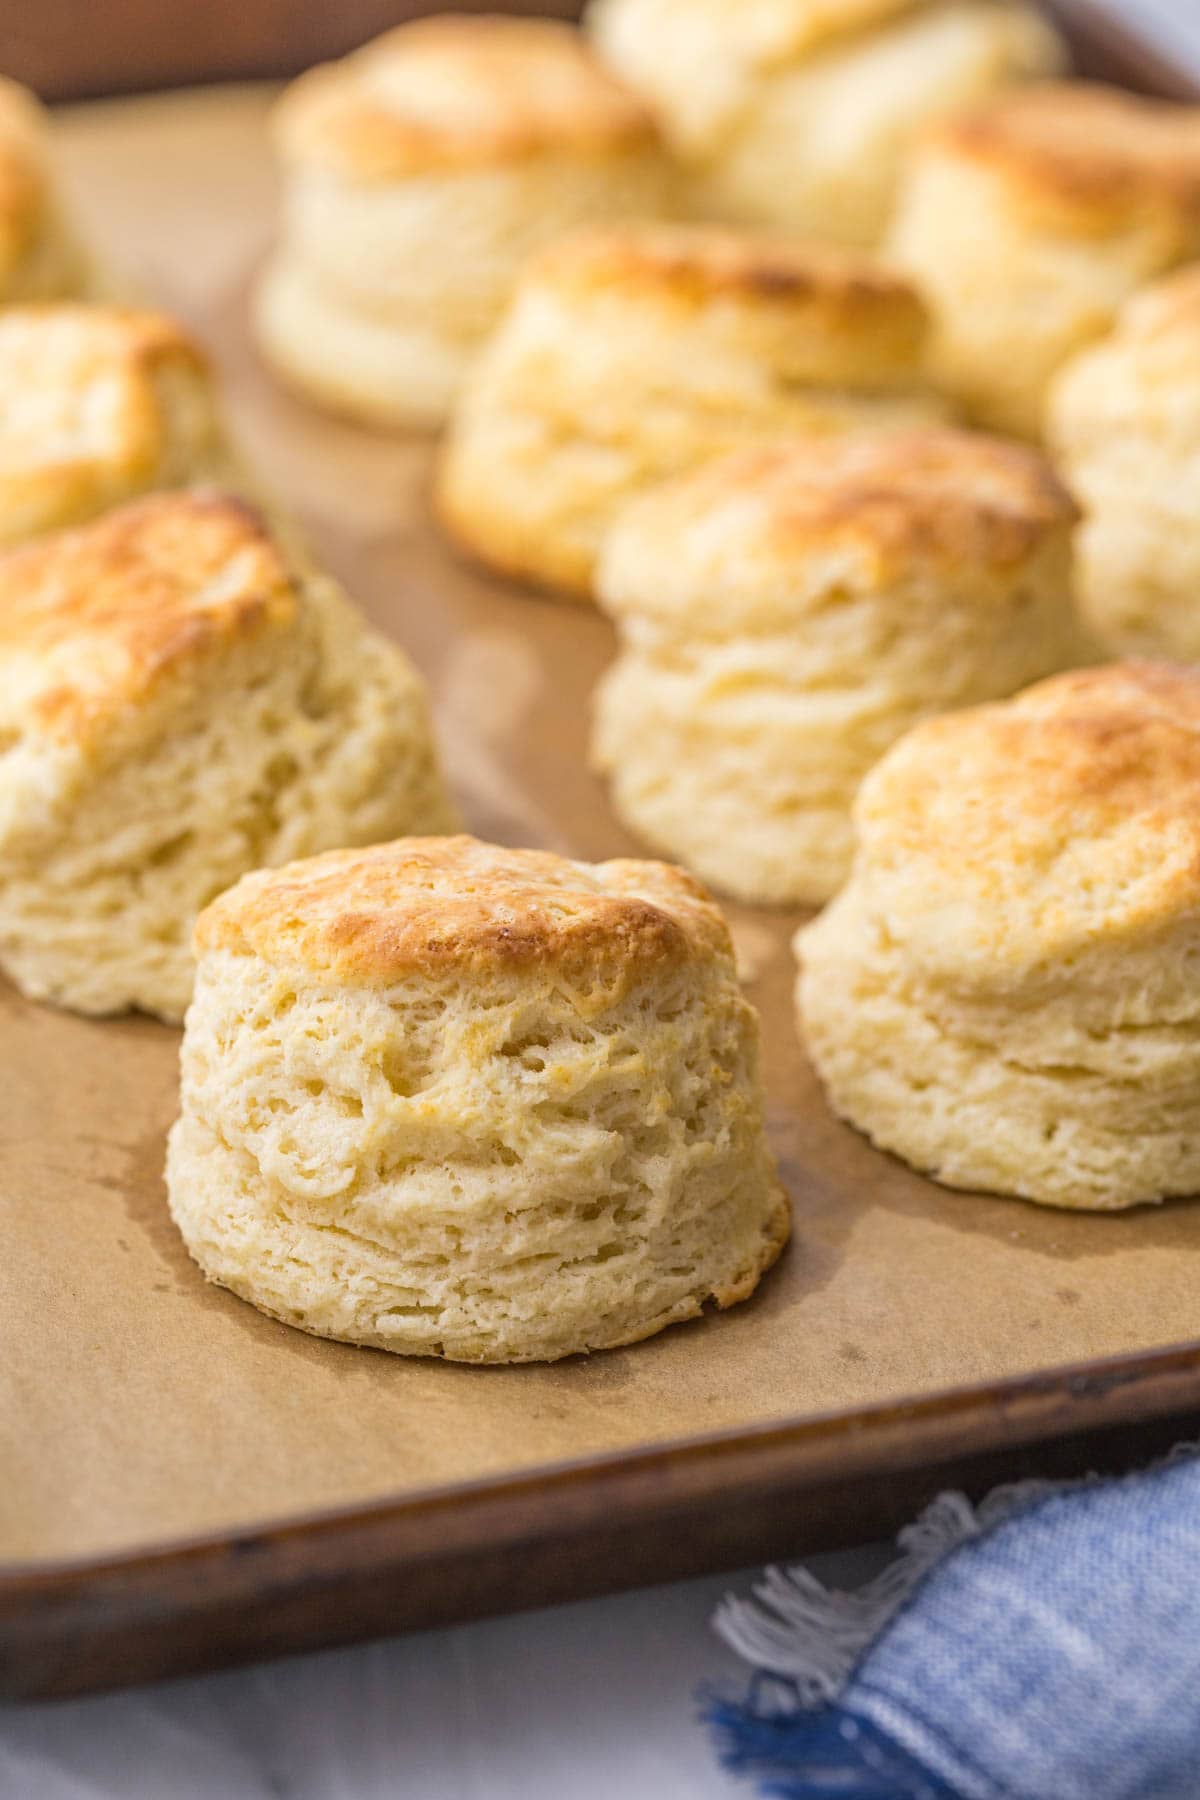
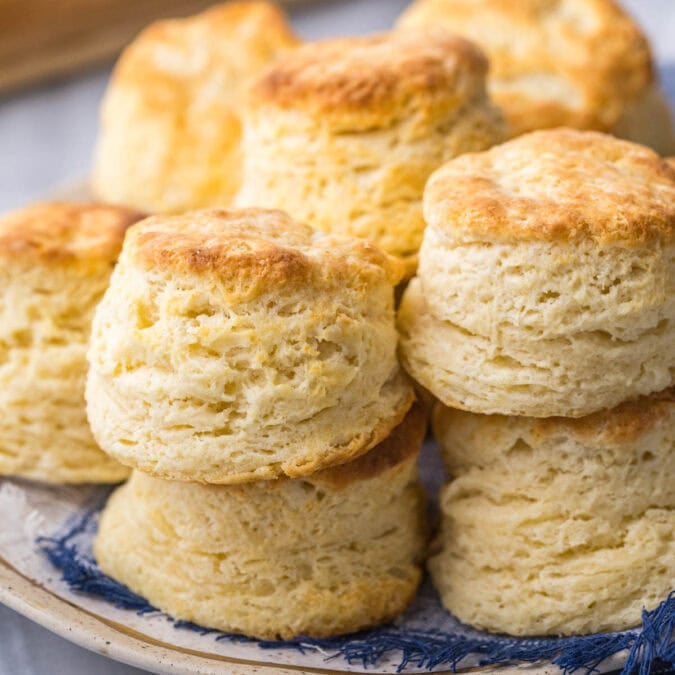
- Flaky, buttery layers. You’ll be so impressed with how beautifully they bake up! Grating the butter and laminating the dough are both key for this texture.
- Perfect for making in advance. You can cut and refrigerate/freeze the biscuits for later. Great if you like to have freshly baked biscuits on demand!
- Use what you have on hand. Don’t have a box grater? A pastry cutter or pair of knives will work for cutting in the butter. Or make things even easier and use a food processor (honestly this is how I’ve been doing it lately)!
Ingredients
Just simple staples today! I’ll briefly review a few before we get started.

- Buttermilk. Real, full-fat buttermilk is my preference here. If you can’t find that, low-fat will also work. A buttermilk substitute would be my least favorite option, but it will technically still work. Whatever you use, make sure it is nice and cold!
- Flour. Plain, all-purpose flour works just fine here. Make sure you know how to measure flour properly; over-measuring your flour here can lead to dry biscuits. Oh, and do not substitute self-rising flour, which contains baking powder and salt and can really mess up the recipe!
- Baking powder & baking soda. The baking soda reacts with the buttermilk, giving us light, tender layers and a well-balanced and subtle tang. The baking powder also helps make the biscuits light and tender, but also tall and fluffy.
- Butter. Make sure this is very cold before you get started; I typically pop mine in the freezer for 10-15 minutes beforehand. If it gets too warm, it will melt into your dough. You want small, cold butter pieces that will create buttery pockets as they melt in the oven and help create the tall layers. I use unsalted butter and add salt separately; if you are using salted butter, simply reduce the salt in the recipe to ¾ teaspoon.
- Sugar. Just a Tablespoon adds flavor and tenderness. This won’t make your biscuits sweet, I promise!
Remember, this is just an overview of the ingredients I used and why. For the full recipe please scroll down to the bottom of the post!
Sam’s Tip
Similar to my pie crust recipe, this buttermilk biscuit recipe relies on COLD butter and buttermilk for the flakiest, butteriest layers. I usually put my butter in the freezer beforehand and leave my buttermilk in the fridge until I am ready to add it.
How to Make Buttermilk Biscuits
(Step-by-Step)
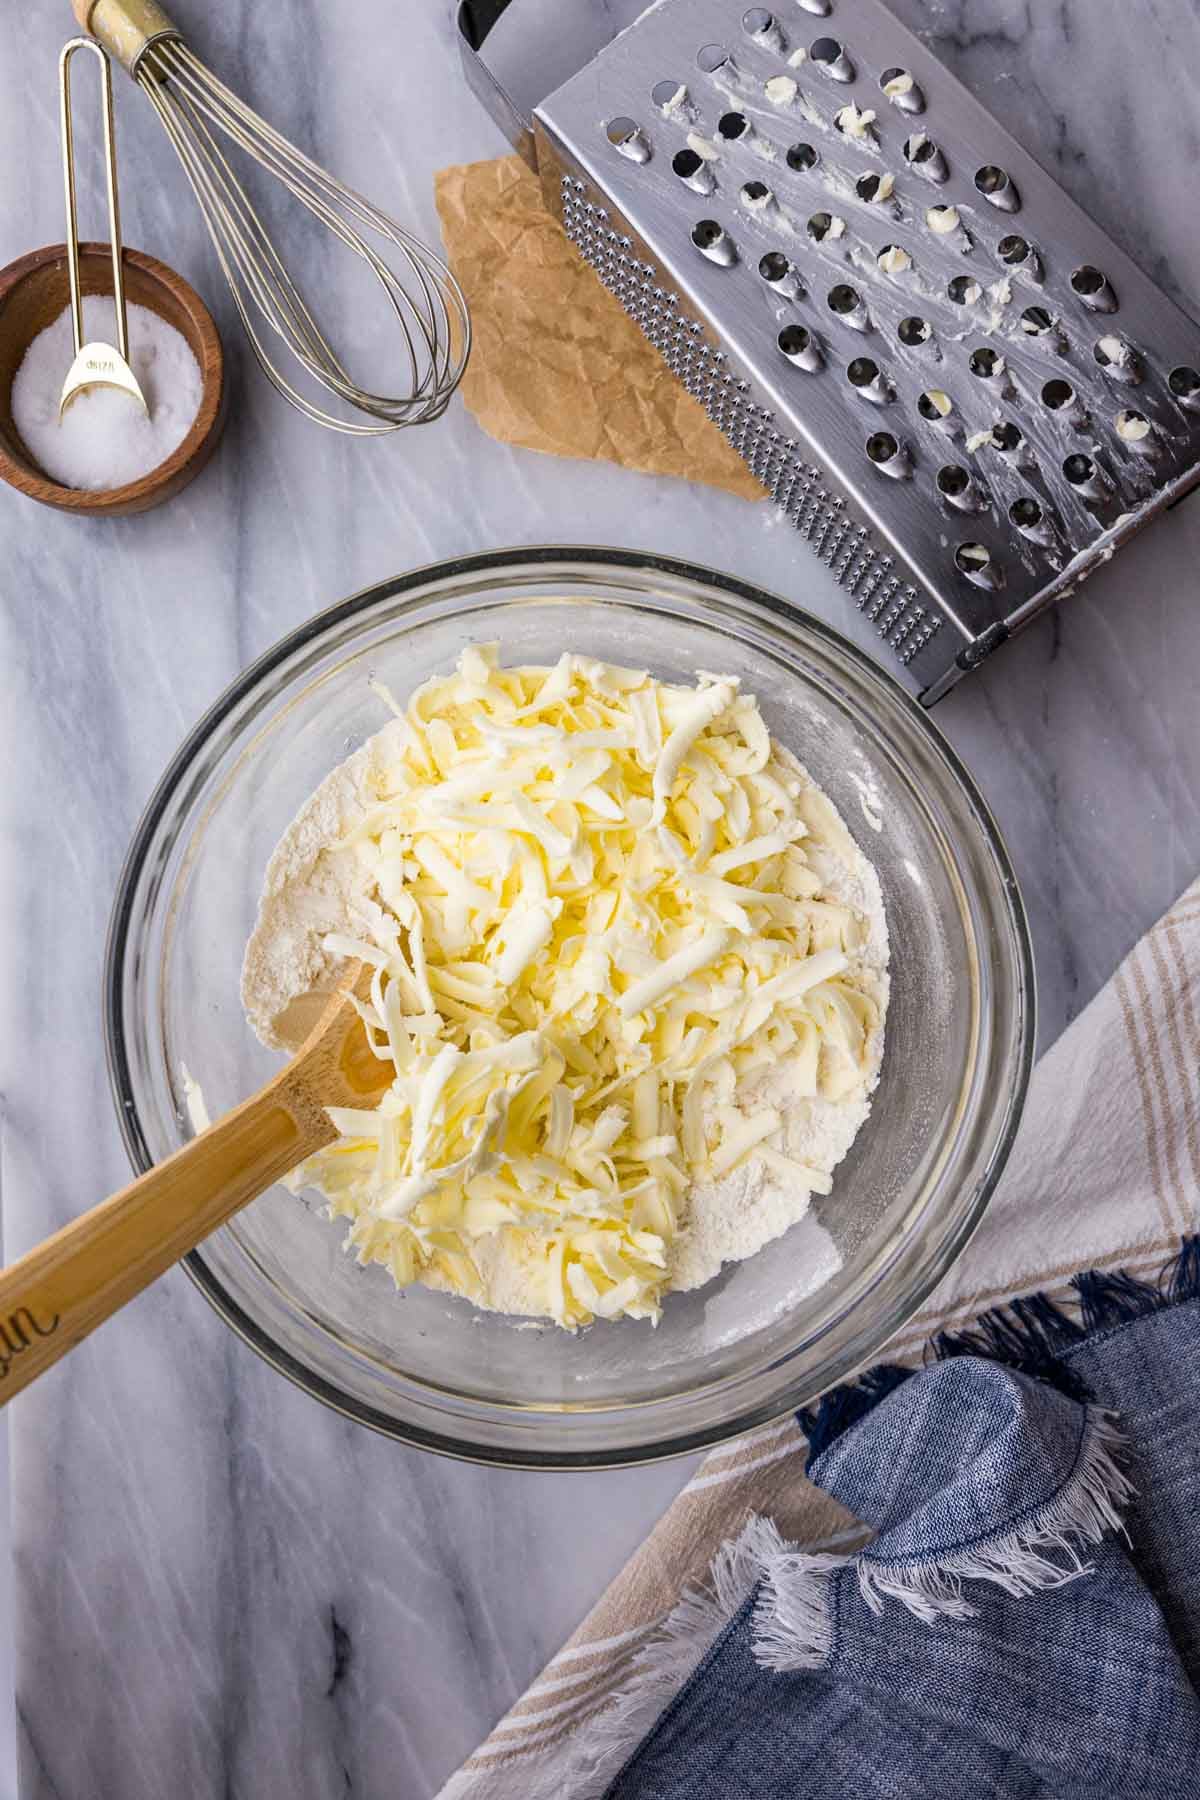
- Cut in the butter. Whisk the dry ingredients together in a large bowl, then grate in the butter. Stir until butter is evenly distributed throughout. If you don’t have a grater, you can use a pastry cutter or food processor to cut the butter into the flour mixture.
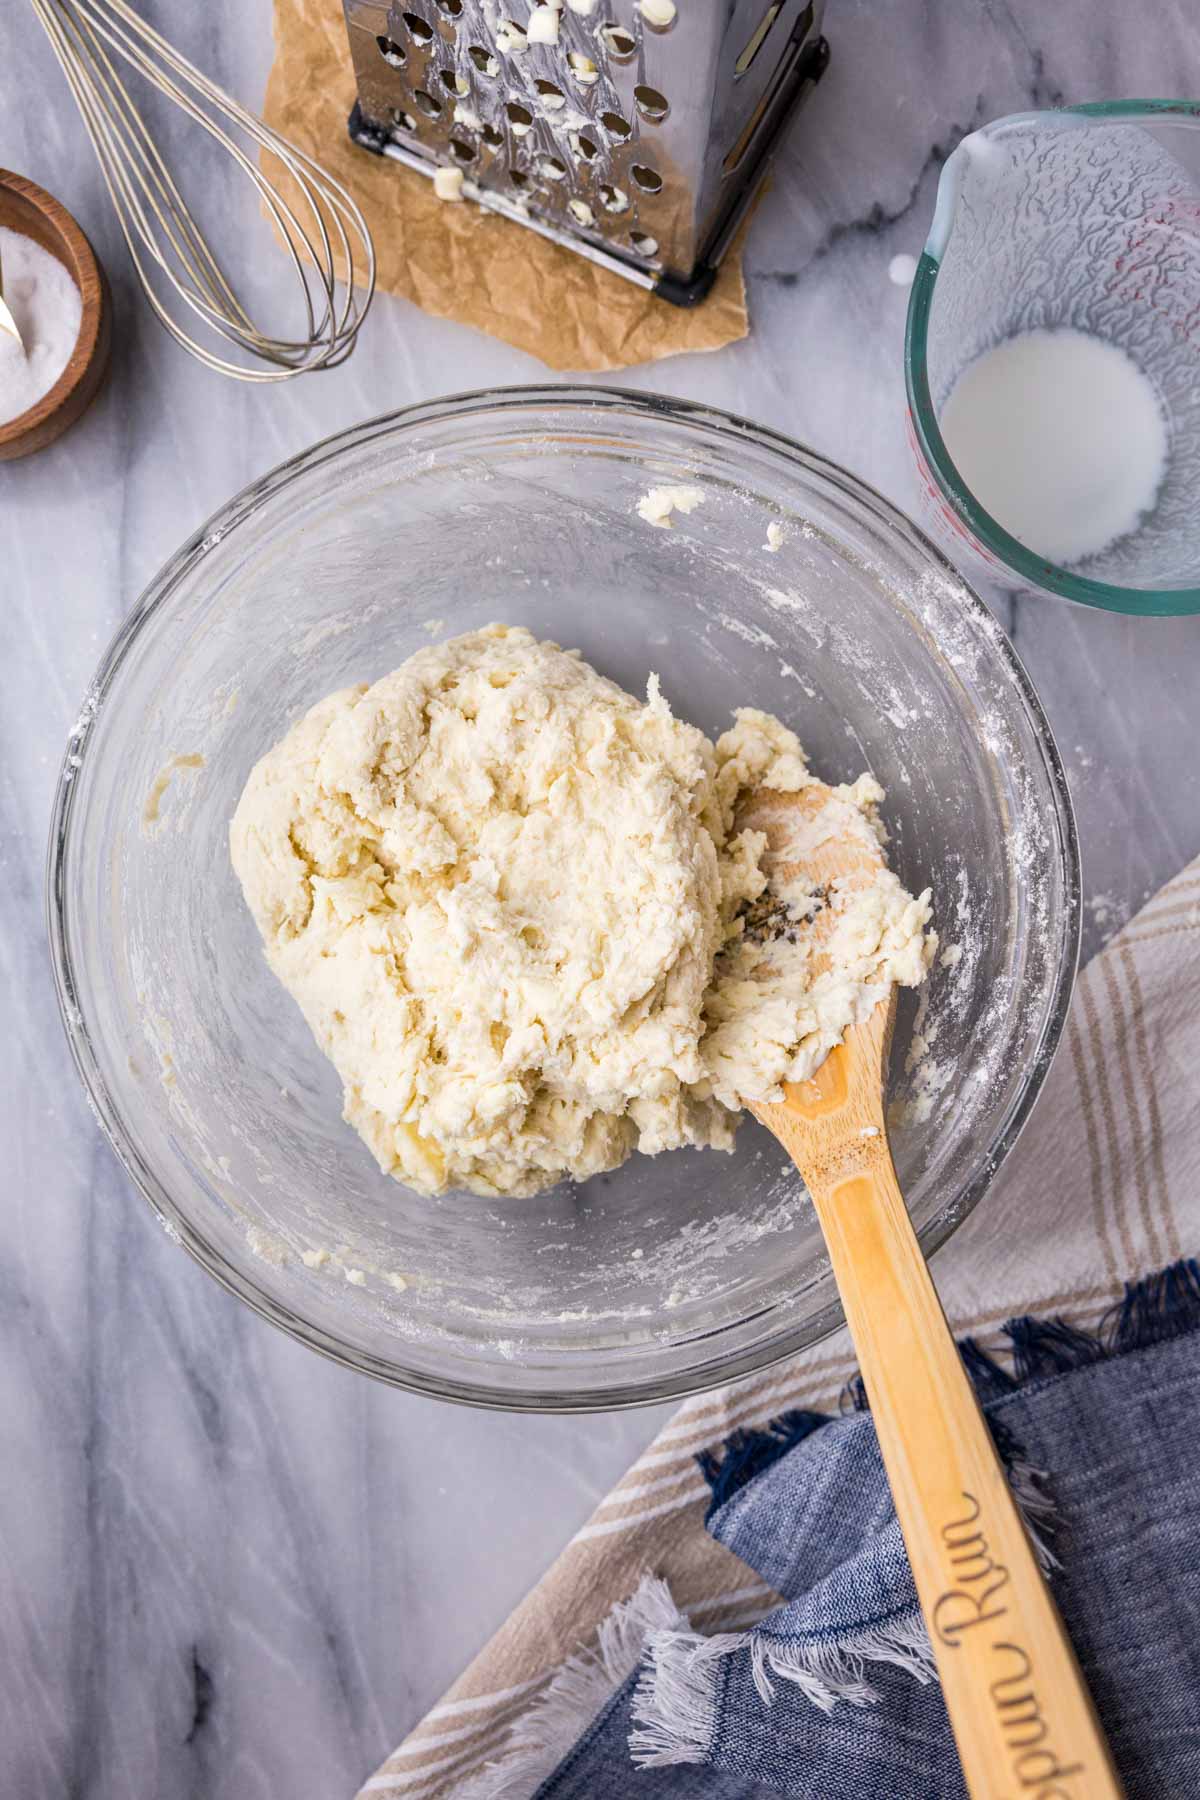
- Add the buttermilk. Drizzle the buttermilk over the mixture and stir with a spoon until everything just starts to come together.
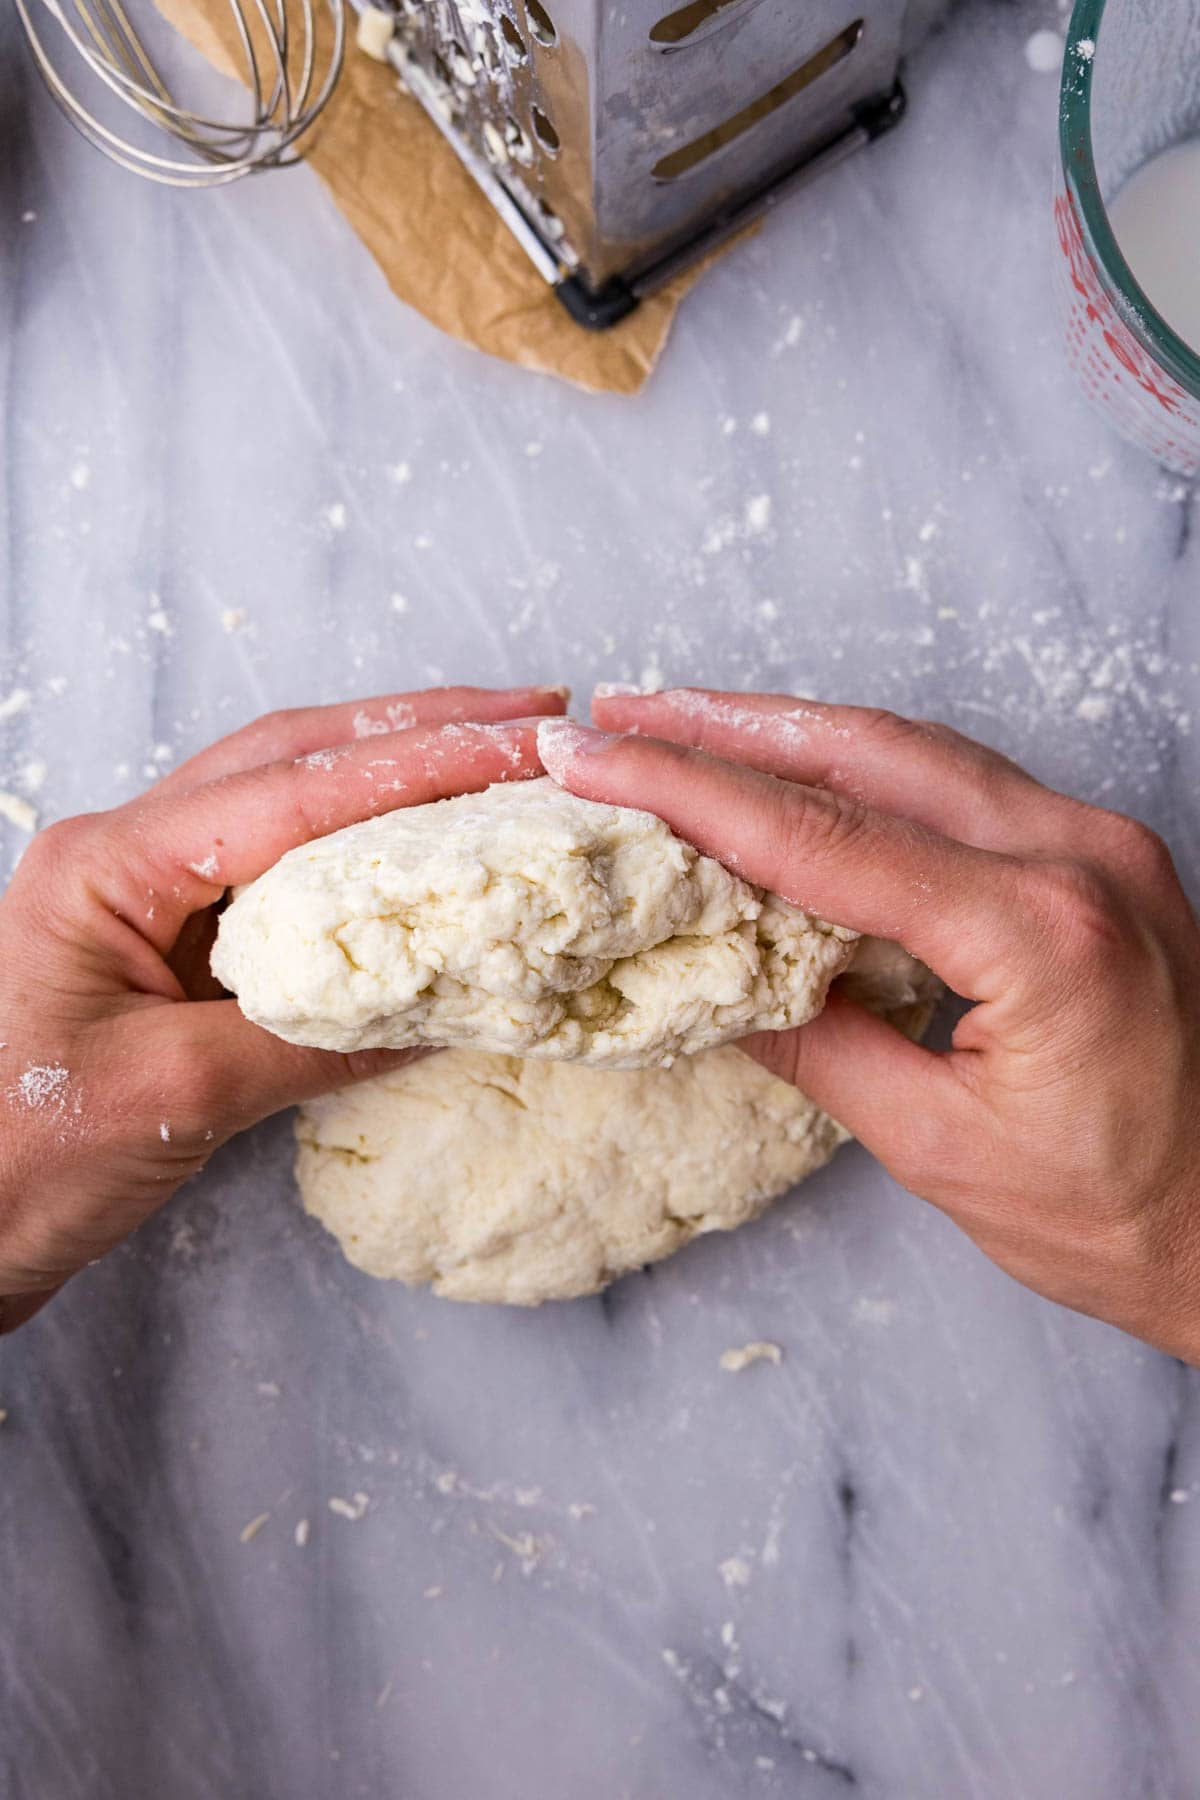
- Lamination. Transfer the shaggy dough to a lightly floured surface and gently work it together with your hands. Flatten into an inch-thick rectangle and fold the dough over itself. Flatten the dough again, rotate it 90 degrees, and repeat until you have folded and flattened 5-6 times. Be careful not to over-handle the dough during this process; we want it to stay as cold as possible for the flakiest, butteriest biscuits!
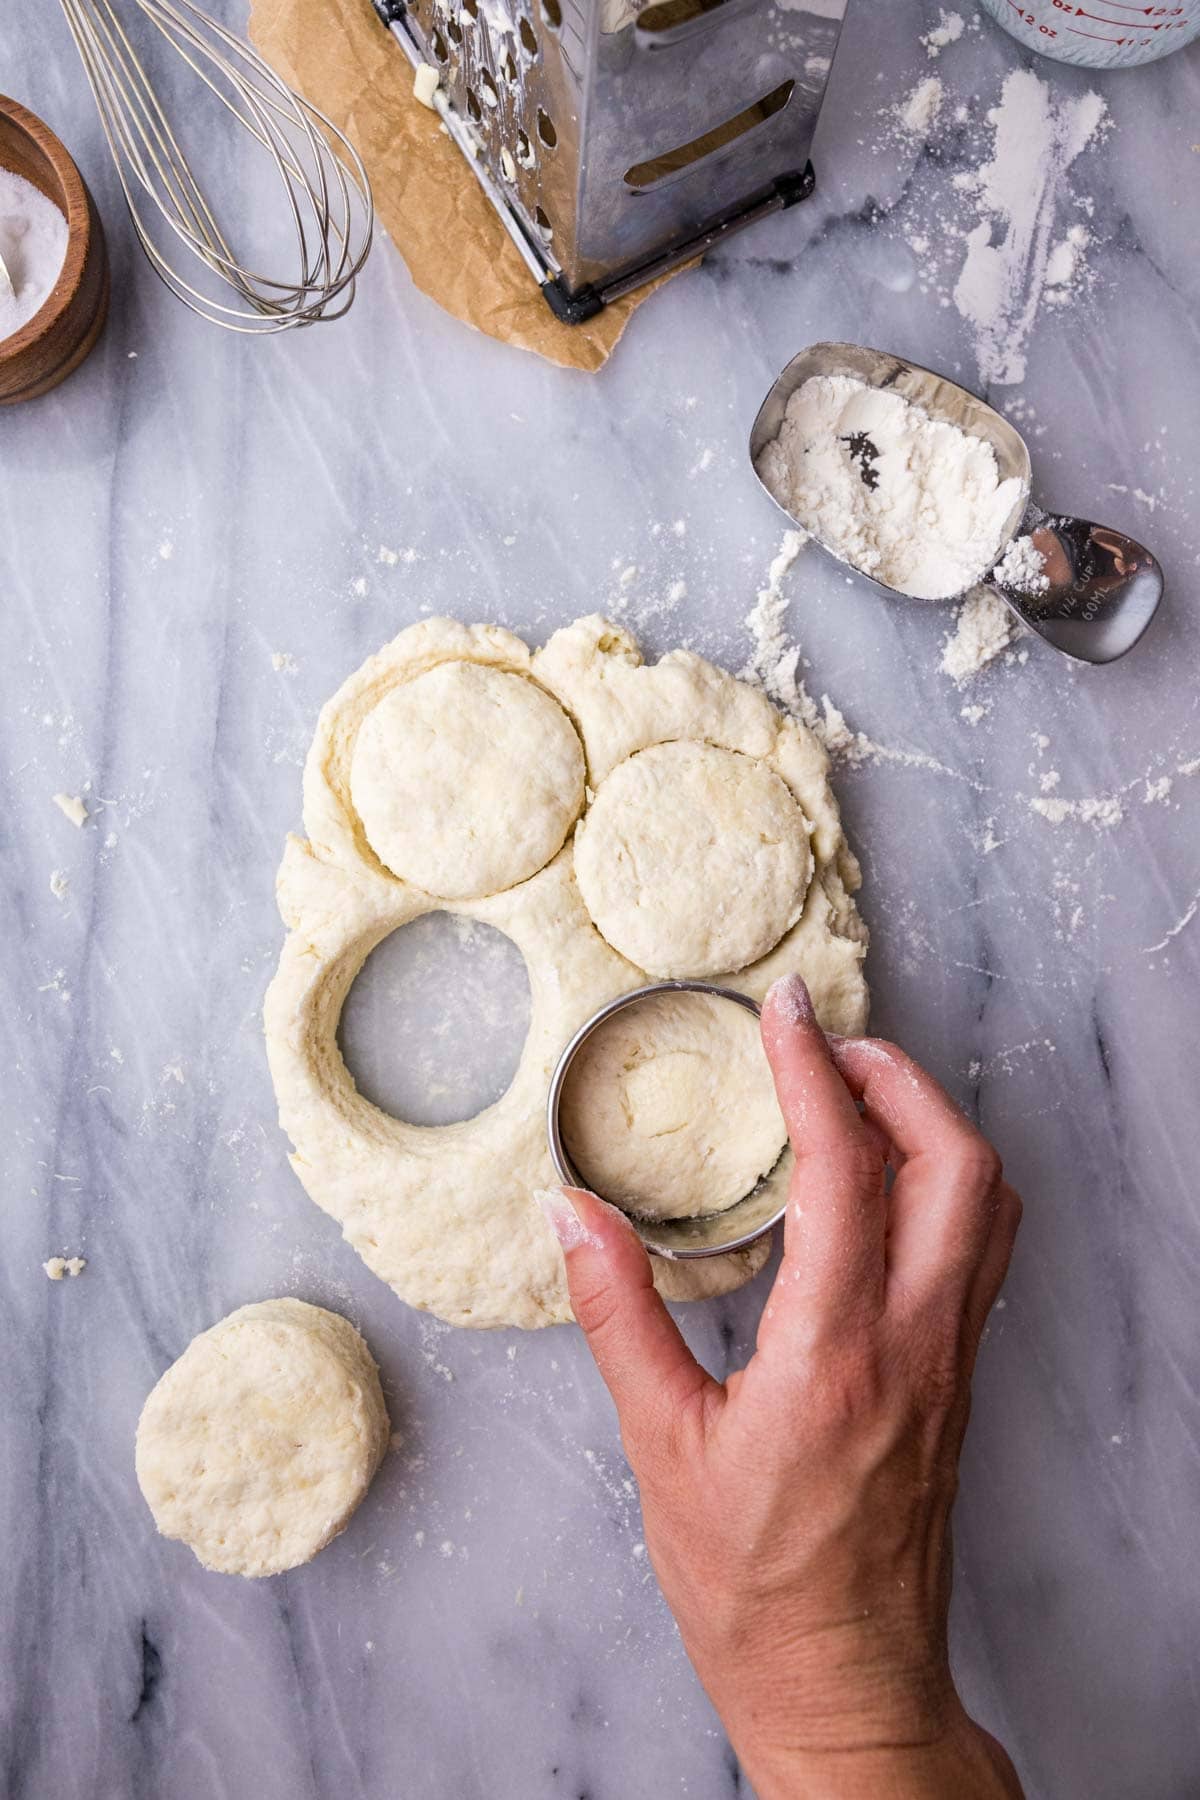
- Cut & bake. Cut biscuits with a biscuit cutter or knife, regrouping any scraps until you have 8 evenly-sized biscuits. Transfer to a parchment lined baking sheet and bake until light golden brown, about 13 minutes.
Sam’s Tip
You can also make these buttermilk biscuits with a food processor! Simply combine the dry ingredients, pulse in the butter until only chocolate chip-sized pieces remain, then pulse in the buttermilk until just combined. Proceed with the lamination, cutting, and baking as usual. Easy peasy!

Frequently Asked Questions
They are similar, but both the flavor and texture are slightly different thanks to the buttermilk and a pinch of baking soda.
There are a few, and we follow all of them here today. These include: adding a pinch of sugar, using COLD butter and buttermilk, laminating, handling the dough gently (don’t let it get to warm), baking in a hot oven, and avoiding over-baking.
Yes! This buttermilk biscuit recipe is perfect for making ahead. You can cut the biscuits and place them in an airtight container in the fridge or freezer until ready to bake. The bake time will be the same from the fridge, but they’ll need a minute or two longer if frozen. I do this with my cornbread biscuits too, and they turn out beautifully!
Serve Your Buttermilk Biscuits With
Have leftover buttermilk after making this recipe? Check out my collection of leftover buttermilk recipes to use it up!
Enjoy!
Let’s bake together! Subscribe to my newsletter to be notified of all the newest recipes, and find my free recipe tutorials on YouTube 💜
Buttermilk Biscuits
Equipment
Ingredients
- 2 cups (250 g) all-purpose flour
- 2 teaspoons baking powder
- 2 teaspoons granulated sugar
- ¼ teaspoon baking soda
- 1 teaspoon table salt
- 8 Tablespoons (113 g) unsalted butter, very cold
- ¾ cup (177 ml) buttermilk, cold
Instructions
- Preheat oven to 425F (220C) and line a baking sheet with parchment paper. Set aside.
- In a medium-sized mixing bowl, whisk together flour, baking powder, sugar, baking soda, and salt.2 cups (250 g) all-purpose flour, 2 teaspoons baking powder, 2 teaspoons granulated sugar, ¼ teaspoon baking soda, 1 teaspoon table salt
- Use a box grater to grate the butter into the flour mixture (alternatively, cut the butter into the flour mixture using a pastry cutter). Stir to evenly distribute through the dry ingredients.8 Tablespoons (113 g) unsalted butter
- Drizzle buttermilk evenly over the mixture and use a wooden spoon to stir until combined and ingredients are moistened and beginning to cling together.¾ cup (177 ml) buttermilk
- Turn out onto a clean, lightly floured surface and use your hands to gently work the dough together.
- Once the dough is clinging together, gently flatten it to be about an inch thick and fold it over itself. Gently flatten the layers together, then rotate the dough 90 degrees and fold in half again. Repeat this step 5-6 times, working quickly and taking care to not overwork the dough.
- Use your hands to gently flatten the dough to be 1” (2.5cm) thick. Use a 2 ½” (6.3cm) round biscuit cutter to make close cuts in the dough, pressing straight down (don’t twist the cutter). Repeat until you’ve cut as many biscuits as possible, then re-form any scraps to get as many biscuits as you can from the dough (note: biscuits formed from the scraps usually bake up a bit more wonky looking).
- Place on prepared baking sheet, spacing biscuits about 1” (2.5cm) apart. Transfer to center rack of 425F (220C) preheated oven and bake for 13 minutes, until tops are just beginning to turn light golden brown.
- Allow to cool several minutes, then serve warm.
Notes
Storing
Biscuits are best served fresh and warm, but may be stored in an airtight container at room temperature for up to 3 days.Nutrition
Nutrition information is automatically calculated, so should only be used as an approximation.
Like this? Leave a comment below!