My complete guide to making homemade vanilla extract! All you need is two ingredients and a little bit of patience! I’m including all my tips and tricks, a free printable label, and a tutorial video! This makes a great homemade gift, but start it now as it will need to sit for months before using!
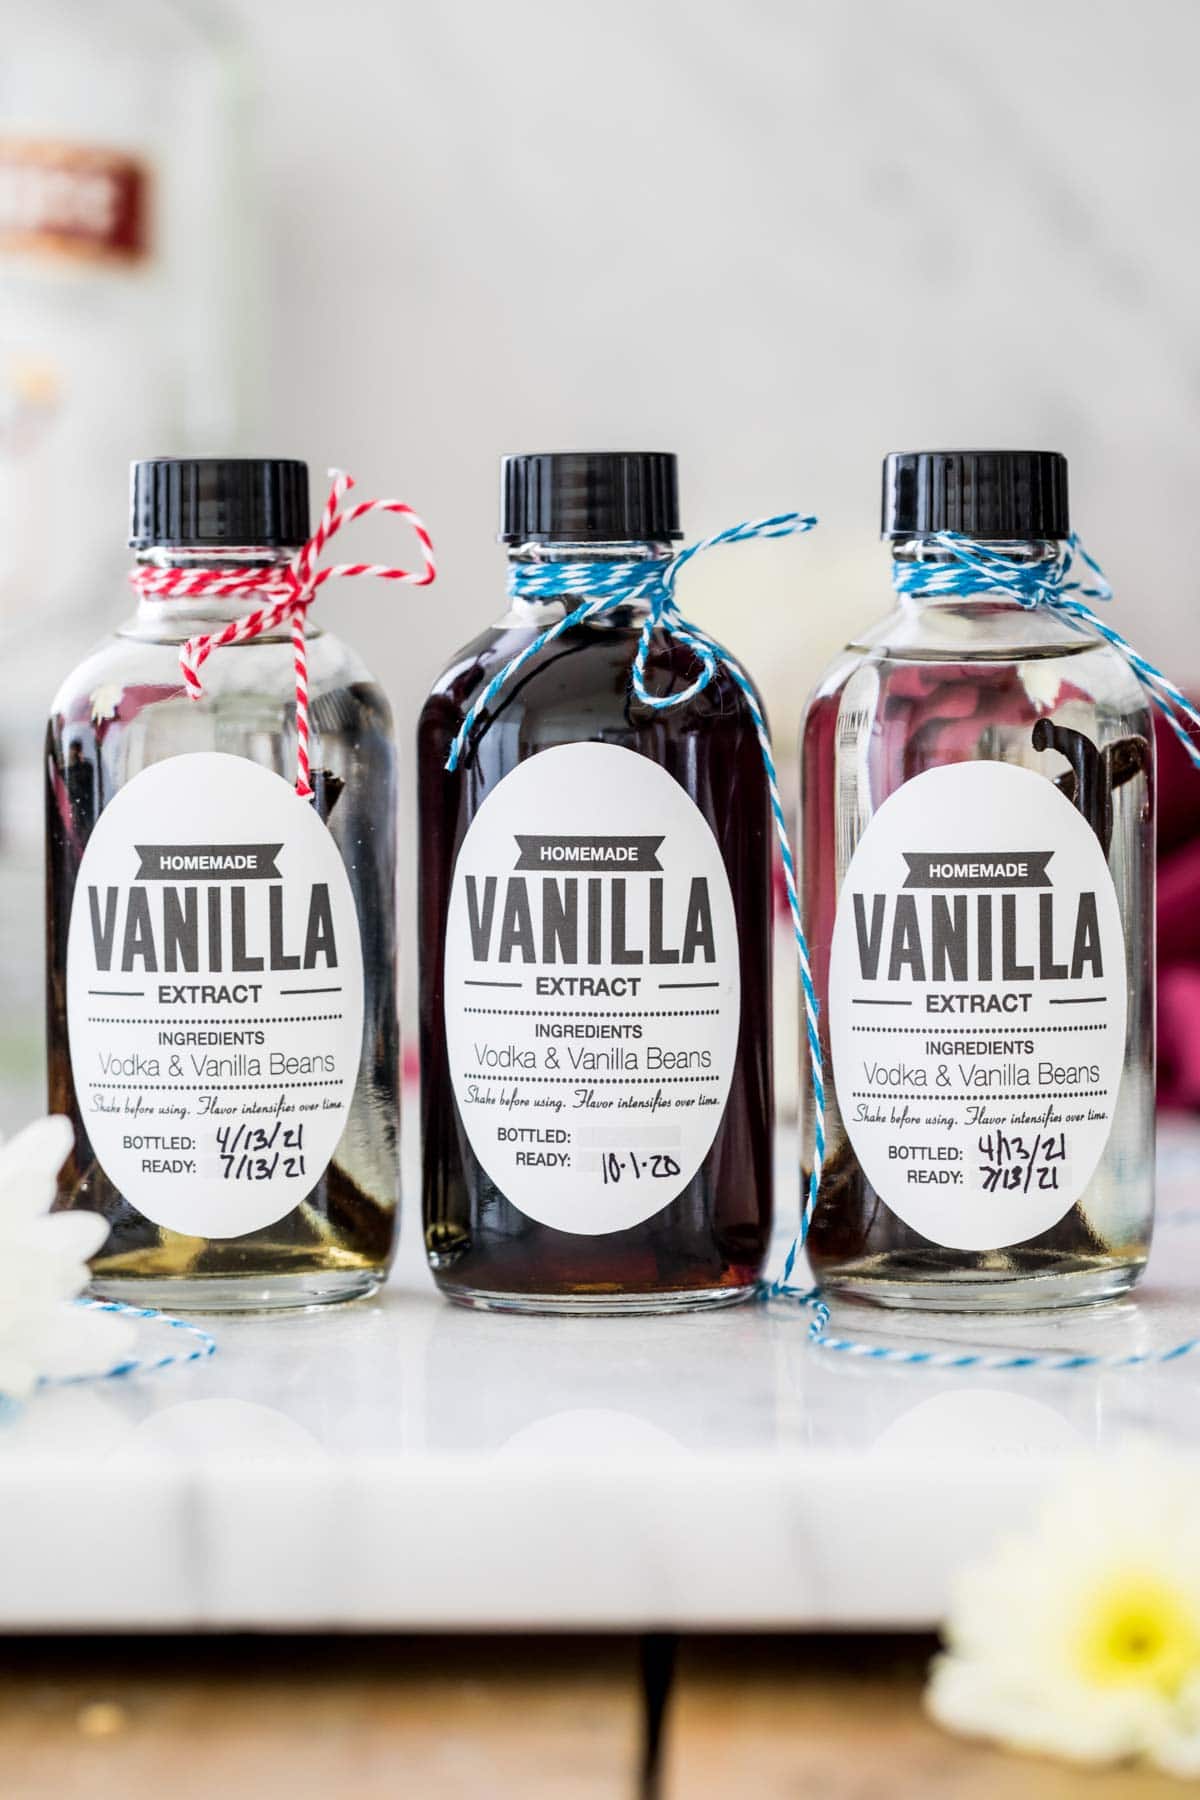
Homemade Vanilla Extract
I have a lot of words for you today because I want to show you in detail how to make vanilla extract at home. If you like to understand the details and the whys of a recipe, read through the post, but if you’re just in a hurry to get to the recipe just click that big “jump to recipe” button above instead.
OK, who’s left? Who didn’t click the button? My kind of people, it’s so good to have you 💜. Let’s dive in.
What You Need
Pure vanilla extract is made simply of alcohol and vanilla beans. Simply, you’ll want vodka (hint: don’t splurge on the most expensive one!) and plump (not dried-up!) vanilla beans. Here’s the nitty gritty:
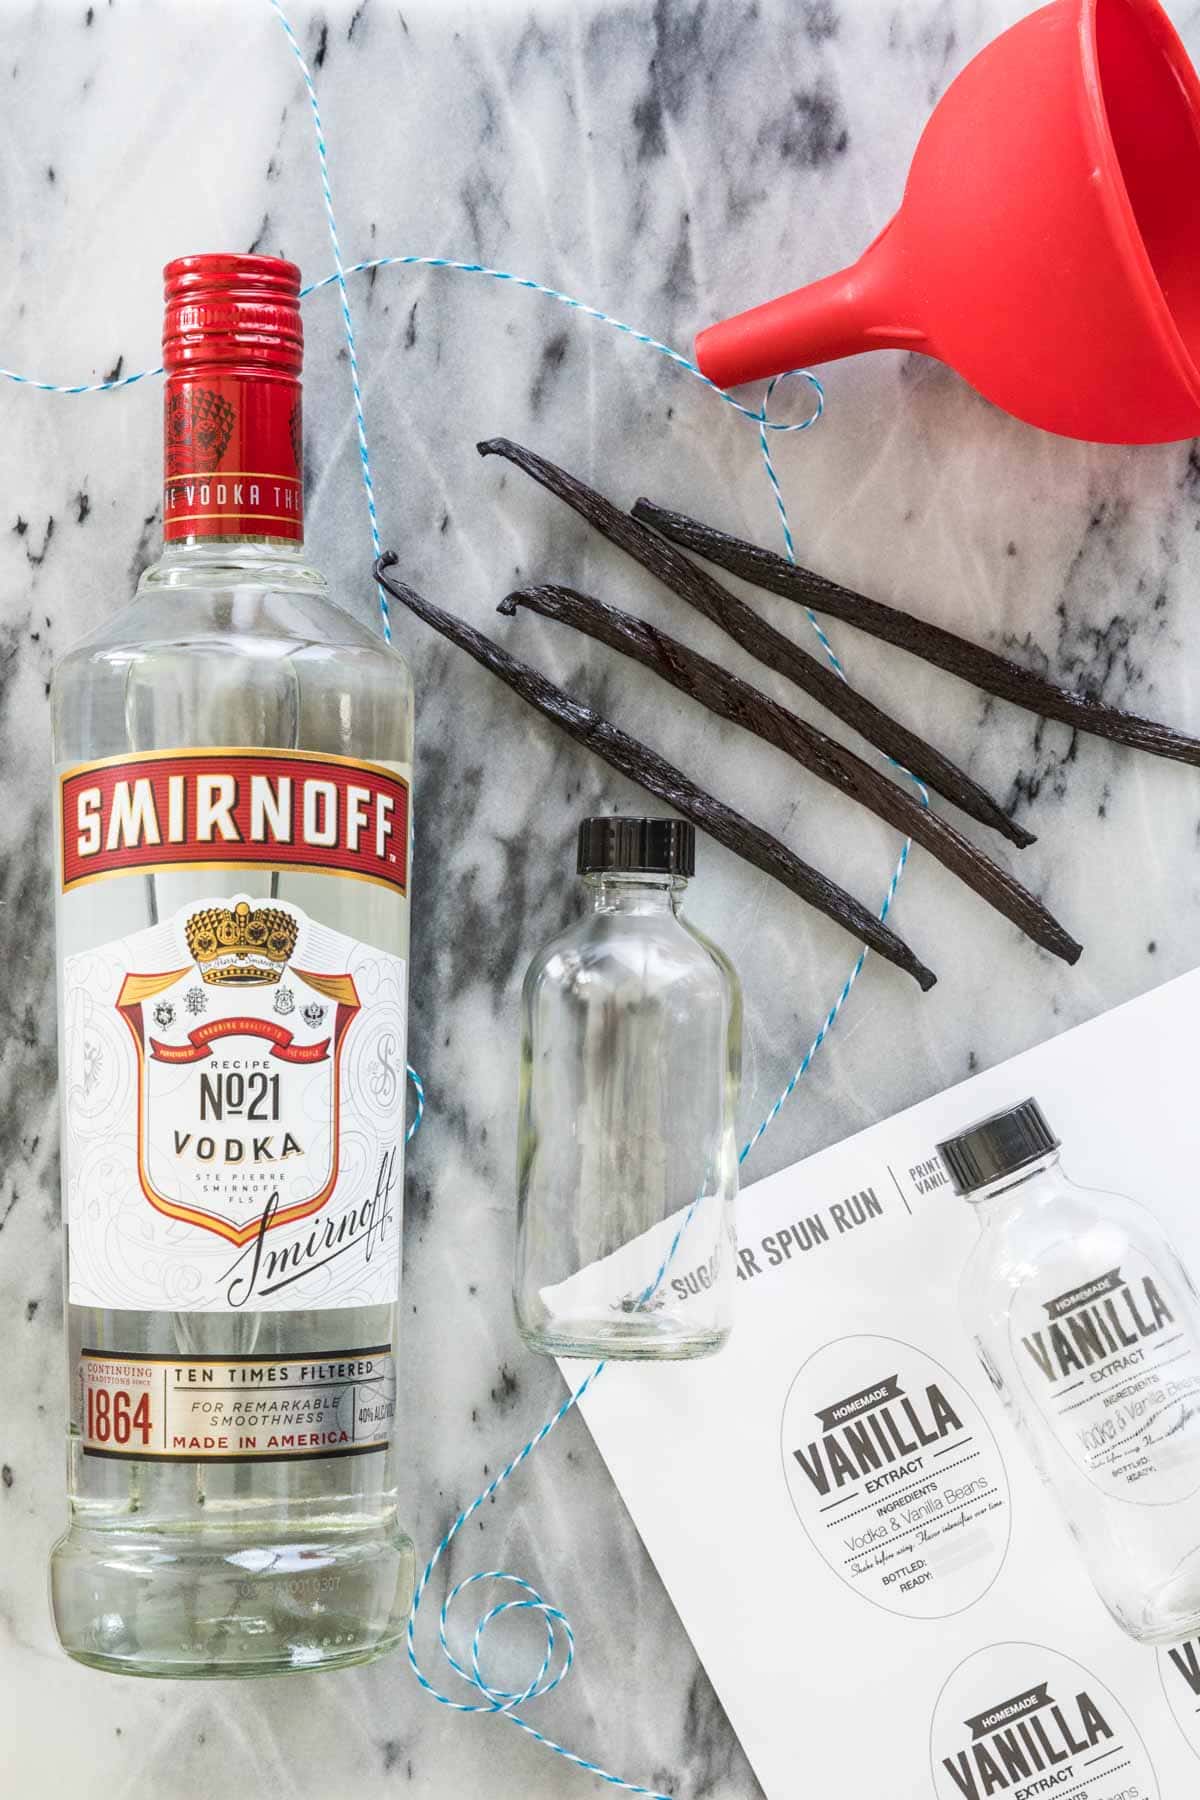
Where to buy vanilla beans
These days I buy my vanilla beans from a website called Beanilla and these are the beans I bought, I’m not affiliated with this shop in any way, but have bought my beans from them for years.
I’ve found that vanilla beans are outrageously expensive at my grocery store (often sold in the spice aisle) and the quality is sometimes subpar and dry. Vanilla beans are also available on Amazon, but mixed reviews and bad ratings have kept me from ever personally buying them from there.
Vanilla bean varieties
Vanilla beans come in a number of varieties, but for baking, you want Madagascar vanilla beans. There are other varieties of beans that will impart different flavors: Mexican beans are rich, slightly spicy and warm, Indonesian are smokey and earthy with a woody and sometimes spicy flavor, and Tahitian are lighter, floral and fruity with anise and chocolate undertones. While they can be fun to play with, be aware that they will each lend a different taste to your baked goods, so choose accordingly.
For classic vanilla flavor, stick strictly with Madagascar vanilla or Madagascar bourbon vanilla beans. If you have the choice between “Grade A” or “Grade B”, stick to the Grade B because they’re cheaper (if not as pretty) and they work just as well for making extract.
Choosing an Alcohol
Vodka is the classic choice and my personal recommendation, it works well because the true flavor of the vanilla bean can shine. If grain alcohol, like 90-proof Everclear, is available in your state, that’s another popular choice (and some purists will only use this!).
- Vodka will give you the smoothest, purest, most unadulterated and well-balanced vanilla flavor and is my preference.
- Grain alcohol has more of a bite to it and typically pulls the flavor from the beans faster than vodka. The resulting extract will be more potent. I don’t like to use vanilla made with this alcohol in recipes where the vanilla isn’t baked (for example, ice cream, where the alcohol doesn’t have a chance to bake out).
- Bourbon will yield a smooth, warm extract with caramel undertones. Bourbon has an inherent vanilla note to it already, which can enhance the flavor of the beans and make the extract richer.
- Rum will be sweeter and smoother (and slightly spicy, if using a spiced rum). The flavor will be warmer and richer than one made with vodka.
- Whiskey will range widely depending on the whiskey you use, it’s usually deeper and smokier.
Truly you can use just about any alcohol you’d like, so long as it’s at least 70-proof (35% alcohol). When choosing a liquor, keep in mind what you intend to actually use your vanilla extract for. There’s a reason vodka is the classic choice, it give you classic, pure vanilla flavor and works best in classic vanilla cake!
You do not need to buy the most expensive alcohol! Stick with a mid-shelf brand (like Smirnoff). You won’t notice the difference in the end result between this extract and one made with top-shelf.
Other Materials:
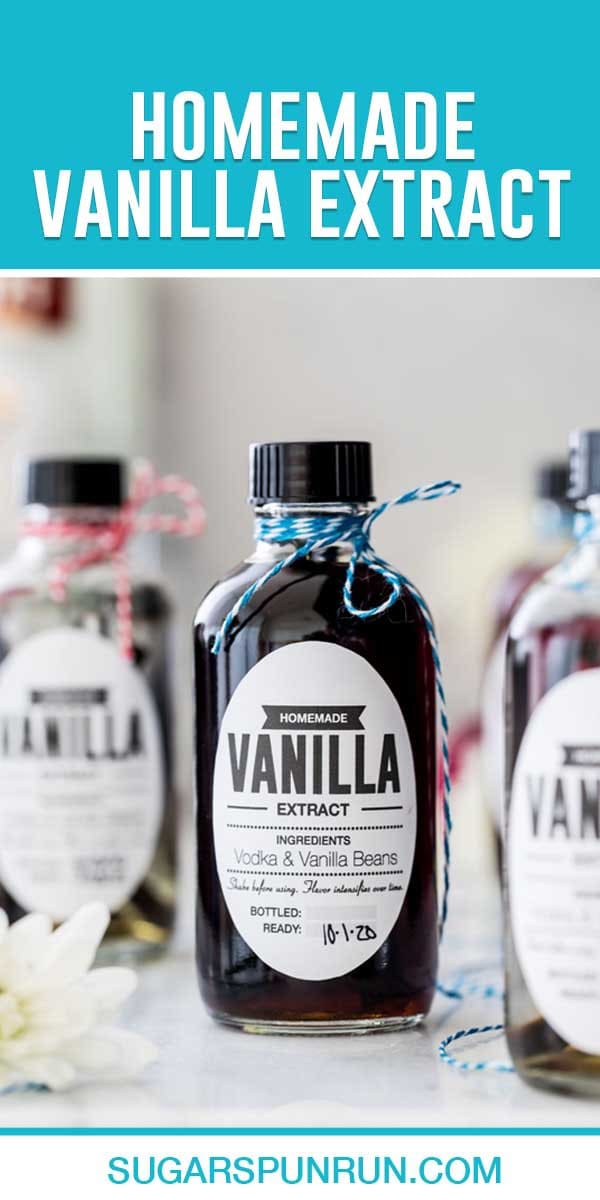
You’ll need a glass container in which to store your homemade vanilla extract. I like to use these cute glass bottles that I found on Amazon. You can also purchase bottles with an amber tint, which helps protect them from the sunlight and keeps the vanilla from going bad (since I store mine in a cool, dark pantry a clear bottle is fine).
A funnel helps neatly pour the vodka into the small 4 oz bottle. If you don’t have one, pour the alcohol into a measuring cup with a spout first and then pour from that into the bottle. It’s much less messy than pouring directly into the bottle!
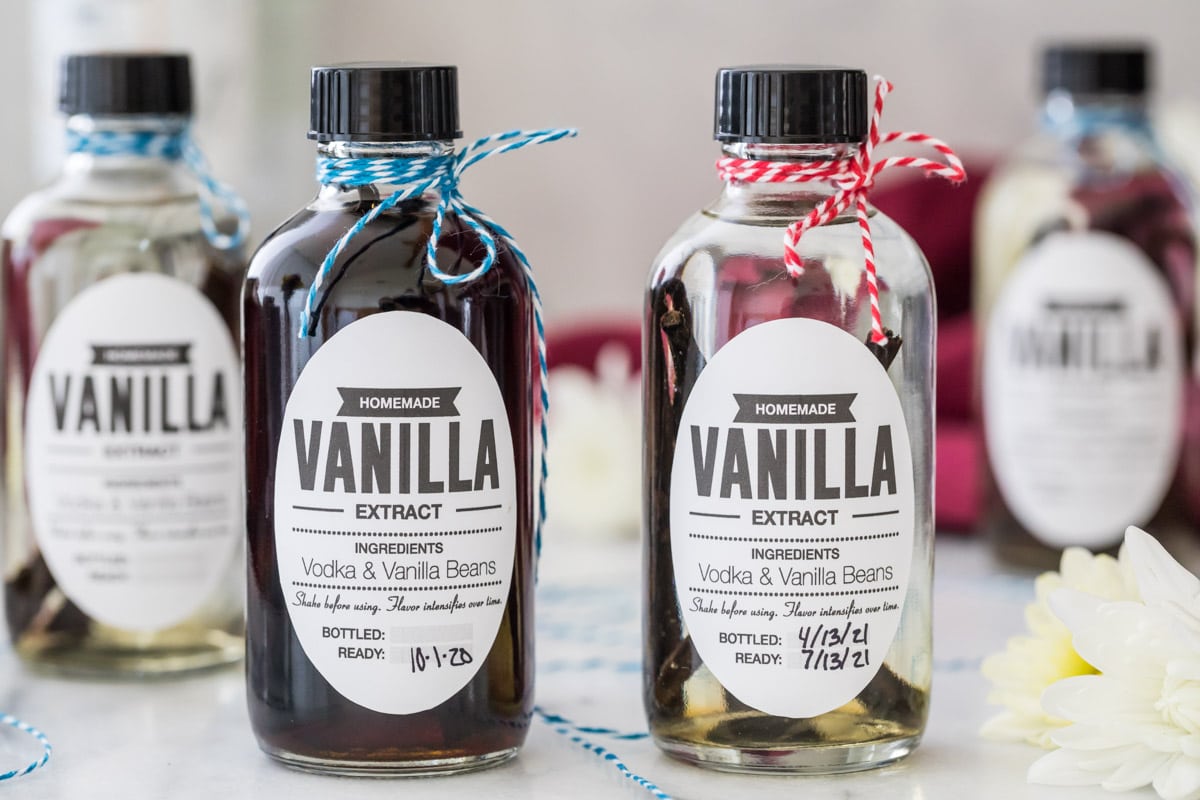
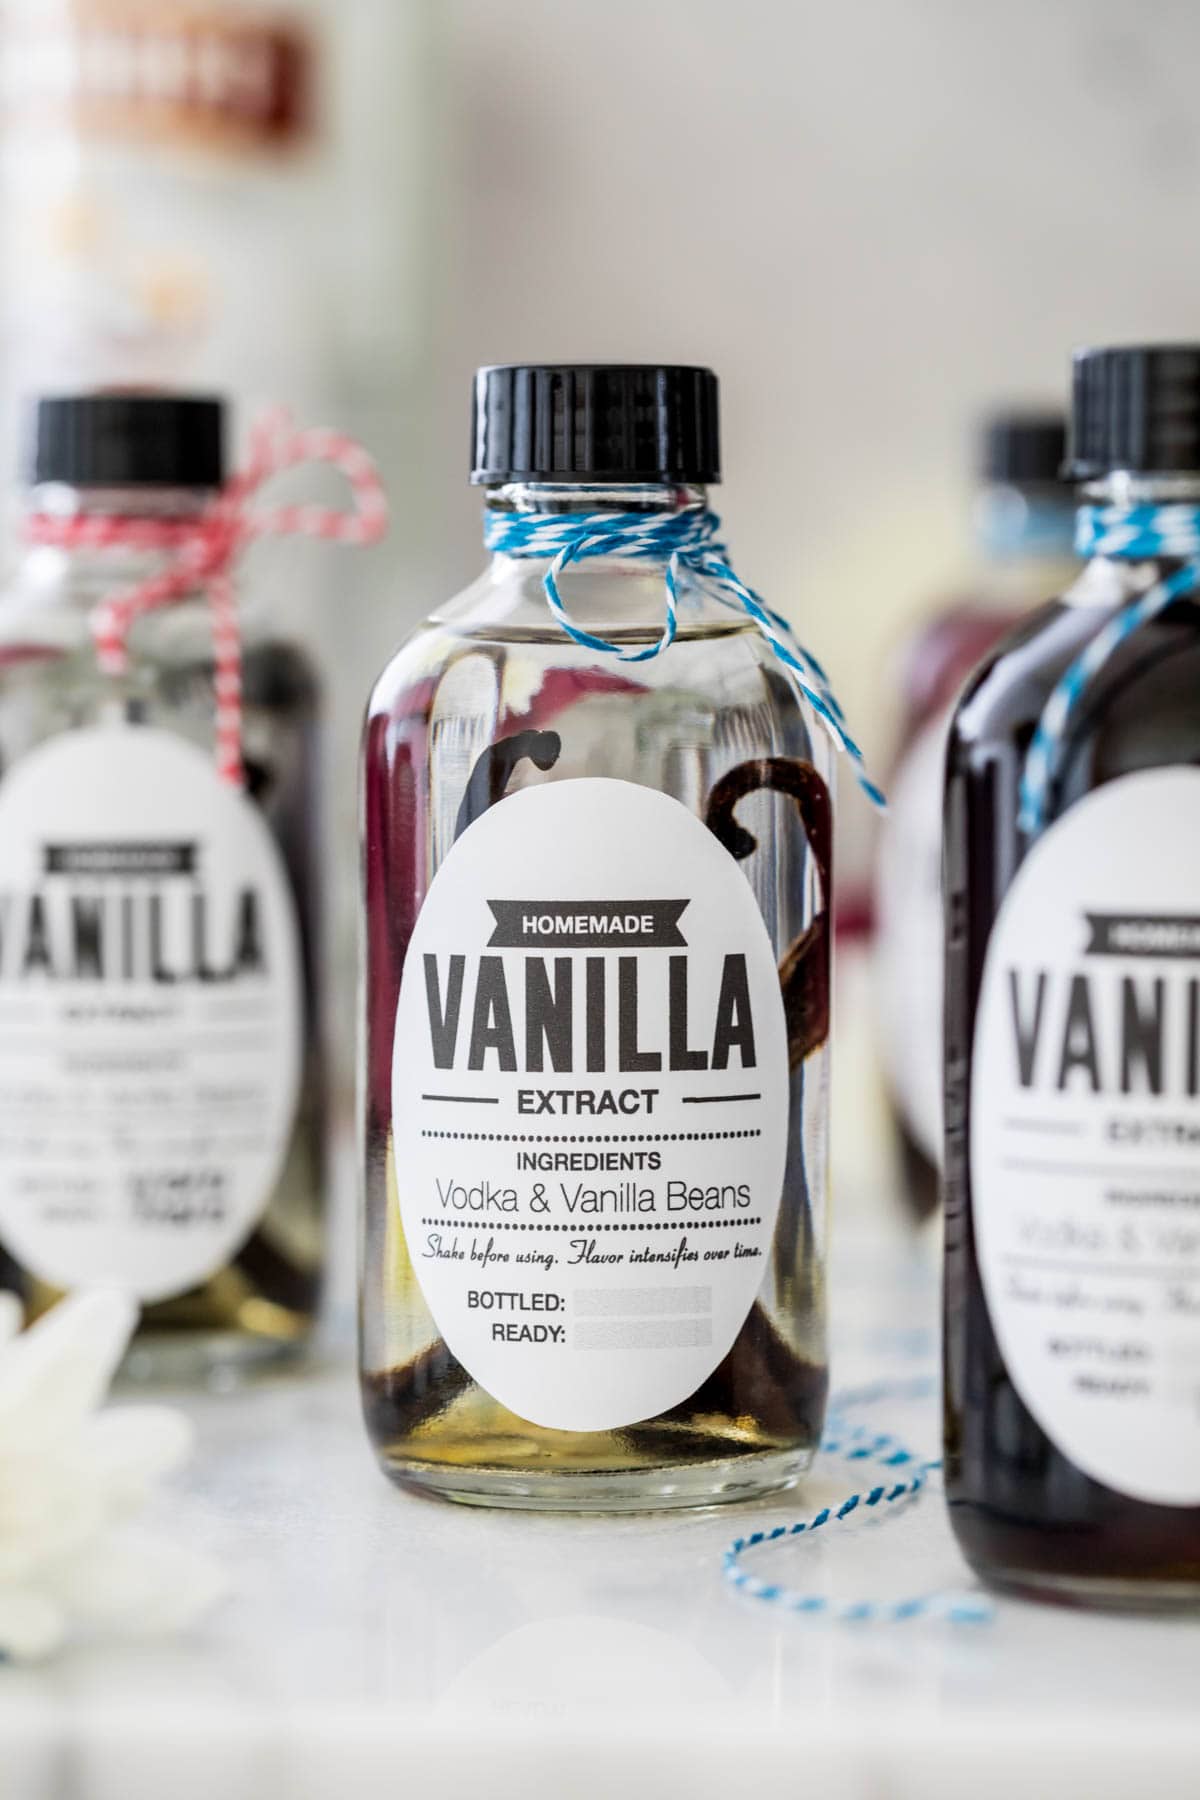
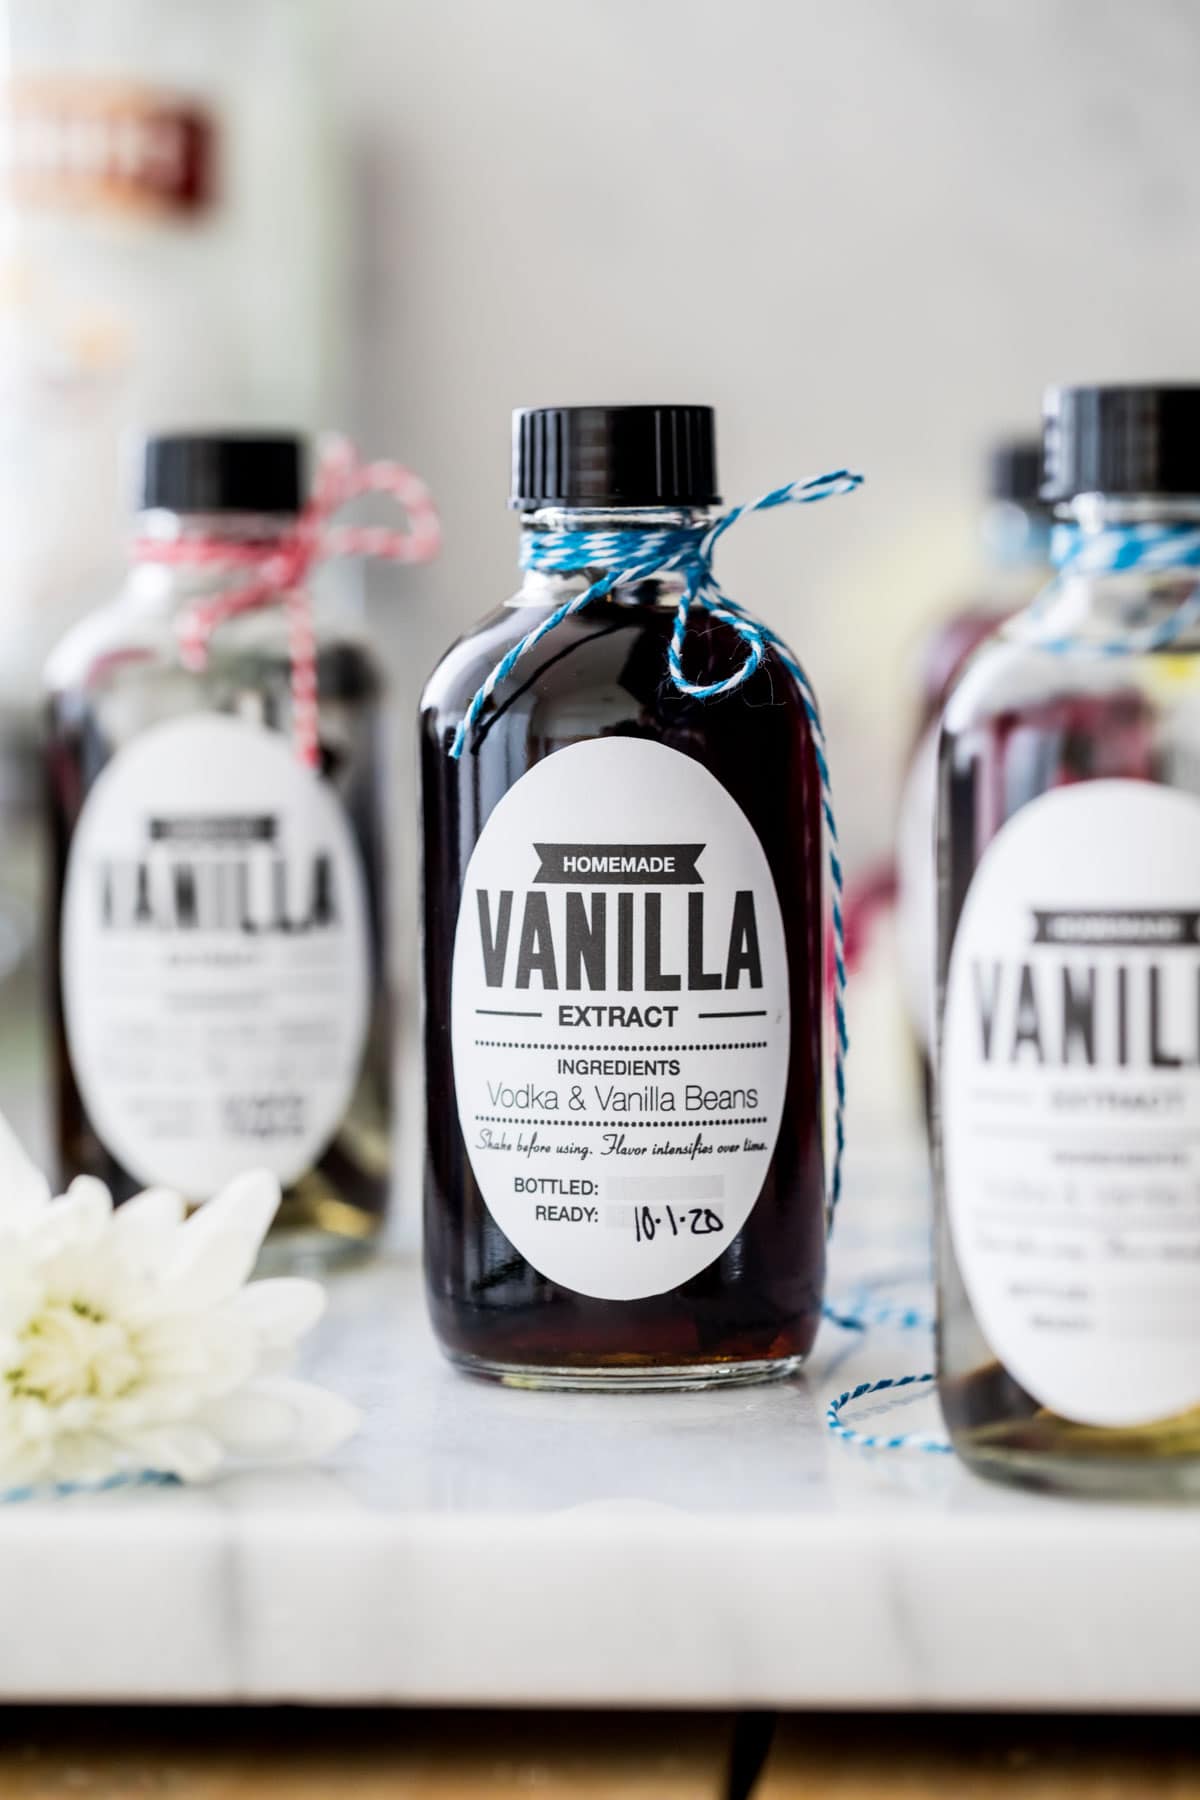
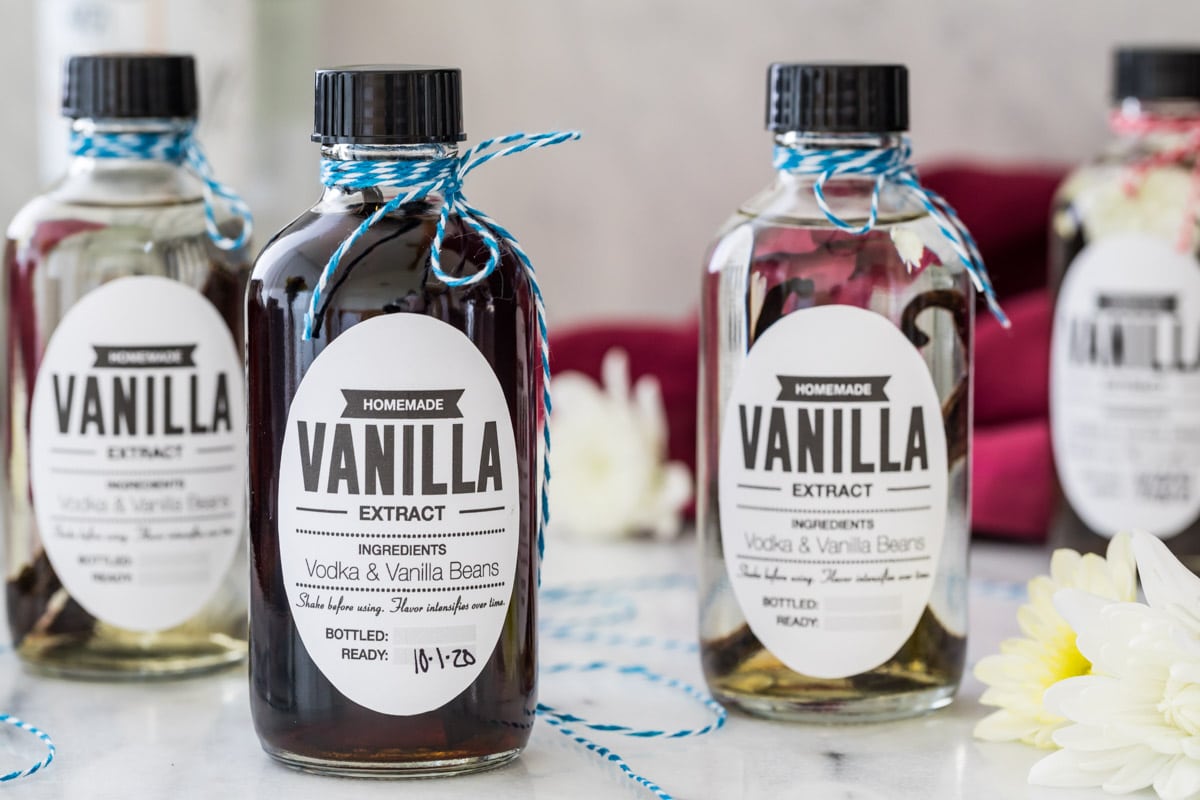
Last but not least, slap a label on your vanilla so you know when it’s ready! While you can just write this on piece of tape and stick it to the bottle, I have a set of free printables so you can use the same labels that I do in these photos. The link is in the recipe card, simply print them on sticker paper, cut, and stick them to your bottles. For a finishing touch, baker’s twine or ribbon adds a nice pop of color, especially if you’re giving the extract as a gift!
How to Make Vanilla Extract
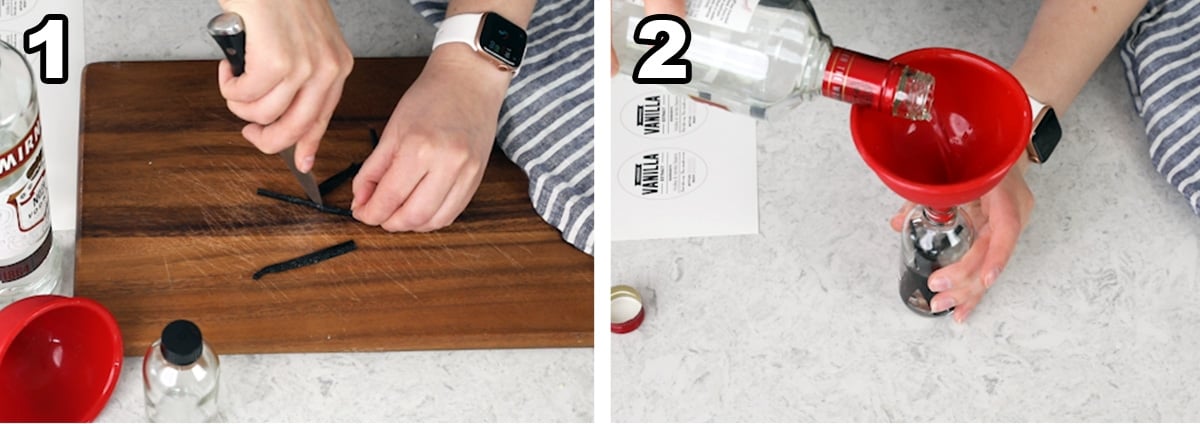
- Check your vanilla beans against the size of your bottle. They must fit neatly in the bottle and be completely submerged by the liquid. Mine typically need to be cut in half for this, so cut as needed. Then, split the beans lengthwise with kitchen shears or a sharp knife to expose all of those teeny-tiny vanilla seeds!
- Place the beans in bottles and pour vodka, or your liquor of choice, over top. Make sure the beans are completely submerged and leave at least a small bit of space between the vodka and the top of the bottle.
Now the hardest part is to wait. For vanilla extract to fully develop its flavor, it needs to sit for at least 3 months in a cool, dark place. The longer it sits, the more developed the flavor will be — some baker will not use their vanilla extract until it has been sitting for at least a year! Personally, I will use mine after 3 months and I always have great results (and lots of blind taste-testing has assured me this length of time is satisfactory).
Make sure to shake the bottles occasionally (about once a week) to help infuse the flavor!
Single-Fold vs Double-Fold
I usually use about 4-6 vanilla beans per cup of alcohol. Ideally, to be more precise, it is best use a kitchen scale (this is the scale I use, it’s inexpensive and reliable!) and measure .83 oz /24 grams (many people round up to 1 oz) of beans for every 8 oz/cup of alcohol. This yields a single-fold, or standard vanilla which is comparable in strength to the one you’d buy in the grocery store and is what I use in my recipes.
For a more intense vanilla flavor, you can double the amount of beans you use, meaning 8-12 beans or 1.7 oz/50 grams (often rounded up to 2 oz) per 8 oz/cup of alcohol. Double-fold is nice because it allows you to give your baked good a deeper vanilla flavor without increasing the amount of liquid you’re adding to the recipe. When following a recipe, you could reduce the amount of vanilla called for in half when baking with double-fold vanilla extract.
Frequently Asked Questions
Yes! This recipe scales very well. I use a half oz of beans for every 4 oz of alcohol, so simply increase this as needed to make more vanilla. Sometimes I’ll make a large batch and store it in a mason jar.
If stored in a clean bottle in a cool, dark place, it will keep for several years. It does not need to be (and should not be) refrigerated or frozen.
If your ever notice that the liquid looks cloudy or smells bad, discard it.
Personally I have only ever made homemade vanilla extract with alcohol, however some sources indicate that it can be made using food-grade vegetable glycerin. You may find this article on making non-alcoholic vanilla to be a good guide if you are searching for non-alcoholic options.
Real vanilla extract is made with vanilla beans, which will always tint the liquid that they’re in a brown color. Clear extract is made with synthetic vanillin and is artificially flavored. It can’t be made using real beans and so unfortunately you cannot make a “real” clear vanilla extract.
I hope this was helpful! Let me know if you have any questions, and enjoy!
-Sam
More How-to Tutorials:
Enjoy!
Let’s bake together! Make sure to check out the how-to VIDEO in the recipe card!
Homemade Vanilla Extract
Ingredients
- ½ cup (118 ml) mid-shelf vodka, like Smirnoff¹ (4oz)
- 2-3 whole vanilla beans² (½ oz vanilla beans). see note.
Recommended Equipment
- 4 oz bottles (see notes section for amber bottle link)
- Kitchen Scale (recommended for weighing beans, for best results)
- Printable labels Click link to view and print. Print on sticker paper then cut out and attach to bottles.
- Sticker paper for printing labels
Instructions
- Thoroughly clean, wash, and dry bottles and lids that you’ll be using. Cut vanilla beans so that they will fit inside your bottles.2-3 whole vanilla beans²
- Split beans lengthwise so that the tiny seeds are exposed.
- Place cut vanilla beans in bottle. Fit funnel over the top of the bottle and add liquor until the beans are fully submerged. Leave a little bit of space at the top of the bottle so that you will be able to shake the contents as they sit.½ cup (118 ml) mid-shelf vodka, like Smirnoff¹
- Add label, if using, but make sure to mark the date that the vanilla was bottled. Store in a cool, dark place and shake occasionally (about once a week). Store vanilla for at least 3 months before using (the longer it sits, the better!).
Notes
Bottles
I link to the clear bottles I use above, but here are the alternative amber-colored bottles.¹Alcohol
A mid-shelf liquor is perfect for this recipe, don’t bother with splurging on anything expensive. Bourbon also works well. See blog post for more detail on using other types of alcohol.²Vanilla Beans
As with every recipe, It’s always best to go by weight when measuring your beans, rather than bean count. If you can’t, look for large, plump beans and know that if your beans aren’t plump, you may need to use extra vanilla beans. If your beans are dry or brittle, don’t use them. I use and recommend grade B Madagascar vanilla beans. I typically buy my beans from Beanilla.com and have always been satisfied with the high quality, plump beans.Storing
Store in a cool, dark place. Homemade vanilla should keep for up to 5 years, but if it smells unpleasant or is cloudy you should discard.Nutrition
Nutritional information is based on third-party calculations and should be considered an estimate only. Actual nutritional content will vary based upon brands used, measuring methods, cooking method, portion sizes, and more.
This recipe was originally published June of 2014. The post has been updated with better photos, more details, and a how-to video!

april
I appreciate the recipe! Sometimes I finely chop my vanilla beans/muddle them with the vodka. It makes the extraction process go by very quickly. <3
Emily @ Sugar Spun Run
We’re so glad it’s helpful, April! We’ll have to try that 😊
Jbird
Thank you Sam for that information. Someone offered to sell me a 5 pack of Madagascar vanilla beans purchased from Costco but the exp date is august of 2025. I’m not familiar with the shelf life of vanilla beans but I would want to use them in making gifts. I was hoping you’d know if that’s too close of an exp date for something that could be sitting for months after that (although soaking in vodka). Thanks!!
Sam
I think I would be putting them in a jar away. 🙂
Jbird
Hi!
After the 3 month brewing period when I use the vanilla, Suppose I do not top off the bottle but snip the beans as I use the vanilla. As long as the beans are submerged will they be ok? Also suppose I used half the bottle then tossed the beans. Would the already infused flavor remain?
Thank you!
Sam
I would recommend keeping the beans submerged in the liquid as much as possible. I personally wouldn’t remove the beans as the flavor will continue to infuse, but yes the flavor that is already there will remain. 🙂