Easy, cheesy stuffed shells (with a secret ingredient in the filling!!) that can be assembled and in the oven in a matter of minutes. This easy dinner recipe is incidentally vegetarian and made with the option to use homemade or jarred sauce (if you’re in a hurry!). Less than 20 minutes of prep! Recipe includes a video tutorial!
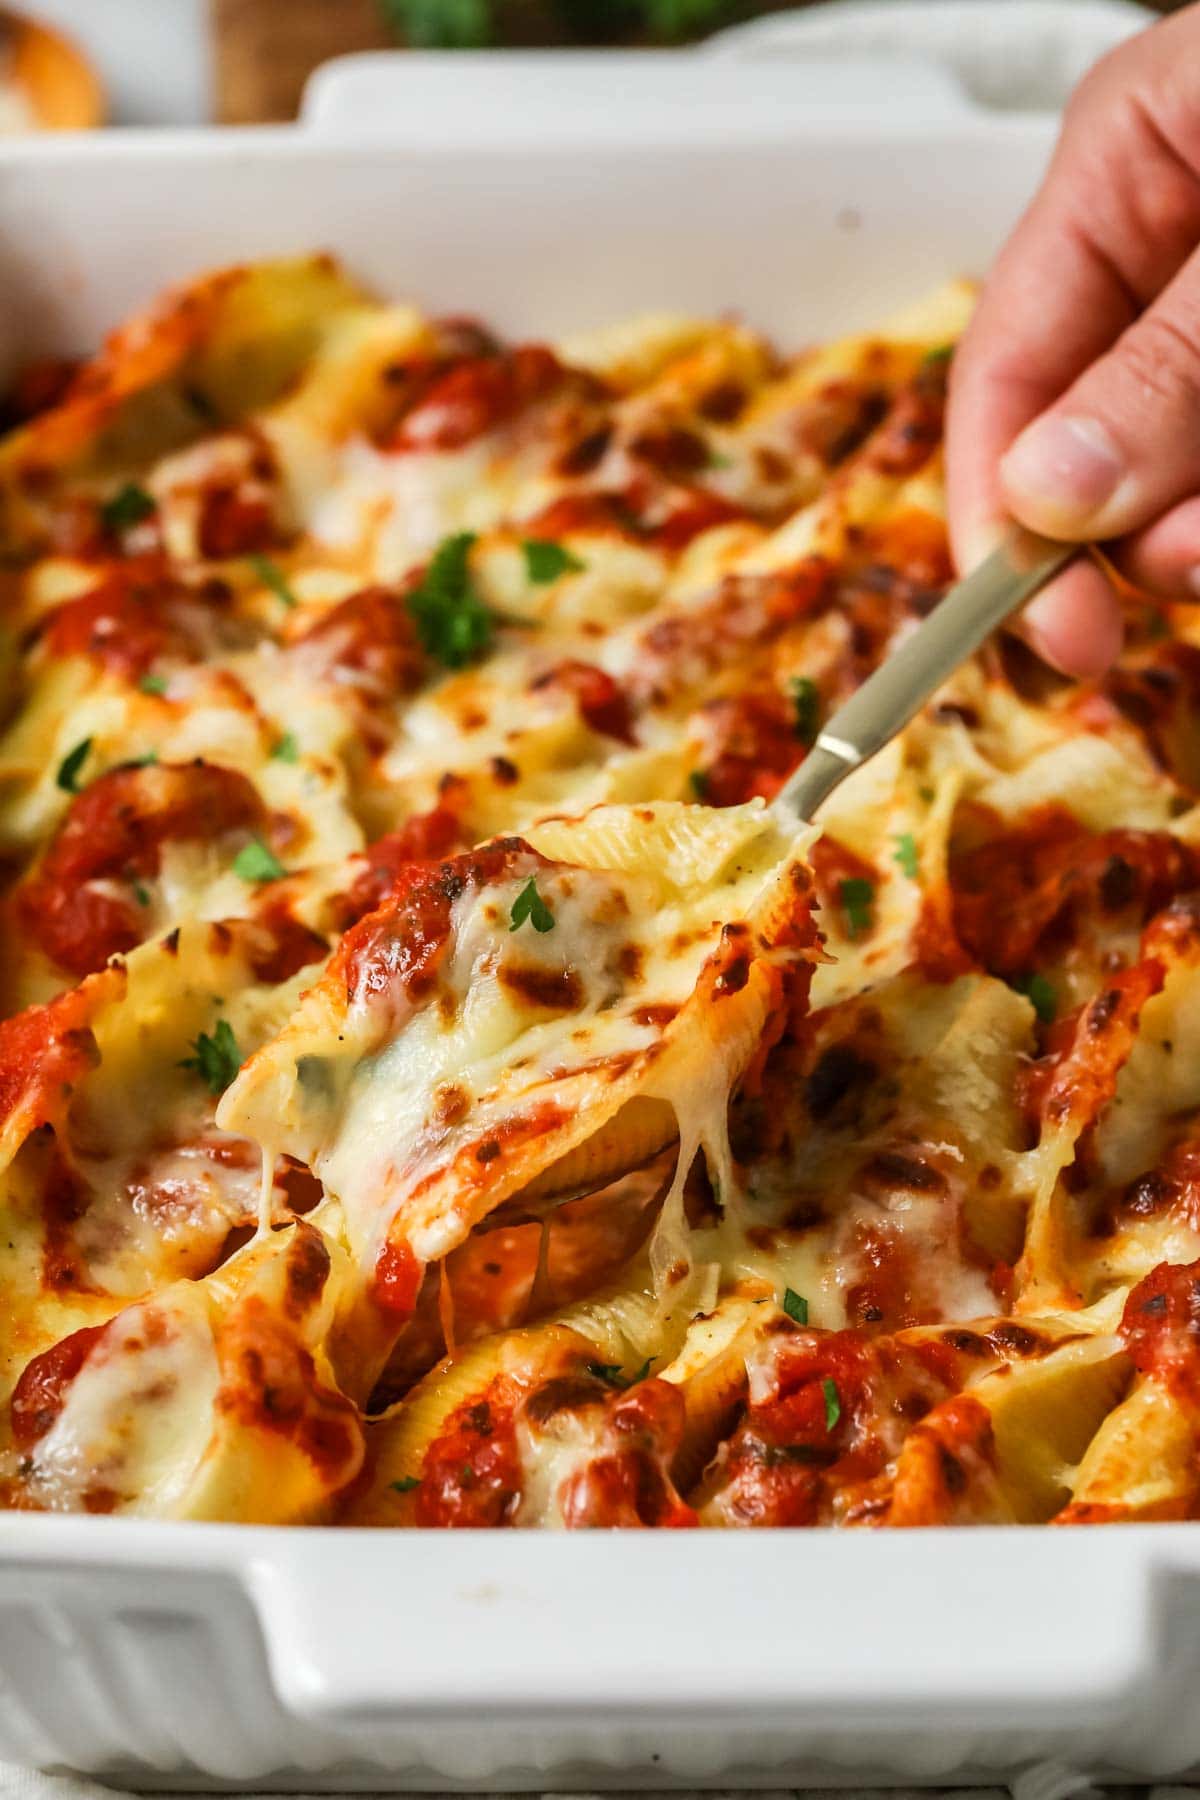
Classic Stuffed Shells
While stuffed shells aren’t the most beautiful of dinners, they make up for their rustic appearance with their incredibly comforting and satisfying flavor. This classic recipe is a staple in our household once the weather gets cooler and we crave hearty, filling dishes (like my pot roast!).
Today we’re pairing jumbo, perfectly cooked shells with a velvety, cheesy filling and flavorful tomato sauce. Bake the whole thing into bubbly perfection, and oh boy, you’re in for a treat! The whole family loves this recipe, and as a bonus, it’s a vegetarian dinner option–great for meatless Monday!
Why You’ll Love My Recipe
- Can be made in advance or even frozen. Ideal for meal-prepping!
- Flexible. This recipe works with store-bought sauce or homemade sauce. If you’re in a pinch and need a quick dinner, stick with store-bought, otherwise I really recommend you use my homemade marinara sauce.
- Includes a secret ingredient in the filling! This lends a smooth, velvety creaminess and a subtle depth of flavor. I swear by it!
- Ready to eat in less than an hour. This is minimal effort, maximum reward kind of comfort food!
Ingredients
My recipe uses just a few basic ingredients plus one sneaky secret addition.
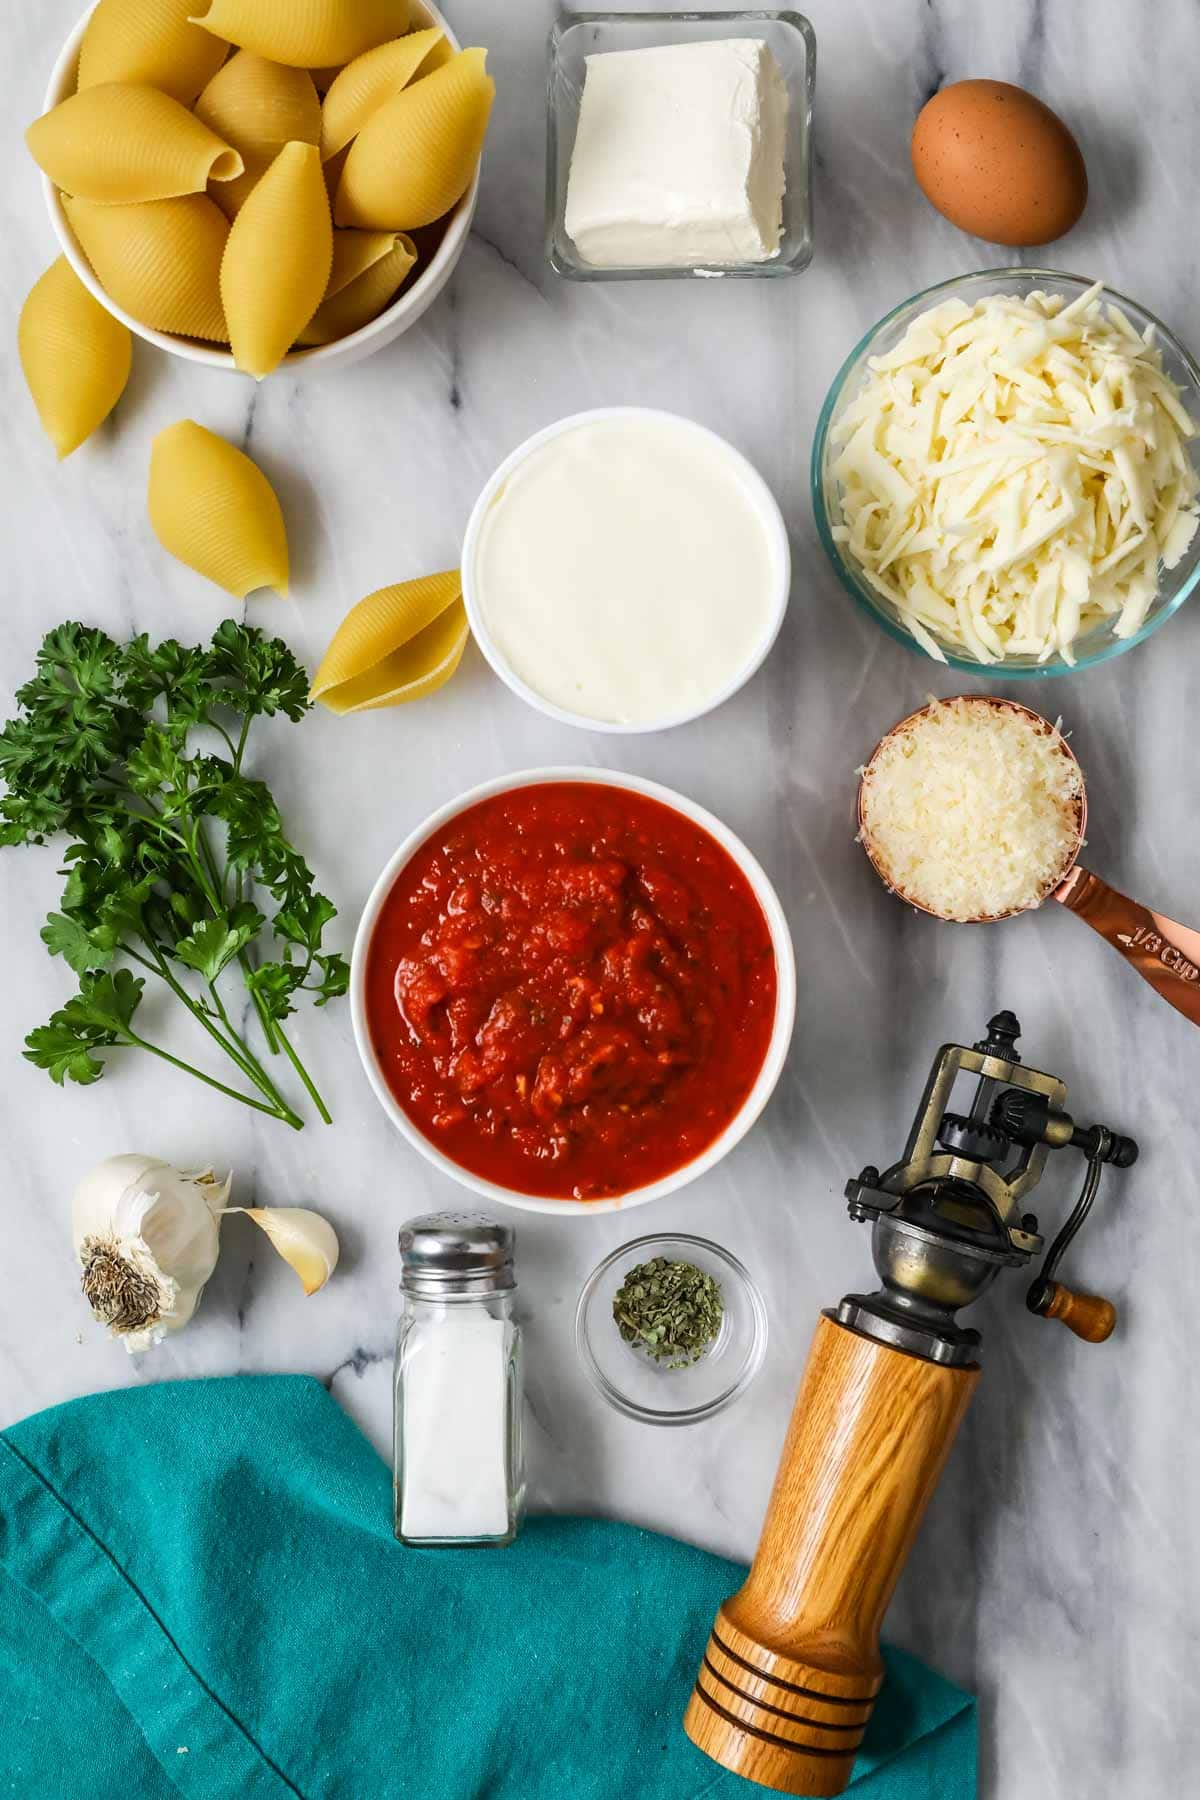
- Jumbo shells. Make sure you boil a few more than you need, just in case you have a some that tear or stick to the bottom of the pan. Any extras you don’t use make a nice little snack while you wait for your dinner to finish baking 😉
- Marinara sauce. You will need three cups of sauce. You can always get creative and use something other than marinara like arrabiata sauce (for spice lovers!) or vodka sauce.
- Ricotta cheese. Ricotta is a classic ingredient for shells and lasagna! I prefer whole milk ricotta here for best results.
- Cream cheese. My secret ingredient! Adding cream cheese to the filling makes for a luxurious texture and depth of flavor. It’s not overpowering though! If you’re a cream cheese hater, I want to let you know that I have two siblings who hate cream cheese, but love this recipe and can not detect so much as a whiff of cream cheese flavor. I’ve tried this recipe with and without the cream cheese, and it just tastes so much better with it. I also use it when making manicotti.
- Egg. The egg helps to serve as a binder for the filling. If you can’t or don’t do eggs, you can leave it out, just note the filling will be looser after baking.
- Fresh parsley. This adds some color and fresh flavor to our filling (which is much needed with all that cheese!). If you don’t have fresh parsley, you can substitute two teaspoons of dried parsley instead.
SAM’S TIP: To prevent overcooking, cook your shells until they are al dente and rinse with cold water after boiling. The shells will continue cooking in the oven and will be perfect when they’re done!
Remember, this is just an overview of the ingredients I used and why. For the full recipe please scroll down to the bottom of the post!
How to Make Stuffed Shells
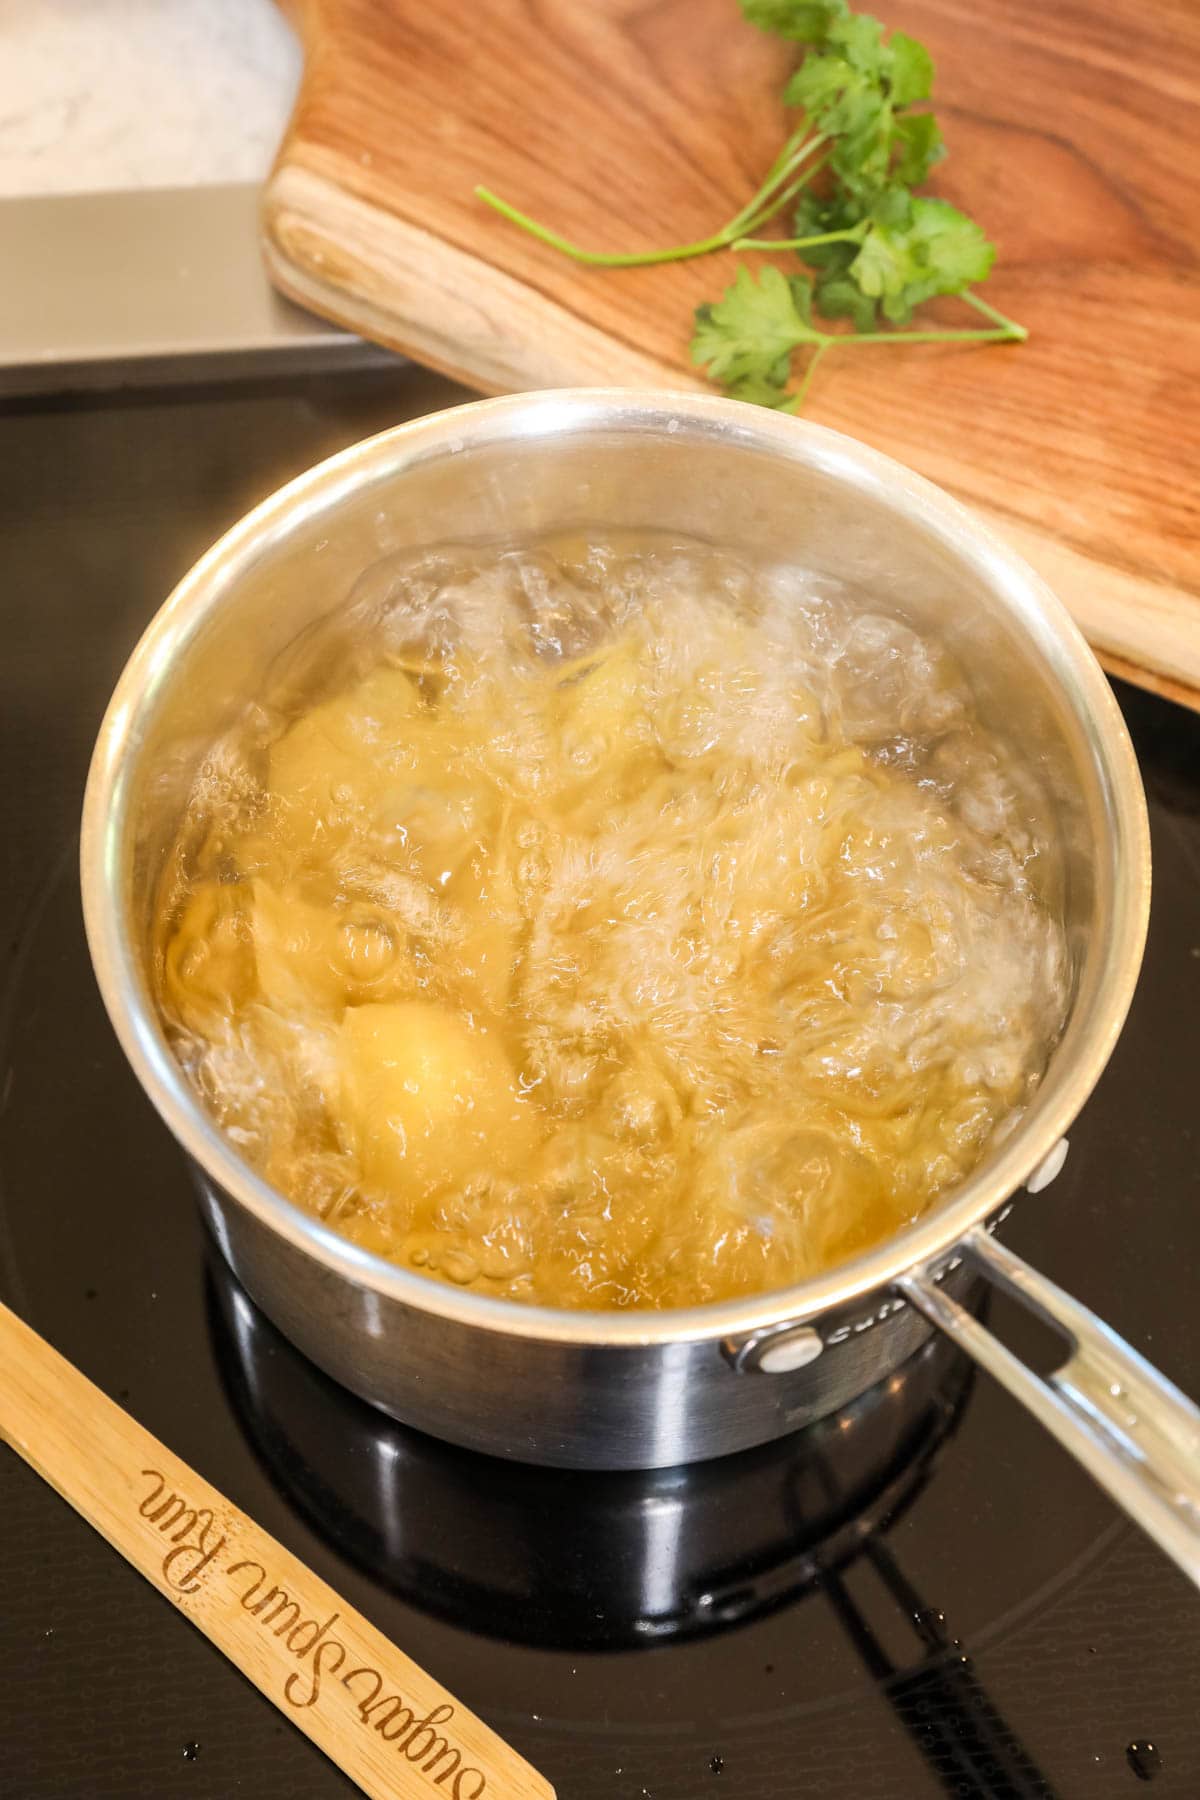
Boil the shells
To make them easy to manage (and less prone to tearing or falling apart), boil them one minute shy of package instructions. Then, drain, rinse with cold water (this stops the cooking process and cools them down so they can be handled right away) and arrange on a baking sheet so they don’t stick together.
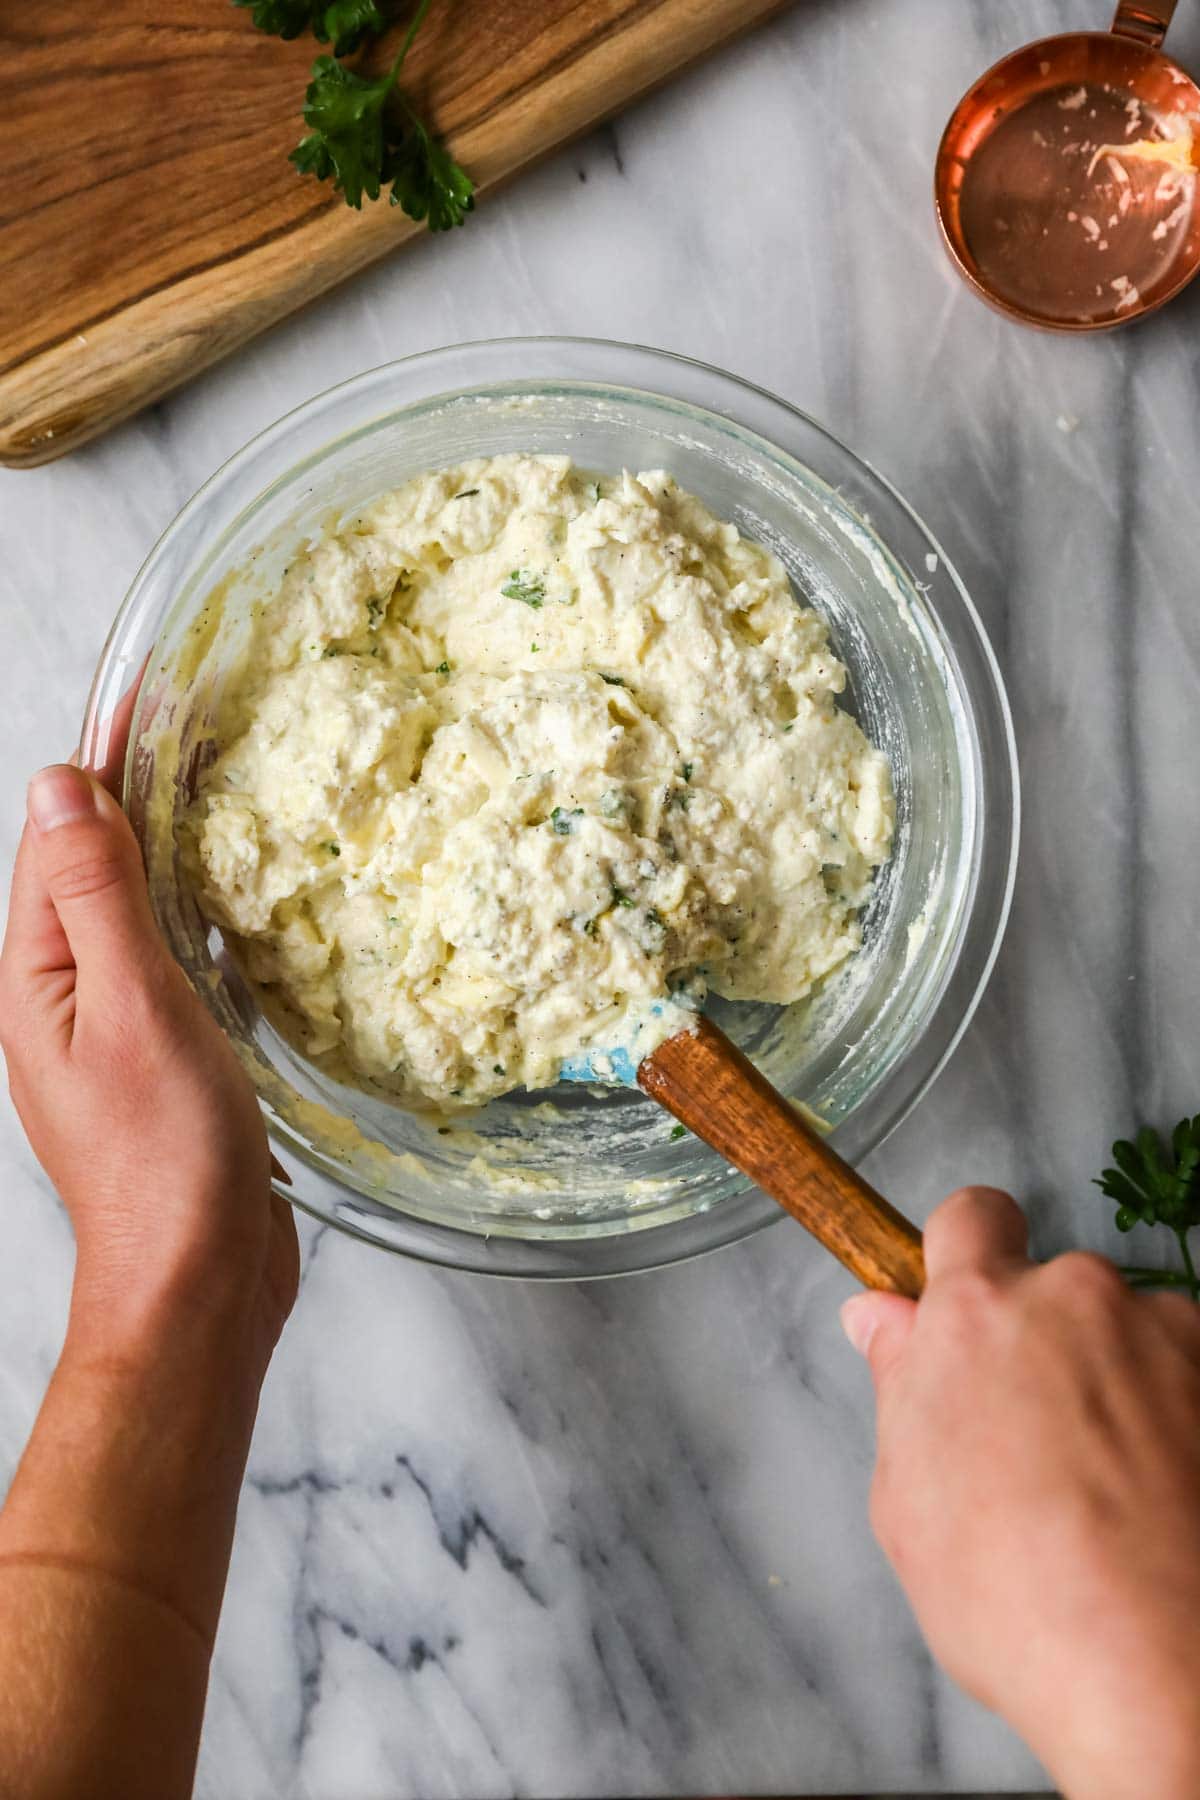
Prepare the filling
Stir together the cheeses, egg, garlic, parsley, spices, and salt. The cream cheese should be slightly softened to make it easy to stir (you can also just pop it in the microwave for a few seconds to help move things along!).
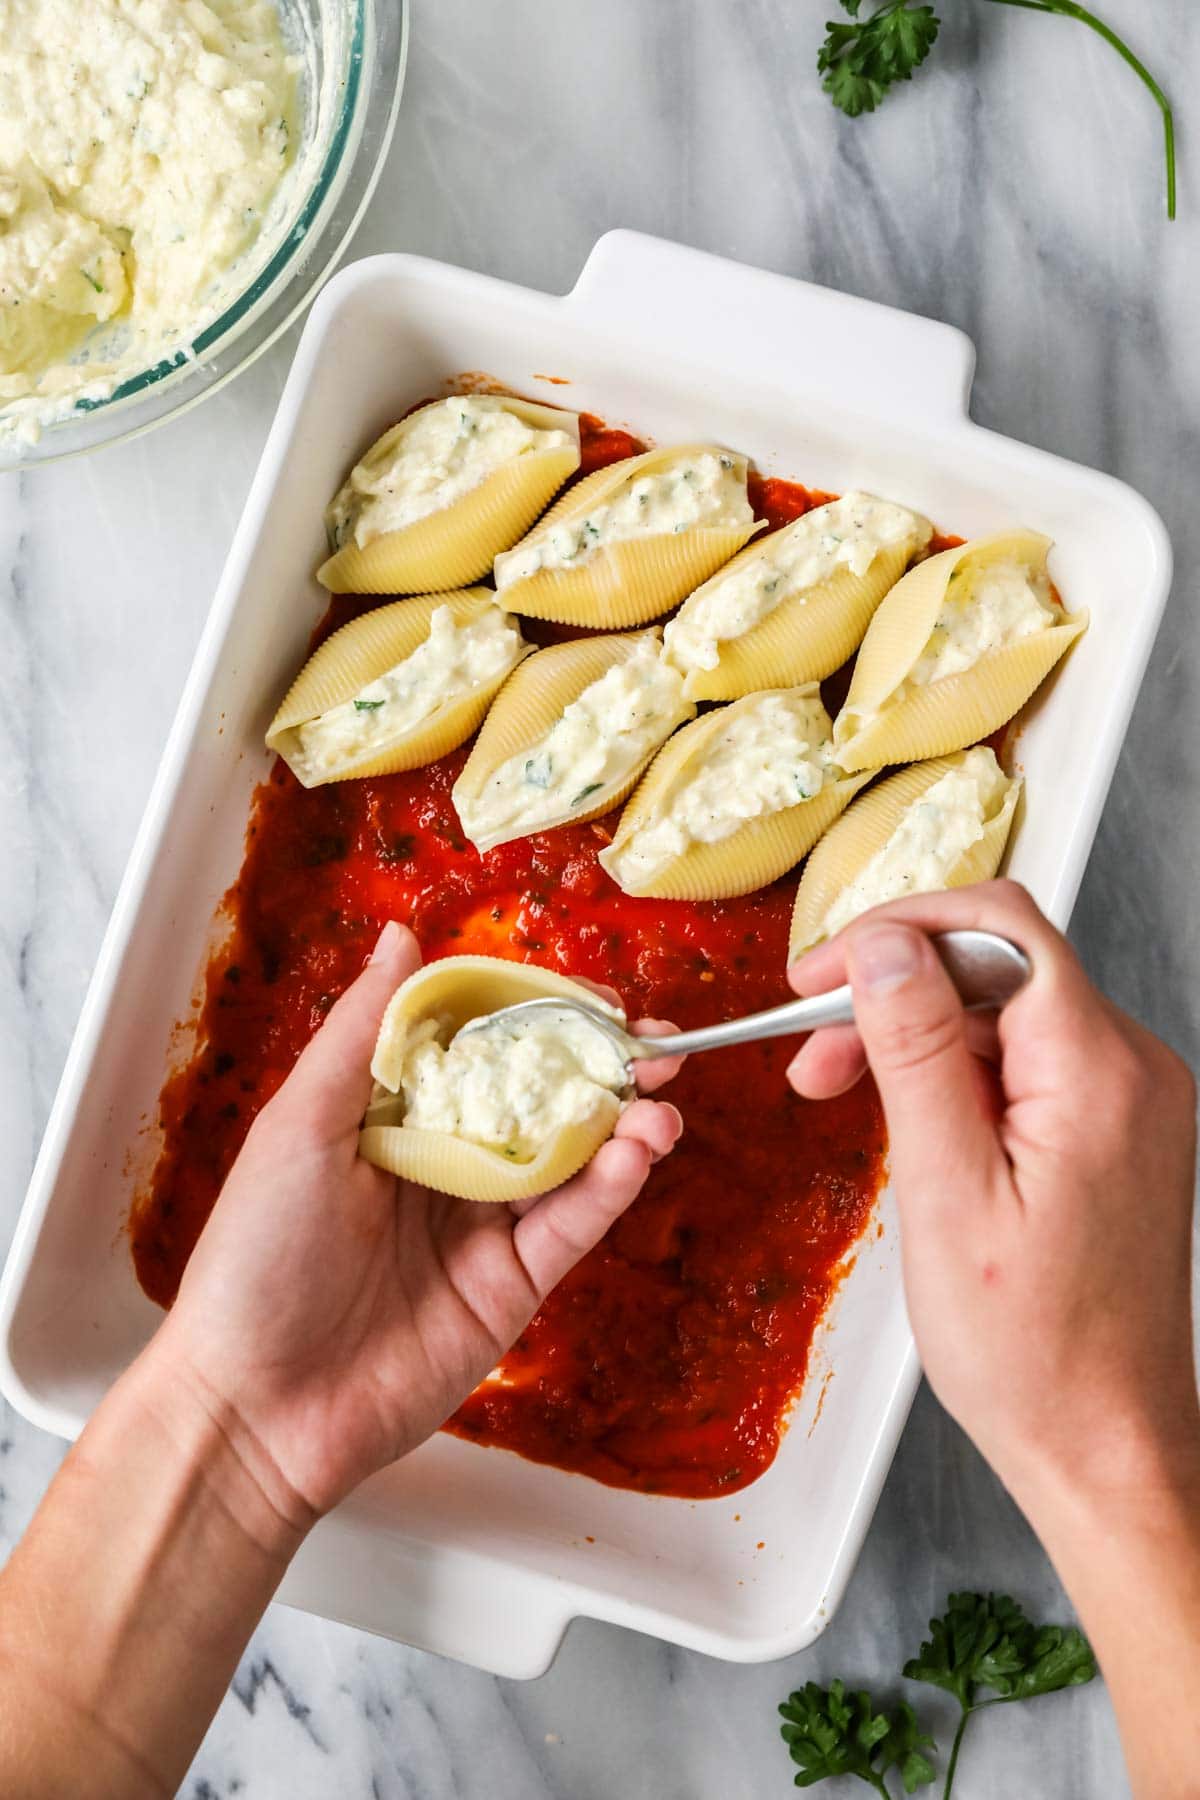
Stuff the shells
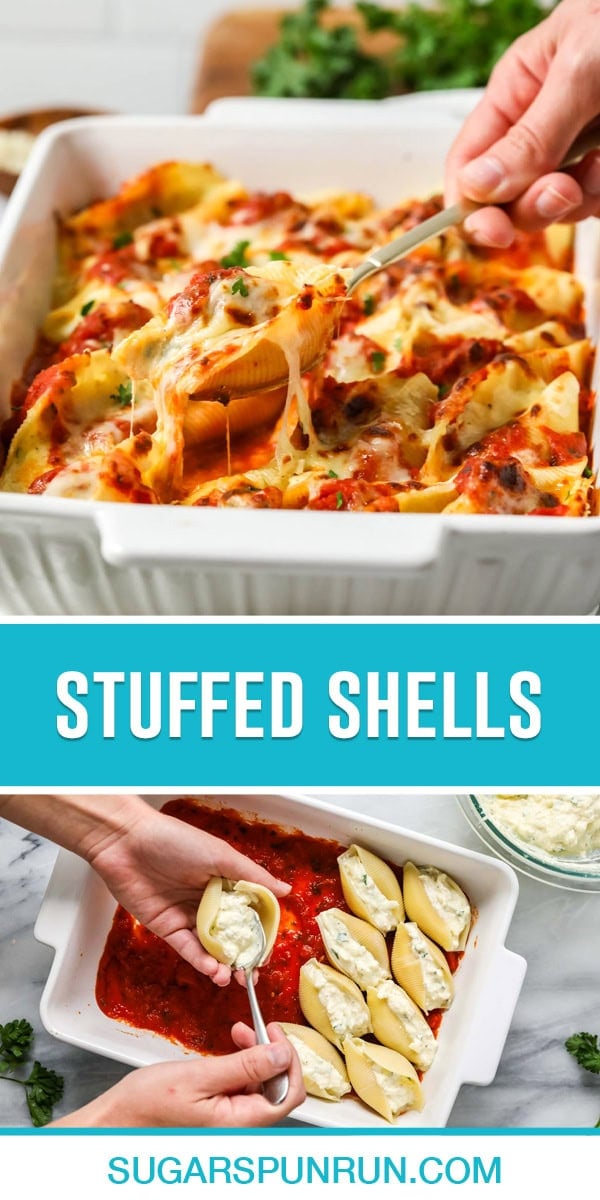
Lightly grease a casserole dish (I use butter, but a bit of olive oil would work, too) and add a layer of sauce. Stuff filling into each shell and arrange in rows in your prepared pan.
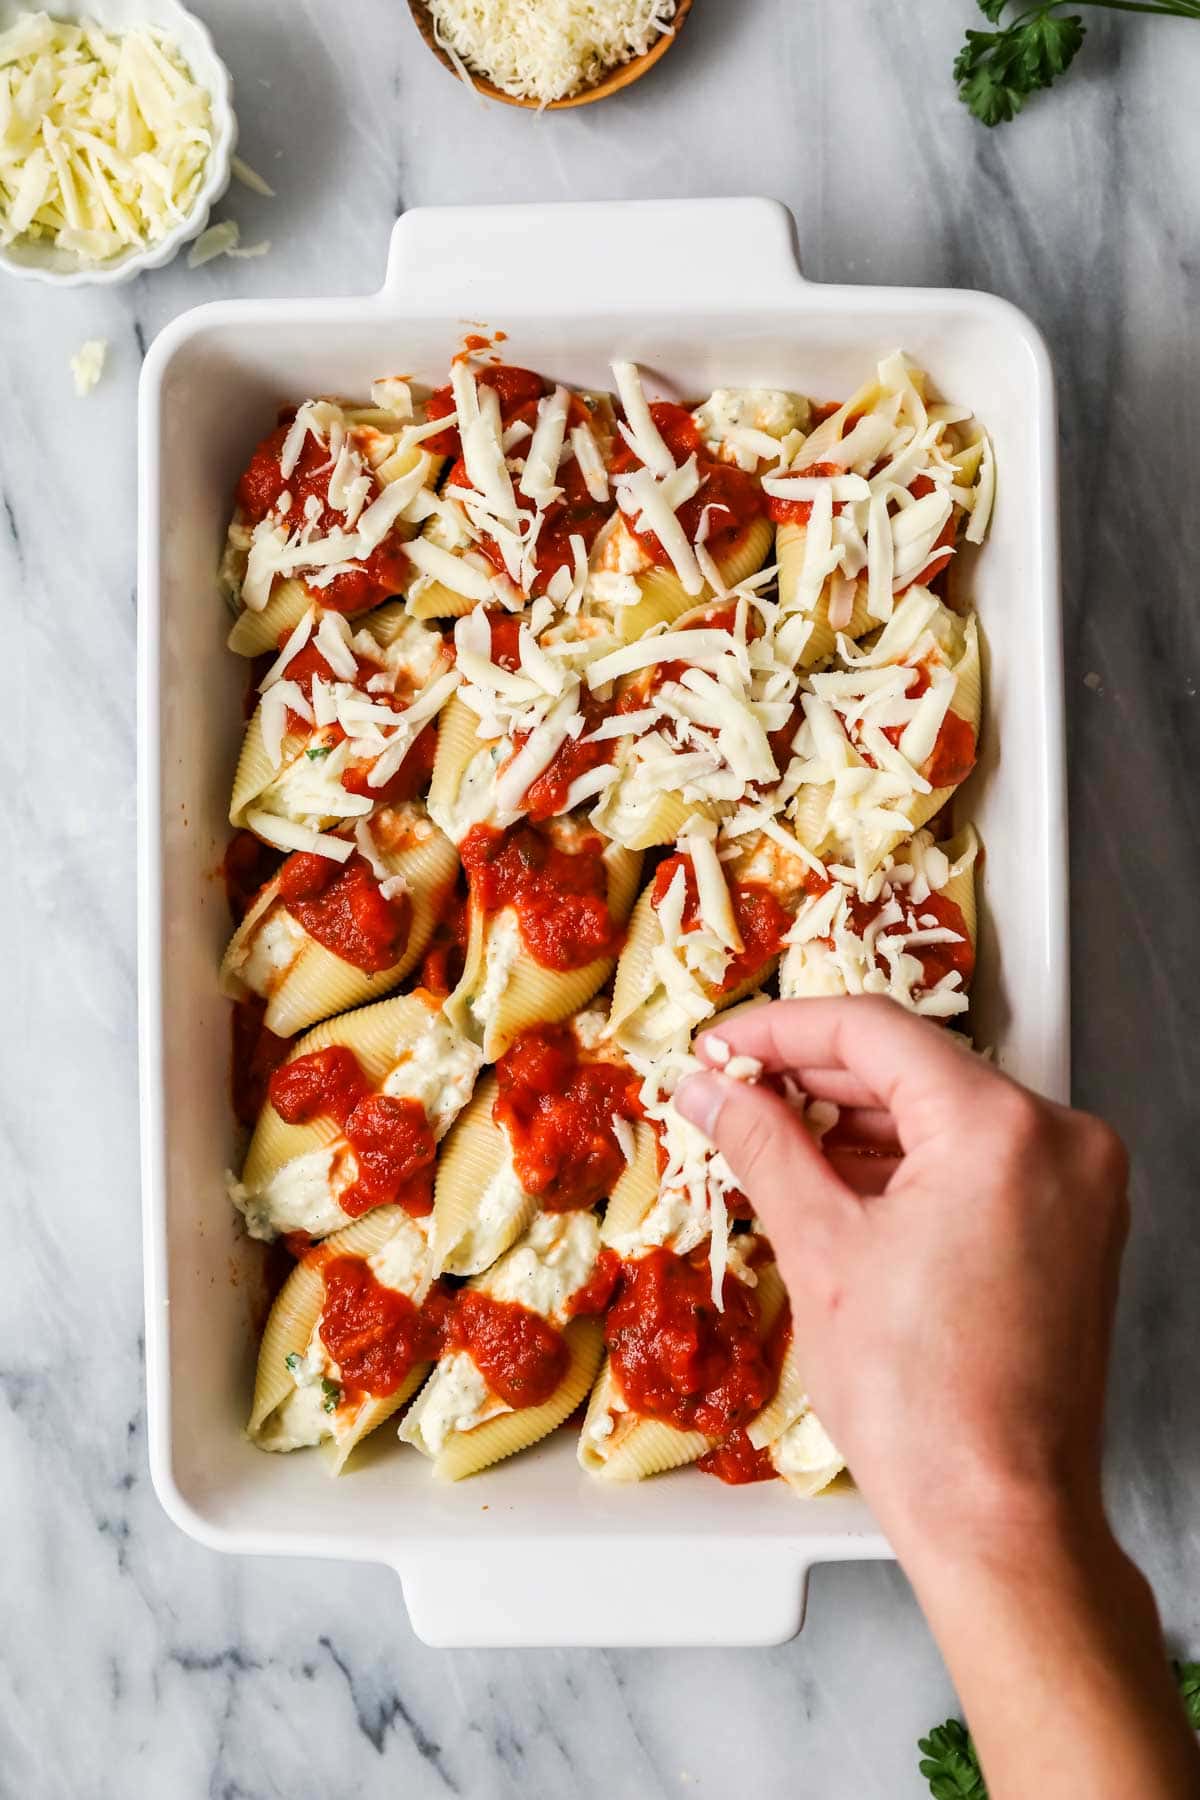
Layer it up
Add the final layer of marinara sauce overtop and sprinkle with the remaining mozzarella and parmesan cheeses.
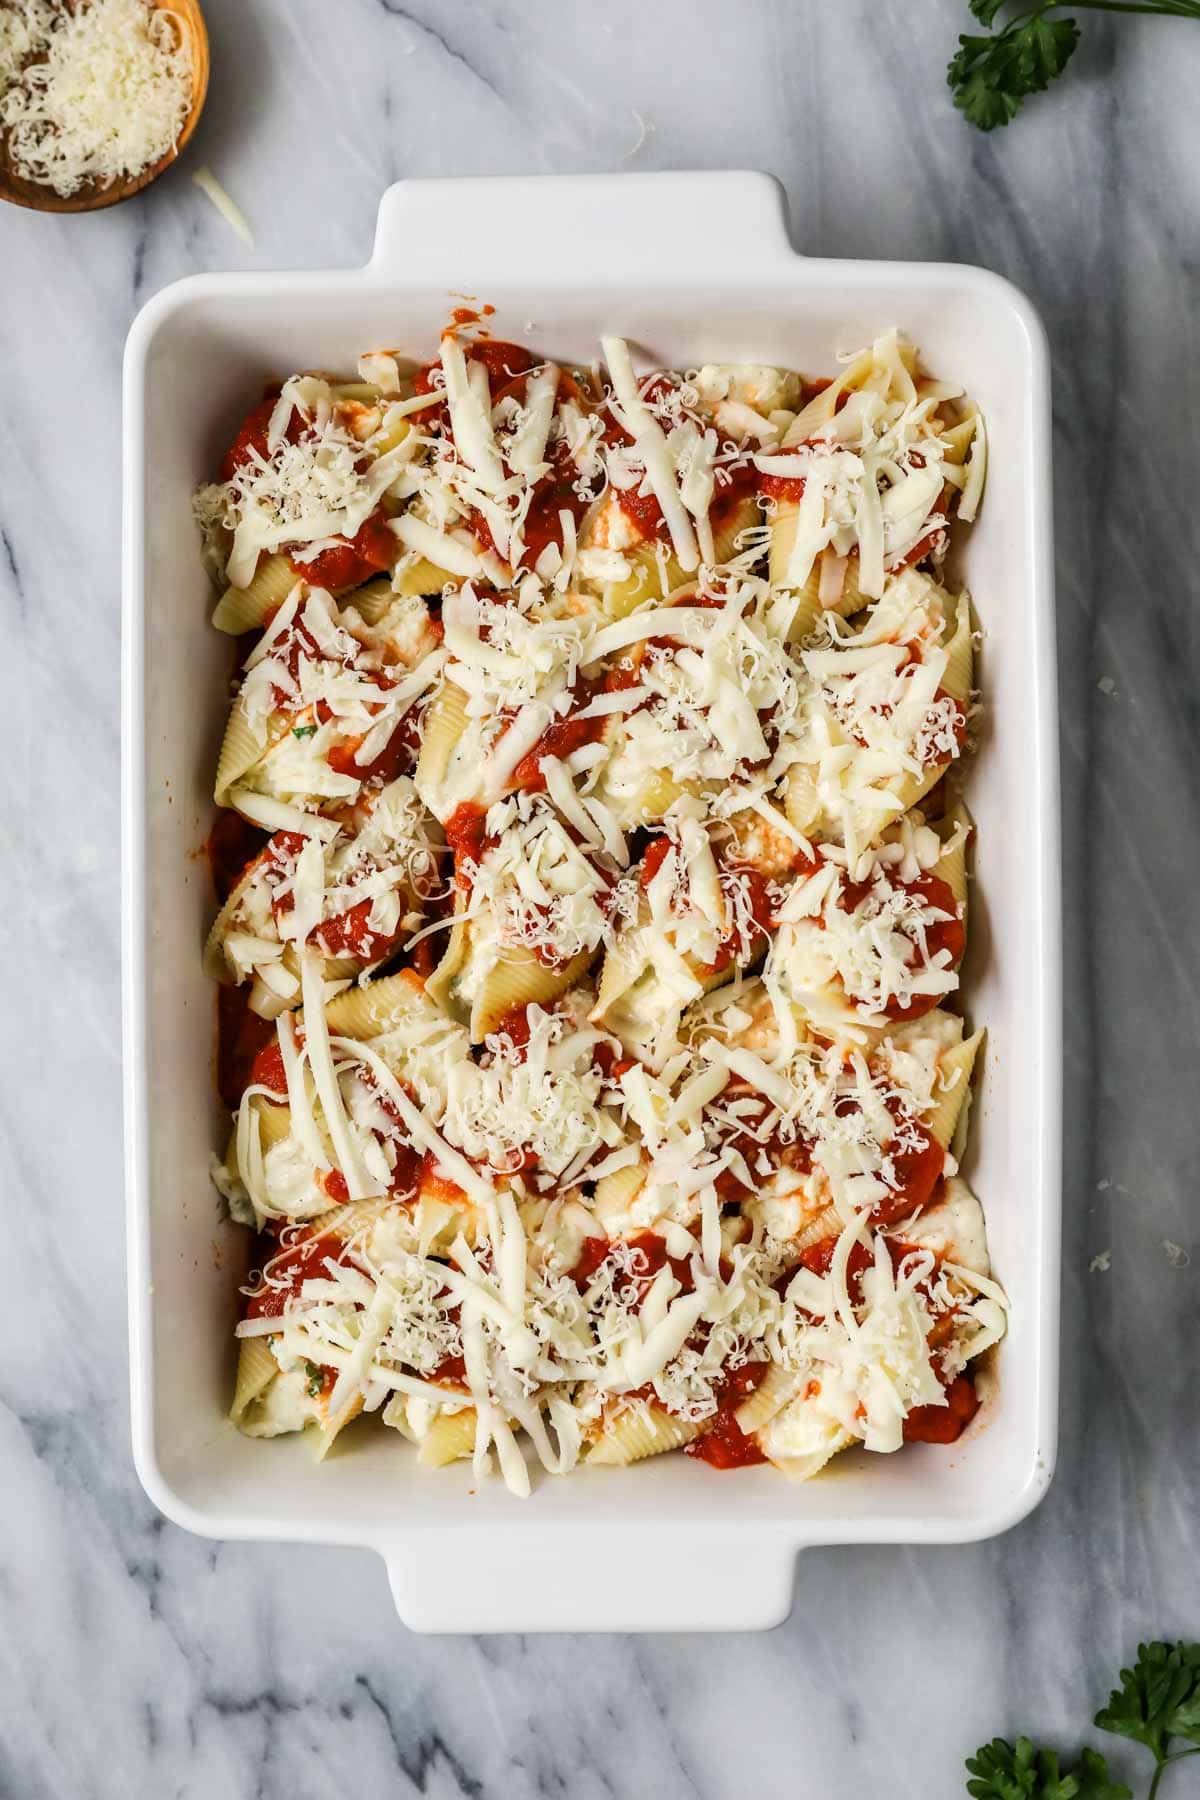
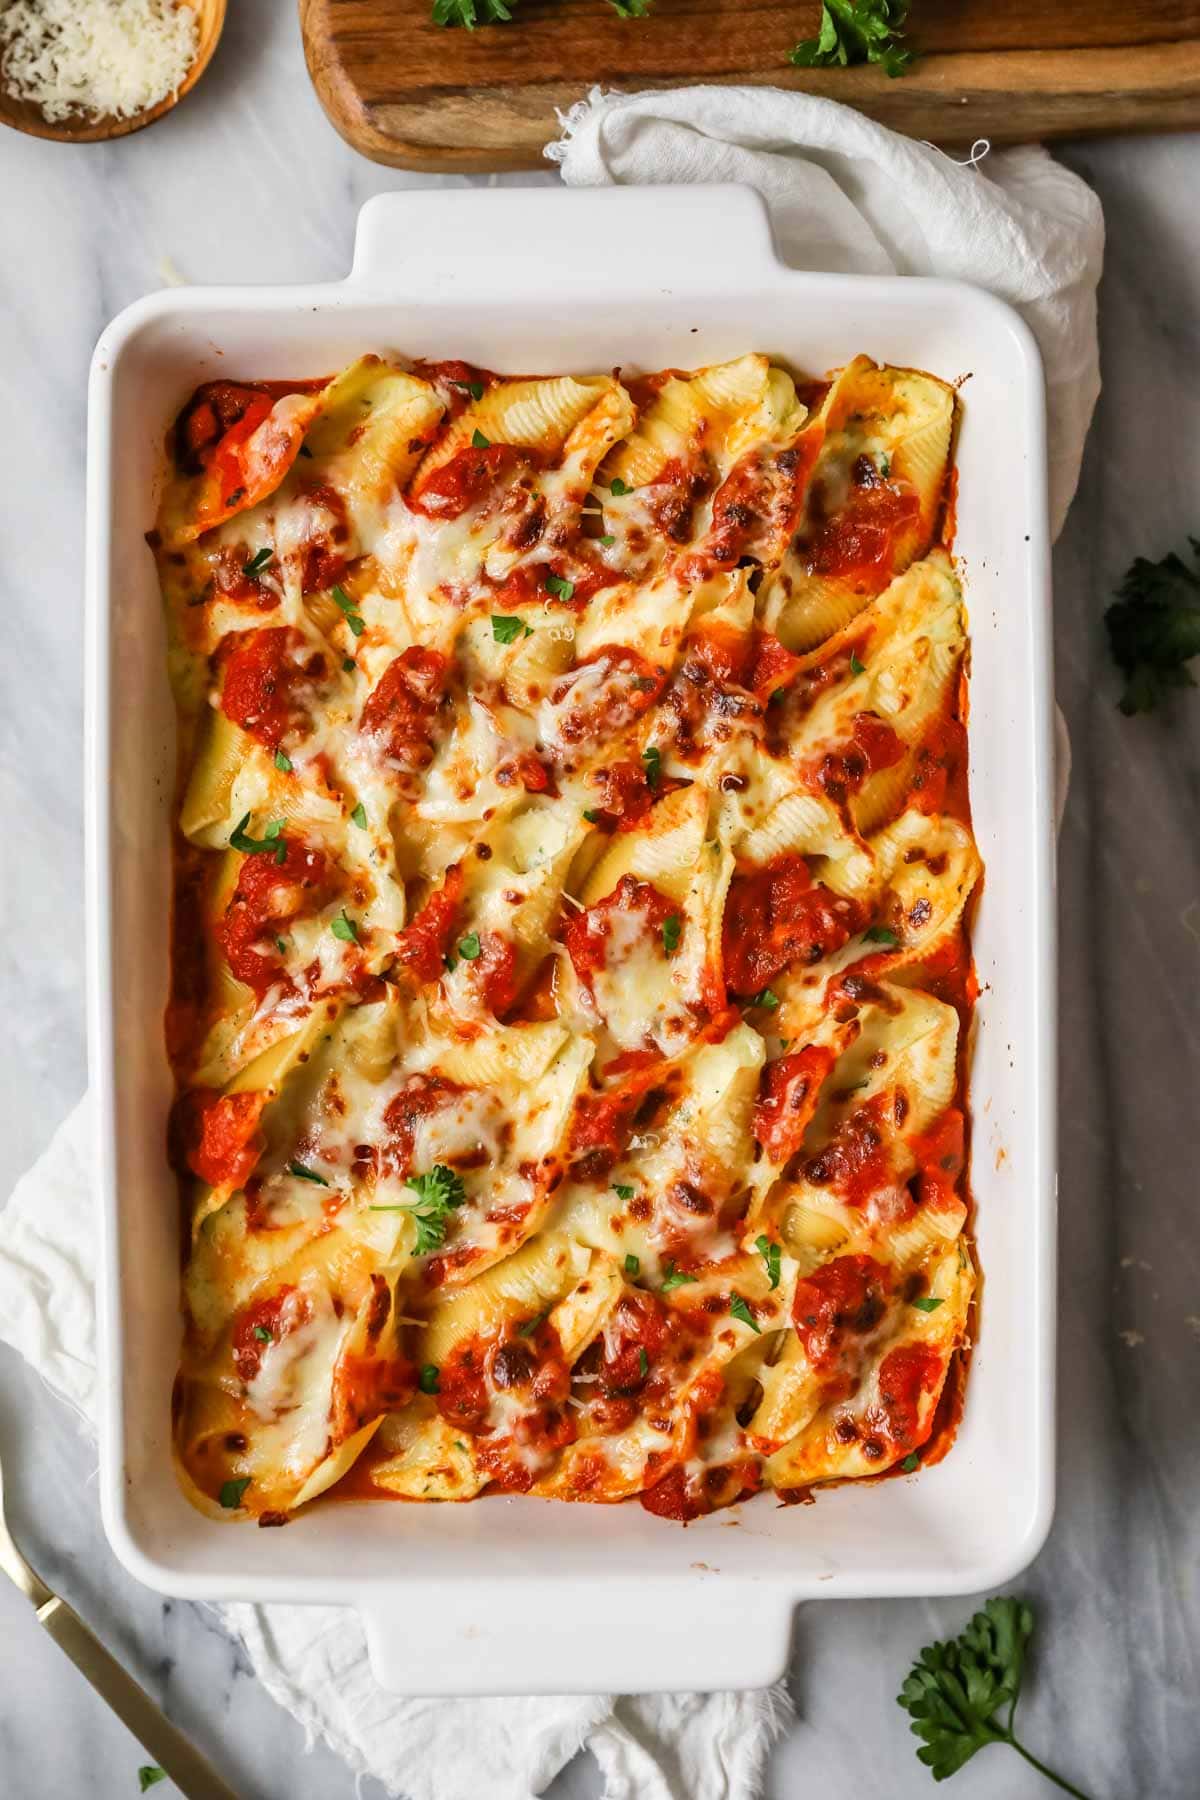
Bake, then serve
Bake covered at first, then uncovered for the last 10 minutes (this will help turn the cheese slightly brown and bubbly). I recommend serving with a side salad and some garlic knots or crusty artisan bread or sourdough bread.
SAM’S TIP: If you want to prep your shells in advance, I recommend doing so before baking. I provide instructions for this below.
Frequently Asked Questions
Nope! You can store the assembled casserole dish covered tightly with plastic wrap or foil in the refrigerator for up to three days before baking.
Yes, and I recommend doing so before you bake them (rather than after). You can freeze one of two ways:
Boil and stuff each shell, place on a wax paper lined baking sheet and freeze for about 30 minutes. Place frozen shells in an airtight container like a Ziploc bag (because they are frozen, you won’t have to worry about them smashing one another or freezing into one another) and freeze for up to several months. When ready to bake, follow the recipe instructions for preparing the pan/covering the shells with sauce and cheese, and bake as indicated. Frozen shells will take longer to bake than indicated in the recipe.
Or, prepare the recipe, but don’t bake! Cover dish tightly with plastic wrap and foil so that it is airtight and freeze for up to several months. Allow casserole dish to thaw overnight in the refrigerator before baking.
Keep in mind you should not put a freezing cold glass/ceramic dish in the oven–the temperature change will cause it to crack!
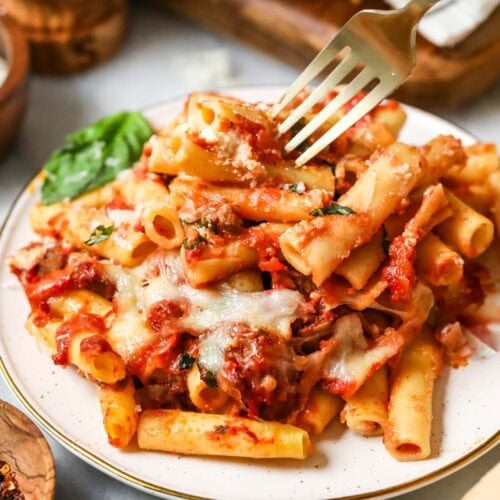
Yes! You can either use my meat sauce as the sauce or you could just crumble some ground beef or ground sausage over the shells when assembling. If you’re looking for a meatier pasta recipe, check out my rigatoni or baked ziti in the meantime.
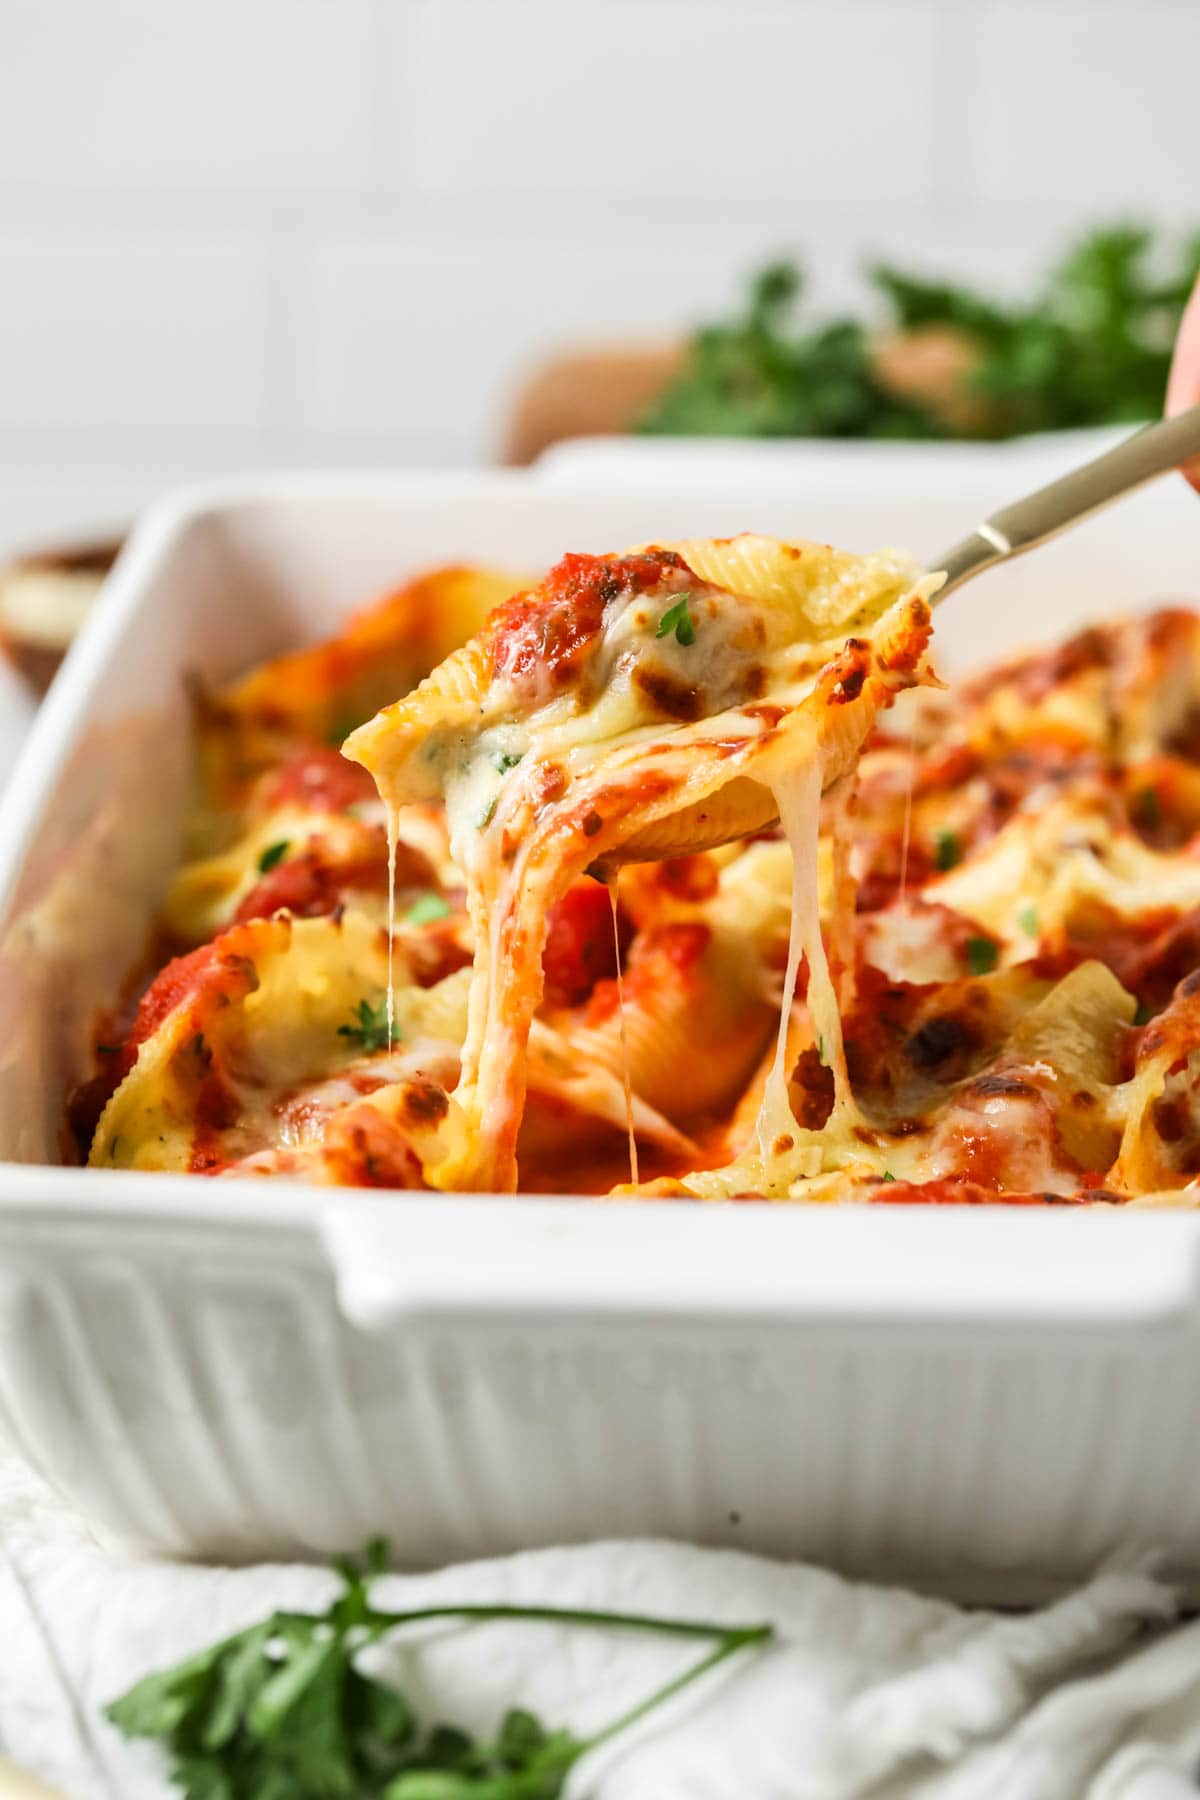
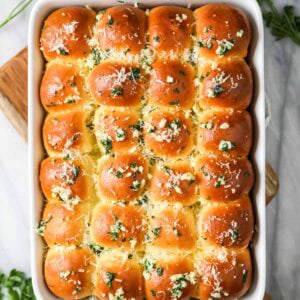
If you’re looking for a side, I recommend whipping up a batch of my garlic knots. Yum.
Enjoy!
Let’s bake together! Subscribe to my newsletter to be notified of all the newest recipes, and find my free recipe tutorials on YouTube 💜
Stuffed Shells
Ingredients
- 20 jumbo shells¹
- 3 cups (719 ml) marinara sauce²
For Filling:
- 15 oz (425 g) ricotta cheese
- 2 cups (226 g) shredded mozzarella cheese divided
- ⅓ cup (60 g) grated parmesan cheese plus additional for topping, if desired
- 4 oz (113 g) cream cheese softened
- 1 large egg lightly beaten
- 2 Tablespoons fresh parsley finely chopped (or 2 teaspoons dried)
- ½ teaspoon dried oregano optional
- ½ teaspoon sea salt
- ½ teaspoon ground pepper
- 1 large garlic clove pressed
Recommended Equipment
Instructions
- Preheat oven to 350F (175C)
- Prepare shells according to package instructions, but boiling one minute less than instructed on package. Drain, allow to cool several minutes, then separate and place on a baking sheet while you prepare your filling. While the shells are boiling, I’ll usually start preparing my pan and making my filling:20 jumbo shells¹
- Lightly butter the sides and bottom of a 9×13 casserole dish. Layer with several spoonfuls of marinara sauce (just enough to lightly coat the bottom).3 cups (719 ml) marinara sauce²
- Prepare filling by stirring together ricotta cheese, 1 ½ cups mozzarella cheese (170g), ⅓ cup parmesan, cream cheese, egg, parsley, garlic, oregano, salt, and ground pepper until well-combined.15 oz (425 g) ricotta cheese, 2 cups (226 g) shredded mozzarella cheese, ⅓ cup (60 g) grated parmesan cheese, 4 oz (113 g) cream cheese, 1 large egg, 2 Tablespoons fresh parsley, ½ teaspoon dried oregano, ½ teaspoon sea salt, ½ teaspoon ground pepper, 1 large garlic clove
- Portion into prepared shells by heaping spoonful.
- Evenly spoon remaining marinara sauce over shells. Top with remaining ½ cup mozzarella cheese (56g) and a sprinkle of grated parmesan (if desired).
- Lightly butter one side of a piece of foil (or spray with cooking spray) and loosely place foil (butter side down) over your dish. Transfer to 350F (175C) oven and bake for 20 minutes, covered, then remove foil and continue to bake an additional 5-10 minutes.
- Enjoy!
Notes
¹Shells
You will only need 20 shells for this recipe, but I usually boil a few extra in case some tear²Marinara
You can use store-bought marinara sauce or you can use my homemade marinara sauce recipe (better option!!). My recipe makes 3 cups, so you will use all of it for this recipe.Storing and Freezing
Cover and store in the refrigerator for up to 4 days. This recipe may also be frozen, I recommend preparing and then freezing before baking. To bake, you can bake from frozen or thaw overnight in the refrigerator before baking.Nutrition
Nutritional information is based on third-party calculations and should be considered an estimate only. Actual nutritional content will vary based upon brands used, measuring methods, cooking method, portion sizes, and more.
Recipe originally published Feb 27, 2019. The recipe itself is unchanged, but I’ve updated the post to include more tips and helpful information, and new photos!

Marie L
This recipe definitely deserves a five-star rating, and I know this baked stuffed shell recipe is meant to be a vegetarian meal, but if I were to add cooked, drained, and spiced ground beef & chopped onion, would I need to add more than the three cups of the marinara sauce that the recipe calls for?
Sam Merritt
Hi Marie! That’s really going to be a personal preference. If you like more sauce you can certainly add it. 🙂
Cathy A
Think I could use a 9 x 13 Pyrex glass baking dish? Wondering if it would alter the baking time. Thanks!
Sam Merritt
Hi Cathy! A glass dish will work fine. Bake time would likely be very similar. 🙂
Stan
Made this today and it’s incredible! Another hit Sam! Thank you
Sam Merritt
I’m so glad you enjoyed it so much, Stan! 🙂
Cheryl Robbie
These shells made a fantastic meal. My husband and I agreed these shells are wonderful. Your total time stated 45 minutes. It took me one and a half hours-obviously I’m a much slower cook, but the added time was so worth it. I’m sure after making these a few more times, I’ll speed up the process. I’m going to try these out for a church potluck. They’ll be a hit. Thanks so much.
Sam Merritt
I’m so glad they were such a hit, Cheryl! 🙂
Carrie Smith
I’m making these tonight for a meal train! It’s just one adult and two young children. If I halve the recipe do you think I should cook it the same amount of time and temp? Thank you!
Sam
Hi Carrie! The baking temp would remain the same, but I can’t say for sure on a bake time. It may be reduced slightly for a smaller dish. Enjoy! 🙂
Carrie Smith
Thank you so much! I ended up splitting it up, and making some for my family, and it was all delicious!
Bruce
Another great pasta recipe. I usually make your recipes as written the first time, but in my opinion, parsley is very important to stuffed shells, and I really like it, so I used about 1/2 cup and it was just right for me. The rest of the recipe I made as written. The shells were cooked exactly right.
Because the cream cheese adds a sort of sweet vibe to the dish, I suggest using only 1 Tbl of sugar in the marinara sauce when making it for this dish. The next time, I plan to use only 2 ounces of cream cheese, because it sort of took over in my opinion. I did like the creaminess that you added it for. I’m very glad I tried it your way first, though.
Sam
I’m so glad you enjoyed it so much, Bruce! Thanks for trusting me! 🙂
Nicole
I just made this for a dinner party tonight and wow, it was a hit! All of your recipes I’ve tried are delicious. Thank you!
Sam
You’re welcome, Nicole! I’m so glad you’ve enjoyed everything so much! Thank you for trusting my recipes. 🙂
Nancy
HI Sam, I agree with the other reviews, every recipe or yours that I have made ALWAYS turns out great, thank you for so many delicious options! My suggestion here, if I may, is to try turning the shells over in the dish for a “prettier” presentation. If you place the flat side down, they will line up nicely and stay in place, rather than sliding around in the dish. I had made many more trays of shells than I’d like to admit, before accidentally dropping one “upside down” and having this epiphany.
Bruce
Since they are round all over, I’m guessing that by the “flat side” you mean the side that isn’t open. In the video, you can see that she does put that side down. That way none of the filling leaks out.