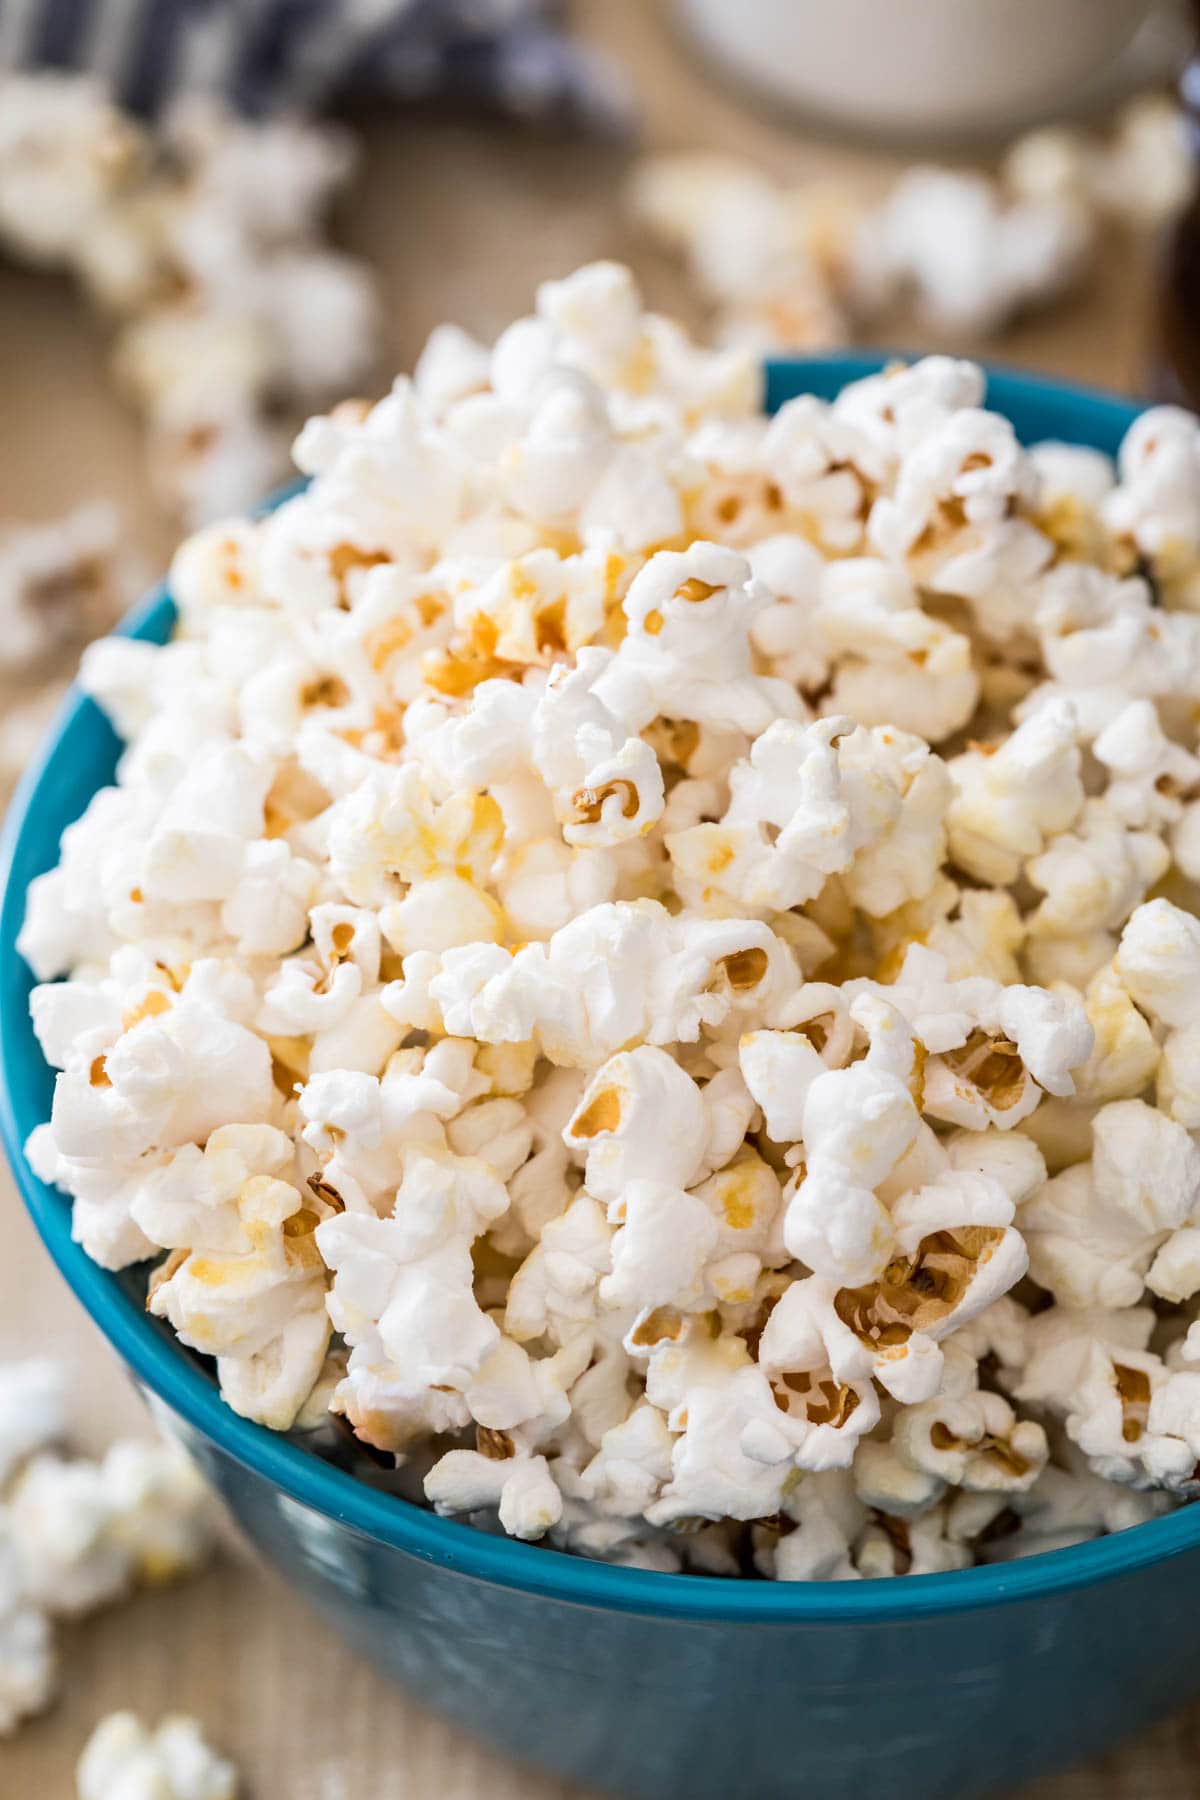
You can make your favorite carnival snack at home with only four ingredients! This Kettle Corn recipe takes less than 10 minutes to make and is perfect for movie night! Recipe includes a how-to video!
How to Make Kettle Corn at Home
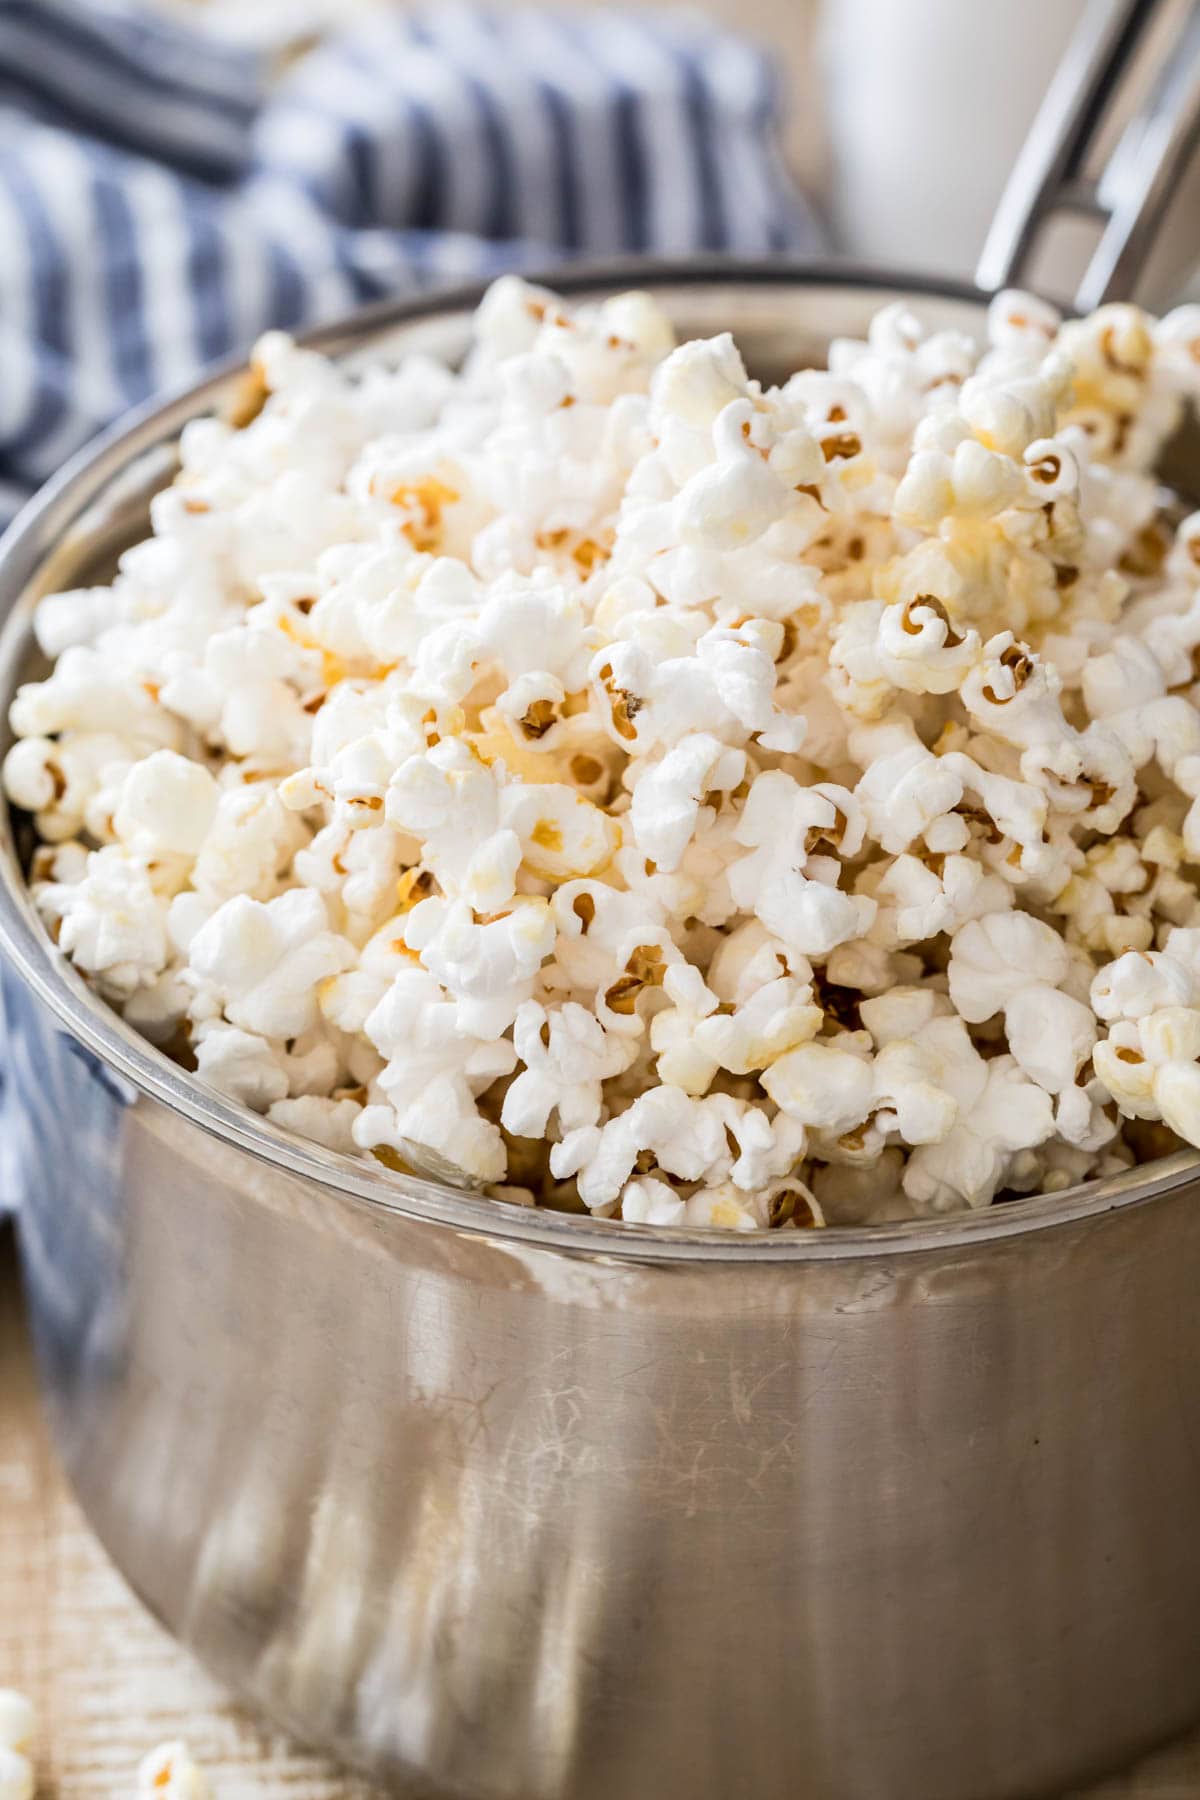
My homemade kettle corn recipe makes light as air, perfectly sweet, and slightly salty popcorn that tastes just like what you can buy at your local fair, carnival or Fall festival–only fresher and significantly less expensive.
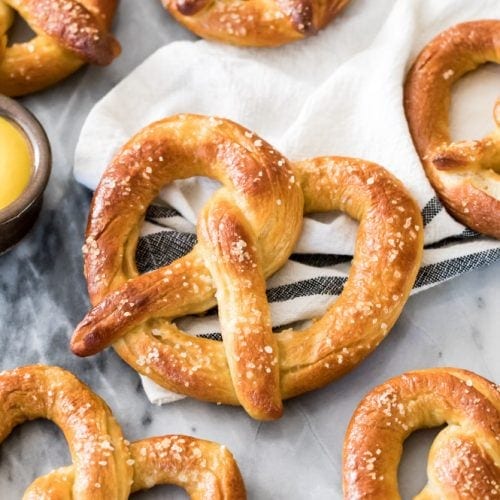
Similar to my caramel popcorn, this recipe fits right in among my other festival favorites, including my super simple funnel cake, chewy soft pretzels, and flavorful fried pickles. It’s also been a serious pregnancy craving of mine this time around, so I’ve been making it pretty much nonstop here for the past few weeks.
Today, I’ll show you how to make kettle corn in your own kitchen using a simple technique. It does involve a slight arm workout and some careful listening, but don’t worry, I’ve including several tips along the way to help guide you through the cooking process.
If you’re ready for your kitchen to smell just like the carnivals of your childhood, keep scrolling!
What You Need
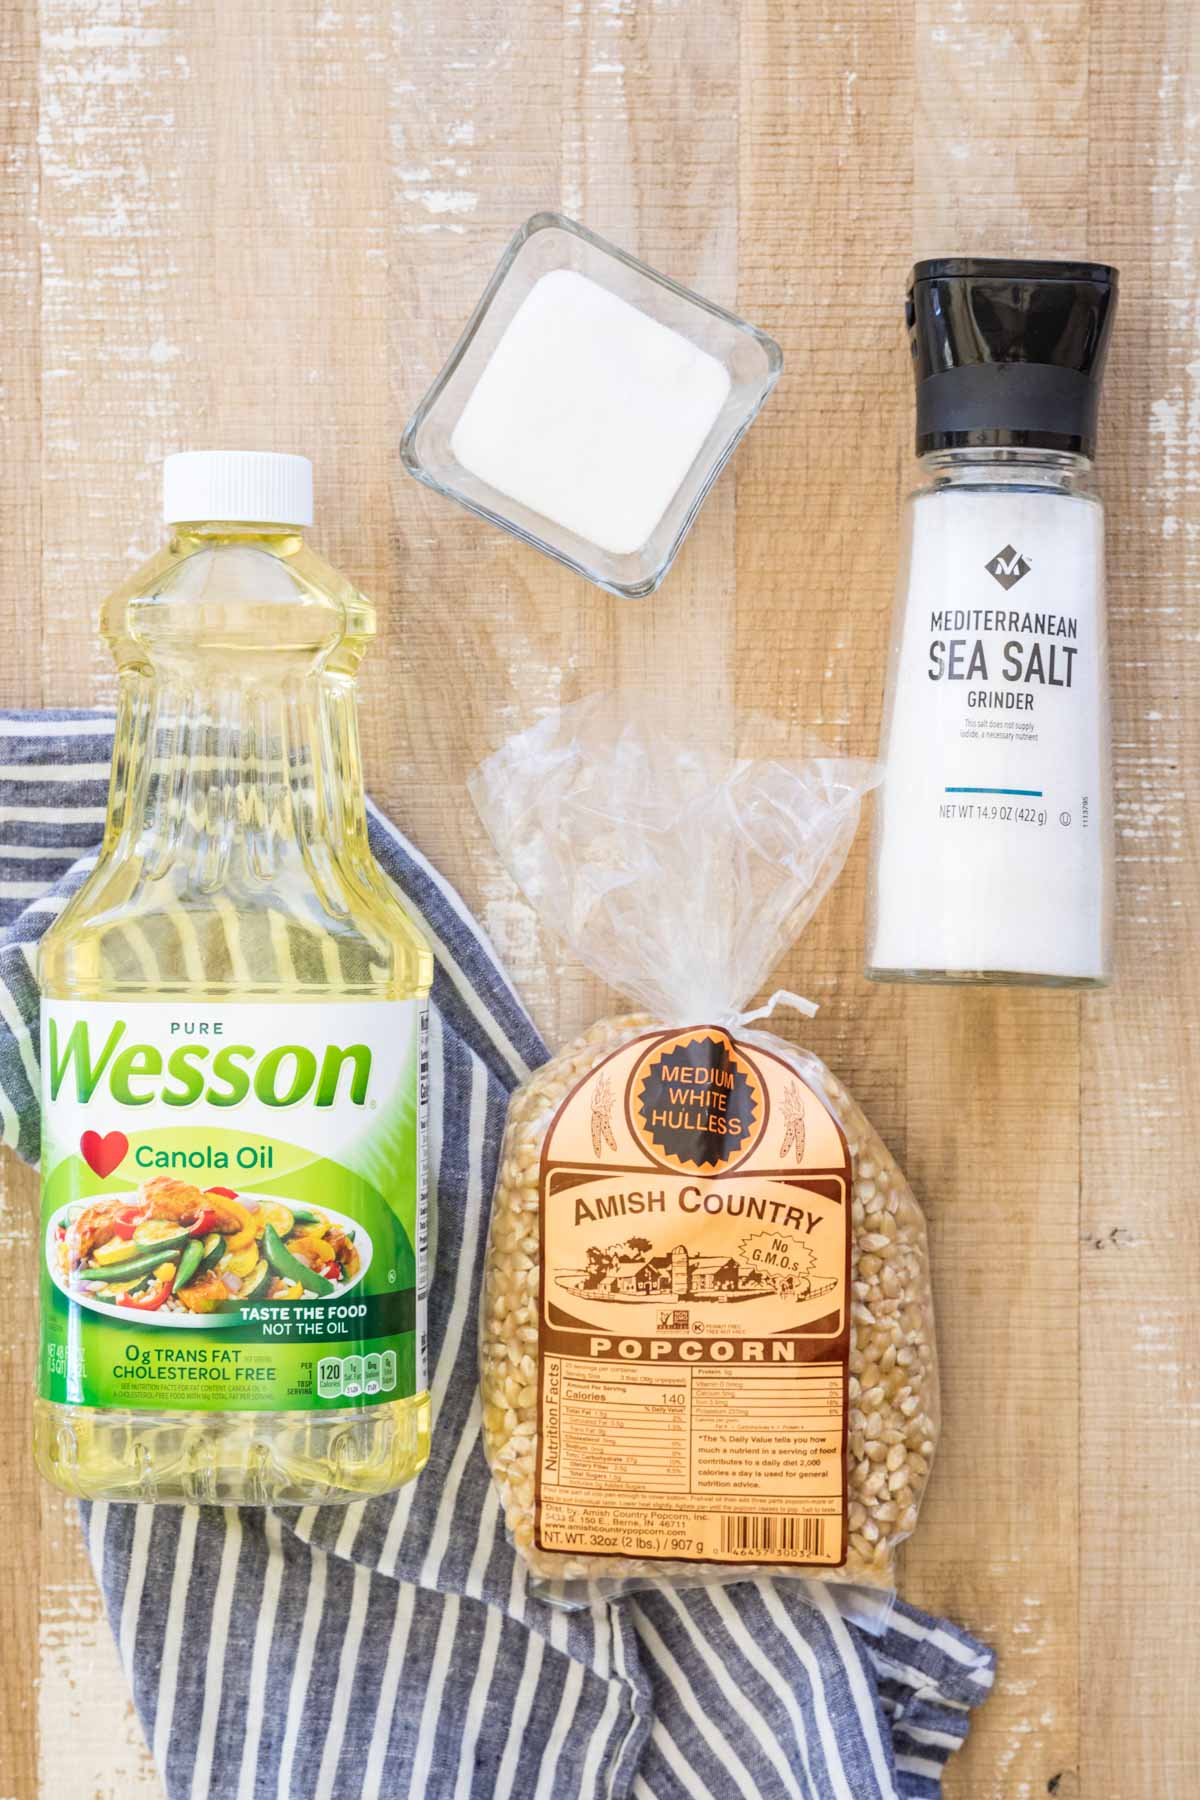
With only four ingredients, this kettle corn recipe couldn’t be any simpler.
- Oil. We’re using just a little bit of oil to cook our corn and help the seasoning stick. You can use vegetable, canola, or even coconut oil.
- Popcorn. Regular popcorn kernels will work just fine for this recipe. If you want to be extra fancy, you can buy mushroom popcorn kernels, which is what most carnival vendors use. These kernels puff up to be extra round to catch all of that sweet and salty flavor, but I can’t always find them at my grocery store.
- Sugar. As the popcorn cooks, the sugar melts and coats the popcorn, creating that unique flavor that is very different from from regular popcorn. I use plain granulated sugar in this recipe, but you could also use brown sugar for a more caramelized flavor.
- Sea salt. To counteract the sweetness of the sugar, we add some sea salt (or table salt). While I include a measurement in the recipe, you’ll need to add more at the end and the best way to know how much salt to add is to taste it as you go. If the popcorn tastes bland, you need more salt!
You’ll also need a medium-sized pot with a lid. While it’s important to use a quality pot with a heavy bottom (to keep the kettle corn from burning), you also want to keep in mind that you’ll be picking up this pot and repeatedly shaking it, which can be quite an arm workout! This is not the time to use your heavy cast-iron pot!
SAM’S TIP: To catch any popcorn kernels that just refuse to pop, pour your finished kettle corn over a baking sheet lined with a cooling rack. This will allow the unpopped kernels to fall through to the baking sheet while your fully popped corn stays on the cooling rack (which will save your teeth later on!)
Remember, this is just an overview of the ingredients I used and why. For the full recipe please scroll down to the bottom of the post!
How to Make Kettle Corn
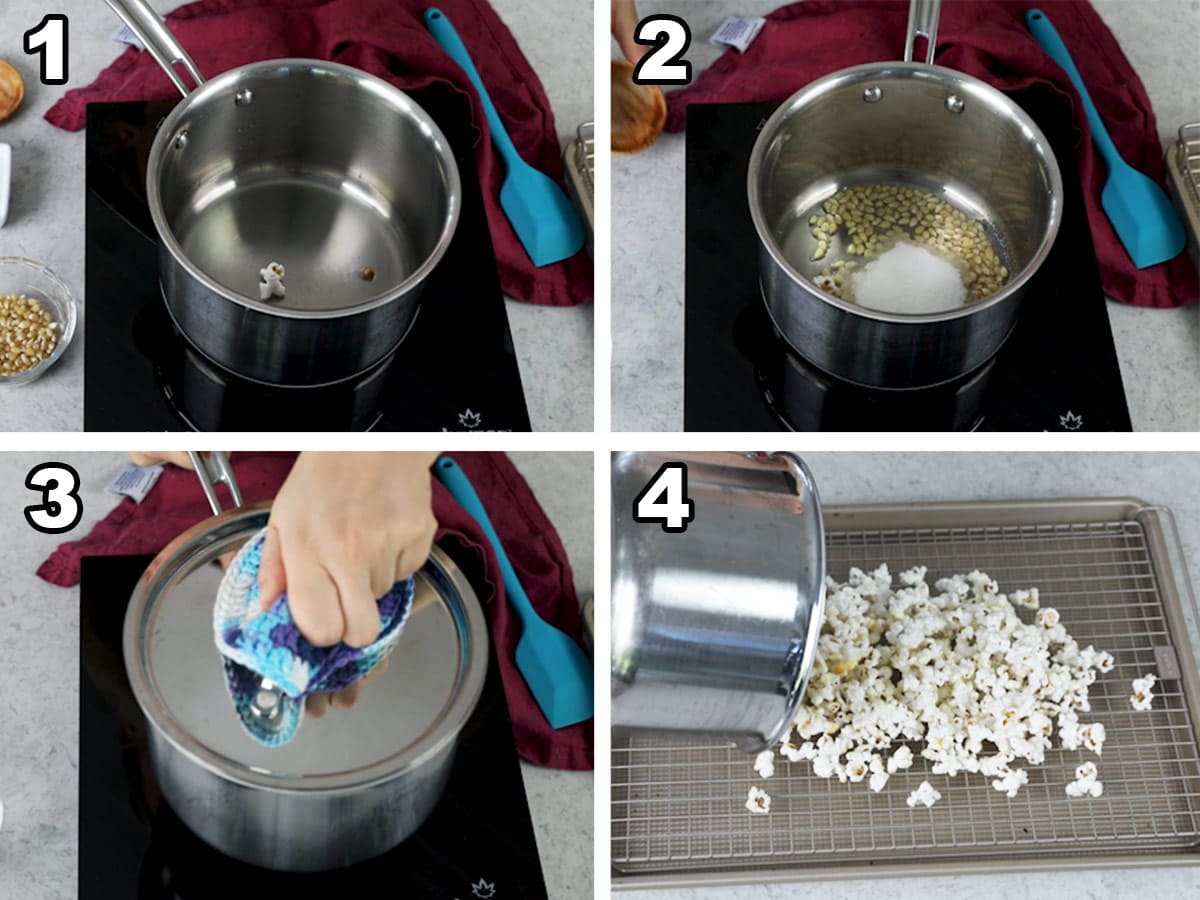
WARNING: This recipe is super simple, but you do need to be VERY careful so you don’t get burned. A hot pot and lid, possible flying kernels, and molten sugar are all things to be wary of while you make this recipe (keep any kids out of the kitchen, too!).
- Add oil to a saucepan over medium heat. Drop in a few popcorn kernels before placing the lid on the pot and listen for the first few pops.
- Add remaining popcorn, salt, and sugar. Stir, then replace the lid.
- Using oven mitts, remove pot from stovetop, holding the lid on tightly. Shake the pot back and forth thoroughly before returning to heat. Do this every 10 seconds or so as the popcorn pops, until there’s only a few seconds pause between pops.
- Remove the pan from the stove, take off the lid (away from your face!) and pour the popcorn on your prepared baking sheet. Spread the popcorn over the sheet with a spatula (it might look a little wet–this is normal!), allowing unpopped kernels to fall through and being extra careful to not burn yourself. Let the popcorn cool slightly before sprinkling additional salt to taste. Enjoy while still warm.
SAM’S TIP: You’ll be left with a sticky pot after making this popcorn, and even with a little elbow grease, you may have a tough time getting it clean. I cover how to clean your pot in the recipe notes, but you can also use this resource for how to clean sticky stuff from a pot.
Frequently Asked Questions
A typical kettle corn recipe is cooked with sugar and salt for a sweet and salty flavor, while regular popcorn is usually buttery and salty.
This treat started out being made in large cast iron kettles, hence the name!
Most likely you just needed a bit more time on the stove. Kettle corn can be tricky as it mostly involves blindly judging, just by listening, whether your kernels have popped or not. It can take a bit of practice and a bit of listening, so keep some spare kernels handy and don’t be discouraged if your first batch isn’t perfect!
This happens if your stovetop heat is too high or if you do not shake the kettle corn enough. Be vigilant with your popcorn and shake it frequently!
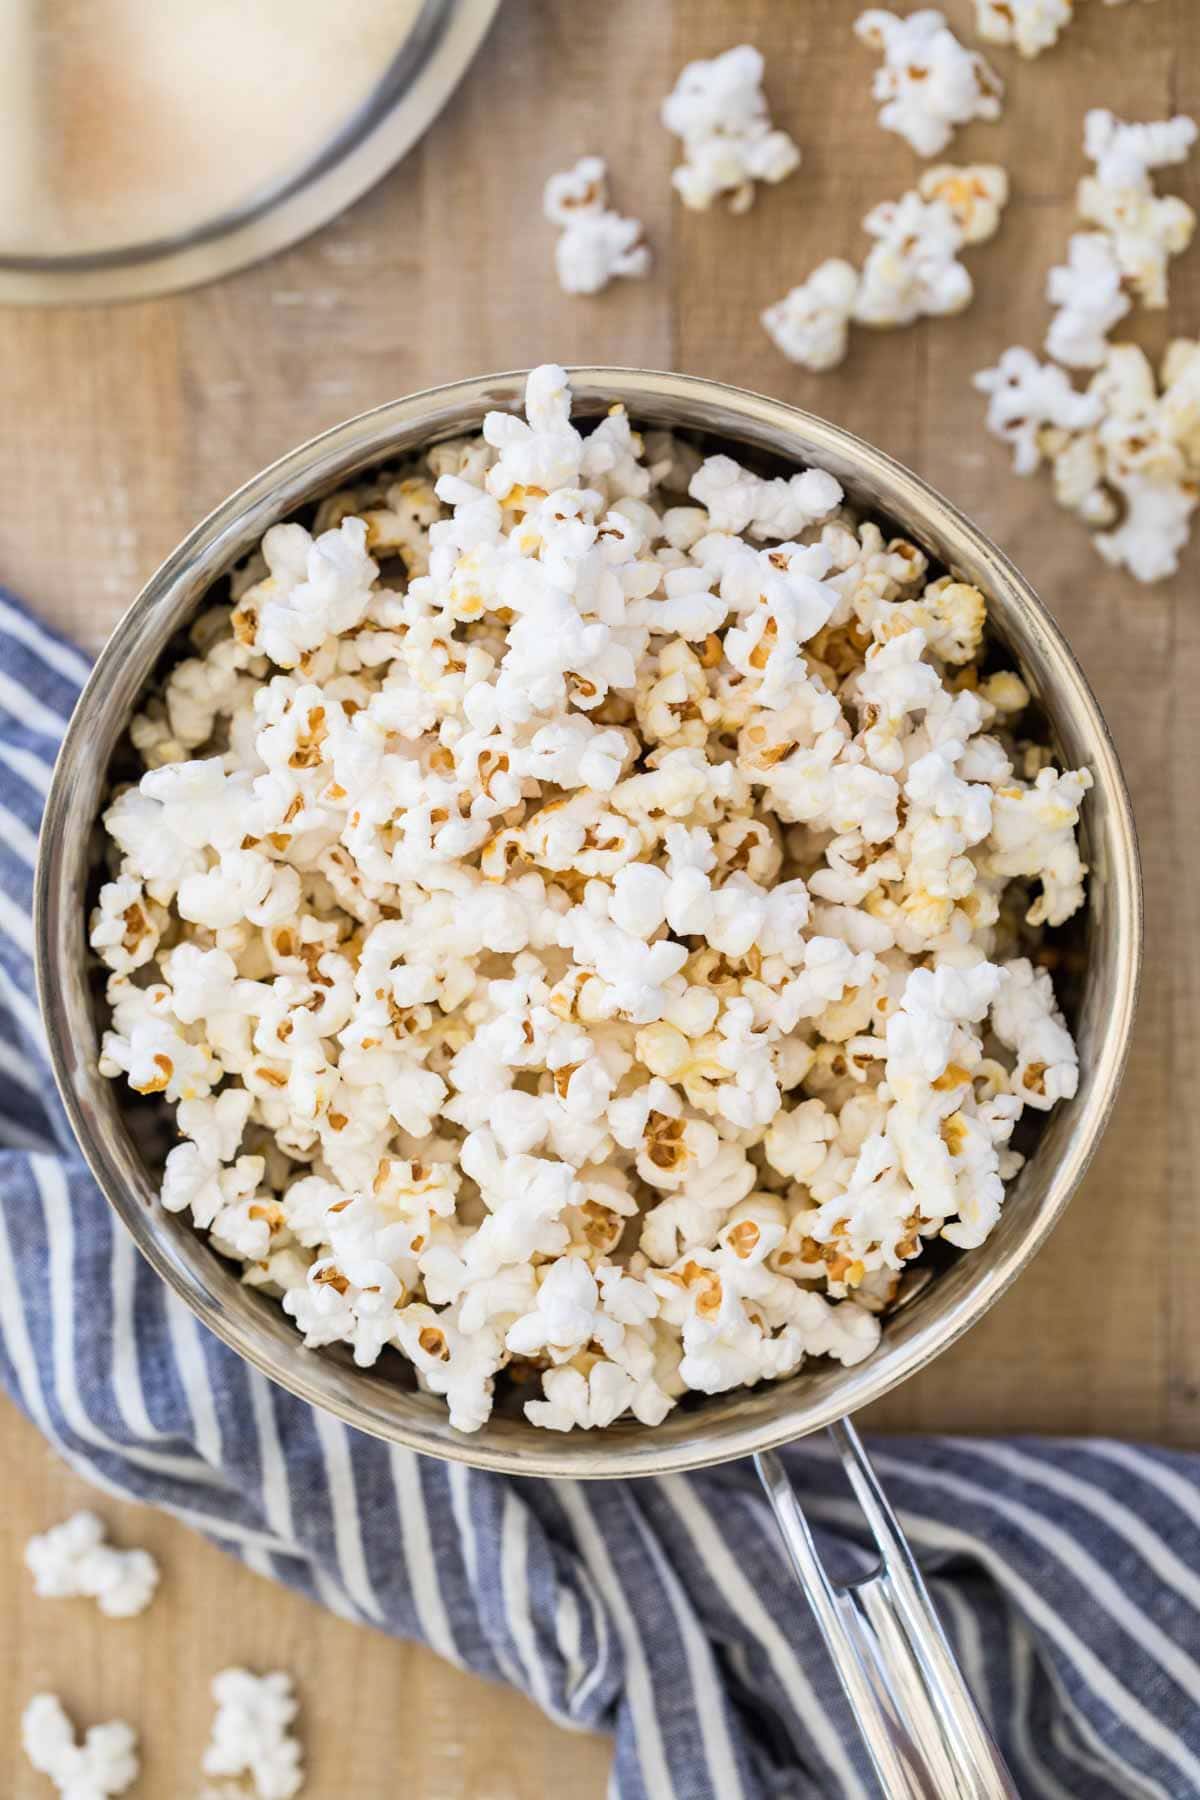
Enjoy!
More Recipes You Might Like
Let’s bake together! I’ll be walking you through all the steps in my written recipe and video below! If you try this recipe, be sure to tag me on Instagram, and you can also find me on YouTube and Facebook

Kettle Corn
Ingredients
- 2 Tablespoons canola vegetable, or coconut oil
- ¼ cup (53 g) popcorn kernels
- 3 Tablespoons granulated sugar
- ¼ teaspoon finely ground sea salt plus additional to taste (may substitute table salt)
Recommended Equipment
- Heavy-bottomed medium-sized saucepan with lid (3 or 4 qt)
Instructions
- Place a wire cooling rack over a baking sheet and set aside.
- Pour oil into the bottom of a medium-sized saucepan and set on the stovetop over medium heat. Add 3-5 popcorn kernels and cover the pot with a lid. Wait and listen for the kernels to begin to pop.2 Tablespoons canola, ¼ cup (53 g) popcorn kernels
- Once you hear a kernel pop, add remaining popcorn kernels in an even layer, add granulated sugar and sea salt and stir, and immediately re-cover with lid. While tightly holding the lid in place, gently shake the pot to evenly distribute the ingredients.3 Tablespoons granulated sugar, ¼ teaspoon finely ground sea salt
- Every 10 seconds, lift pot from stovetop (use oven mitts!), hold the lid on very, very tightly, and vigorously shake the pot back and forth thoroughly and repeatedly to shake the kernels and sugar, then return to heat. You should begin to hear the popcorn kernels popping rapidly. Continue to remove from heat every 5-10 seconds and shake so that the popcorn cooks evenly.
- Once the popping slows (if you’re hearing 2 seconds or so between pops), immediately remove the saucepan from the heat. Carefully remove lid (keep the pot turned away from your face in case kernels continue to pop) and pour evenly over prepared baking sheet.
- Allow to cool several seconds and sprinkle with additional sea salt to taste (if the popcorn tastes bland, you just need more salt!).
- Use your hands to gently shake the popcorn around on the cooling rack, this will allow most of the stray kernels to fall through. Pour popcorn into a serving dish and serve immediately while still warm.
Notes
How to clean your saucepan
Sugar burnt to your saucepan that won’t come off when you scrub? Here’s an easy way to clean: Fill the pot ⅔ full with water and return to the stovetop. Bring it to a boil, occasionally scraping the sides of the pot with a spatula as needed to loosen any residue that’s burnt on. Once it’s clean, pour out the water, let the pot cool, then wash as normal.Storing
Kettle corn is best served fresh and still warm. However, you may store in an airtight container at room temperature for up to a week. If you’ve found your popcorn has become sticky, soft, or stale (usually a result of humidity), simply preheat your oven to 200F (95C) and spread the popcorn over a parchment paper lined baking sheet. Transfer the baking sheet to the center rack of your oven and heat until warmed (about 10 minutes or so), it should become crisp (and no longer sticky!) once again as it cools.Nutrition
Nutritional information is based on third-party calculations and should be considered an estimate only. Actual nutritional content will vary based upon brands used, measuring methods, cooking method, portion sizes, and more.



Cynthia McIntyre
Perfect!
Ivy
This was delicious! It tasted like the store bought one! Thank you!
Sam Merritt
I’m so glad you enjoyed it, Ivy! 🙂
Larry Akins
Can I double the recipe
Sam
Hi Larry! You would need a pot that is twice as large but it can be done!
Larry Akins
Boy!! This is the best popcorn I ever made. Thank you for sharing it. I will definitely make it again
Sam
I’m so glad you enjoyed! Thank you for letting me know how it turned out for you! 🙂