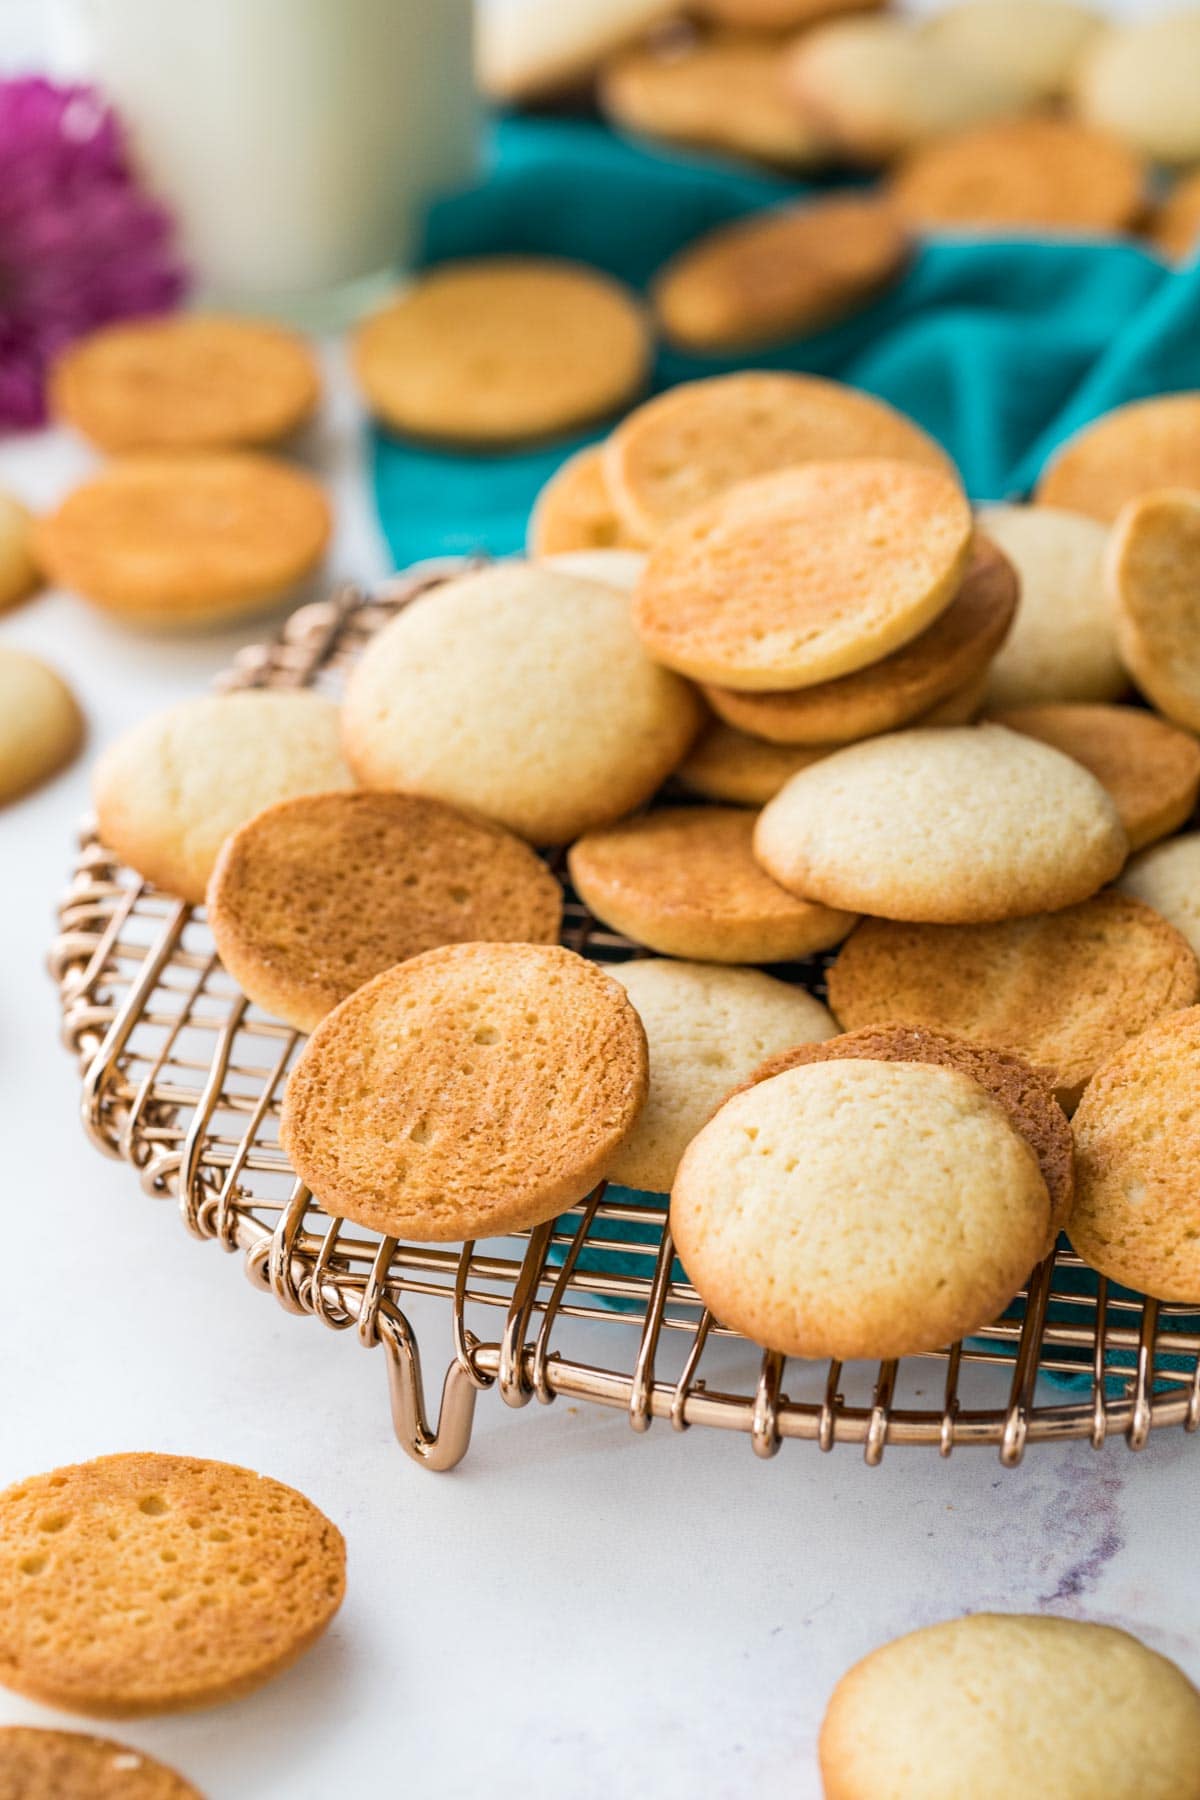
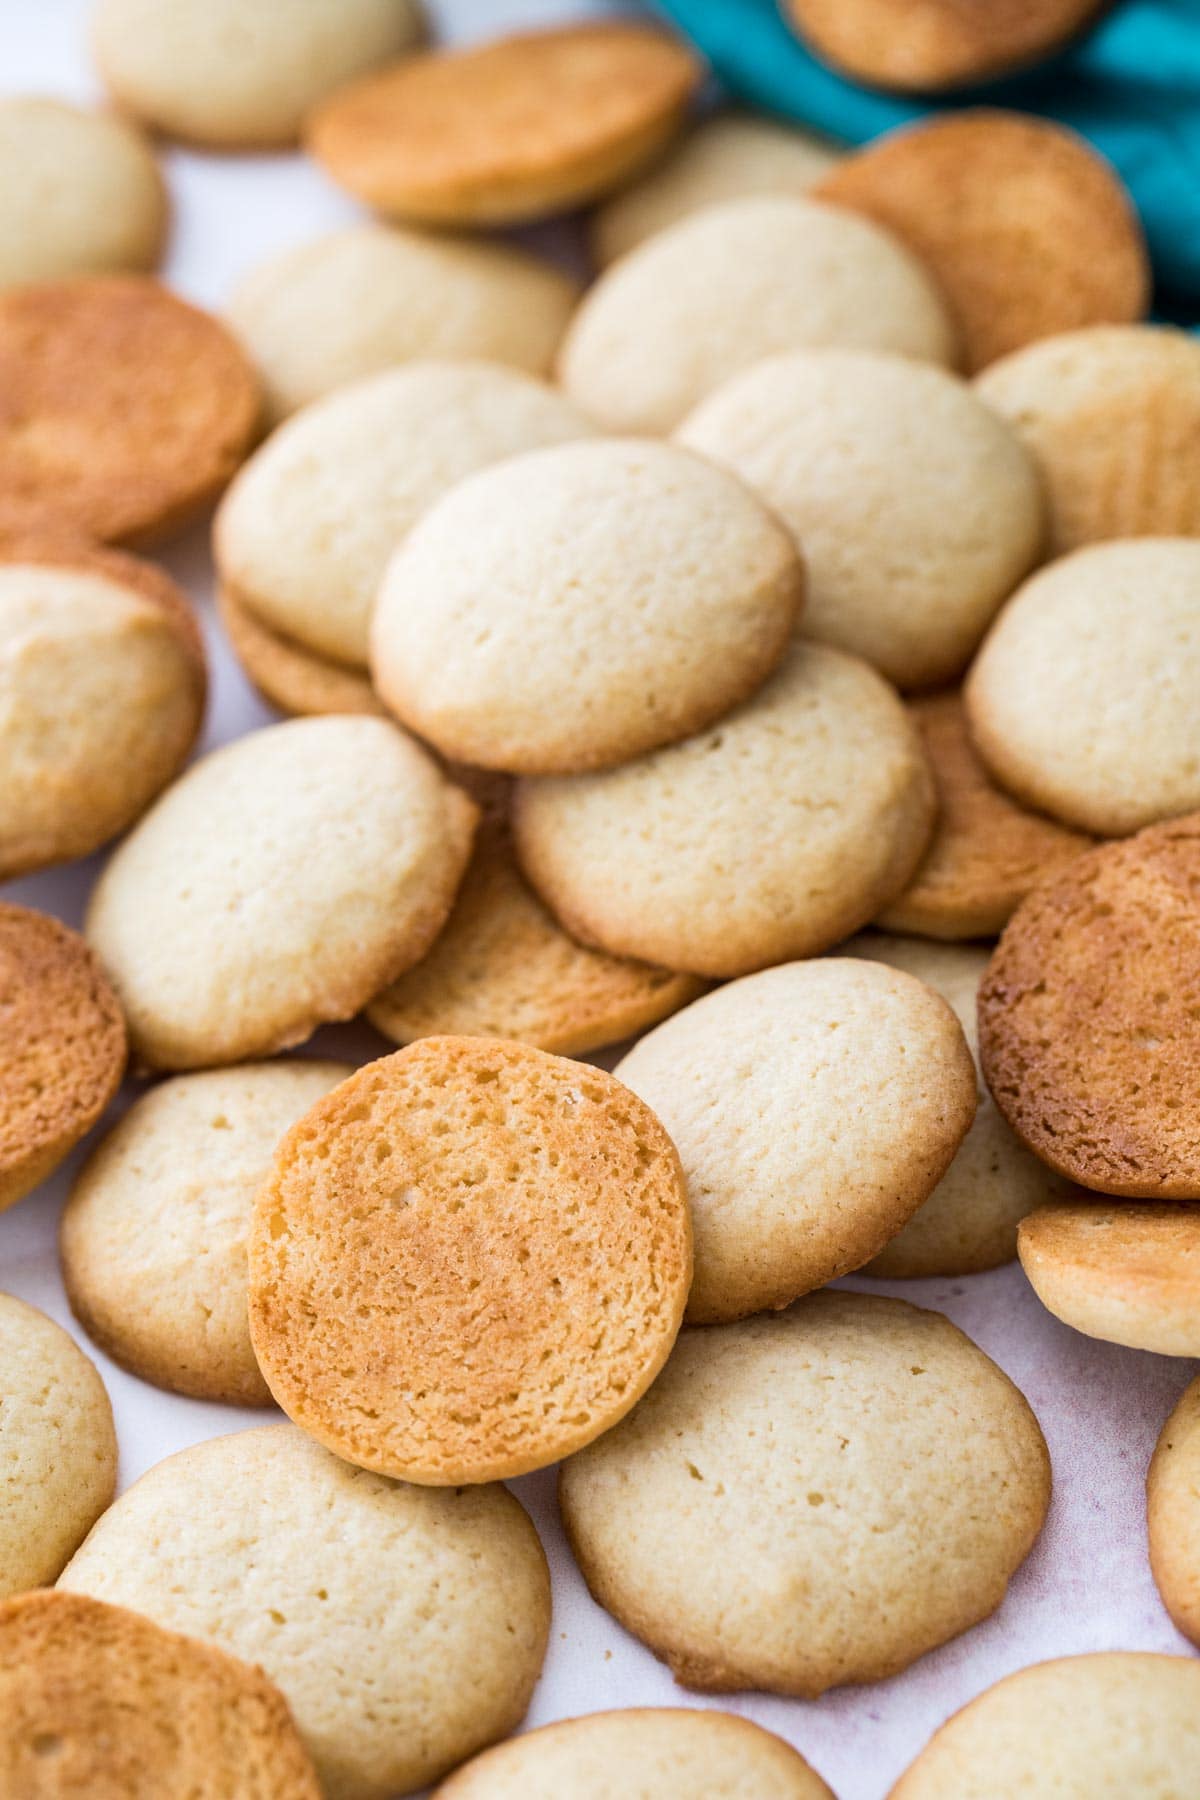
My homemade vanilla wafers are perfect for enjoying on their own or in banana pudding, can be made in less than 30 minutes with basic ingredients (and there’s no chilling required)! Recipe includes a how-to video!
Homemade ‘Nilla Wafers
Oh the humble, unassuming vanilla wafer. Such a simple little cookie, perfect for snacking on its own or smothered in vanilla pudding and bananas (they also make a great banana cream pie crust).
If you follow me on Instagram, you got a sneak peek at these cookies a while ago, and you know that despite their overall simplicity, developing a good recipe for them was actually pretty complicated.
I used this vanilla wafer recipe as an example for how exactly I go through the process of developing a recipe (the stories are still available in my highlights) and I documented about 5 attempts in one day, though ultimately the recipe took me over 10 tries to totally perfect (who would’ve thought!).
Finally I’m ready to share this perfected sweet and simple recipe. It uses basic ingredients you probably already have on hand, meaning there’s no excuse to buy those yellow-box cookies! Let’s get to it.
What You Need
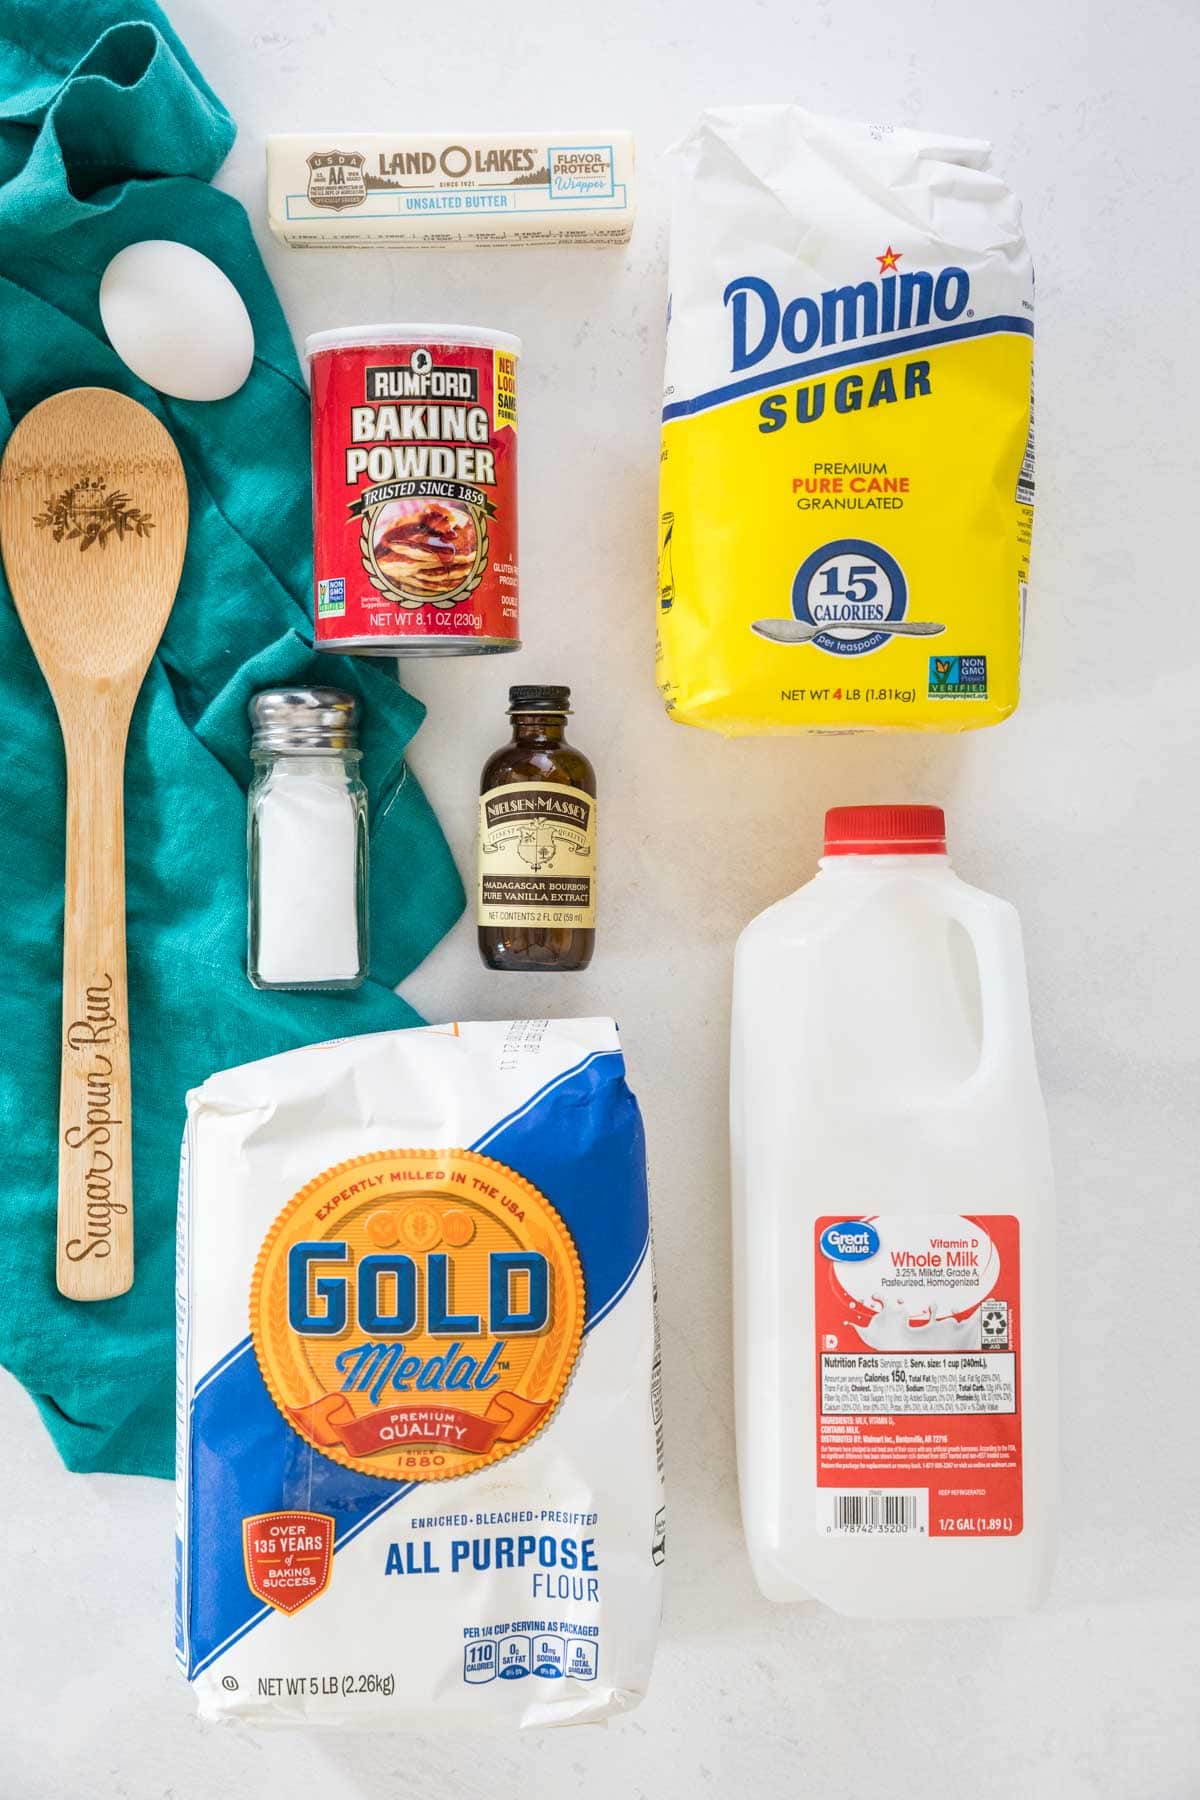
The main thing that I love about these cookies? They’re easy to make, fuss-free with very basic ingredients. Let’s go over a few of them:
- Butter. For perfect flavor (and for complete control over that flavor), I use unsalted butter and add salt. If you only have salted butter on hand just reduce the salt that the recipe calls for to ¼ teaspoon.
- Vanilla extract. You need quite a bit of vanilla for this recipe: 4 teaspoons. Fortunately, if you don’t feel inclined to dip into your stockpile of the “good stuff” (anyone else make homemade vanilla extract?) this recipe works well with imitation instead. In fact, it may even give you a flavor that’s closer to the vanilla cookies sold in a yellow box at the store…
- Egg. Just one! I tried this recipe with no eggs (too crumbly, dry, and all-around lacking), just the yolk (too tender, didn’t spread enough), just the white (not as good as using both the yolk and egg) and ultimately settled with one single egg.
- All-purpose flour. I tested this recipe with all-purpose and cake flour hoping for a finer crumb and a slightly more crumbly results with cake flour. To my surprise, the all-purpose flour won every time. Possibly also worth noting: I tried many versions using cornstarch (one of my favorite secret ingredients). I was sure it would help me get the consistency I was looking for, but ultimately that proved to not be the case!
- Milk. I recommend and personally use whole milk but I suppose 2% would work in a pinch.
Remember, this is just an overview of the ingredients I used and why. For the full recipe please scroll down to the bottom of the post!
How to Make Vanilla Wafers
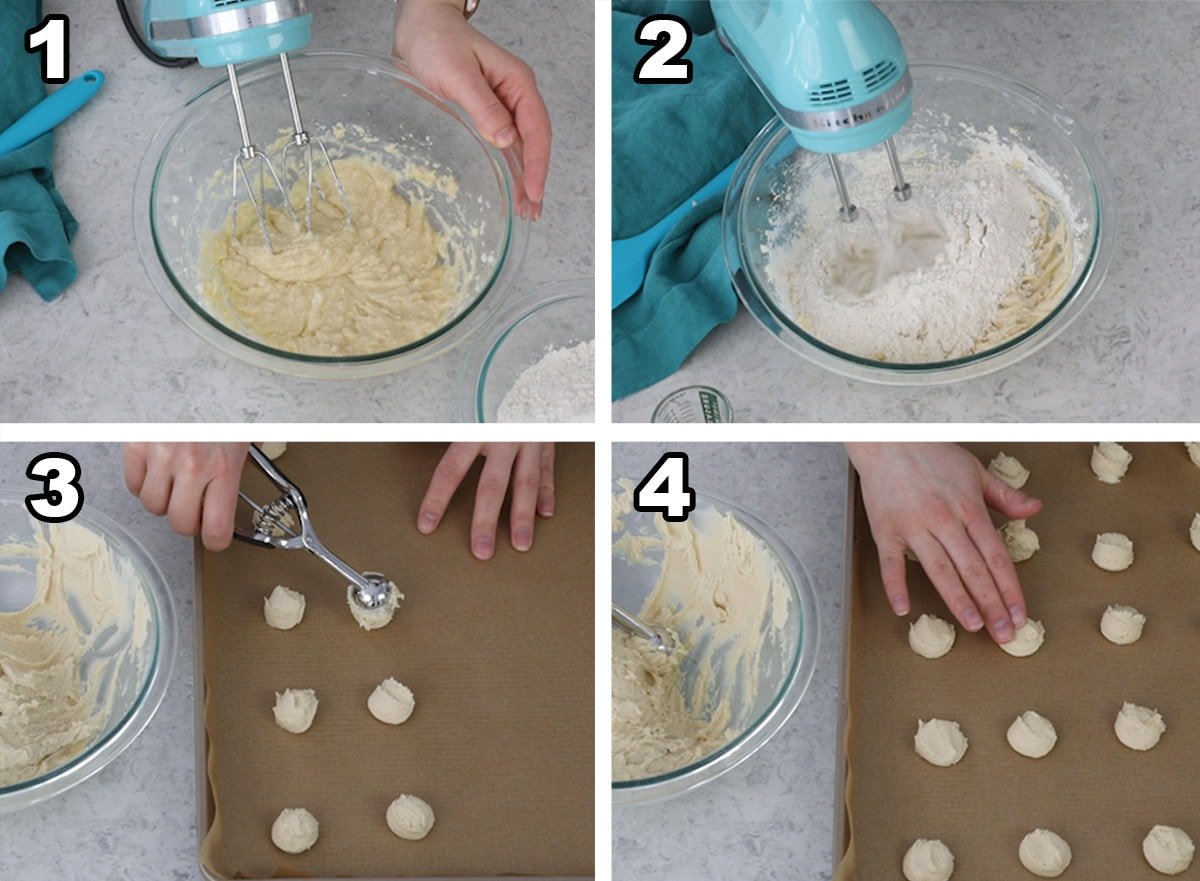
- Beat together sugar and butter, then stir in eggs and vanilla extract.
- Separately, whisk together dry ingredients. Stir half into the wet ingredients, then stir in your milk, then the rest of the dry ingredients. This just makes a more cohesive batter than if you were to add the milk with the butter mixture (where it tends to separate).
- Drop the dough by rounded spoonful onto a baking sheet, spacing cookies 2 inches (5cm) apart. This is a fairly soft dough.
- Lightly flatten the dough with dampened fingertips. This encourages them to spread jusssssttt enough and to cook evenly, otherwise they may end up too thick, meaning centers that are softer and chewier than they ought to be (vanilla wafers should be thinner and crisp!).
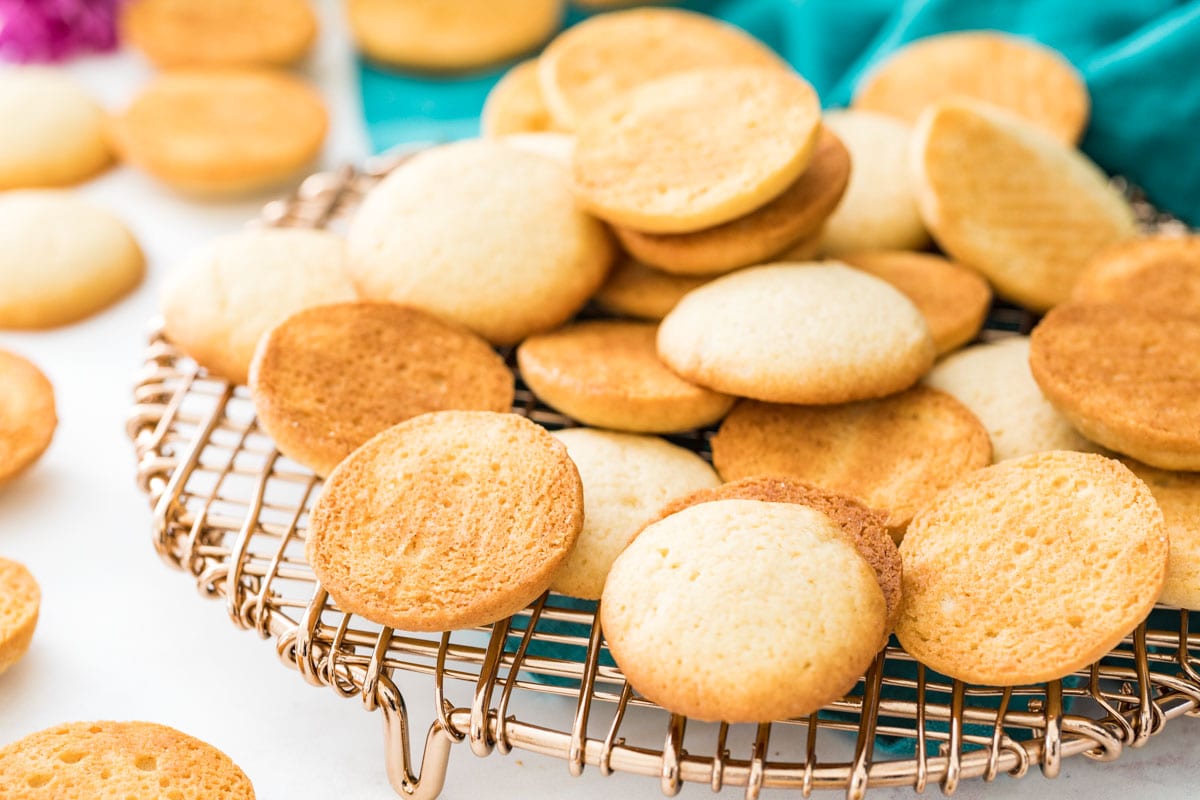
When they’re finished baking, the cookies will be pale golden in color with deeper golden edges. If you flip one over, the edge should be deep golden in color as well. If yours isn’t, it may just need more time in the oven.
Frequently Asked Questions
No, they’re much better. The vanilla wafers you can buy in the store are overwhelmed by artificial flavors and some questionable ingredients (I’m clearly no health-food-fanatic, but high fructose corn syrup and unpronounceable ingredients are a turn off for me).
It’s those artificial flavors that overpower the store-bought cookies and gives them their distinct taste. This taste can’t be replicated by home bakers like us who are using commonly available (and… cough*so-much-better*cough) ingredients.
My vanilla wafers instead are richly flavored with real vanilla, perfectly sweetened with just the right amount of crunch, and accented with buttery undertones. It’s clear that they’re vanilla wafers, but they’re much better than anything you could buy at the store.
Yes, this recipe doubles well. However keep in mind that while it may not seem like very much dough, the cookies are small and this recipe makes quite a few!
Absolutely! I just did so with my own banana pudding recipe, which I’ll be sharing on Monday! One batch makes enough for banana pudding (my recipe, anyway).
The wafers can be stored in an airtight container for 3-5 days. If I’m going to be making banana pudding with them, sometimes I’ll leave them out uncovered overnight, just to make them a bit stale before I use them in the pudding.
More Recipes You Might Like
Enjoy!
Let’s bake together! Make sure to check out the how-to VIDEO in the recipe card!

Vanilla Wafers
Ingredients
- ½ cup (113 g) unsalted butter softened
- ⅔ cup (133 g) granulated sugar
- 1 large egg room temperature preferred
- 4 teaspoons vanilla extract
- 1 ½ cups (190 g) all-purpose flour
- ¾ teaspoons baking powder
- ½ teaspoon salt
- 1 Tablespoon milk
Recommended Equipment
Instructions
- Preheat oven to 350F (175C) and line a baking sheet with parchment paper. Set aside.
- Combine butter and sugar in a mixing bowl and use an electric mixer to beat together until creamy and well-combined.½ cup (113 g) unsalted butter, ⅔ cup (133 g) granulated sugar
- Add egg and vanilla extract and stir on medium/low speed until completely combined.1 large egg, 4 teaspoons vanilla extract
- In a separate bowl, whisk together flour, baking powder and salt.1 ½ cups (190 g) all-purpose flour, ¾ teaspoons baking powder, ½ teaspoon salt
- Add about half of the flour mixture to the butter mixture and stir on low-speed to combine.
- Add milk and stir again on low speed until combined.1 Tablespoon milk
- Finally, add remaining flour mixture and stir until combined.
- Scoop dough into two-teaspoon sized scoops and drop onto prepared baking sheet, spacing cookies at least 2” (5cm) apart. Lightly flatten with damp fingertips.
- Bake on 350F (175C) for 12-14 minutes or until cookies are light golden brown around the edges.
- Allow to cool for 5-10 minutes on baking sheet then transfer to cooling rack to cool completely. Enjoy!
Nutrition
Nutritional information is based on third-party calculations and should be considered an estimate only. Actual nutritional content will vary based upon brands used, measuring methods, cooking method, portion sizes, and more.







Tom
Hi, Sam – Love the Vanilla wafer recipe, but I’m wondering, do you have any suggestions on how this recipe could be altered the make chocolate wafers? Thanks!
– Tom
Sam
Hi Tom! Without having experimented with it I would be hesitant to advise exactly how to make it a chocolate wafer.
Dianne
I can’t wait to try these. The last time I had some out of the yellow box they were terrible. In the video, you say to use a 2 Tablespoon scoop, but the recipe says 2 teaspoons. I would assume it’s teaspoons so they would be smaller. I just found you and I know we will become friends. By the way, I made the key lime cookies and I did the dough in mini muffin pans and they were fantastic. I made another batch because I already know that there wouldn’t be enough for my grandson’s graduation open house and me too.
Sam
I’m so sorry for the confusion, Dianne! The written recipe is correct. I hope you love all of the recipes and I look forward to hearing from you in the future. 🙂
G
Thank you for the recipe. They came out delicious, however, they are not crispy (crispy edges and chewy in the middle). Is there something that I may have done incorrectly? Thank you for your time.
Sam
Hmmm I would try letting them bake a little bit longer and let the cool completely before trying. 🙂
Linda
I bake for my yard maintenance crew to treat them for working so hard and doing so much to make my yard beautiful. They always say thanks but this recipe got a “those cookies were great!” Thanks for a keeper recipe. I doubled the recipe. Good thing!
Sam
I’m so glad everyone enjoyed them so much, Linda! 🙂
Bruce
You’d think that I couldn’t be surprised by a recipe of Sam’s, but I was with this one for one reason. probably my favorite thing about commercial vanilla wafers is the little skin they get on the top, so that as you’re taking a bite, you can bend the cookie a little before the skin breaks. I really didn’t expect these to have that, although I was hoping. Well, they do! It isn’t as strong as on the commercial ones, but it’s there. These are a different cookie, because the inside is soft and chewy, but there is nothing negative to say about them. The bottoms look just like a Nilla Wafer (like in the video). The tops don’t brown quite the same, but that doesn’t matter. These are wonderful cookies, and very easy to make. For me, it made 42 cookies, rather than 55, but my scoop might be a little bigger.
Sam
I am so glad you enjoyed them so much, Bruce! And they don’t have that store bought taste to them. 🙂
Edith
I made these as part of the wonderful banana cream pudding recipe. I had to make two more batches because they kept disappearing! I was told these are the new favorites and I need to keep making them. Incidentally, they make great cookies for cookie sandwiches.
Sam
I’m so glad you enjoyed them so much, Edith! 🙂
Colleen
if using vanilla bean powder do you add a little more milk or water to replace the liquid from the extract?
Sam
Hi Colleen! I would use about a half teaspoon to one more teaspoon of milk. 🙂
Shirley Unruh
Just made these this morning. We love them. I am so happy to have this recipe. We do not buy anything with high fructose corn syrup. The Nabisco ones have it in them. So thanks. I used Kerrygold Irish butter and the cookie dough was so good!!! LOL
Sam
I’m so glad you enjoyed them so much, Shirley! 🙂
Felicia
I am excited to have found your blog! There are lots of things I’d like to try. I am trying to cook with alternative ingredients, though. I’ve switched to making everything with spelt flour. I have read that to convert recipes to spelt flour, I need to reduce the liquid by 10-20%. I’m not surprised if you havent worked with spelt, but feel compelled to ask you first. Lol In this case, do you think I should reduce the butter? Seems like not a lot of liquid ingredients here. Thanks!
Sam
Hi Felicia! I’m glad you are enjoying the website so much. I have not used spelt flour so I can’t comment on how to alter the recipe. If you do try it I would love to know how it turns out with any alterations you make. 🙂
Mechelle Collins
I am so excited to try this. I love vanilla wafers. I have my grandkids this weekend and will be making these as well as a chunky banana cream freeze. They will go great together. Thank you for all your recipes.
Sam
I hope everyone loves them, Mechelle! 🙂
Soul Treat
Made these today and absolutely fell in love! They are now my family’s favorite. They were so so perfect and delcious. They were too good! I can’t stop making your recipes, everything is amazing. Thank you so much for sharing. Can’t wait for the next recipe you are going to share. Best wishes to you! You are doing such a great job. This is very very appetizing!
Sam
Thank you so much! I’m so glad you have enjoyed everything so much. 🙂
Diana
They are so easy to make and absolutely delicious. Thank you for sharing the recipe!
Sam
I’m so glad you enjoyed them so much, Diana! 🙂
Darcy russak
Can I use nonfat milk o almond milk? I never have whole milk on hand and not if you’re milk recipes use whole milk. I’ll run to the store if needed. Thanks !
Sam
Hi Darcy! I do use whole milk here but I think the almond milk could work. I haven’t tried it but if you do I would love to know how they turn out. 🙂
Steven Zakon-Anderson
Thanks for sending this. It looks great and I have always loved vanilla wafers. I do have a question. In Step #4 you say to mix flour, powder, salt and milk. But then in Step #5 you refer to adding milk alone. My gut feeling is the milk does not belong in Step #4, but only #5 but I wanted to check that with you. Thanks for always great recipes..a lot of yours are my go to’s.
Sam
Hi Steven! Oh, whoops, you are absolutely correct and I have updated the recipe to reflect this, so sorry about the confusion! Thank you for bringing this to my attention and for using my recipes, I really appreciate it! 🙂
Andres
Hi, it says to stir in milk with flour, baking powder, and salt? But then you add it in later?
Sam
Hi Andres, I’m so sorry about the confusion, I fixed the typo, I’m so sorry about that, not sure how it snuck by me!