
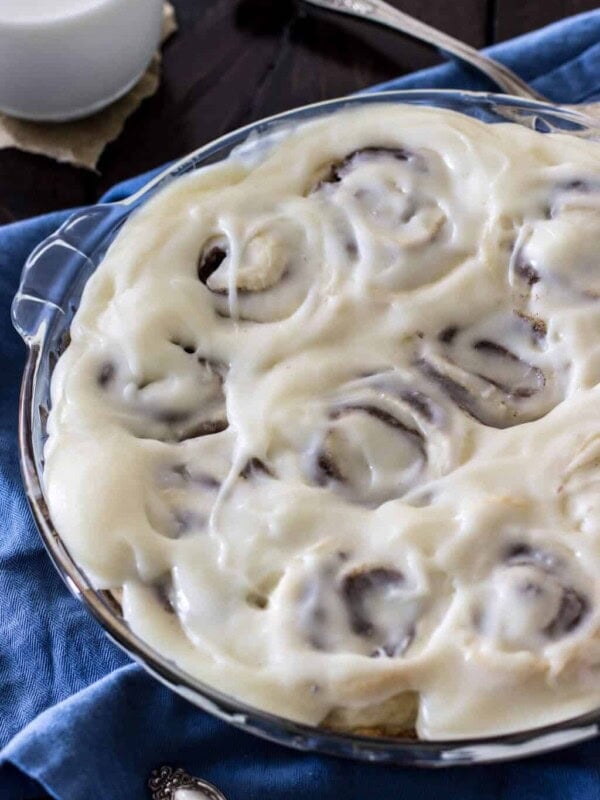
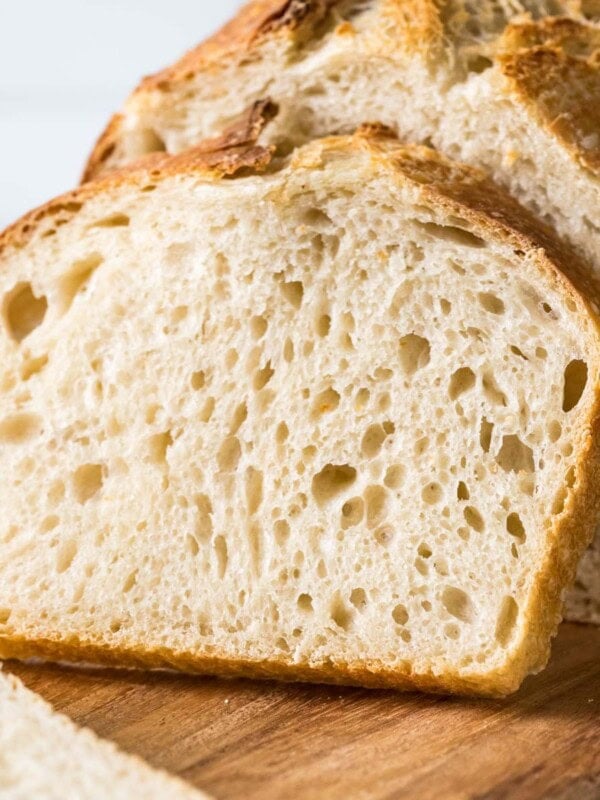
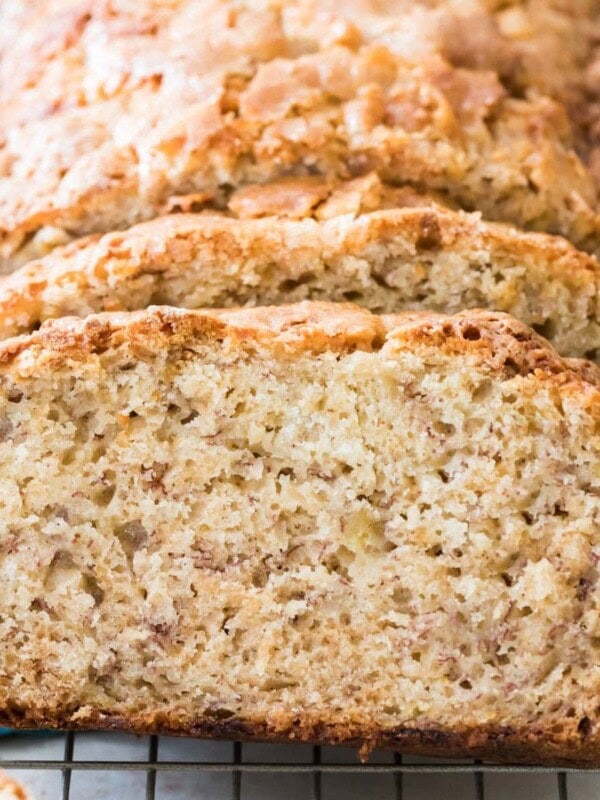
Easy Homemade Biscuits
This post may contain affiliate links. As an Amazon Associate I earn from qualifying purchases. Please read my disclosure policy.
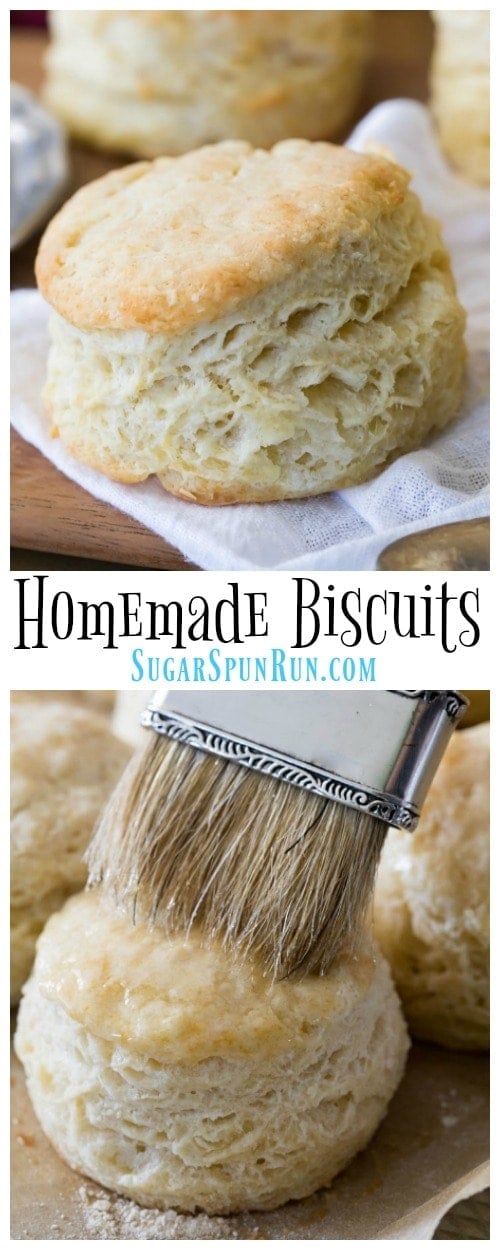
Buttery, soft, and made completely from scratch, this easy homemade biscuit recipe deserves a permanent place in your recipe repertoire. This recipe is made with all butter, no shortening!
With just 6 ingredients that I bet you already have on hand, these homemade biscuits are so simple to make and I’ve included plenty of tips (and a video!) to make sure you end up with perfect biscuits every single time.

Two reasons I’m super excited to share this homemade biscuit recipe with you today:
One: because homemade biscuits are delicious (obviously) and they’re so easy to make. So many people buy the canned version without realizing that they already have all of the ingredients to make them from scratch in their pantry.
The taste of a pre-made biscuit doesn’t hold a candle to a homemade biscuit. Not. even. close. Preservatives and artificial flavors, you aren’t welcome here.
Two: because ever since I started working on this biscuit recipe a few weeks ago, “Mind Your Own Biscuits” by Kacey Musgraves has been stuck in my head and I’ve been singing it off-key relentlessly.
Don’t get me wrong, I love Kacey Musgraves and her music, but every time I start singing my dog starts actually crying. It’s sad and hilarious, and if I wasn’t so embarrassed by my terrible singing voice I would have shared a video of it by now. Hopefully, by publishing this recipe I’ll release myself from the endless refrain and the animal abuse will finally stop.
But let’s talk more about the first reason.

Homemade biscuits call for just six ingredients: all-purpose flour, baking powder, sugar, salt, butter, and milk. And then more butter once they’re finished baking because of course we need more butter.
I mentioned that these biscuits are easy so do not be alarmed by all the tips that I have for you below. These biscuits are easy, but technique matters and I want to arm you with all the information that you need so that you can make these easily and have them come out perfectly the very first time.
The tips are simple but important, and while some more seasoned bakers already know them, I want to give everyone an even playing field.

Tips for Making Homemade Biscuits
- The butter and milk for this recipe need to be as cold as possible for fluffy and soft biscuits. I freeze my butter before using it and recommend keeping the milk in the refrigerator right up until it’s time to add it to the dry ingredients.
- Don’t overwork the dough! Keep in mind that you want your butter to stay as cold as possible when making these biscuits, and the more you have your hands on the dough the softer the butter will become. Definitely don’t use an electric mixer for this recipe.
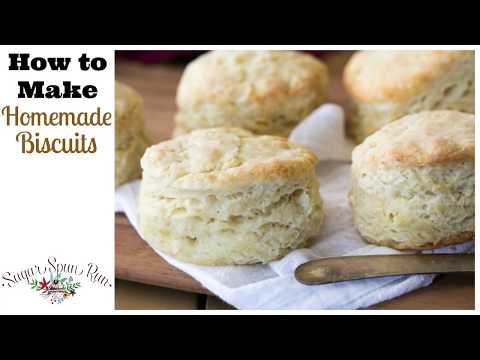
- We’re going to do a little bit of laminating. This means folding the dough over itself multiple times (5-6 times here) to encourage flaky layers in our biscuits. You can watch the video below to see exactly how this is done.
- Don’t use a rolling pin, use your hands to gently work the dough into a flat rectangle before cutting out your biscuits.
- Don’t be afraid to add flour to the dough if it’s too sticky while you are handling it (and make sure to work on a lightly floured surface).
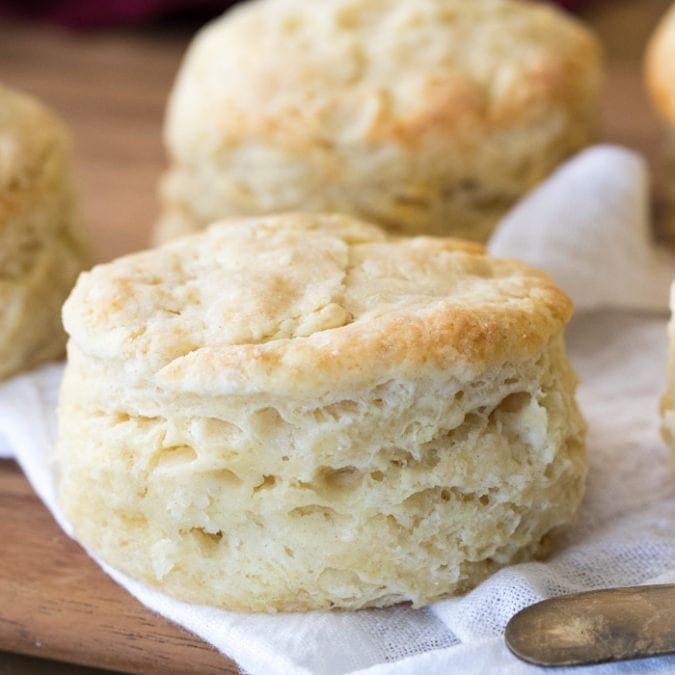
Visual clue: If you look at the pre-baked biscuit below, you’ll see that you can actually see the butter pieces in the dough. This is what you want, the ingredients won’t be well-combined like with a cookie dough and seeing bits of butter means you’ve actually done everything right here. Hooray!

A Few Notes on Butter in Homemade Biscuits
The butter is possibly the most important part of this recipe, and the way you handle it can make or break your homemade biscuits.
While you can certainly use a pastry cutter to cut your butter into the dry ingredients, I recommend freezing your butter for about 30 minutes before beginning. Then, use a box grater to grate the butter before combining this in with your dry ingredients.
I use this technique in my scone recipes and highly recommend it with these biscuits, too. Not only is it much easier than using a pastry cutter, but it does a great job of finely shredding and distributing the butter throughout the mixture without overworking the butter (remember, you want to manage the butter as little as possible so that it’s as cold as possible when going into the oven).
Alternatively you could also use a food processor (like I do with my pie crust recipe), but it’s just so easy to grate in the butter that I always use this method instead.
And yes, I do recommend using unsalted butter in this recipe and then adding salt. If you want to know more about why I write my recipes this way, you can read all about it (and an easy substitution if you only have salted butter on hand) in this post that I wrote about salted vs unsalted butter.

I know I’ve mentioned to you guys a few times that I’ve been working on a baking contest/challenge/I’m really not sure what to call it, but I’m planning a post where I encourage all of you to bake along with me. The goal is to get people baking recipes they may have not tried before, and I’m encouraging everyone to share their results for a chance to win a small prize.
Well, today’s homemade biscuit recipe is essentially the base for the baking challenge that I’ll be sharing in exactly one week, so take this as a hint that making today’s recipe is a great way to get a jump start for the challenge!
To make sure you’re among the first to be notified of all new recipes and baking challenges, make sure you’re subscribed to my e-mail list. It’s free, and you get a free e-book of 8 of my favorite cookie recipes.
Enjoy!
How to Make Homemade Biscuits
I know I talked a lot in this video, but I really feel that the tips are so important, and will help ensure your biscuits come out perfectly!
Homemade Biscuits
Ingredients
- 2 cups all-purpose flour, (250g)
- 1 Tablespoon baking powder
- 1 Tablespoon granulated sugar
- 1 teaspoon salt
- 6 Tablespoons unsalted butter, very cold (85g), unsalted European butter is ideal, but not required
- ¾ cup whole milk¹, (177ml) buttermilk or 2% milk will also work
Instructions
- For best results, chill your butter in the freezer for 10-20 minutes before beginning this recipe. It's ideal that the butter is very cold for light, flaky, buttery biscuits.
- Preheat oven to 425F and line a cookie sheet with nonstick parchment paper. Set aside.
- Combine flour, baking powder, sugar, and salt in a large bowl and mix well. Set aside.2 cups all-purpose flour, 1 Tablespoon baking powder, 1 Tablespoon granulated sugar, 1 teaspoon salt
- Remove your butter from the refrigerator and either cut it into your flour mixture using a pastry cutter or (preferred) use a box grater to shred the butter into small pieces and then add to the flour mixture and stir.6 Tablespoons unsalted butter
- Cut the butter or combine the grated butter until the mixture resembles coarse crumbs.
- Add milk, use a wooden spoon or spatula to stir until combined (don't over-work the dough).¾ cup whole milk¹
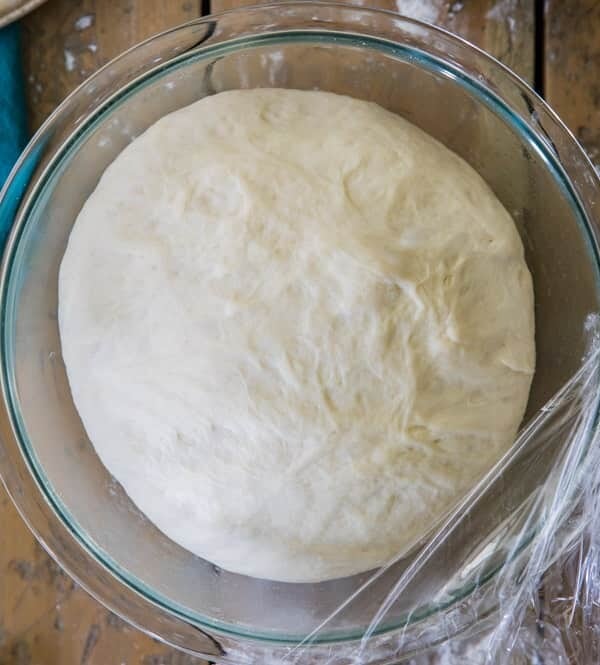
- Transfer your biscuit dough to a well-floured surface and use your hands to gently work the dough together. If the dough is too sticky, add flour until it is manageable.
- Once the dough is cohesive, fold in half over itself and use your hands to gently flatten layers together. Rotate the dough 90 degrees and fold in half again, repeating this step 5-6 times but taking care to not overwork the dough.
- Use your hands (do not use a rolling pin) to flatten the dough to 1" thick and lightly dust a 2 ¾" round biscuit cutter with flour.
- Making close cuts, press the biscuit cutter straight down into the dough and drop the biscuit onto your prepared baking sheet.
- Repeat until you have gotten as many biscuits as possible and place less than ½" apart on baking sheet.
- Once you have gotten as many biscuits as possible out of the dough, gently re-work the dough to get out another biscuit or two until you have at least 6 biscuits.
- Bake on 425F for 12 minutes or until tops are beginning to just turn lightly golden brown.
- If desired, brush with melted salted butter immediately after removing from oven. Serve warm and enjoy.
Notes
Nutrition
Nutrition information is automatically calculated, so should only be used as an approximation.
Like this? Leave a comment below!
Penny likes to supervise the photography process. Fortunately, this setup got her vote of approval.


I froze them unbaked and they were delicious after baking. Wonderful recope!! Will definitely be my biscuit recipe from now on!
I’m so glad you enjoyed! Thank you for commenting, Belinda 🙂
Did you defrost them before baking or bake right from freezer?
I just took them out of the oven,,yummmm,, perfect to my liking!! Thanks for recipe 🙂
So glad you enjoyed! Thank you for commenting 🙂
Made these tonight with my 2 daughters (13 and 7). Doubled the recipe and used 1/2c half and half and 1c milk but otherwise followed the recipe exactly. Grating the butter wasn’t that easy because even with it frozen the end my daughter was holding was melting under the paper making it slippery by the time we got half through the stick. That said, it created a nice pile of small pieces of butter to mix in and we just broke up what was left. We don’t have a biscuit cutter so we settled on an upside down child’s plastic cup and it worked great. Taste test by the three of us gave them 5 stars all around! Thank you for posting the recipe.
I’m so happy to hear it was such a success! Thank you for commenting!! 🙂
Delish! We added a handful of grated cheese to make cheese biscuits & they were so good & so easy, definitely will be making these again, thanks so much!
So glad to hear you enjoyed, Kiki! Thank you for commenting!
I really like this recipe. Have made it several times now. Does anyone know if these can be frozen (baked or unbaked) for later use?
I have frozen them after baking- still delish!
Great recipe and fast but best part is eating them. I even did them adding cheddar cheese and brushing with garlic butter. WOW!
I am so glad you enjoyed them Bill! 🙂
My first time making homemade biscuits tonight. They were delicious and worked great for my chicken pot pie topping. I used a small mouth mason jar for cutout and it made about 10 or so. I think next time, I would make the dough a little thicker before cutting them out, and probably use a wide mouth jar.
Question – it took about 20 minutes @ 425 before they were baked to satisfaction, I was expecting 12ish. What could be the cause of this?
When mixing the dough I wasn’t expecting the dry consistency it came out to so I think I worked it too much and got it closer to the consistency of cookie dough. Could this be why it too longer to bake?
Loved the biscuits though, will be making them again for sure.
Hi Ken! I’m so glad you enjoyed the biscuits! Did you bake them directly on top of the chicken pot pie? That could account for the longer baking time. If not, was your oven completely preheated before you put the biscuits in the oven (mine usually takes about 20 minutes to get to 425). If it was, I’m wondering if your oven temperature is actually off and not as high as it is telling you it is. I don’t think overworking the dough would require it to be baked that much longer.
I baked them about halfway to develop a solid bottom then put on the pot pie. I’ll chexk the oven tomorrow. I’m currently baking cookies that are taking longer than they should and I’m in a new apt so not used to the oven
I’ve never had any luck with making biscuits before but I tried your recipe and it was so easy. Didn’t even have to knead as much, (l forgot). They came out perfect. My husband even complemented how good they were. Will be making again, for sure. Thank you
I am so glad everyone enjoyed them, Rosalind! 🙂
I’m so impressed how these turned out! I followed the instructions exactly- they look just like yours and were quite yummy with the sausage gravy my husband requested. This is the first recipe that delivered AMAZINGLY LIGHT, FLUFFY and DELICIOUS biscuits (trust me I’ve tried many recipes). This recipe will be my go recipe for biscuits from now on.
Thank you for sharing it.
I am so glad you enjoyed the biscuits, Sandy! 🙂
Thank you. Worked well and dont think it needed anything, though, I added 2 tablespoons whole wheat for more texture. And substituted some saved nitrate free bacon fat 4Tbsp for butter. Next time I think I will try with just 2-3. I put bowl with everything but milk in the freezer while I worked on other brunch preparations.
I am glad you enjoyed them, Taiya! 🙂
First time making biscuits. They were amazing!
I am so glad you enjoyed them, Mike! 🙂
Tried this recipe last week, family LOVED them. I only had salted butter so I left out the salt and they were perfect. I keep extra butter in the freezer so I grated it frozen and it worked beautifully. My new ‘go to’ simple ingredient biscuit recipe! Perfect with my loganberry freezer jam . . . . .
I am so glad everyone enjoyed the biscuits, Judi! 🙂
Hi, Sam!
This was my first foray into baking biscuits from scratch. I’ve baked lots of bread, but never a biscuit. Go figure.
The flavor and texture were perfect. Nice thin crisp on the top with a soft, buttery rich interior. This will be my go-to for biscuits and gravy moving forward.
I can’t express how easy and quick this recipe was to reach with such great results. Can’t wait to teach my 11yr old boy this one! 🙂
See ya later, Grands! 🙂
Thank you for the recipe, Sam!
I am so glad you enjoyed them Ron. 🙂
Amazing! This recipe was so easy my 3 year old helped me. She mixed the dry ingredences and cut them out. She squealed when she saw how tall they got after we took them out of the oven. She ate 2 before it was time for lunch! We used 1% milk and they are flacky and delightful. I have never been able to make biscuits with layers like this and beautiful. Thank you.
I am so glad everyone enjoyed them, Liz! 🙂
I followed directions to a T. I used 1% milk. Salted butter( in a tub) I should have left out the salt. Mine crumbed. Did not hold. But they were a little salty. Will omit the salt next time. How do I not have a crumble biscuit? was it the milk?
Hi Donna, were you able to grate the butter that was in the tub? I’m thinking the type of butter might have been the problem.
I used the shed spread. Normal every day butter I cook with. I never have unsalted butter on hand. I cut mine into the flour. I also folded about 5 times or so and then made the cut out.
Yeah the tub butter is different than stick butter, so unfortunately I think that’s the culprit here.
Can you make this biscuit dough and refrigerate until the next morning when you bake?
Butter in a tub is usually blended with oil in an attempt to make it spreadable. You are better off using real milk butter that’s wrapped into a stick.