
Biscotti
This post may contain affiliate links. As an Amazon Associate I earn from qualifying purchases. Please read my disclosure policy.
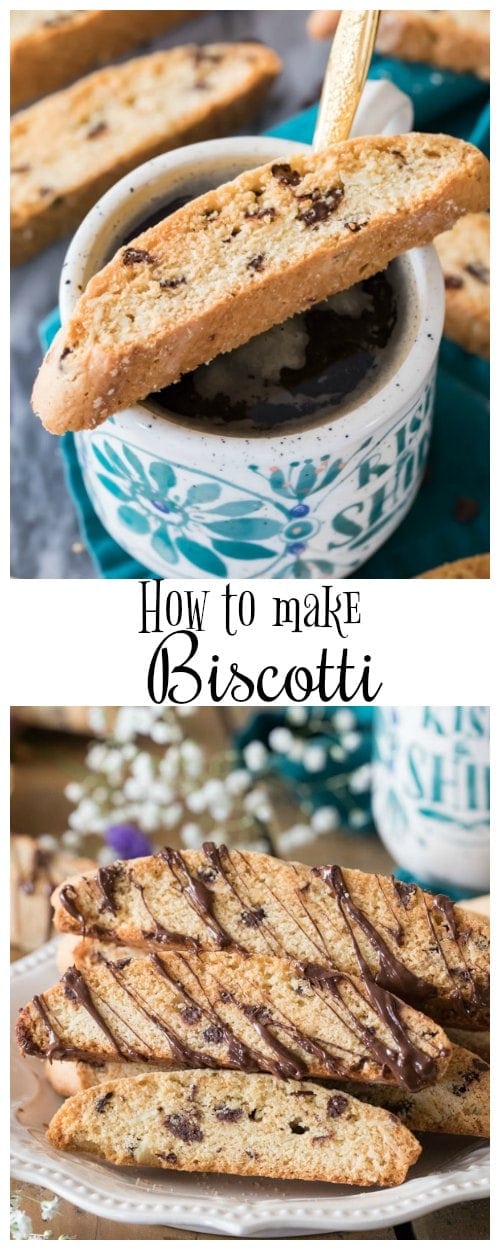
Have you ever wondered how to make Biscotti at home? These classic, twice-baked Italian cookies are incredibly easy to make and can be customized with your favorite add-ins. Recipe includes a how-to video!
The Perfect Italian Cookie, Made Easy
These super easy Italian biscotti couldn’t be more different from the soft and chewy cookies that I usually share with you. If you’ve ever had biscotti before, you already know they’re not soft at all. Instead they’re hard and crunchy, and despite the fact that I usually avoid these two characteristics like the plague when it comes to cookies, I love these biscotti. In fact, I think they’re ridiculously delicious. But then again, aren’t all Italian desserts?
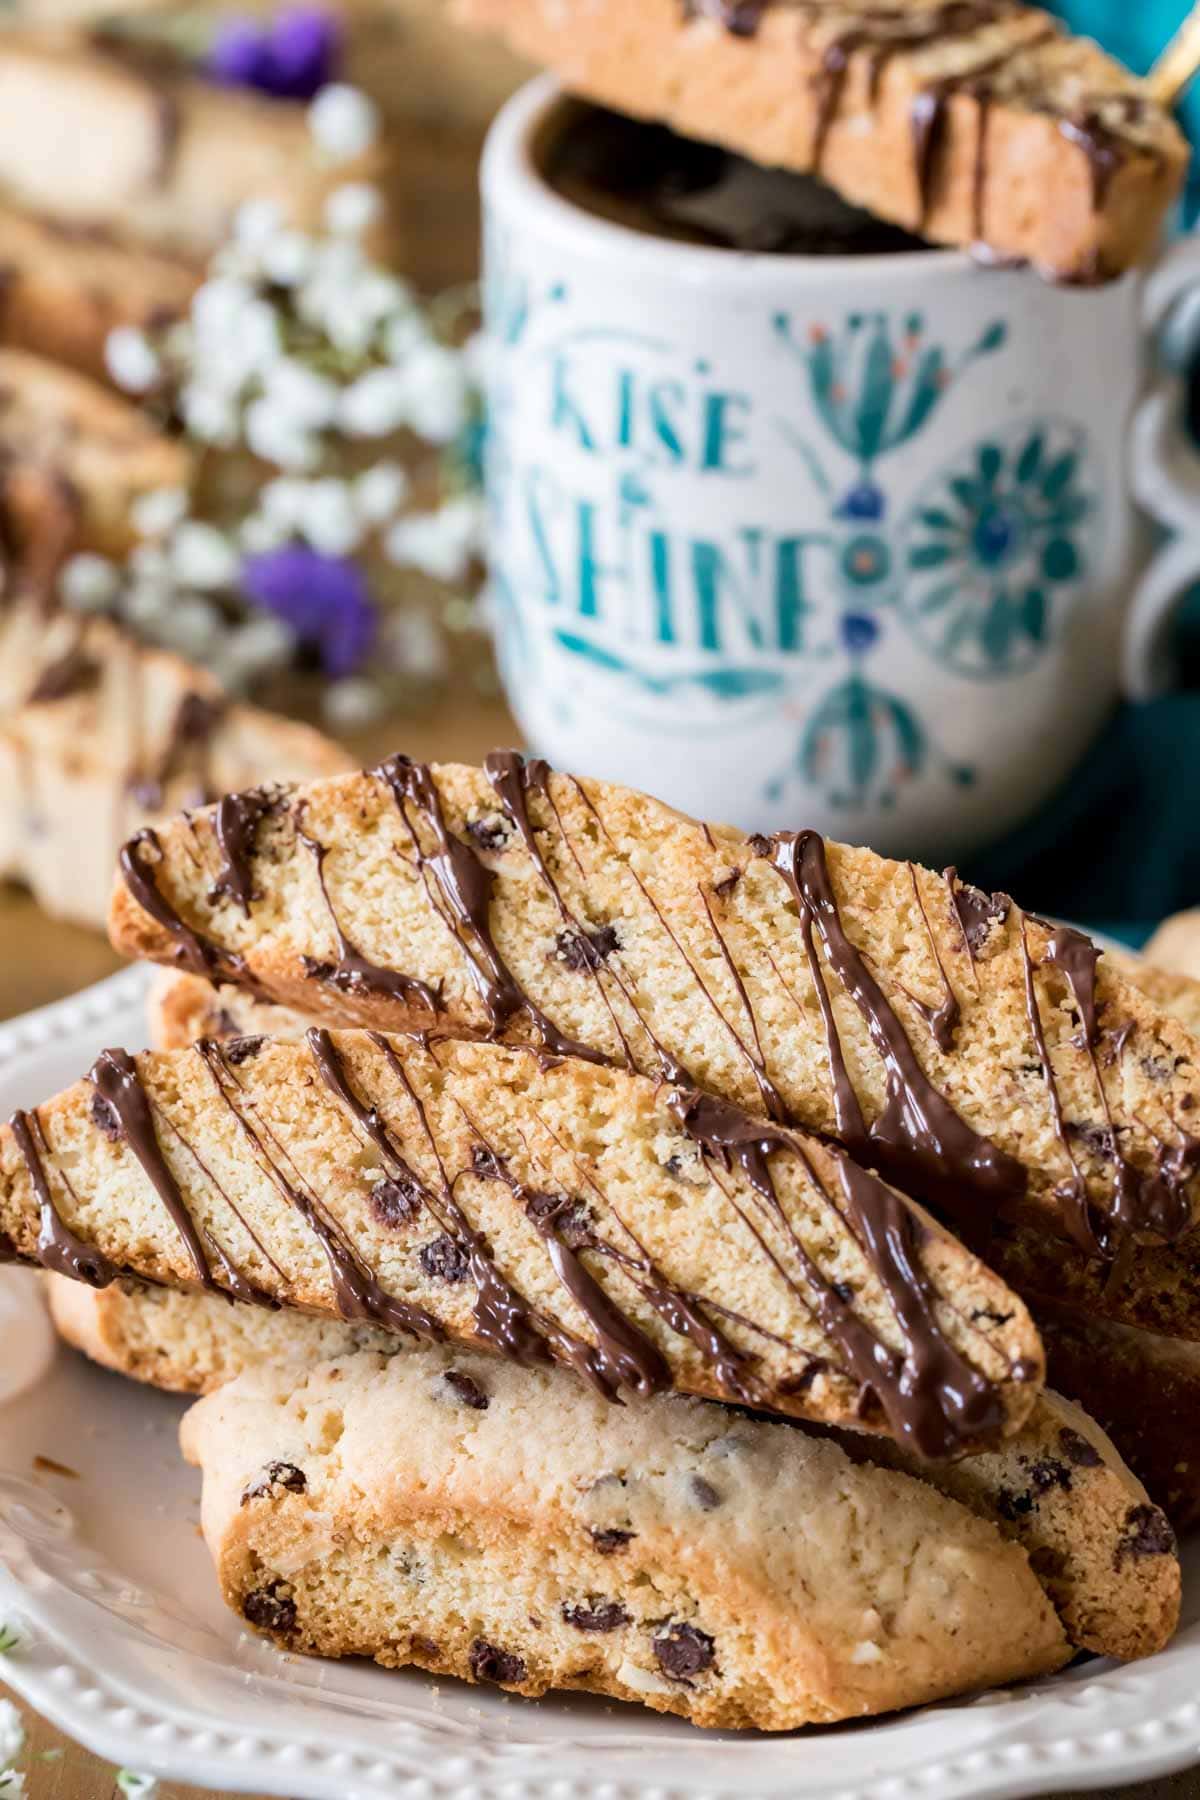
I used to think that biscotti were challenging to make (kind of like cannoli), but they’re actually not–not even a little bit. Biscotti are made with a very simple dough that you can customize with your favorite extracts and add-ins. They’re different from most cookies, because instead of scooping the dough, you’ll form it into two logs, bake them, let them cool completely, and then slice and them bake again. If you’re feeling particularly ambitious, you can also dip or drizzle your biscotti with chocolate, but that’s totally your call (obviously, I’m team chocolate 🙋🏼♀️).
Let’s dive right in!
What You Need
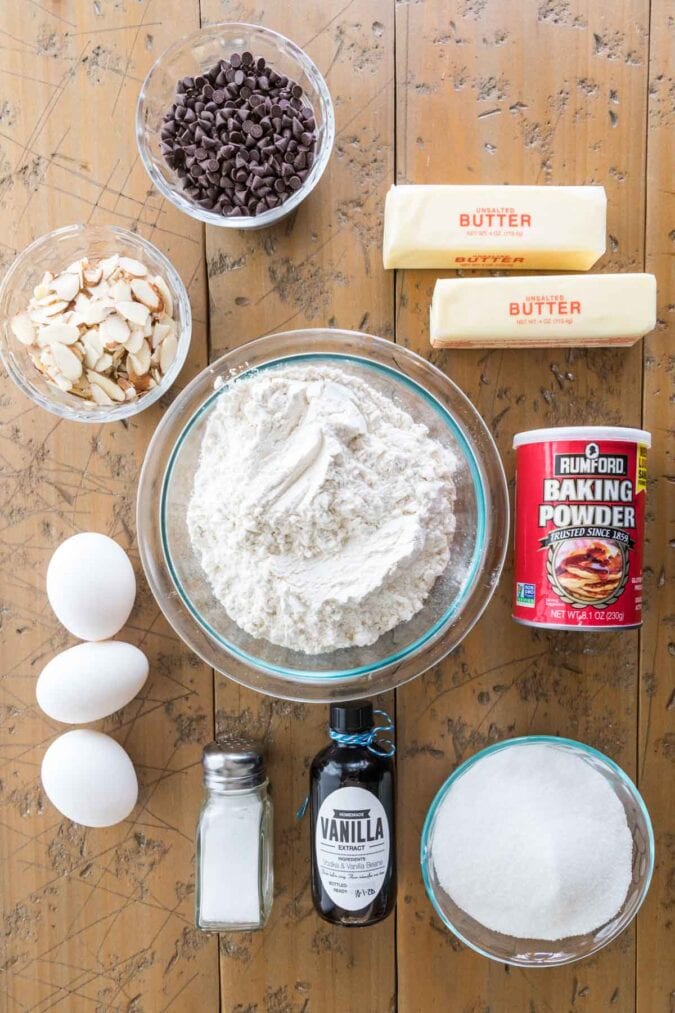
Prepare yourself: these ingredients are SUPER basic, but they yield amazingly crisp and flavorful cookies. Here are the stars of today’s recipe:
- Butter. While some recipes use oil, I like to use butter for a better flavor and texture. Use unsalted, softened (not melty!) butter.
- Sugar. Since they are cookies, biscotti should be sweet! Stick with granulated sugar for this recipe.
- Eggs. We’ll add these one at a time and will mix the batter thoroughly after each addition. If you can remember, set your eggs out beforehand so they’re room temperature–they’ll incorporate better that way!
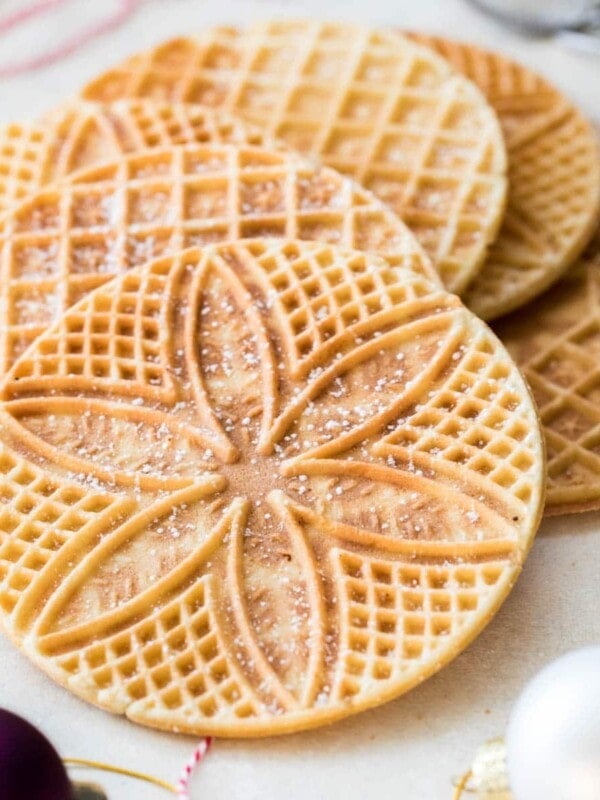
- Vanilla. Two teaspoons will give us a lovely vanilla flavor. If you like your biscotti to taste more traditional (think pizzelle cookies), you can always reduce your vanilla to 1½ teaspoons and add a splash of anise extract (I’ve included instructions in the notes).
- Flour. All-purpose flour works best here. If you have trouble with the dough sticking while trying to form it, feel free to flour your hands.
- Almonds and chocolate chips. While I use chocolate chips and slivered almonds here, you can substitute whatever you like. You can use about 1⅓-1½ cups of your favorite add-ins; raisins, dried cranberries, white chocolate chips, and pistachios, all are popular choices!
- Chocolate. This is optional, but if you’d like to either dip or drizzle your biscotti with extra chocolate (who doesn’t?!) melting wafers work well. You could also use chocolate chips.
SAM’S TIP: If you have a stand mixer, use it! While you can get away with using an electric hand mixer, this dough gets pretty stiff and difficult to mix, so save yourself some effort and use a stand mixer.
Remember, this is just an overview of the ingredients I used and why. For the full recipe please scroll down to the bottom of the post!
How to Make Biscotti
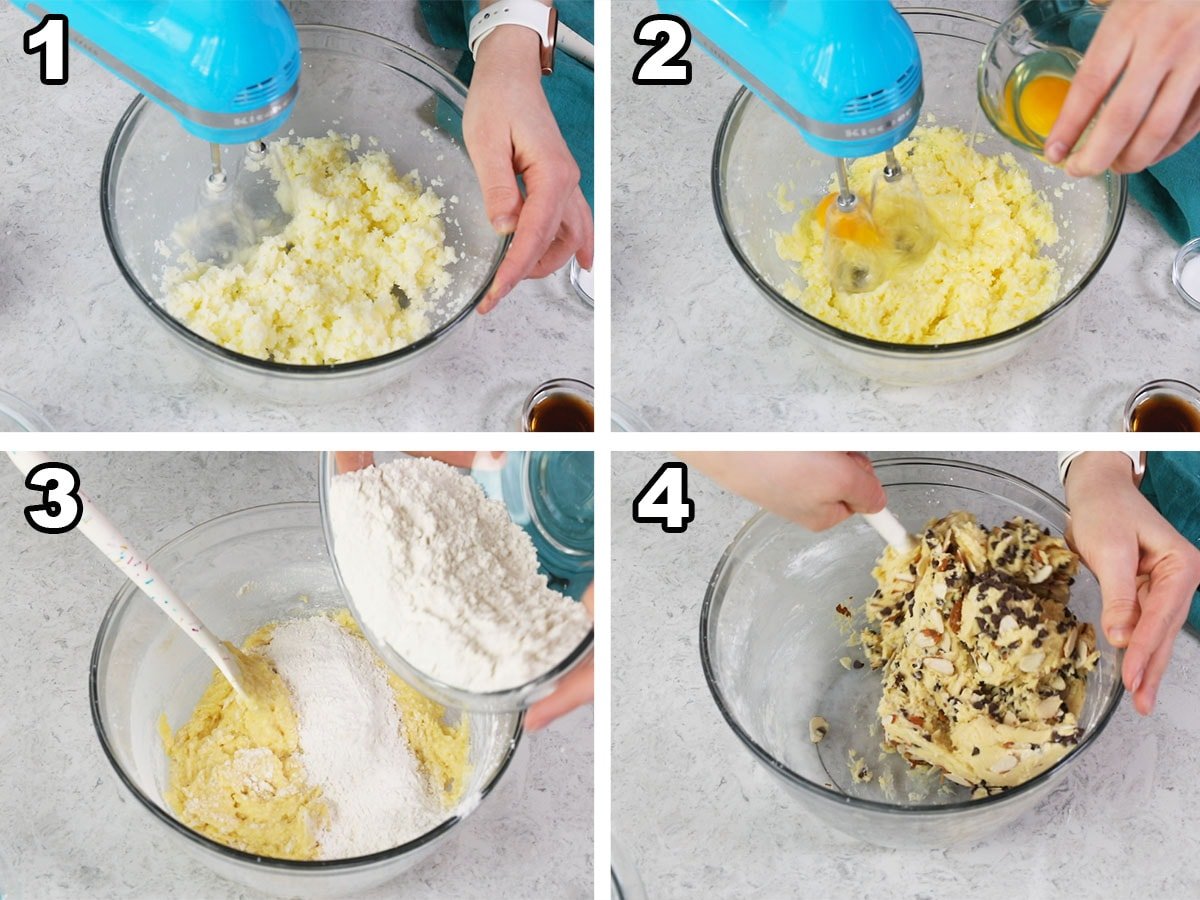
- Cream together the butter and sugar until well combined.
- Add the eggs one at a time, stirring after each addition until well incorporated. Stir in the vanilla.
- Combine the dry ingredients in a separate bowl, then gradually add them into the wet ingredients.
- Stir in your add-ins.
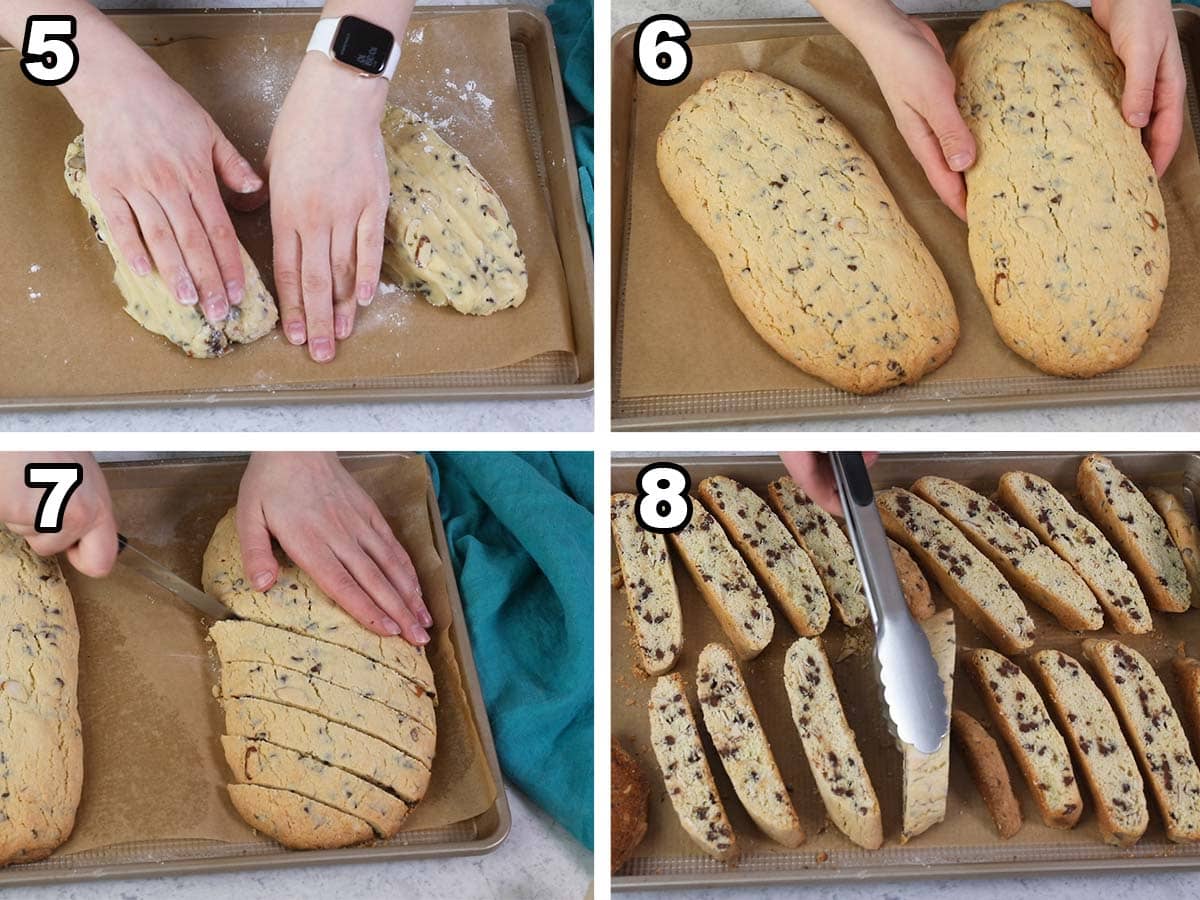
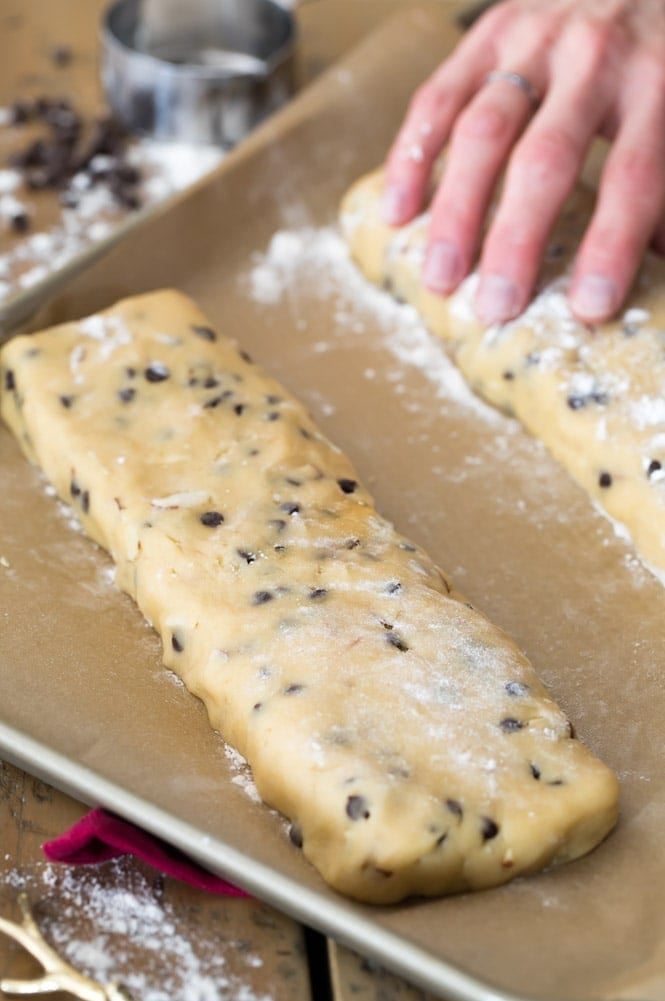
- Divide the dough into equal pieces and place on a parchment lined baking sheet. Form the dough into logs with lightly floured hands.
- Bake for 30 minutes at 350F, then cool completely.
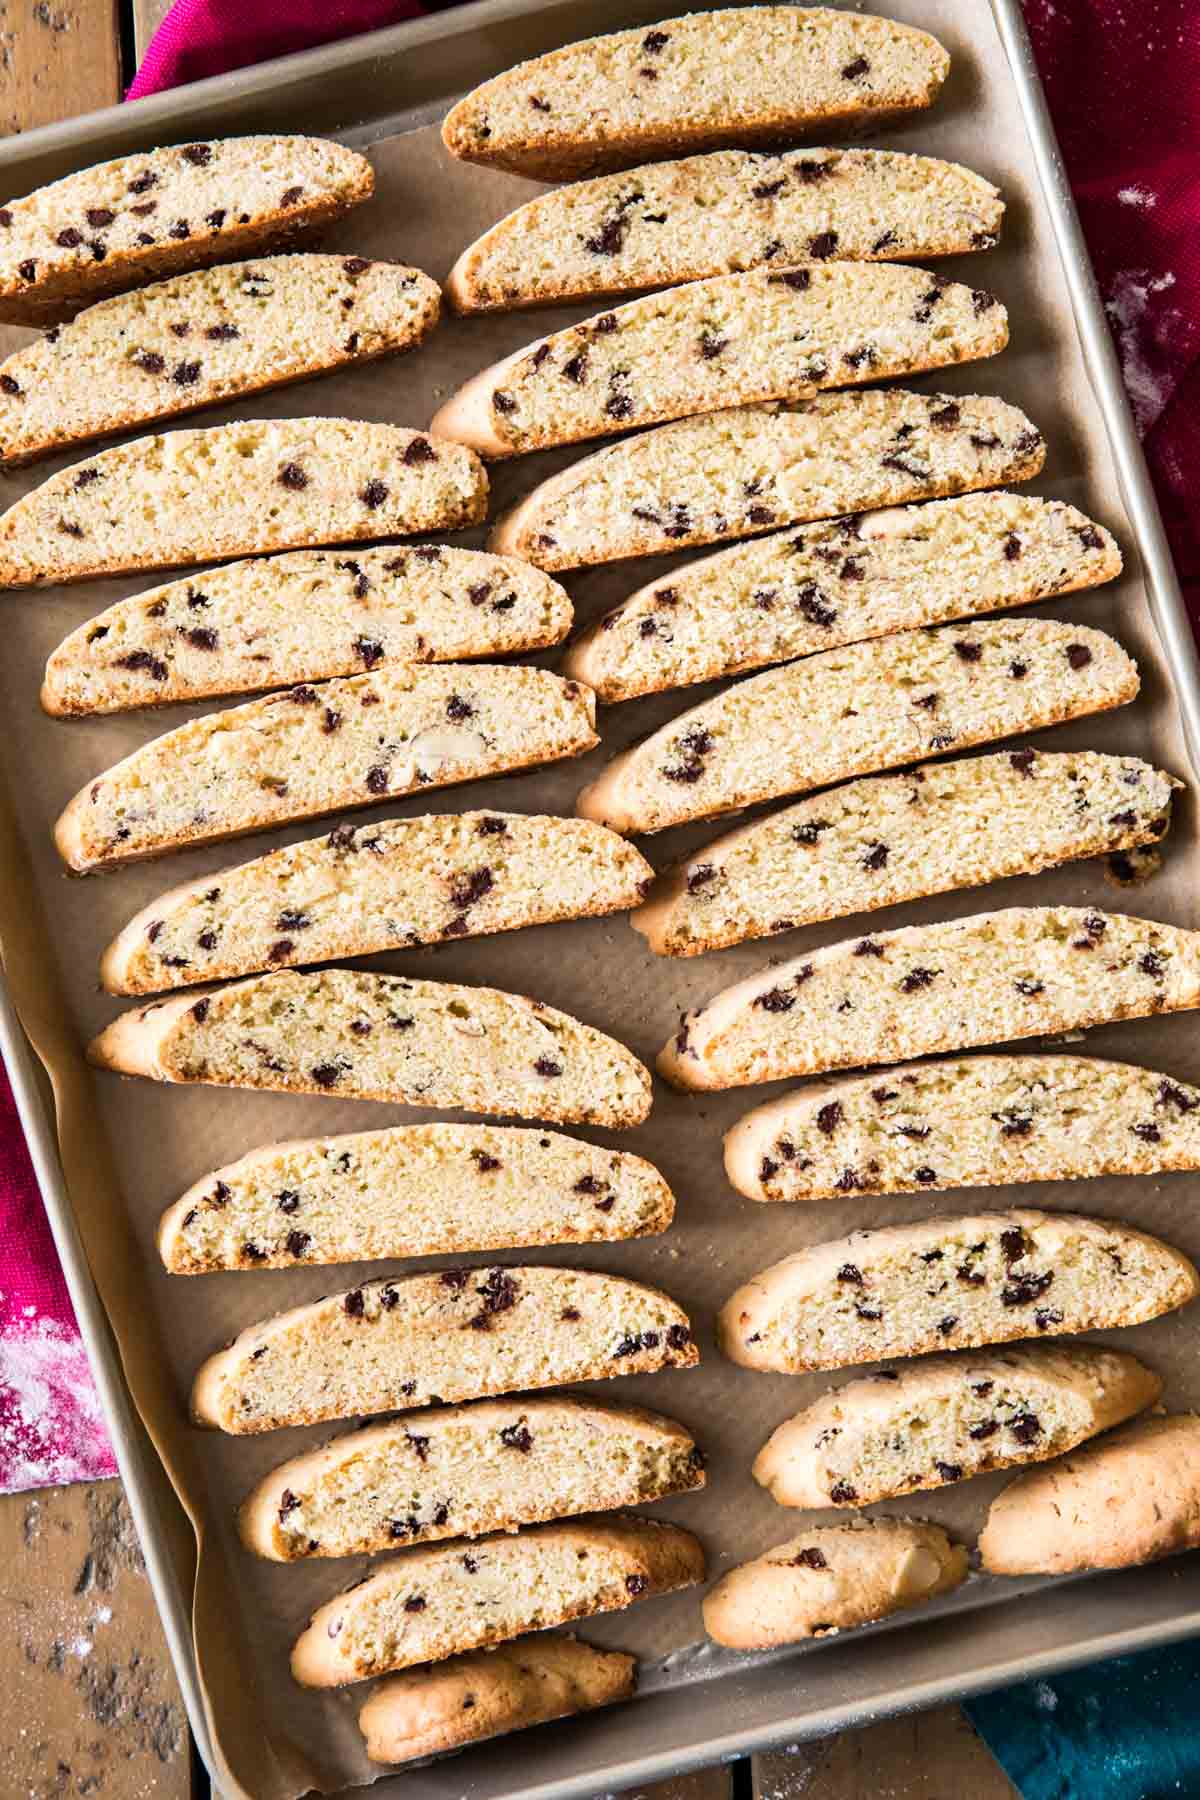
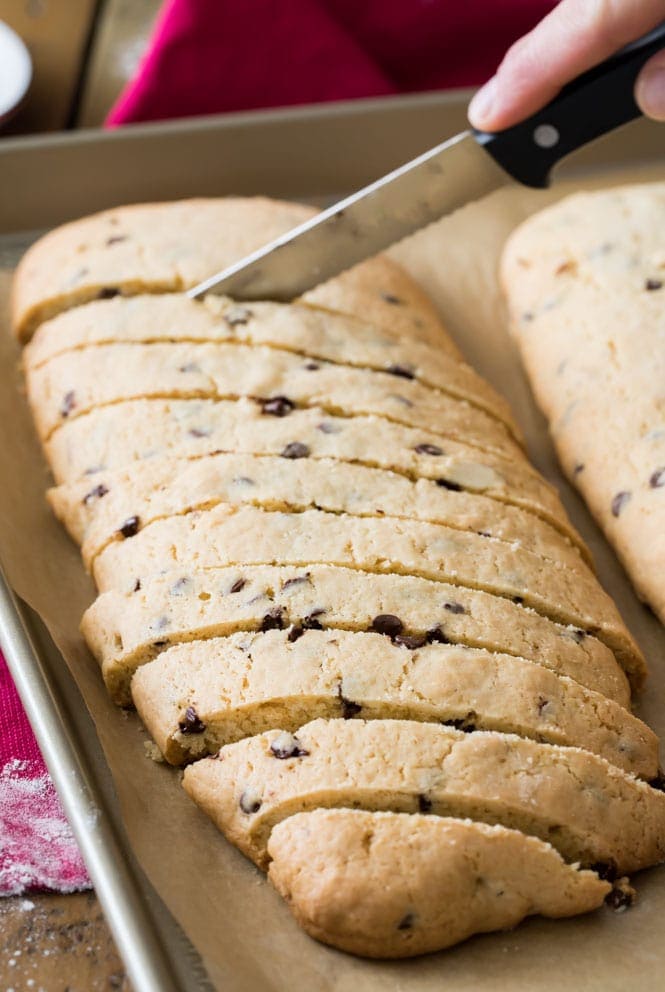
- Use a serrated knife to slice the loaves diagonally. Place the biscotti cut side down onto your baking sheet and bake for 10 minutes.
- Remove your biscotti from the oven, flip them over, and bake for another 10 minutes. Allow the biscotti to cool completely before dipping or drizzling with chocolate.
SAM’S TIP: Use care when flipping your biscotti as they come out of the oven; they are much more fragile and likely to break while they are warm. I recommend using tongs and a gentle hand to turn them.
Frequently Asked Questions
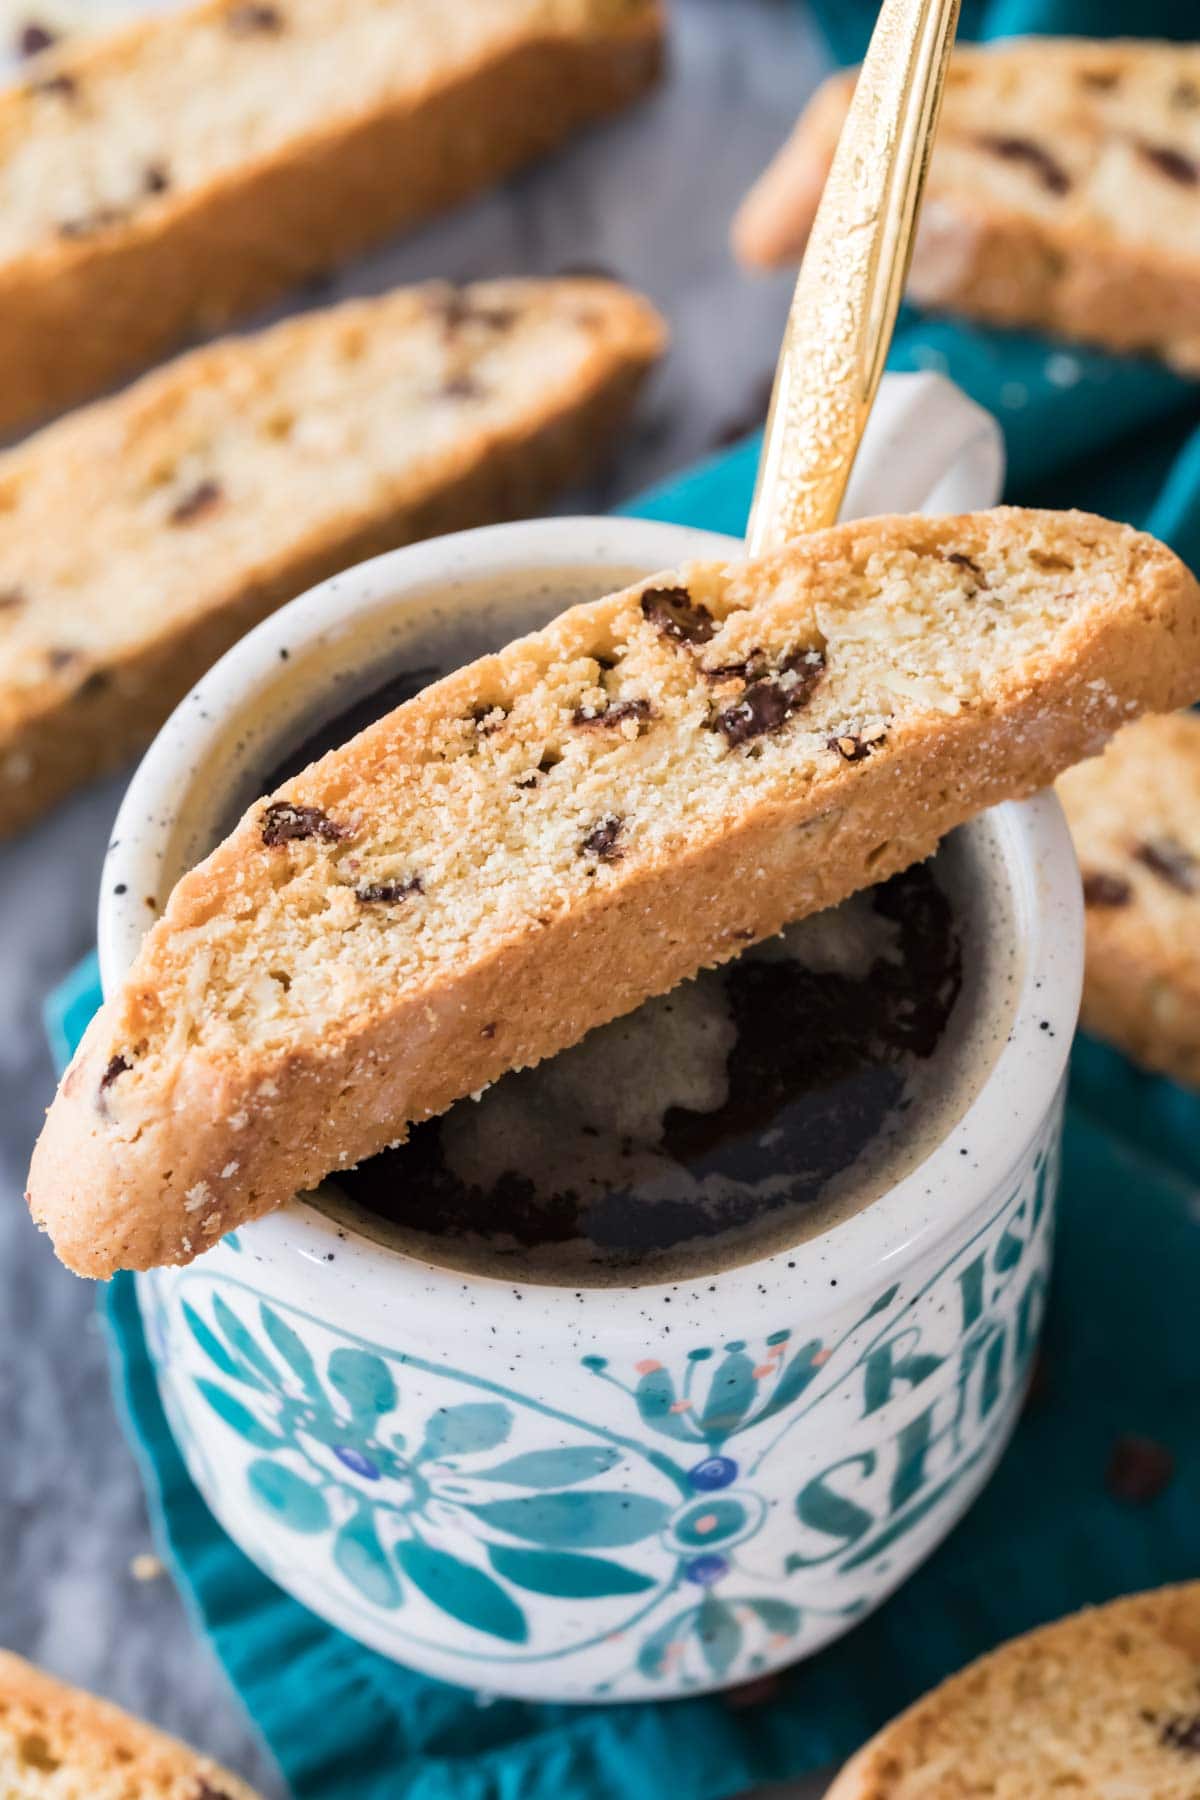
Yes! Because they are baked twice, biscotti are hard and crisp. They’re great for dunking in a hot cup of coffee (cookies for breakfast ❤).
Since they’re are already pretty hard and dry (I promise, they’re delicious and supposed to be that way!), they don’t go stale fast at all. Biscotti will keep for least several weeks when stored in an airtight container at room temperature.
Shallow cracks on the surface are normal and nothing to be worried about. You can always dip them in melted chocolate to cover them up.
Enjoy! And if you’re looking for a chocolate version, be sure to check out my chocolate biscotti!
Let’s bake together! I’ll be walking you through all the steps in my written recipe and video below! If you try this recipe, be sure to tag me on Instagram, and you can also find me on YouTube and Facebook
Biscotti Recipe
Equipment
Ingredients
- 10 tablespoons (141 g) unsalted butter, softened
- 1 ⅓ cups (265 g) sugar
- 3 large eggs
- 2 teaspoons vanilla extract, (see note if you would like to use anise extract)
- 3 ¼ cups (406 g) all-purpose cups flour
- 1 Tablespoon baking powder
- ¾ teaspoon table salt
- ⅔ cup (66 g) slivered almonds
- ⅔ cup (113 g) mini chocolate chips
- ½ cup (170 g) dark chocolate melting wafers or chocolate chips for dipping biscotti, optional
Instructions
- Preheat oven to 350F (175C). Line a cookie sheet with parchment paper and set aside.
- Using a stand mixer or an electric hand mixer, beat together butter and sugar until creamy and well-combined.10 tablespoons (141 g) unsalted butter, 1 ⅓ cups (265 g) sugar
- Add eggs, one at a time, stirring well after each addition.3 large eggs
- Stir in vanilla extract.2 teaspoons vanilla extract
- In a separate, medium-sized bowl, whisk together flour, baking powder, and salt.3 ¼ cups (406 g) all-purpose cups flour , 1 Tablespoon baking powder, ¾ teaspoon table salt
- Gradually add flour mixture into butter mixture, stirring until completely combined.
- Stir in mini chocolate chips and almonds.⅔ cup (66 g) slivered almonds, ⅔ cup (113 g) mini chocolate chips
- Using lightly floured hands, divide dough into two equal pieces and place on prepared baking sheet. Form dough into two separate logs approximately 10-12″ long by 2-3″ wide, and be sure to space them at least 4″ apart as biscotti will spread (you may use separate cookie sheets to bake, if needed). If dough is too sticky, lightly dust with additional flour and lightly powder your hands with a thin layer of flour.

- Bake 30 minutes on 350F (175C), or until golden brown.
- Remove from oven and allow biscotti to cool completely. (Note that you will need to return the biscotti to the oven after it has cooled and you have sliced it, so you may wish to leave your oven on while the biscotti cools or set yourself a reminder to turn it back on).
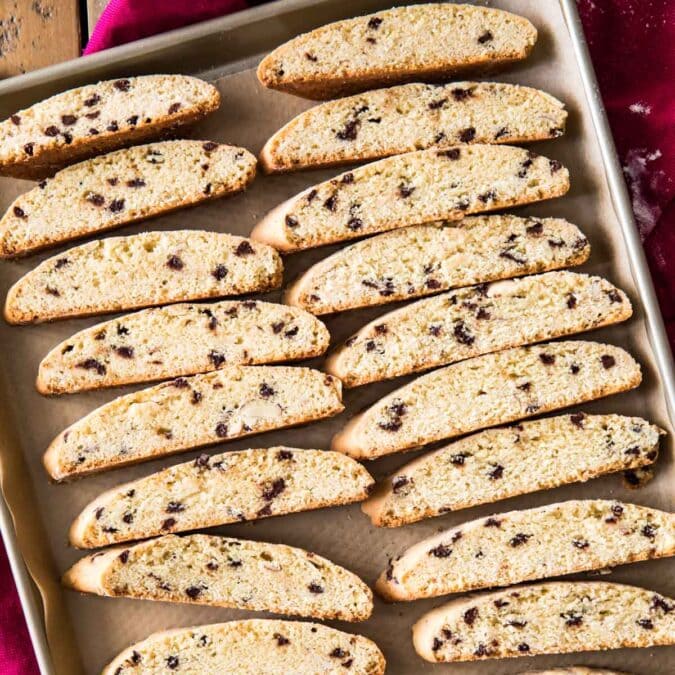
- Once cooled, slice loaves diagonally into slices about 1 ½" thick (I recommend using a bread knife for this). Place biscotti cut-side down on parchment paper lined cookie sheet.

- Return to 350F (175C) oven and bake for 10 minutes. Flip each biscotti over gently, and then bake another 10 minutes on 350F (175C). Biscotti should be lightly golden brown when finished baking.
- Allow to cool completely.
- If desired, melt chocolate in 20 second increments (stirring in between) until melted and use a spoon to drizzle over cooled biscotti. Allow chocolate to harden before serving (this will take much longer with chocolate chips than with melting wafers).½ cup (170 g) dark chocolate melting wafers or chocolate chips for dipping biscotti
Notes
Add-Ins
Feel free to substitute the almonds and/or the chocolate chips with an equal amount of your favorite add-ins, or leave them out entirely!Anise Extract
Classic Italian biscotti are often made with anise extract. Feel free to add 1-2 teaspoons of anise extract or 2 teaspoons of anise seed (in addition to the vanilla extract) if you so desire.Storing
Store in an airtight container at room temperature. Biscotti will keep for at least two weeks. Biscotti may also be frozen in an airtight container for several months.Chocolate Version
See my chocolate biscotti recipe.Nutrition
Nutrition information is automatically calculated, so should only be used as an approximation.
Like this? Leave a comment below!


I made these and they are fantastic! They didn’t harden as expected. Any tips? Thank you again!
Hi Laura! Did they need to bake a little bit longer?
They were already pretty brown when I pulled them so I did not bake them longer but I will be trying again since they are a fan favorite around here. I will try letting them go a little longer. Thanks!
I’ve never had biscotti before but my grandson-in-law asked me to bake a batch for him. So of course, first thing, I go to your website only and copy down your recipe. I made them today and they are great. I had no idea what they were but they sure are tasty and so easy to bake. I drizzled chocolate over half of them, dusting the chocolate with finely chopped almonds. The grandkids will be here tomorrow and I’m sure they will love these.
PS I ordered your cookbook already and am very excited to see what other recipes you have included in the book. Great job Sam
Thank you so much for your support, Lorley! I hope those kiddos love the biscotti! 🙂
I have used this recipe (without almonds) many many times, and the biscotti is always perfect. It will forever be my go-to. I have shared it with friends and family and everyone loves it.
Love this recipe! Thank You for sharing and thank you posting the measurements of ingredients under the instruction’s!!! You are the Best! 🩷
This is so easy and tastes wonderful. Very easy to follow! Give it a try ❤️
This recipe comes out GREAT every time!!!
I LOVE this recipe! I surprised myself by swapping out the almonds for chopped pistachios. This is an outstanding recipe! As always, Sugar Spun Run never disappoints!!
Thanks for this wonderful recipe! So easy too
Absolutely perfect
Loved this. I substituted 1/2 tsp vanilla for almond extract and used sliced almonds.
Simple and delicious recipe! I made for my residents with white chocolate, dried cranberries and almonds. They said this was the best they’ve ever had!
That sounds like a delicious combination, Marissa! We’re so glad you enjoyed this recipe! ☺️
How can I adjust these for high altitude?
Hi Patricia! Unfortunately I do not have much experience with high altitude baking so I can’t say for sure if any adjustments would be needed.
I haven’t made these yet, but can I say that having the quantities below the directions is life changing! Not having to scroll up and down to see the recipe and directions is amazing!
We’re so glad you enjoy that, Melissa! It does make it easier. 😄
Tastes great! This is what I was craving when I was looking for recipes. My biscotti came out a bit dark on one side, not sure why.