This is the smoothest, most flavorful, BEST queso recipe you’ll find! It takes just 15 minutes from start to finish and uses only one pot for easy clean up. Recipe includes a how-to video!
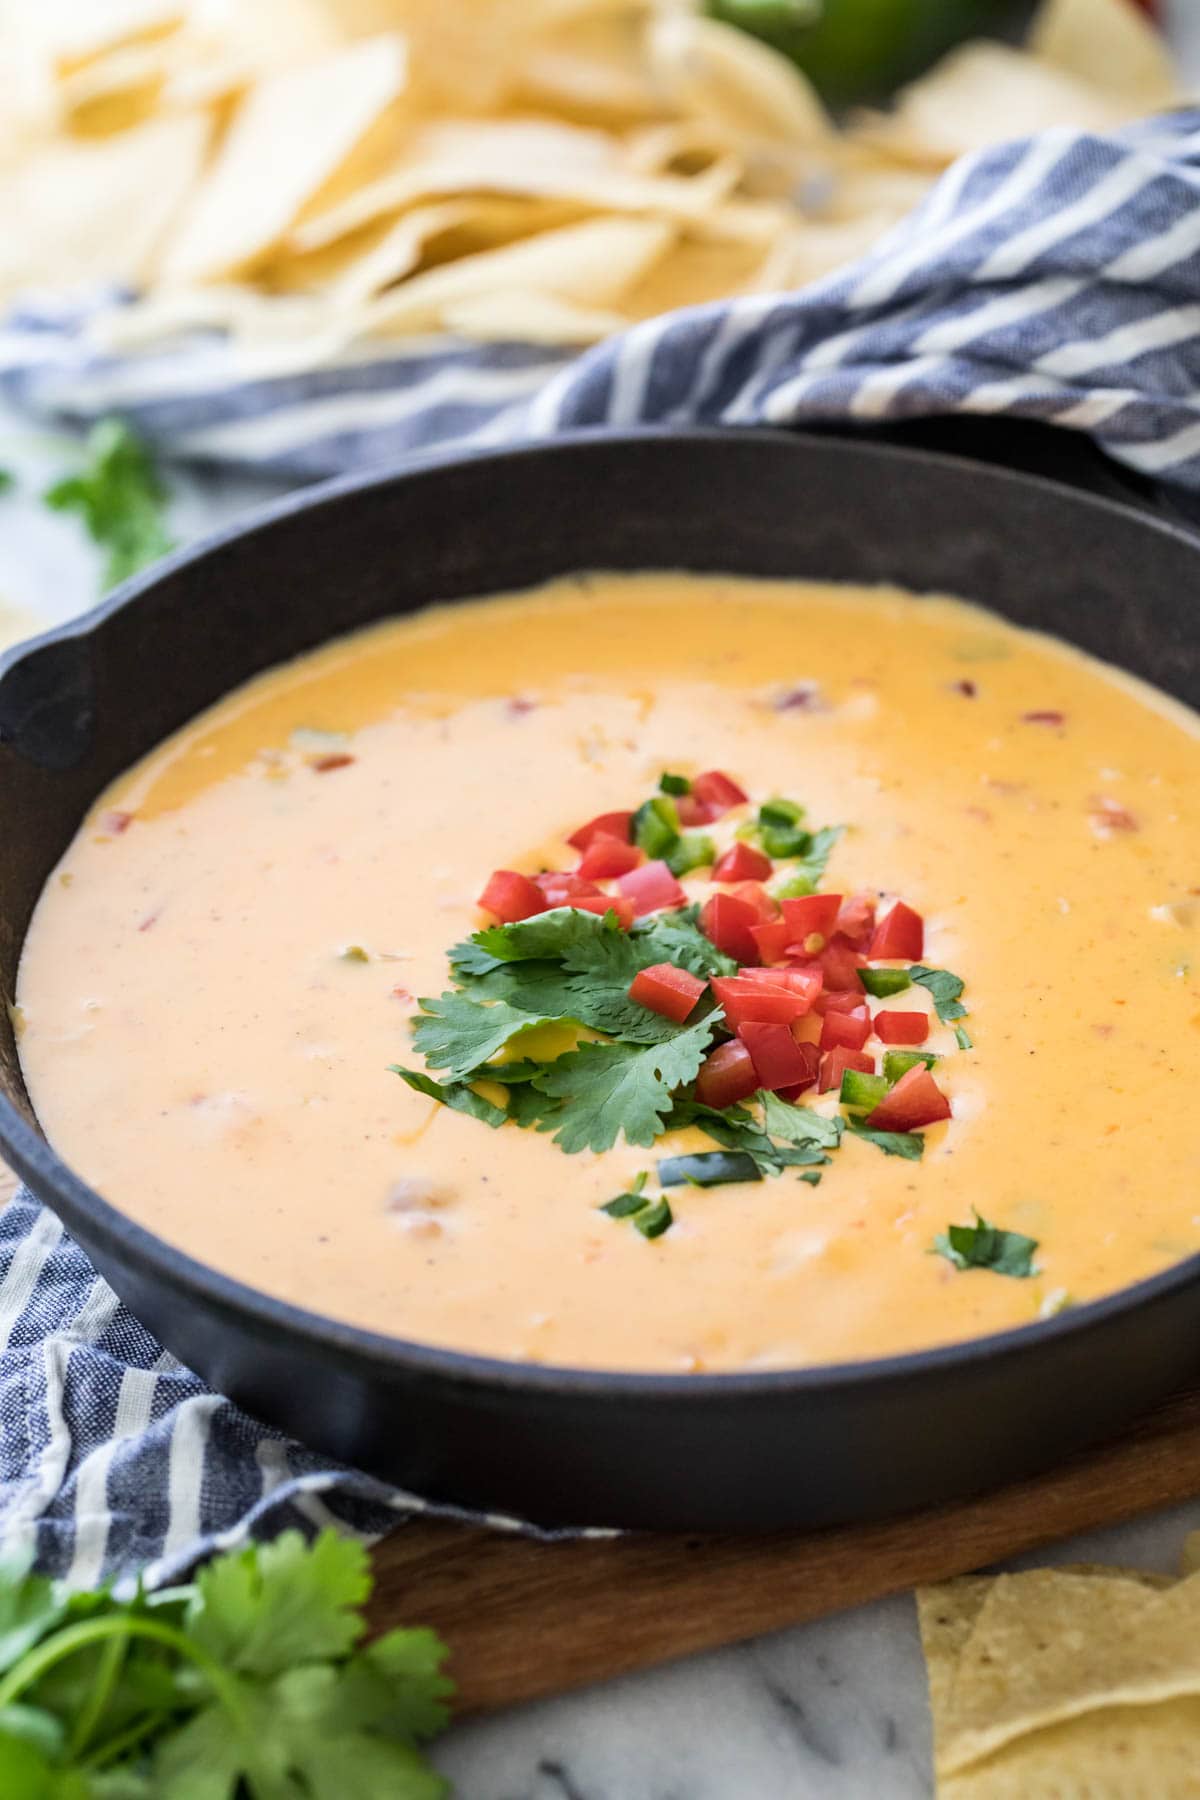
A Quick & Easy Queso Recipe
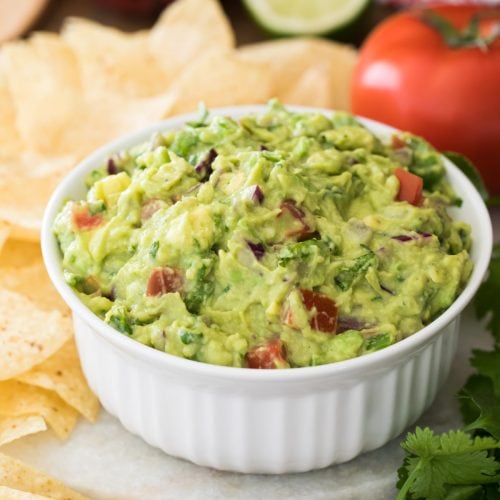
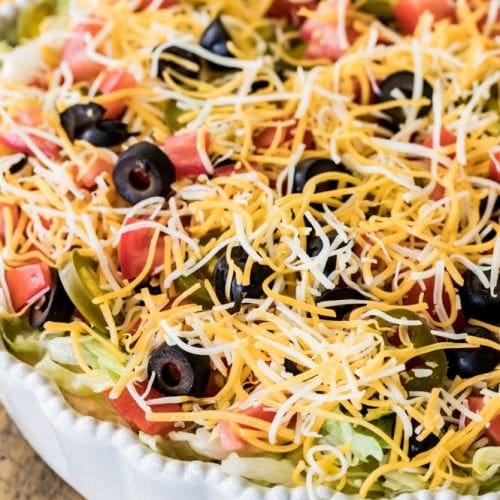
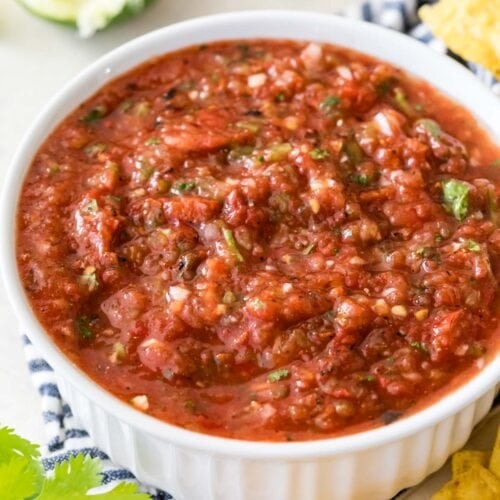
As far as Mexican-inspired dip and sauce recipes go, I’ve got quite a few options. From my salsa and guacamole came my hybrid avocado salsa, and we can’t forget the crowd favorite: taco dip. With so many tempting recipes, it can be hard to decide which to dip your chip into first! Well, making a decision is about to get even harder, because I’m adding this super smooth, super flavorful queso recipe to the list–and this one’s quite the knockout!
This queso recipe is so simple, but it took a surprising amount of testing before getting it just right.
I wanted something that was bursting with flavor, absolutely addictive, and, perhaps most importantly, silky smooth. After playing around with different types of cheeses, thickeners, and liquids, this one checks all the boxes! I can confidently say it is the BEST queso recipe, and I think you’ll agree. I can’t to hear how you like it!
Let’s get cooking.
What You Need
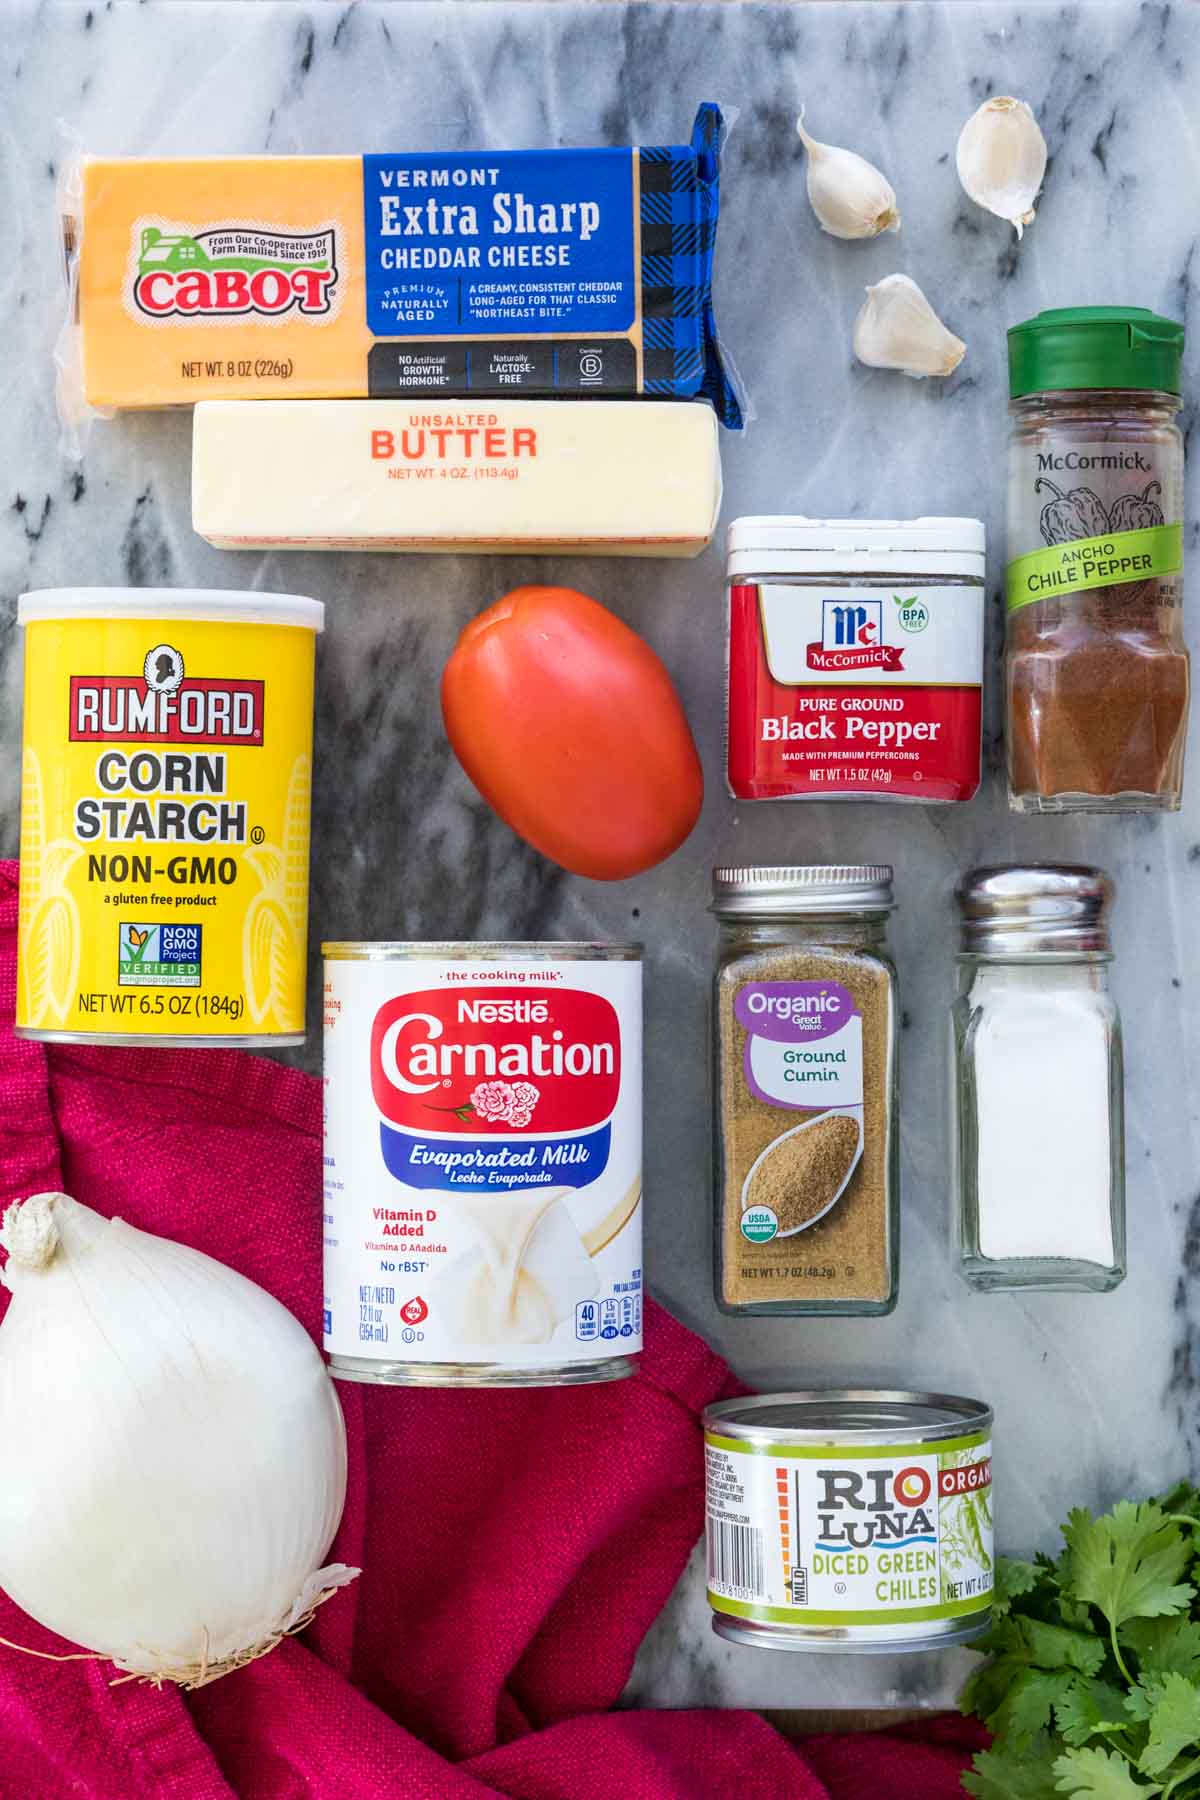
One of the biggest obstacles I encountered while creating this recipe was avoiding a grainy queso. To accomplish this, I opted for cornstarch rather than flour as the thickener, and I used less of it than you’ll find in most recipes. I also found that the choice of cheese made a big difference, as did the liquid. Here’s what I recommend for the smoothest, best queso recipe:
- Butter. We’ll start things out with melted unsalted butter, and then we’ll sauté some onion and garlic for a flavorful base.
- Diced green chilis. These canned chilis add a hearty, robust flavor that really rounds out the queso. If you can’t find fire roasted, regular will work fine, but fire roasted add an extra punch that I love.
- Diced tomatoes. If you can’t find roma tomatoes, you can always use canned petite diced tomatoes instead–just make sure to drain the juice if you do!
- Cornstarch. My queso is slightly thickened with a bit of cornstarch before we add the cheese. This helps encourage a smooth melt and silky consistency.
- Spices. Including cumin, ancho chili powder, smoked paprika, cayenne pepper (optional, add this if you like a spicier queso!), and black pepper. The variety of spices in my recipe really sets it apart from any other out there, and while you could nix the chili powder or even the paprika, it’s truly what makes this recipe so next-level good.
- Evaporated milk. I tested this recipe with different liquids (whole milk, half & half, evaporated milk, and cream), and I liked the results best with evaporated milk. Make sure you use full-fat evaporated milk!
- Cheddar cheese. Do not use pre-shredded cheese! Pre-shredded cheese contains additives that prevent it from melting properly. For a smooth queso, I recommend using a mild or sharp (my preference) white or yellow cheddar cheese. You could also use extra sharp, but I found that tended to make the queso a little grainy.
- Corn chips. For dipping, although soft pretzel bites would also be delicious!
SAM’S TIP: As with my potato soup and chili recipes, ancho chili powder is a key ingredient in this queso recipe! While you may be tempted to just use regular chili powder, I highly recommend using ancho chili. It adds a subtle smokiness and depth of flavor that regular chili powder just doesn’t compare to. That being said, if you can’t find ancho chili (it’s sold in the spice section of most grocery stores) you can leave it out. You’ll still have a good queso!
Remember, this is just an overview of the ingredients I used and why. For the full recipe please scroll down to the bottom of the post!
How to Make the Best Queso Recipe
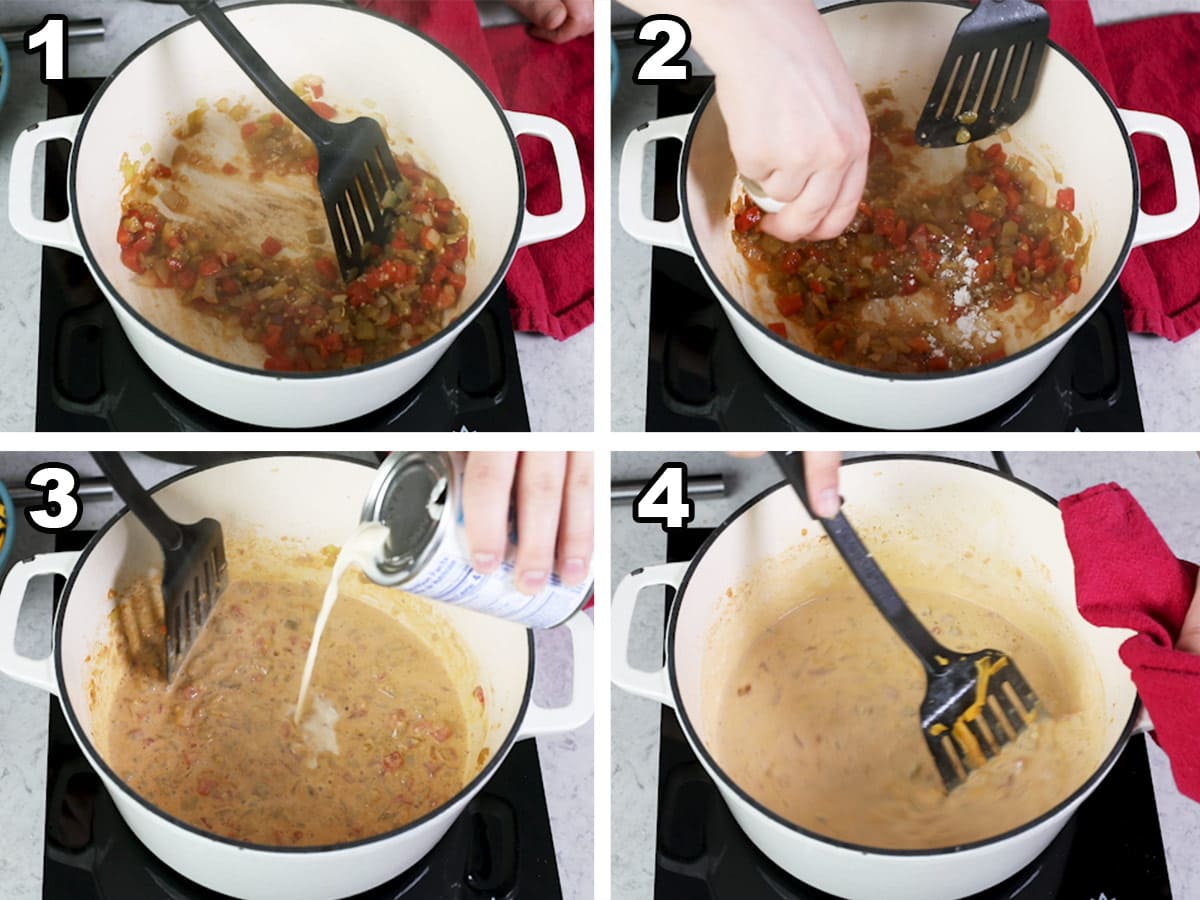
- Melt the butter over medium heat, then sautee onion and then garlic. Add chilis and tomatoes.
- Sprinkle cornstarch over the vegetables and stir until it is absorbed. Add the spices and stir to combine.
- Slowly drizzle in evaporated milk while stirring, allowing the milk to heat slowly as you go, and cook until everything is warmed and slightly thickened.
- Turn the heat to low and stir in the cheese, stirring until everything is melted and combined before tasting for additional seasoning. Serve warm and enjoy!
SAM’S TIP: Do NOT try to save time by adding the evaporated milk all at once! It’s important to add the milk very slowly while stirring constantly. We want the milk to heat through while it’s being added, so pause to let the milk you’ve added warm up before adding more.
Frequently Asked Questions
Sautéing the vegetables and spices together on the stove is extremely important for the flavor of this queso recipe, so I’d suggest you prepare it on the stove and just keep it warm in a crockpot.
This queso recipe can be easily altered depending on your spice preference. If you’re looking for a mild queso, definitely skip the cayenne and make sure your green chilis are mild.
If you’re looking for a spicy queso, add as much cayenne as you want, substitute hot green chilis, or you could even use a small jalapeno pepper–just make sure to cook and soften it along with the onion!
Yes! You can substitute an equal amount of either white or yellow American cheese–both work equally well for this queso recipe!.
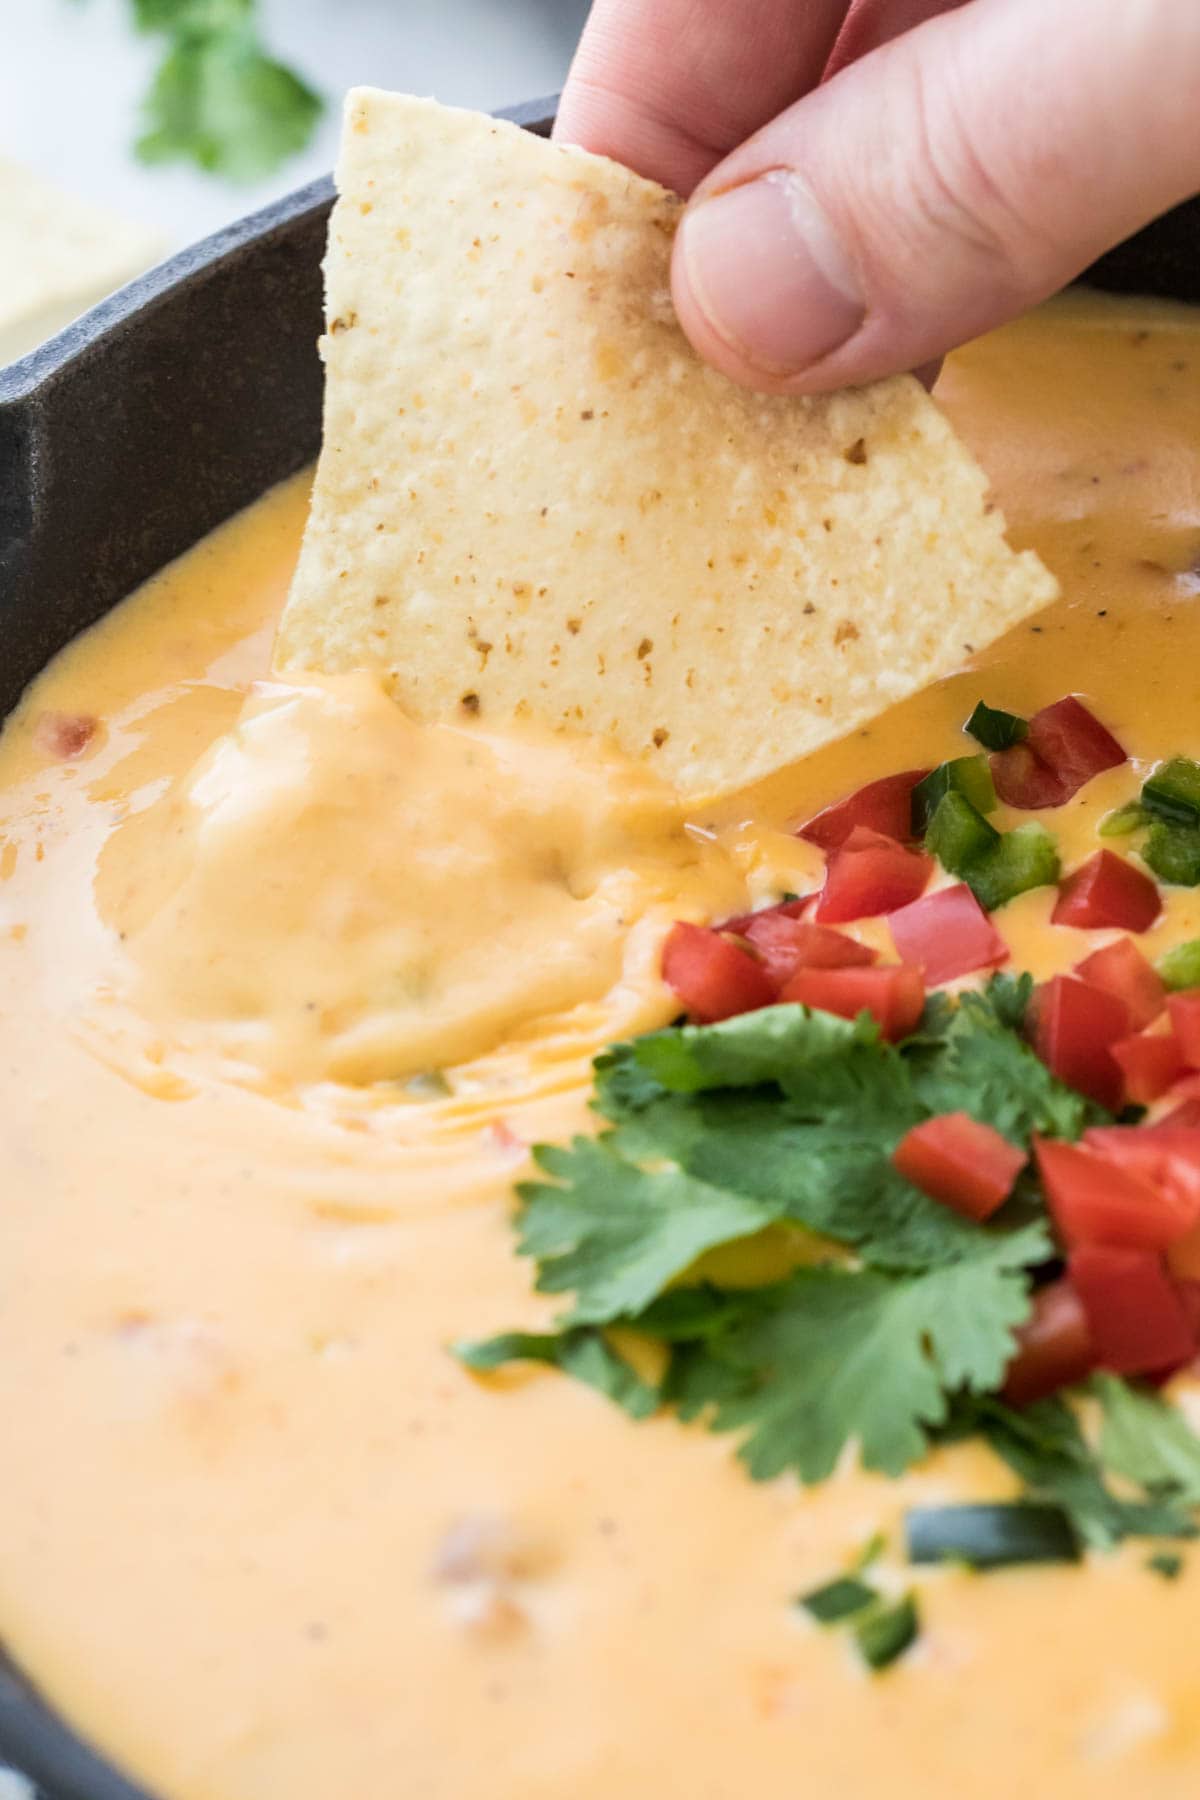
Enjoy!
More Recipes You Might Like
Let’s bake together! I’ll be walking you through all the steps in my written recipe and video below! If you try this recipe, be sure to tag me on Instagram, and you can also find me on YouTube and Facebook

The Best Queso Recipe
Ingredients
- 2 Tablespoons (28 g) unsalted butter
- ⅓ cup (40 g) finely diced white onion
- 1 Tablespoon minced garlic
- 4 oz (113 g) can fire roasted diced green chilis drained
- ¼ cup (60 g) diced roma tomato or canned petite diced tomatoes juices drained
- 2 teaspoons cornstarch
- ¼ teaspoon ground cumin
- ¼ teaspoon ancho chili powder
- ⅛ teaspoon smoked paprika
- Dash of cayenne pepper for a spicier queso, optional
- ¼ teaspoon ground black pepper
- ¼ teaspoon table salt plus additional to taste as needed
- 12 oz (354 ml) can full-fat evaporated milk
- 8 oz (226 g) freshly grated sharp cheddar cheese see note
- Corn chips for serving
Recommended Equipment
Instructions
- Melt butter in a large pot or skillet over medium heat.2 Tablespoons (28 g) unsalted butter
- Add onion and cook until softened and translucent (about 5 minutes).⅓ cup (40 g) finely diced white onion
- Add garlic and cook until fragrant (about 30 seconds), then add tomatoes and chilis and cook until well-combined.1 Tablespoon minced garlic, ¼ cup (60 g) diced roma tomato or canned petite diced tomatoes, 4 oz (113 g) can fire roasted diced green chilis
- Sprinkle cornstarch over the ingredients and use a spatula to stir and cook until absorbed and no lumps remain.2 teaspoons cornstarch
- Add cumin, chili powder, paprika, cayenne (if using), pepper, and salt.¼ teaspoon ground cumin, ¼ teaspoon ancho chili powder, ⅛ teaspoon smoked paprika, Dash of cayenne pepper, ¼ teaspoon ground black pepper, ¼ teaspoon table salt
- Gradually drizzle evaporated milk into the pot while whisking. Cook, stirring or whisking, until milk is completely combined, warmed, and slightly thickened.12 oz (354 ml) can full-fat evaporated milk
- Turn stovetop heat to low and add shredded cheese. Stir until cheese is melted and completely combined. Taste-test and add salt and pepper (and additional cayenne pepper if you like some heat!) as needed.8 oz (226 g) freshly grated sharp cheddar cheese, Corn chips
Notes
Chilis
If you can’t find fire roasted, regular canned green chilis will work instead. You may alternatively substitute 1 small jalapeno pepper (ribs and seeds removed), if you don’t mind the heat. If using fresh pepper, toss them in to cook and soften along with the onion.Tomatoes
You can substitute ¼ cup of drained petite diced canned tomatoes instead.Cheese
You can use yellow or white cheddar cheese. Mild, sharp, or extra sharp will work but I prefer sharp for the best taste and smoothest texture (sometimes extra sharp can seem a bit grainy). Do not use pre-shredded cheese as it often contains additives that will keep the cheese from melting smoothly.I have successfully made this recipe with 8 oz of white or yellow American cheese, too, as I know some of you have asked about that and wanted to test if it would work or not.
Nutrition
Nutritional information is based on third-party calculations and should be considered an estimate only. Actual nutritional content will vary based upon brands used, measuring methods, cooking method, portion sizes, and more.



Monomer
👌🏻
Jennifer
Just made it for a pre Super Bowl snack, and it turned out great! Velveeta will never again be used in my house thanks to this recipe!
Sam Merritt
Thank you so much for trying my recipe, Jennifer! I’m so glad everyone enjoyed it so much! 🙂
Clay
Would queso fresco be a good substitute for the cheddar cheese?
Sam Merritt
Hi Clay! My concern would be that it wouldn’t melt nicely. 🙁
Lisa
Can this be made ahead of time and then re-heated?
Emily @ Sugar Spun Run
You could, but the texture might not be quite as smooth when reheating and you may need to add some more milk.
Andrea
Not good at all! The evaporated milk ruined it .my husband did not like it at all & tried to fix it but nothing helped . Taste was off . Not sure why this got high reviews! Lol.
Sam Merritt
I’m so sorry to hear this happened, Andrea! Did it separate? If so it was likely cooked on too high of a heat. 🙁
Kira
Can I substitute heavy cream for the evaporated milk?
Sam Merritt
Hi Kira! I haven’t tried. Of course the recipe is going to work best as written, but I think if all I had on hand was heavy cream, I would try it. 🙂
Megan
I made this with 9oz of heavy cream + 3oz of whole milk (I’m sure any level of fat would have worked) as a substitute for the evaporated milk and it worked great!