
Blueberry Pie

This post may contain affiliate links. As an Amazon Associate I earn from qualifying purchases. Please read my disclosure policy.

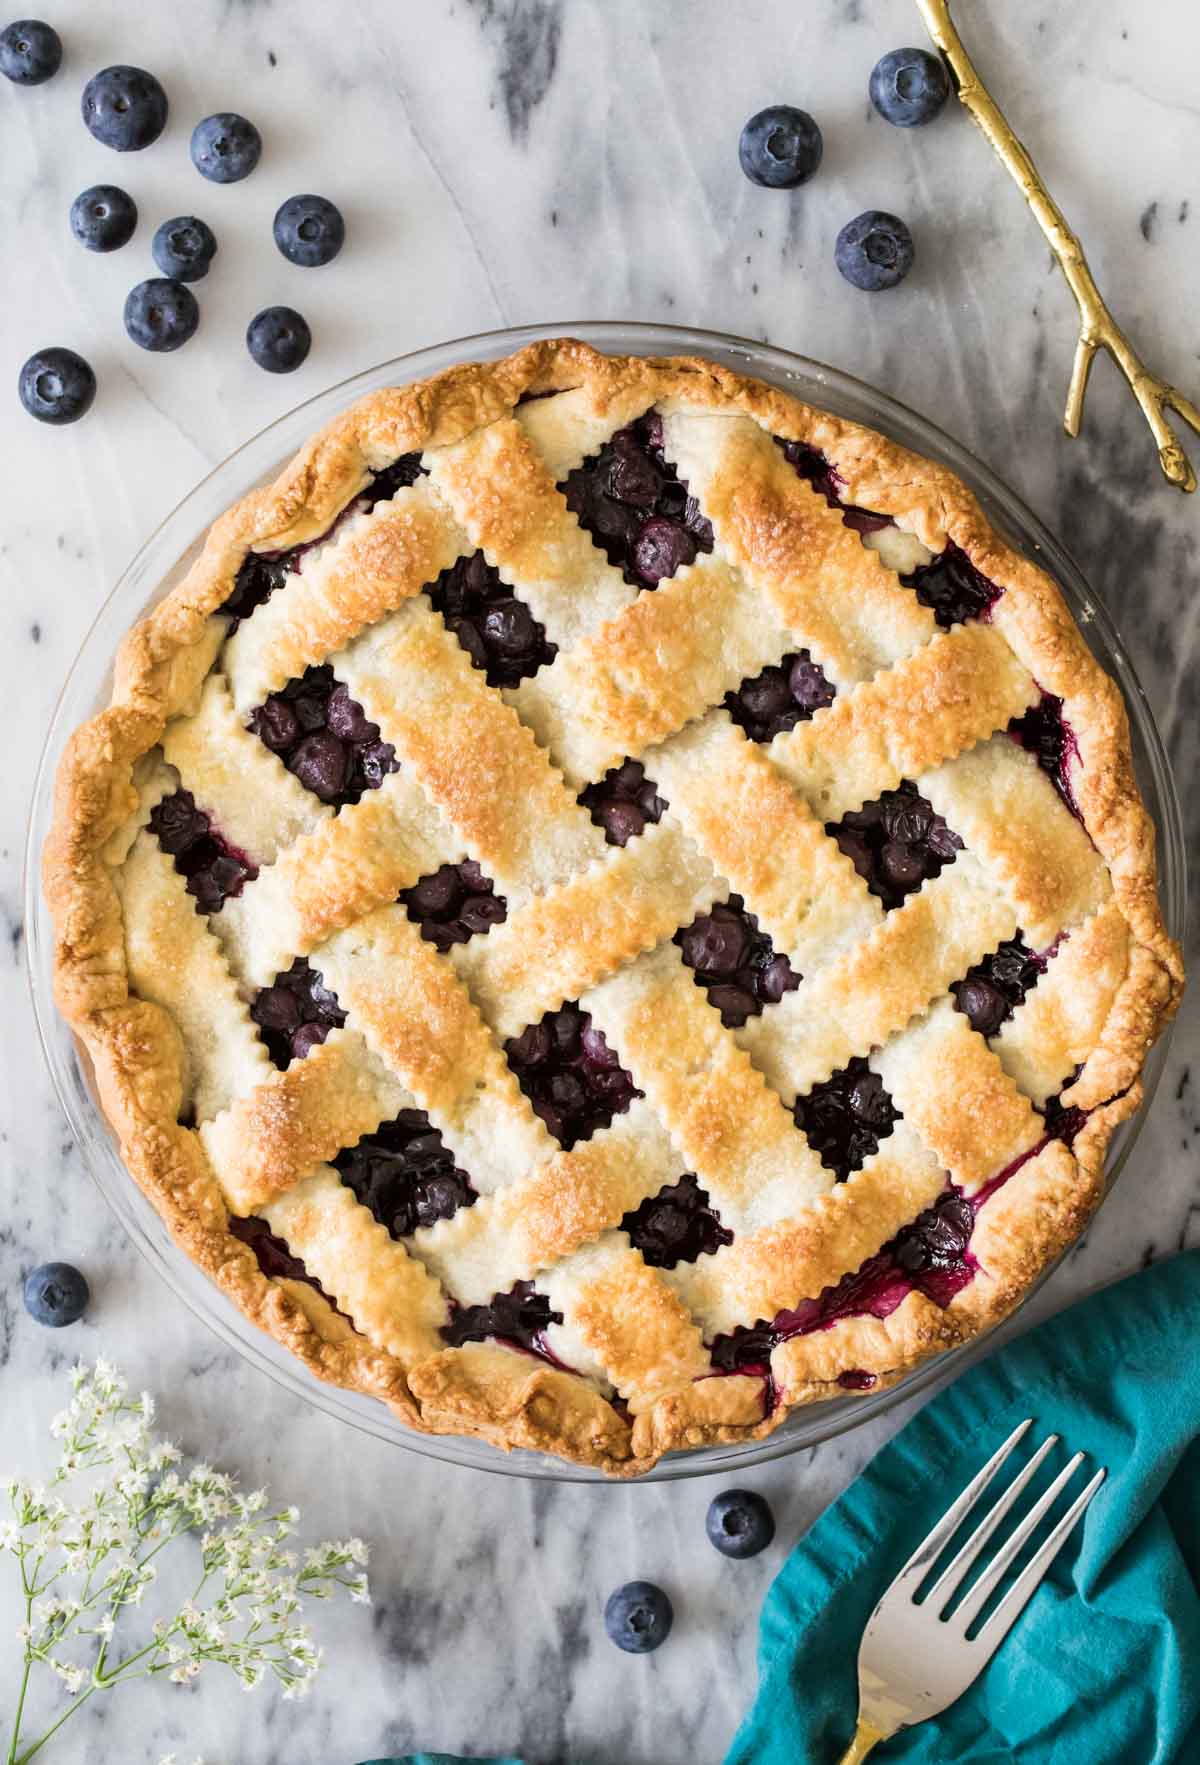
My classic blueberry pie is made completely from scratch with fresh juicy blueberries and just a few pantry staples. I’m also including detailed instructions for making a lattice crust (it’s easy!) and a how-to video!
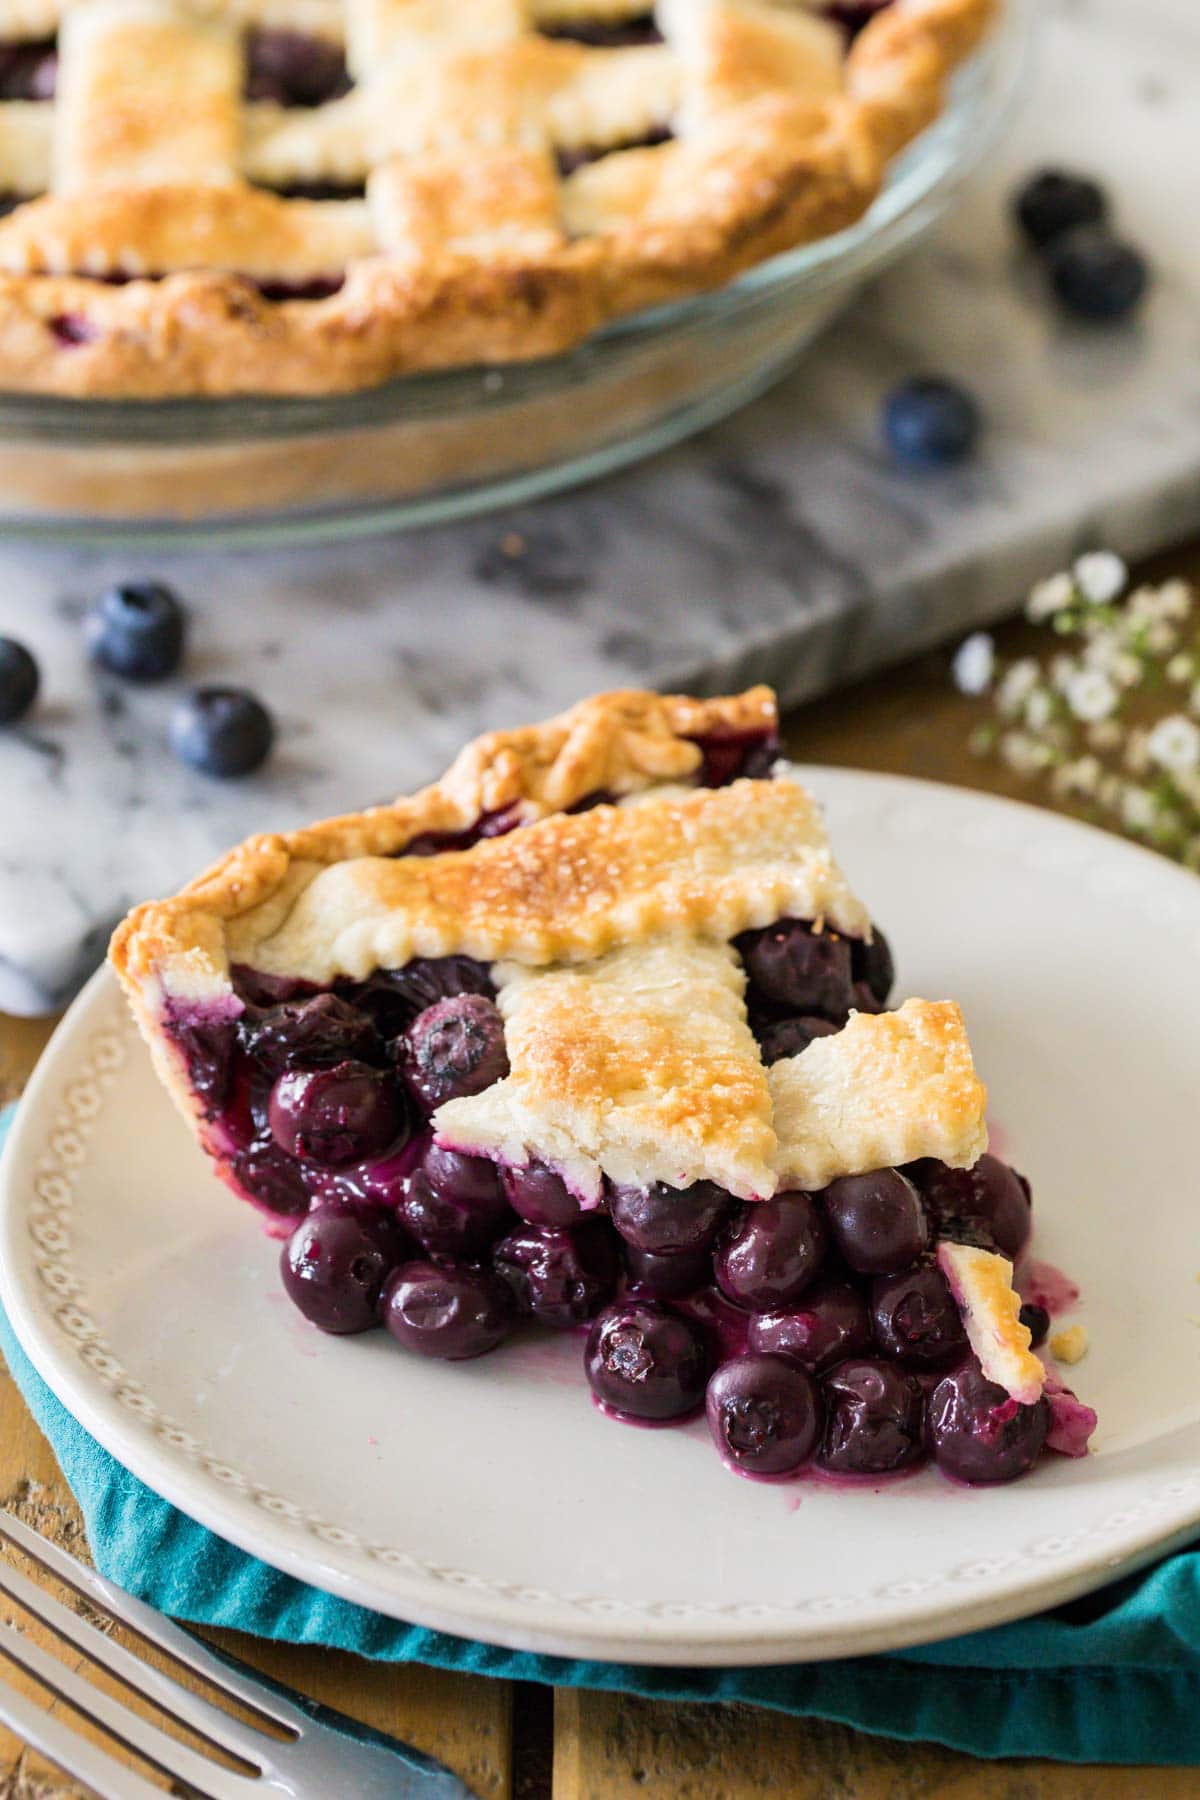
Your New Favorite Blueberry Pie Recipe
Hello, perfect, classic, beautiful blueberry pie. With its juicy, plump, fresh (or frozen) blueberry filling and flaky, buttery, foolproof pie crust, this is a recipe you’re going to make all summer long!
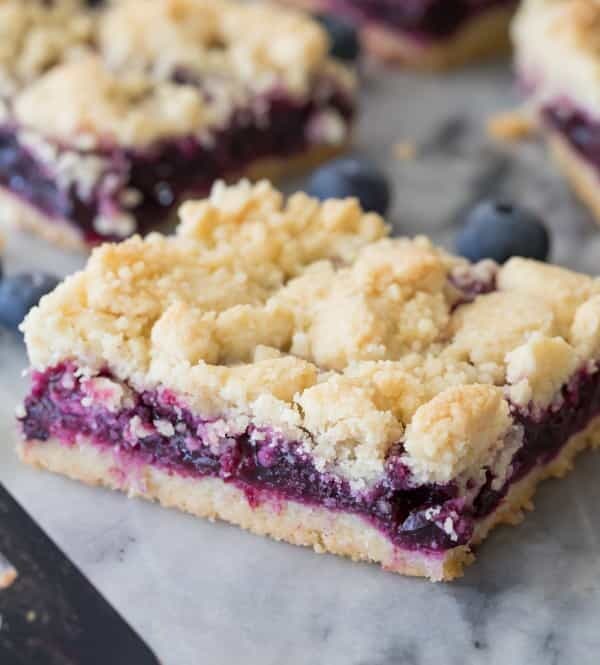
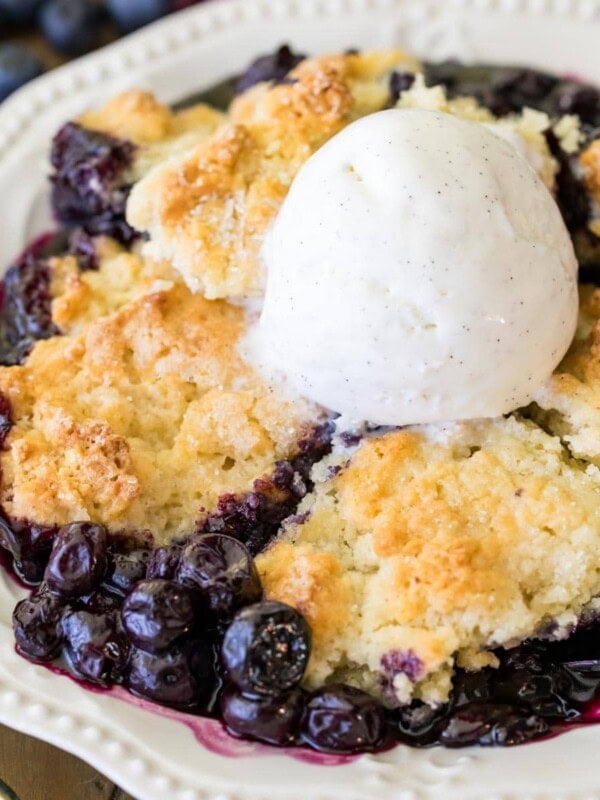
Sure, blueberry pie is a bit more involved than a blueberry cobbler or blueberry crumb bars, but it’s still surprisingly simple, especially with a crust that comes together in the food processor. Blueberry pie filling is incredibly easy to make too; with just five ingredients and no chopping, peeling, or coring, it doesn’t get much simpler than that!
I’m also including lots of tips, photos, and even a video to help you accomplish this gorgeous lattice pie crust look. Don’t be intimidated–I promise it’s a lot easier than you think!
4 things to love about this recipe:
- No blind baking or par-baking the crust.
- No peeling, pitting, or chopping (blueberries are SO easy to prep!).
- No pre-cooking the filling.
- No soggy bottom!
What You Need
My favorite thing about this pie is that the blueberry flavor shines through beautifully. This comes from using just a few additional ingredients in the filling, none of which overpower the berries. Here’s what you need:
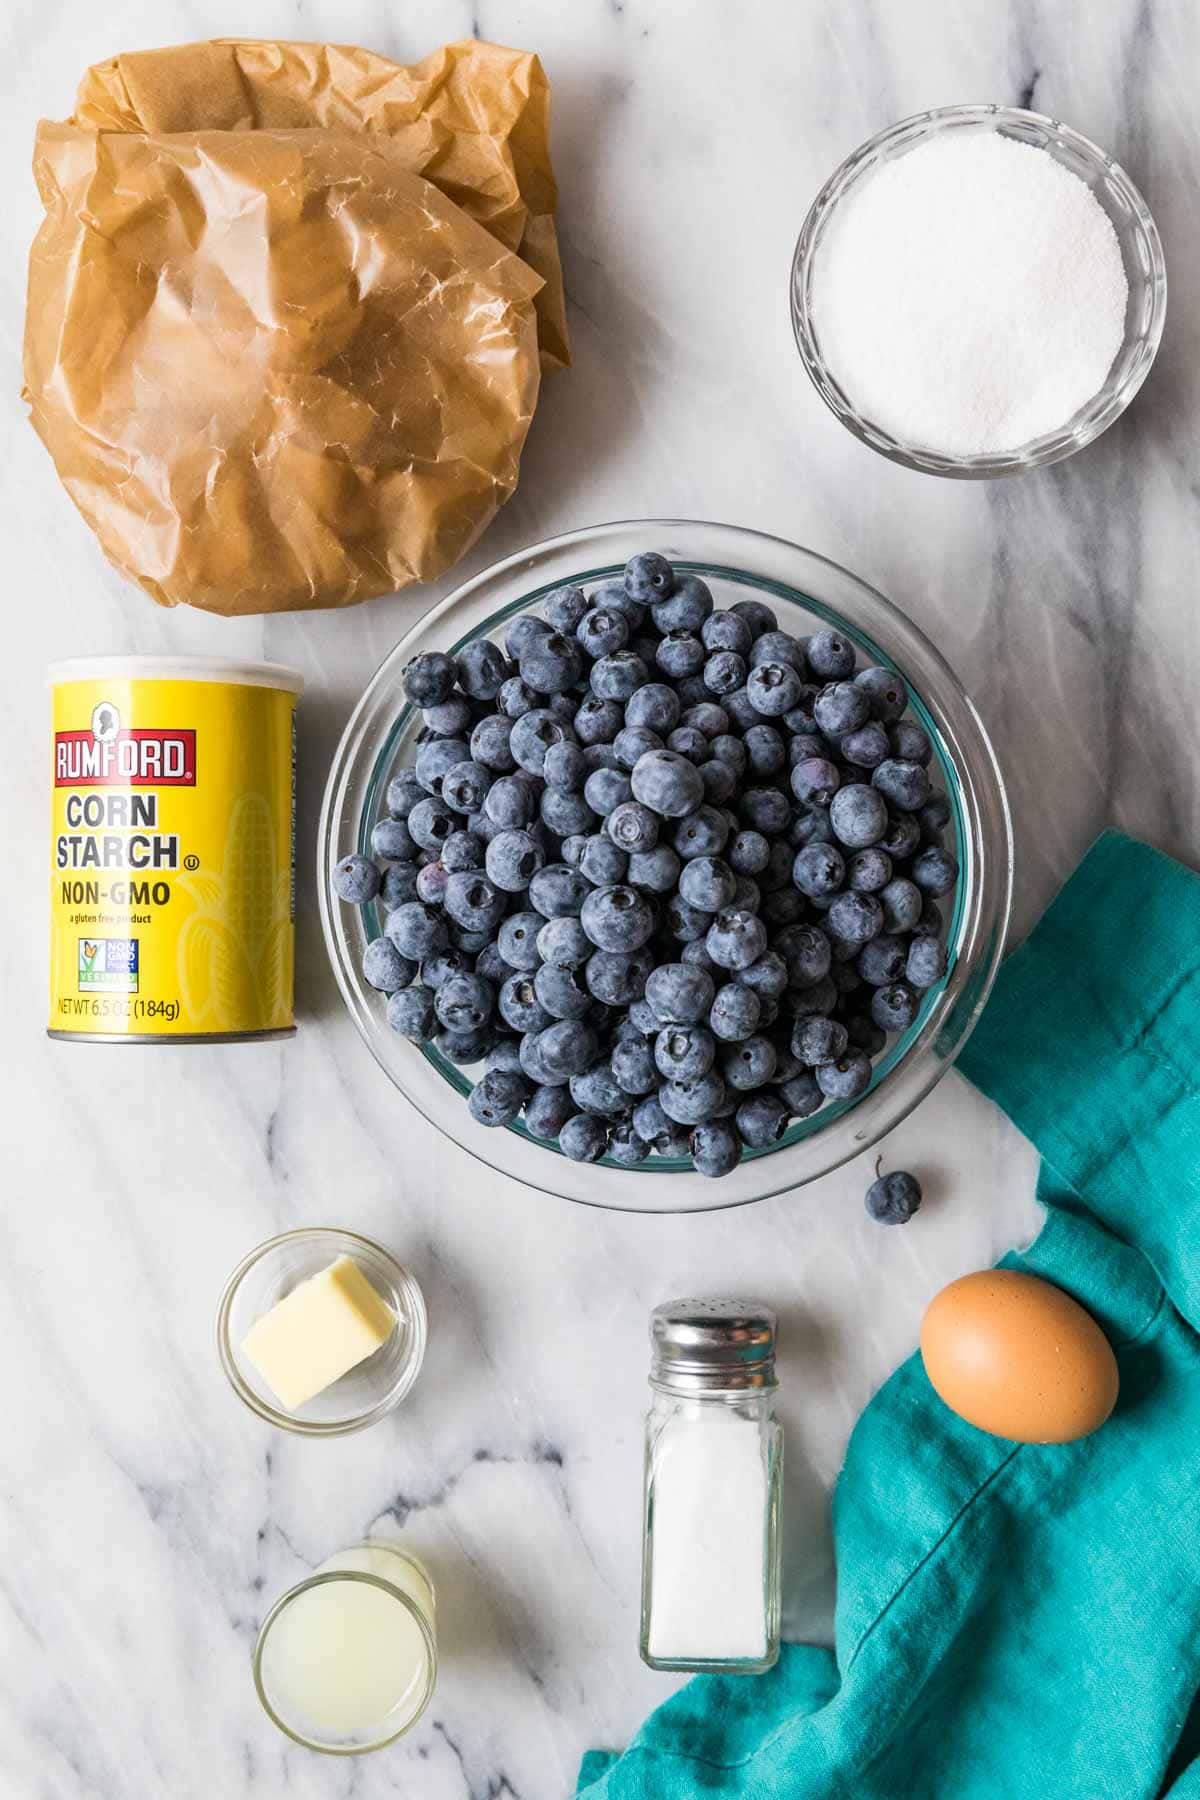
- Blueberries. I prefer fresh blueberries, but frozen will work too. If you use frozen berries, I highly recommend thawing and draining them first.
- Lemon juice. Another filling ingredient, lemon juice adds a brightness to the pie filling without making it sour or lemony. When paired with the sugar, these two ingredients will macerate the berries as they sit, creating a juicy pie filling.
- Cornstarch. Cornstarch (or corn flour in the UK) thickens our blueberry pie filling and helps prevent it from being a runny mess. Don’t skip this ingredient!
- Granulated sugar. You can always adjust the amount of sugar depending on the sweetness of your berries, similar to making my strawberry sauce. I also like to sprinkle some coarse or turbinado sugar on top of the crust (after the egg wash) before baking. This adds some texture and sparkle!
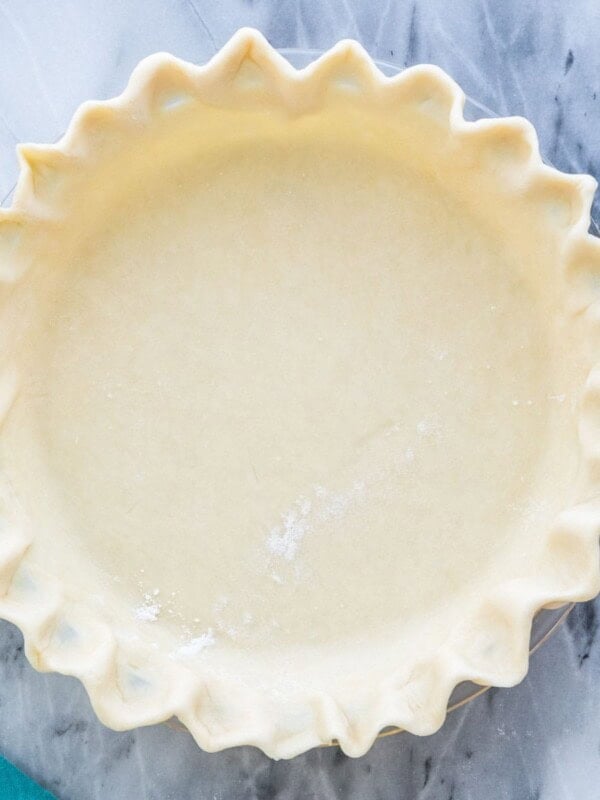
- Pie crust. You will need two pie crusts for this recipe. Of course, I highly recommend using my easy pie crust recipe; it’s incredibly easy to make in a food processor and uses a sneaky secret ingredient for consistent results.
SAM’S TIP: Some people like to add cinnamon to their blueberry pie filling; if you’d like, you can add up to ¼ teaspoon of cinnamon here. Personally, I prefer it without though as I like the fresh berry flavor and feel the cinnamon inhibits it a bit.
Remember, this is just an overview of the ingredients I used and why. For the full recipe please scroll down to the bottom of the post!
How to Make Blueberry Pie
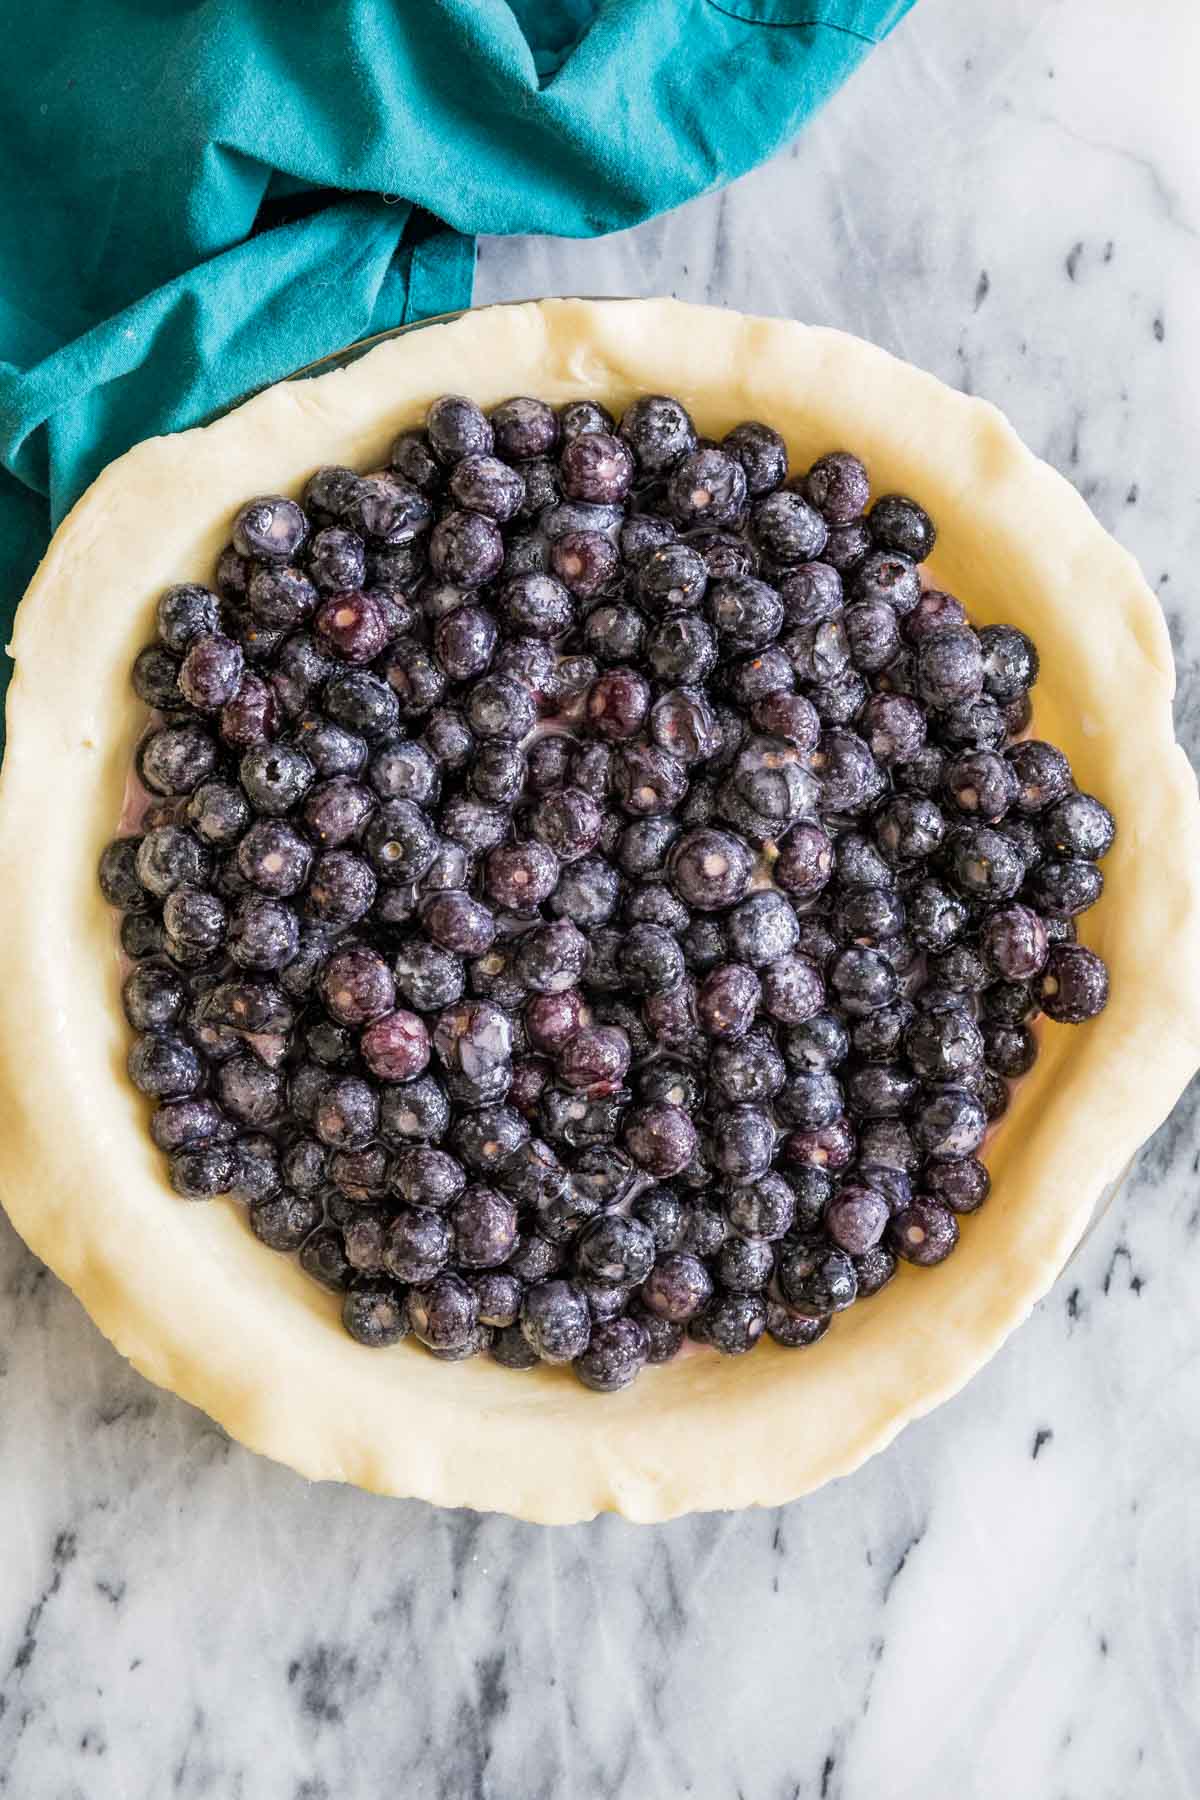
- Prepare your pie dough and chill as instructed. Remember, if you are using my recipe, you will need to make a double batch.
- Make the filling. Stir together the blueberries, cornstarch, sugar, lemon juice, and salt until very well combined, then set aside.
- Roll one pie crust on a lightly floured surface until it becomes a 12″ circle. Place in a 9″ pie plate. There will be excess dough hanging over the edges–we will take care of this later.
- Stir your filling, then pour it into your prepared crust. Dot the top with butter, then set aside.
SAM’S TIP: Don’t forget to dot your pie with butter BEFORE adding your top crust! Nothing is more frustrating than realizing you forgot to to do this. Luckily, since we are doing a lattice crust, you could poke the butter through the holes, but it’s best to try not to forget regardless 😉
How to Make a Lattice Crust
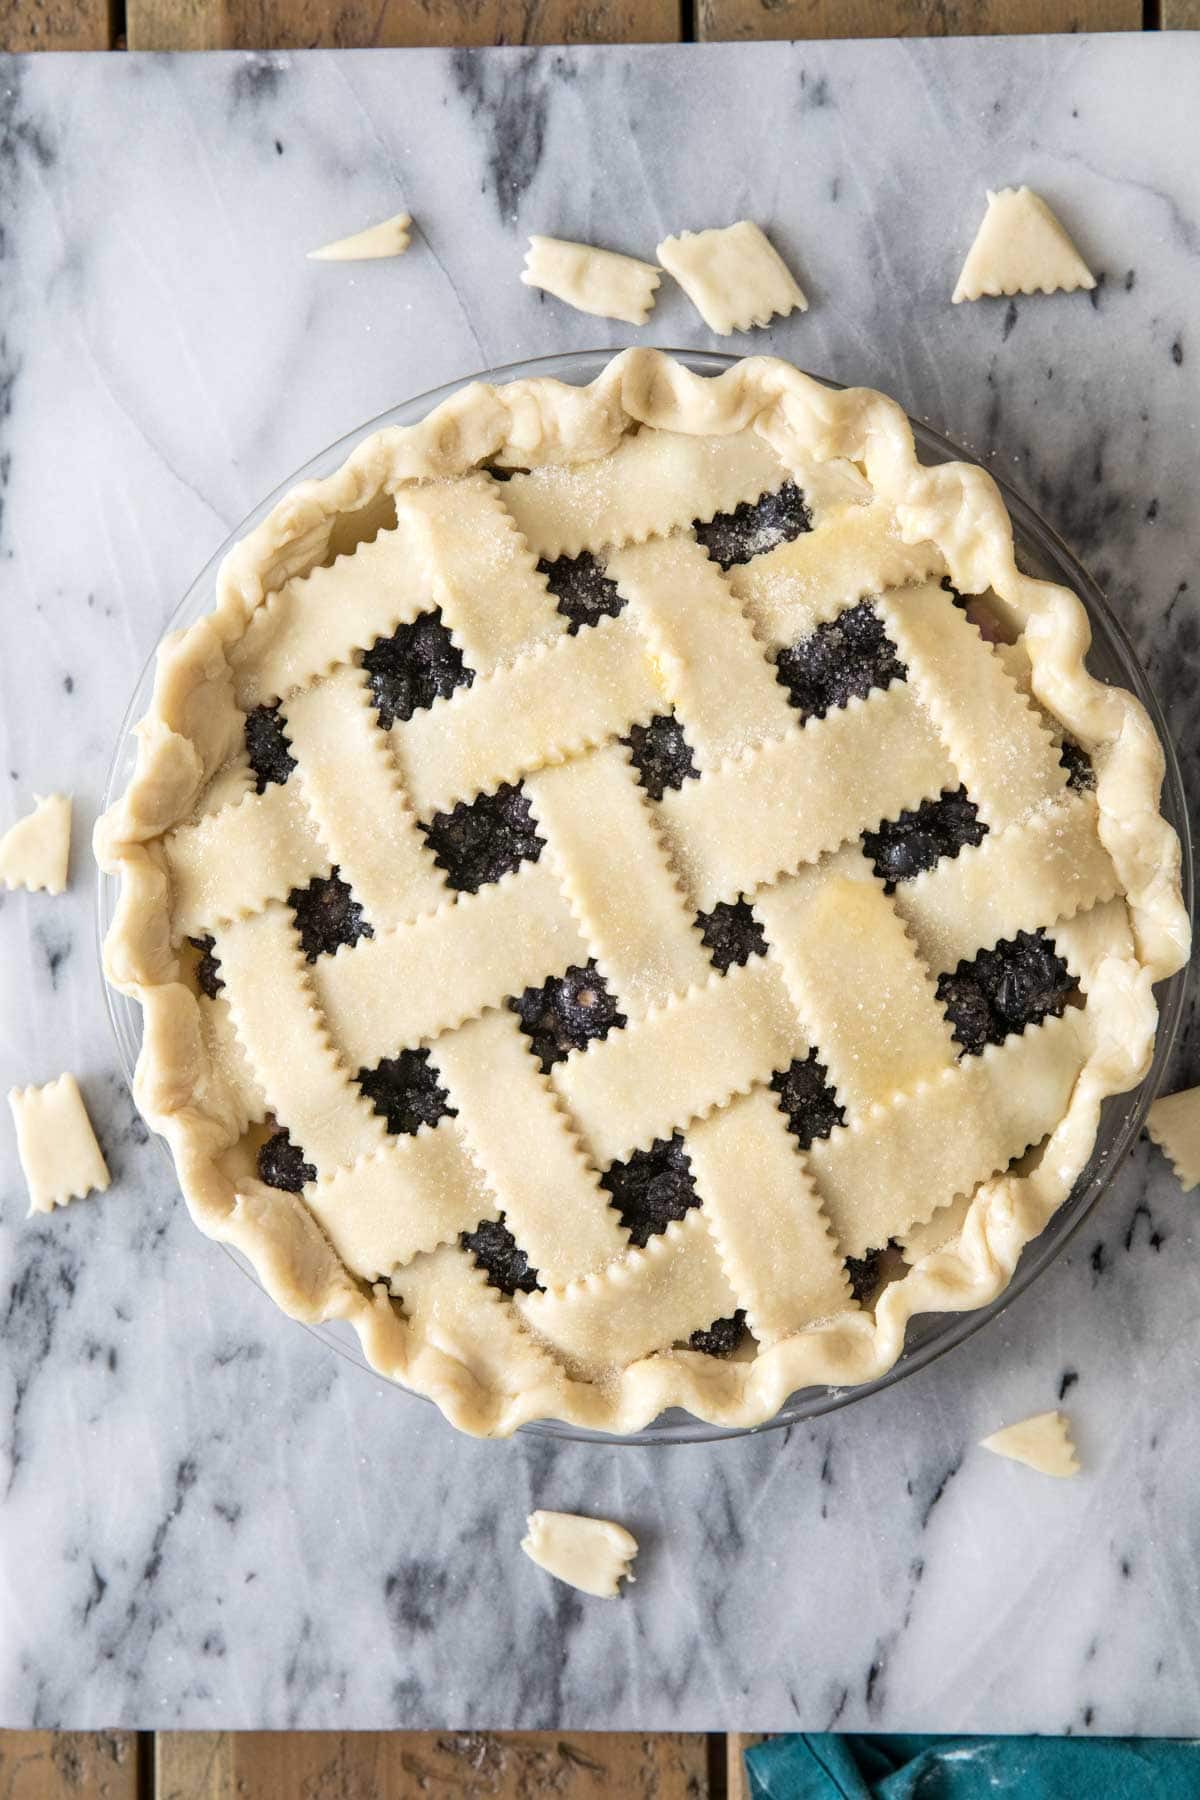
Lattice crusts are a beautiful way to finish off almost any pie, and despite how intricately woven they may appear, they’re actually simple. I’ve shared a detailed post on how to do a lattice crust, but here’s an overview:
P.S. Check the video in the recipe below if you’d rather follow along that way.
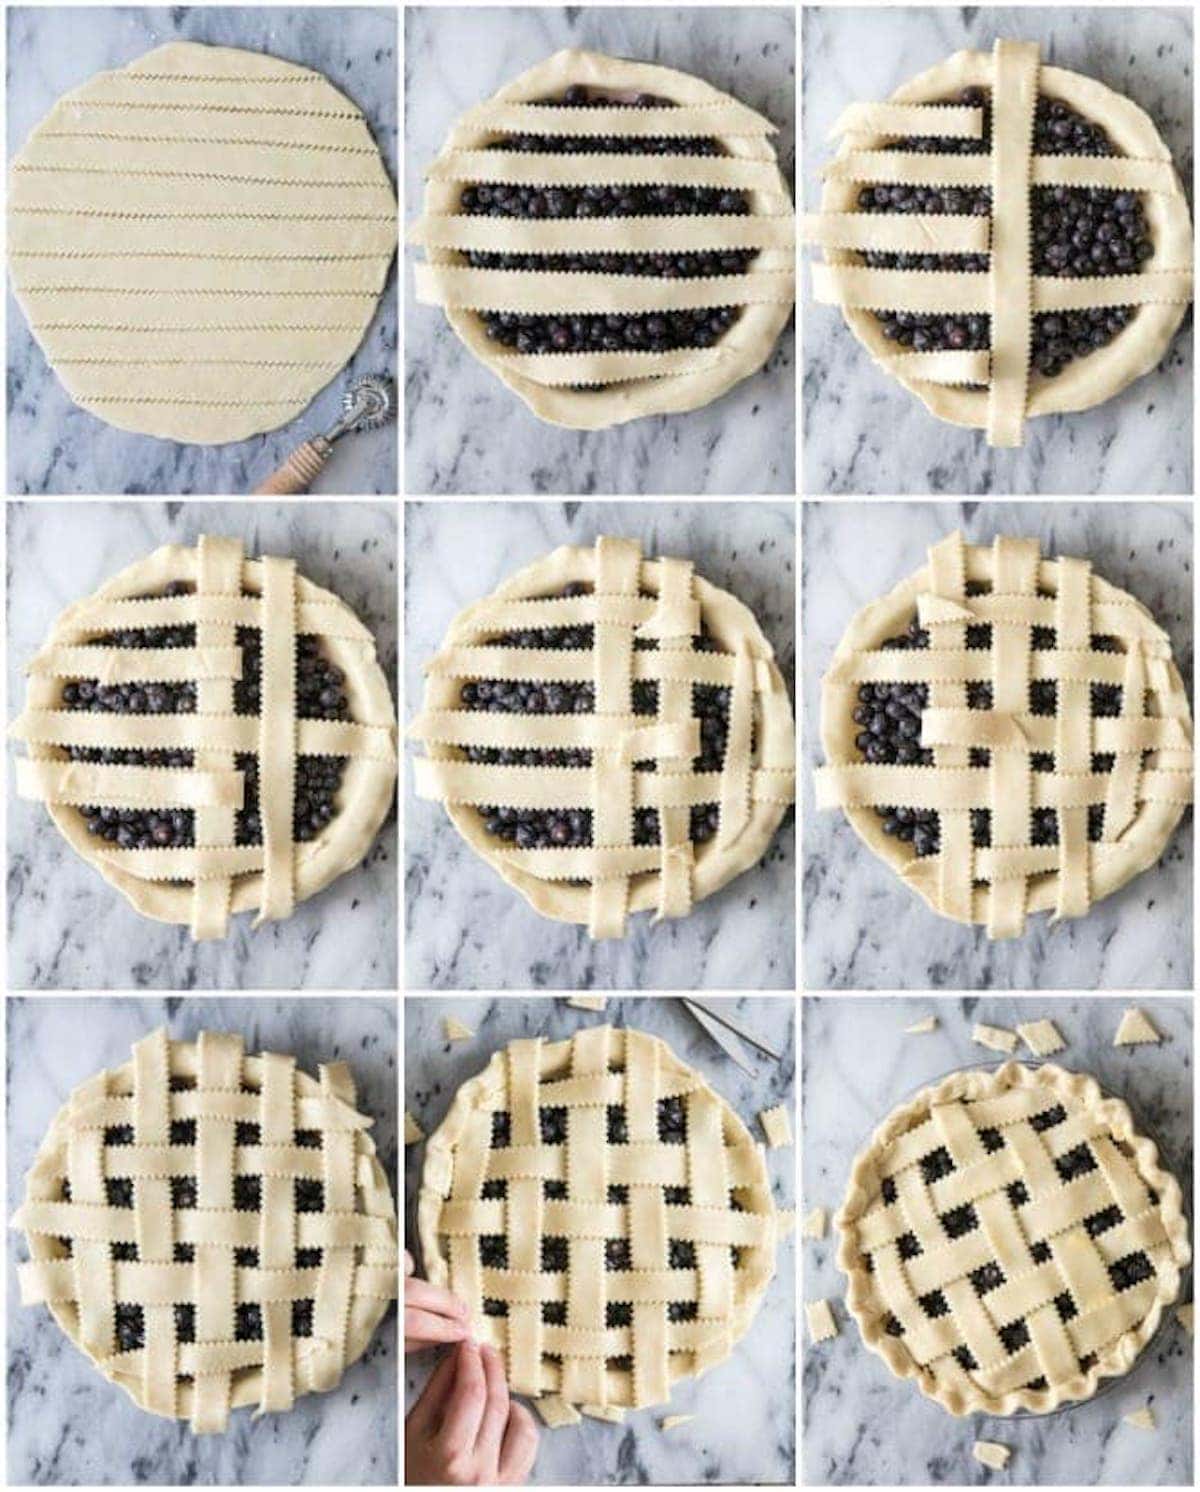
- Roll out your second crust and cut it into even strips that are about 3/4-1″ wide. You will need 10 strips; I usually discard the top and bottom cuts. You can use a knife or a pizza cutter, but I like the decorative edge a pastry wheel yields; this is the one I use.
- Evenly place 5 of your strips horizontally over your pie. Make sure to reserve the longer strips for the center of the pie and your shorter ones for the edges.
- Gently fold back every other strip halfway, then lay down one long strip vertically in the center of the pie, perpendicular to the horizontal strips.
- Lay the folded back strips over the long vertical strip. Now fold back every other horizontal strip. Evenly place another vertical strip beside the first one.
- Repeat with your third strip. Now half of our pie is looking great!
- Finish the other half of your pie, repeating the same steps.
- Shift and straighten your strips as needed, then trim the excess dough from the strips so that each ends at the edge of the pie plate. Don’t trim the dough from the bottom crust!
- Fold the excess dough from the bottom crust over the edge of each strip.
- Flute the pie crust, brush with egg wash and sprinkle with sugar. That’s it!
SAM’S TIP: It’s always a good idea to place a baking sheet beneath your pie while it bakes. This will catch any drips and bubbles and keep the bottom of your oven nice and clean. You can either place the sheet on the rack below your pie, or just put your pie on the sheet itself (doing this will help you get the pie in and out of the oven easier too!).
Frequently Asked Questions
Yes! Once the pie has finished baking, let it cool completely. Wrap it tightly in plastic wrap and foil (I usually do both to make sure the wrapping is airtight so the pie doesn’t get freezer burned), and freeze. This pie will keep in the freezer for several months.
No, but it will last a few days longer if you do. Outside of the fridge, your blueberry pie will last just two days. You can always microwave your slice for a few seconds to warm it up before serving, if you do end up storing it in the fridge.
Did you use frozen blueberries? If so, they might not have thawed long enough beforehand, causing their juices to leak into the pie.
If you used fresh berries, make sure you let the pie cool completely before cutting. Even if it’s the slightest bit warm, it could be runny.
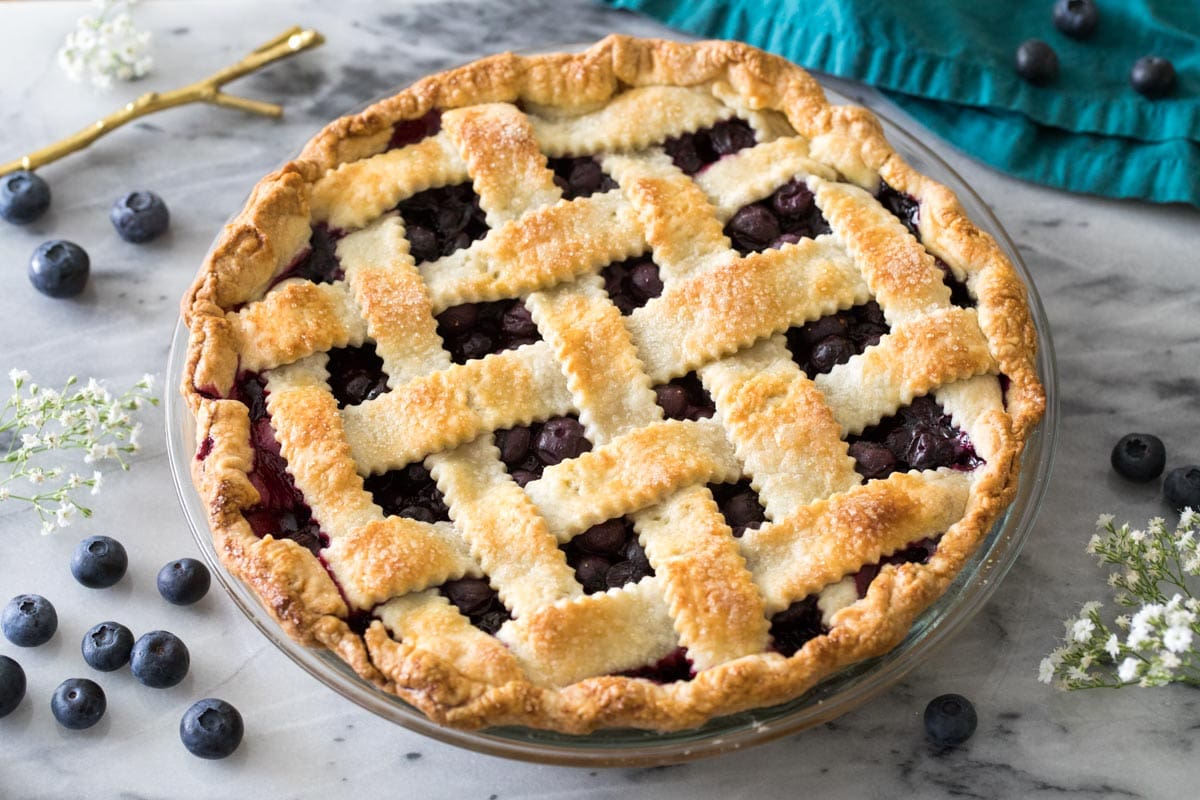
How do you like your blueberry pie? Plain? Topped with whipped cream? Served warm with vanilla ice cream? I’m a fan of all three!
Enjoy!
Let’s bake together! I’ll be walking you through all the steps in my written recipe and video below! If you try this recipe, be sure to tag me on Instagram, and you can also find me on YouTube and Facebook
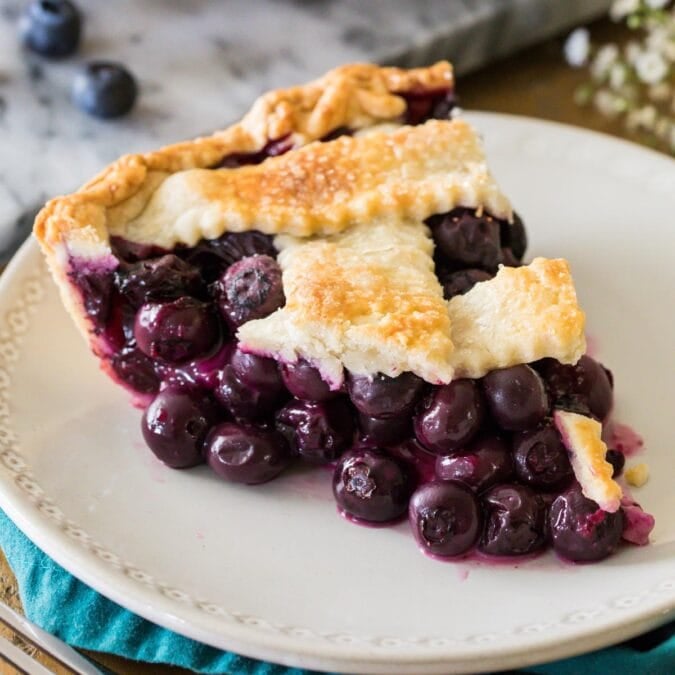
Blueberry Pie
Equipment
- Marble slab
Ingredients
- 2 Pie crust recipe, you will need two standard sized pie crusts, you can use store-bought or click the link to make my easy pie crust, the recipe will need to be doubled.
- 5 (730 g) heaping cups fresh blueberries¹, washed and picked over (just over 1.6 lbs)
- 3 Tablespoons cornstarch
- ⅔ cup (135 g) granulated sugar
- ¼ teaspoon salt
- 1 ½ Tablespoons lemon juice
- 1 egg
- 2 teaspoons water
- 1 ½ Tablespoons butter, cut into small pieces
- Granulated sugar, for sprinkling
Instructions
- First make your pie crust according to recipe instructions (in link in Ingredients). Allow to chill as instructed (skip this step if using store-bought pie crust).2 Pie crust recipe
- Preheat oven to 375F (190C).
- While pie dough is chilling, combine blueberries, cornstarch, sugar, salt, and lemon juice in a large bowl. Stir well until ingredients are well-combined, then set aside until your pie dough is finished chilling.5 (730 g) heaping cups fresh blueberries¹, 3 Tablespoons cornstarch, ⅔ cup (135 g) granulated sugar, ¼ teaspoon salt, 1 ½ Tablespoons lemon juice
- Once dough has chilled, place one pie crust on a clean, floured surface and roll out into a 12” circle and place into a 9” pie plate (there should be some dough left hanging over the sides of the pie plate, this is good, don’t trim it, you’ll need it later).
- Whisk together your egg and 2 teaspoons of water to make an egg wash. Use a pastry brush to gently brush the pie crust². Set egg wash aside, you’ll need it again a bit later on.1 egg, 2 teaspoons water
- Give your berries one more stir and then pour evenly into pie dish. Dot the top of the berry layer with your butter pieces.1 ½ Tablespoons butter
- Roll out your second pie crust to a 12” circle. To make a lattice-designed topping³, use a knife, pizza cutter, or pastry wheel (see link above recipe for the one I used) and cut 1” strips out of the pie dough.
- Follow the photo instructions in the post above to make a lattice pattern by evenly spacing 5 pie strips horizontally and weaving vertical strips through pie dough (see photo in post or see the video below the recipe for visual).
- Trim excess pie dough from the strips and then take the excess pie dough (hanging over the pie plate from the first crust you placed) and fold that over the edge of the strips (again, see photo or video for visual guidance).
- Brush lattice topping with egg wash. Generously sprinkle with granulated sugar, if desired.Granulated sugar
- Transer to center rack of 375F (190C) oven and bake for 50 minutes or until crust is golden brown and center of pie is bubbling.
- Allow to cool before slicing and enjoying! If desired, top with vanilla ice cream or homemade whipped cream!
Notes
Nutrition
Nutrition information is automatically calculated, so should only be used as an approximation.
Like this? Leave a comment below!
Recipe originally published June 12th 2019









You are a star not a little twinkling star but the brightest in the sky.Your recipes are just incredible
Thank you, Jim! 🙂 🙂