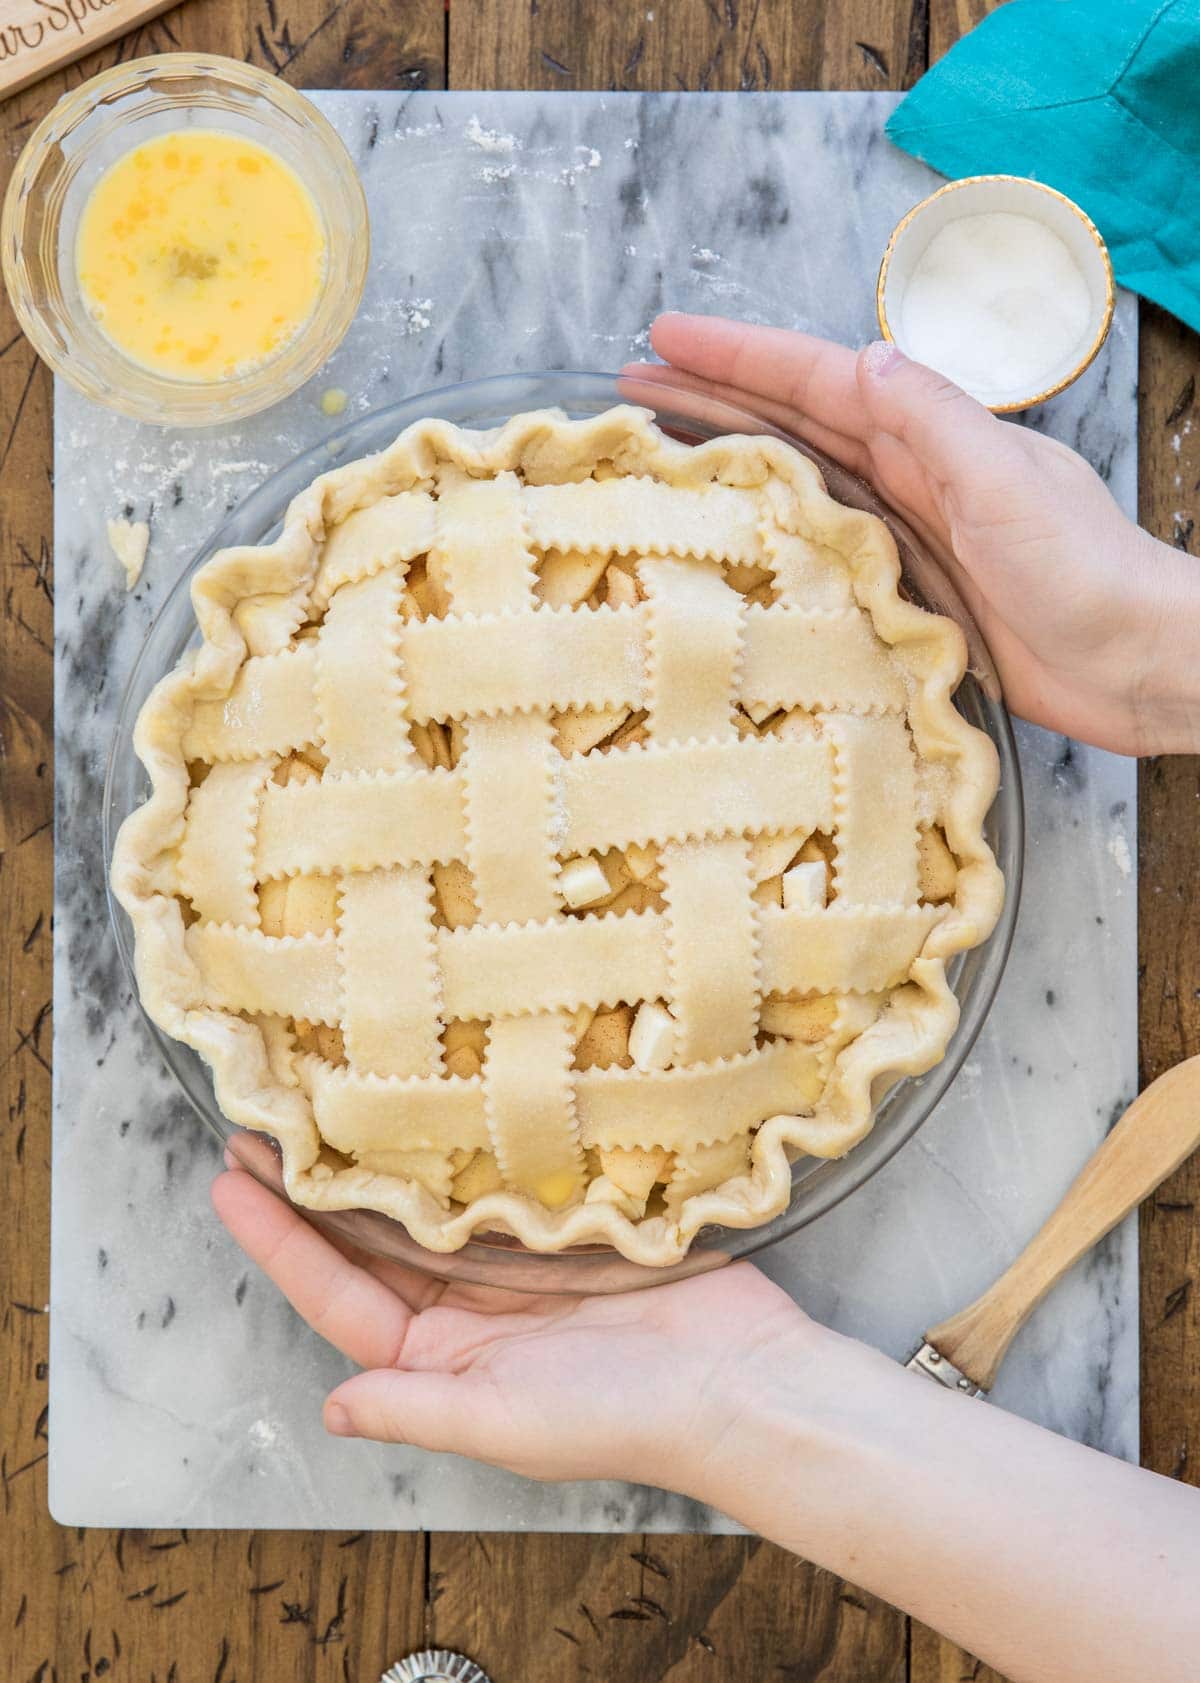
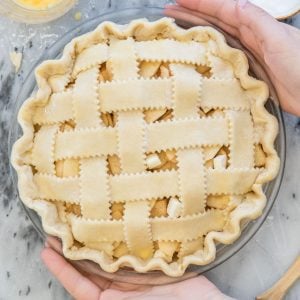
Today I’m showing you how you can have the prettiest pie on the dessert table! Weaving a lattice pie crust is surprisingly simple, and once you master this easy technique it’s so fun to play with different designs! My tutorial includes step-by-step instructions, photos, and a how-to video!
The Prettiest Pie
Somehow, suddenly, pie season is here! Are you ready for it?
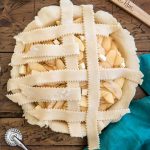
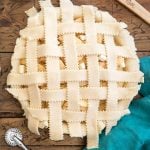
If you’ve ever wanted to be the proud producer of one of those beautiful pies with an intricately-woven lattice pie crust, today I’m going to show you exactly how it’s done. Step-by-step. With more pictures and more words than you probably need.
You will need a good pie dough for this recipe, so if you haven’t already I strongly recommend you make yourself a batch of my super easy, all-time favorite homemade pie crust.
It’s about time that you have the prettiest pie on the dessert table, don’t you think? Let’s get to it!
How to Weave Pie Crust into a Lattice Design
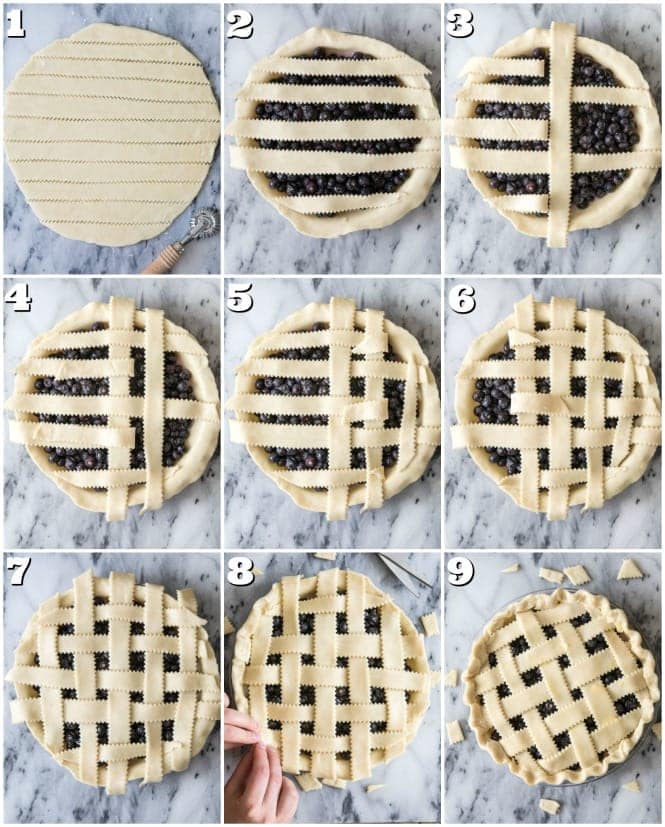
All of these steps are detailed in the printable instructions below, but let’s go over them in detail here. Each numbered photo in the collage above corresponds with the numbered instruction below:
- Roll your pie dough into a 12″ circle and cut into 1″ strips.
- Space 5 strips horizontally across the pie.
- Fold back strips 1, 3, and 5 and lay a single long strip of dough vertically across the center of the pie.
- Cross strips 1, 3, and 5 over the vertical strip and now fold back strips 2 and 4 and space a second vertical strip near the first.
- Cross strips 2 and 4 over the new strip, fold back 1, 3, and 5 again and evenly space a third strip vertically near the rim of the pie plate.
- Cross the folded strips over the last vertical strip, and now move to the other half of your pie, twice repeating the steps above for your other half of the pie (you will have 5 horizontal and 5 vertical strips total).
- Great job! You’ve woven all of your pie strips and should have a beautiful lattice pattern. Now trim the any strips that are hanging over the edge of your pie plate so that they end at the edge of the plate.
- Fold the bottom crust over the strips.
- You’re finished! If desired, flute the pie crust, or you can just crimp the edges with the tines of a fork.
Tip: I like to use a pastry wheel to cut my strips, it gives them a pretty ridged edge. Check the recipe card for a link for the one I use. If you don’t have a pastry wheel you can use a pizza cutter or even just a sharp knife!
Frequently Asked Questions
Yup! This recipe will work with either homemade pie dough or store-bought dough.
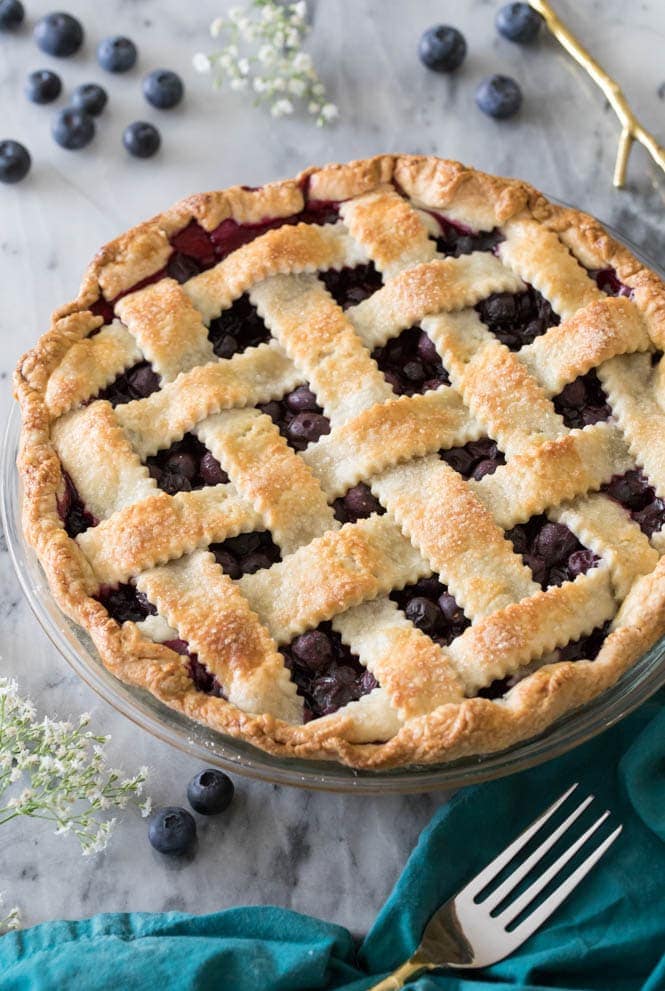
Nope! I use one because it helps to turn the lattice crust a beautiful golden brown, makes it a bit extra crispy, and because I like to sprinkle sugar over my pie crust and the egg wash helps it to stick.
If you don’t use egg wash, your crust just will most likely remain more pale in color.
If your crust is turning (too) brown but your pie hasn’t finished baking, just loosely tent the top of the pie with a piece of aluminum foil.
Use the index finger of your left hand and place it between the pie crust and the pie plate (just go as deep as your first knuckle). Then, use the thumb and index finger of your right hand to shape the dough around your left index finger. Repeat around the entire edge of the pie.
Not everyone uses quite this same technique, but it’s what works best for me!
Tip: Save your scraps from the dough, work them together re-roll them out, and cut into cute shapes for the top of your crust!
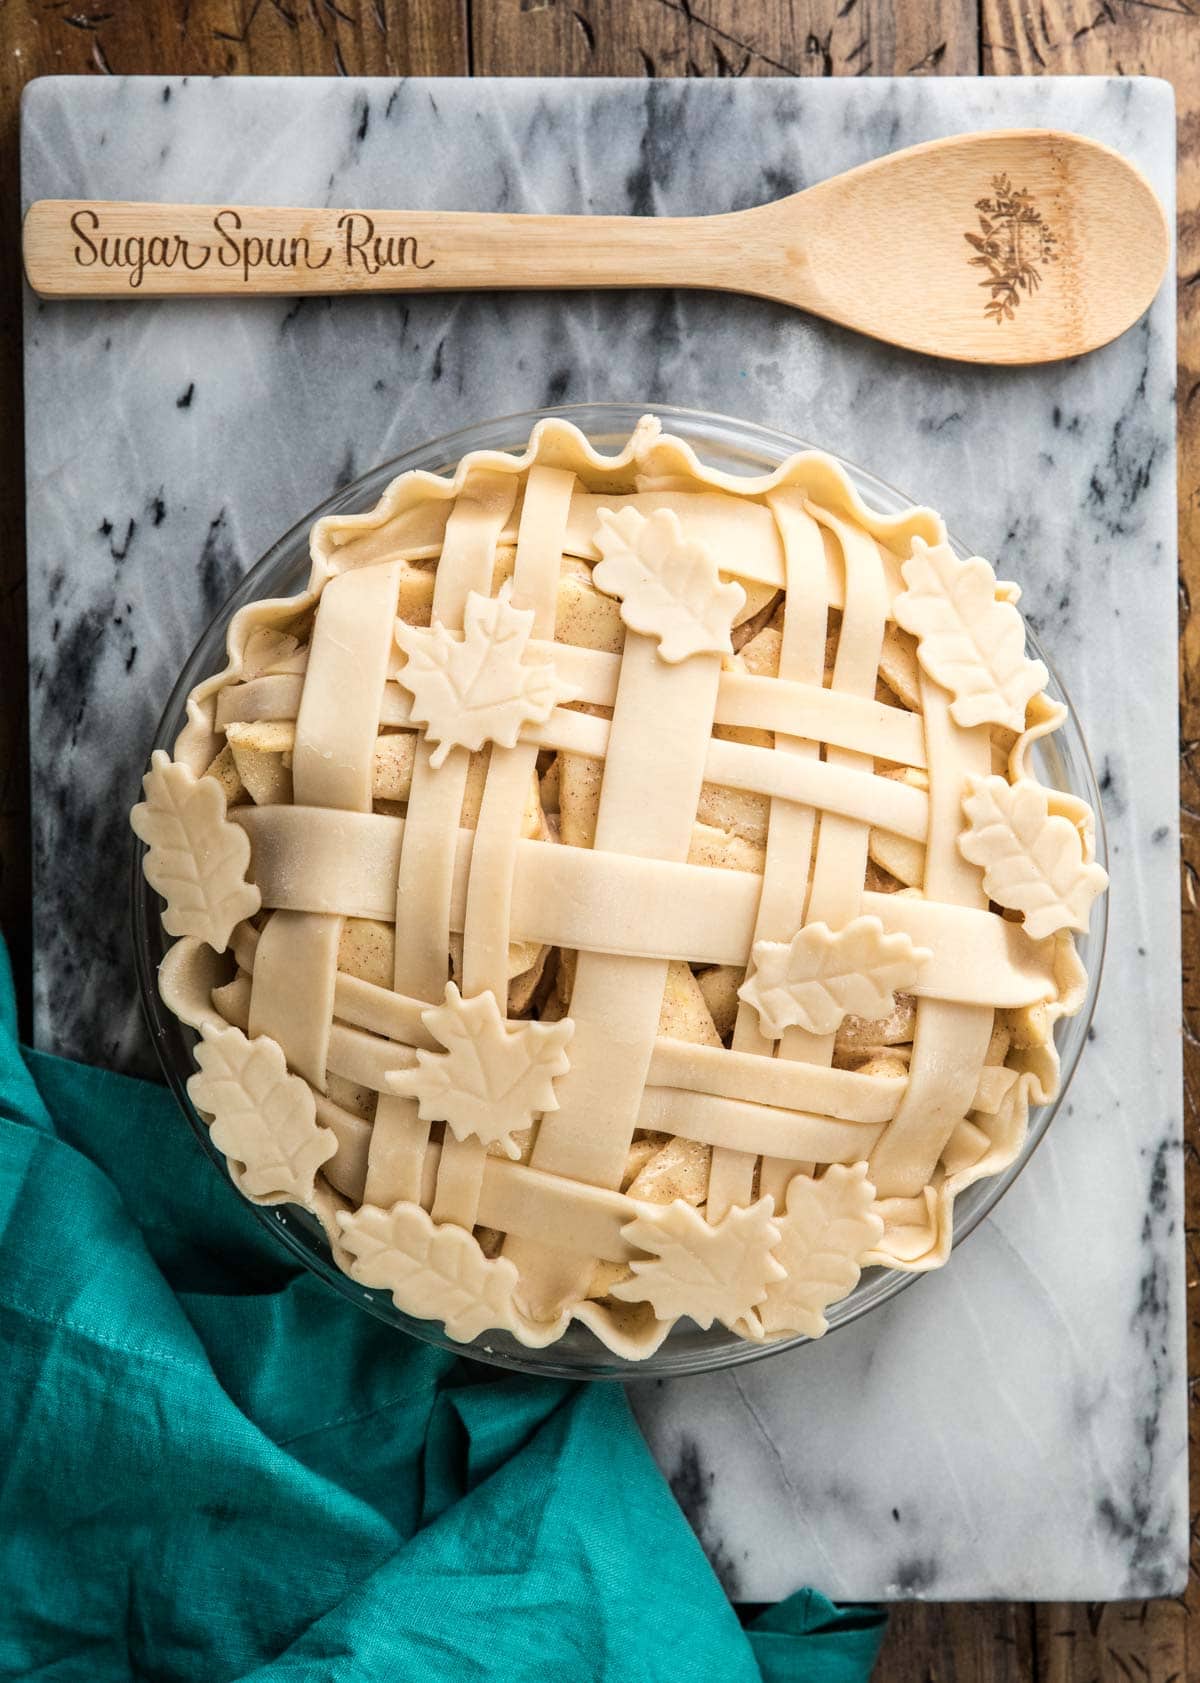
Once you’ve mastered this simple technique, you can start to play around with more intricate designs. Try braiding some strips or using cut-outs for a fun (but still easy) change-up!
More Recipes You Might Like
- Blueberry Pie
- Apple Pie (my version uses a crumb topping, but you may substitute with this lattice topping!)
- Apple Slab Pie
- Pecan Pie
Enjoy!
Let’s bake together! Make sure to check out the how-to VIDEO in the recipe card!
How to Make a Lattice Pie Crust
Ingredients
- 1 homemade pie dough (click link for recipe. If you need a bottom crust as well you can double this recipe for two crusts.)
Recommended Equipment
Instructions
- Roll pie crust into 12" circle.1 homemade pie dough
- Use a knife, pizza cutter, or pastry wheel (I used a pastry wheel for the crust in these photos) to cut the pie crust into 1" strips.

- Evenly space 5 pie strips horizontally over pie filling. Reserve longer pieces for the center of the pie and shorter ones for closer to the edges.

- Fold back strips 1, 3, and 5 and lay a long strip vertically across the center of the pie, perpendicular to the horizontal strips.

- Take the strips that you had folded back and lay them back over the new strip and across the pie. Now fold back horizontal strips 2 and 4 and place another vertical strip across the pie.

- Repeat these steps with a new strip and then repeat on the opposite side of the pie. See video for a visual, if desired.

- Trim the parts of the strips that are hanging over the edges then either use a fork to crimp together the strips and the bottom crust or fold the crust over the edges of the strips and use your finger to flute (visual provided in video).

- Gently brush pie crust with egg wash and sprinkle with coarse or granulated sugar, if desired. Bake according to your pie recipe's instructions. If pie crust begins to get too dark before the pie has baked through, loosely tent with aluminum foil.
Nutritional information is based on third-party calculations and should be considered an estimate only. Actual nutritional content will vary based upon brands used, measuring methods, cooking method, portion sizes, and more.






Eliana
Do you have another pastry wheel cutter you recommend? The link is broken now.
Sam
O no! I’m so sorry, Eliana! I will update the link now. 🙂
Tamara
Hello! My husband loves apple pie but does not want a streusel OR lattice crust- he wants the crust over the entire pie. Could I make this recipe for the crust (using it on top of your apple pie recipe) and just poke holes in the top or do you have another recommendation? Thanks so much!
Sam
Hi Tamara! Yes, that will work just fine, I might recommend a few slashes to better vent the pie rather than just poking holes, but it work. I hope that helps! 🙂
Beverly Johnston
Was there supposed to be sound on your video?
Sam
Hi Beverly! There is sound coming from my end. Is it muted in your browser by chance? There’s a little sound button in the bottom of the video that may have it muted.
Cheryl
I am making an apple pie for Christmas Day and this has the best instructions! I am so excited to try this, I’ve made pies for years but never tried a lattice top.
Emily @ Sugar Spun Run
We’re so happy it’s helpful, Cheryl!
Rosalind Russell
Sam..
Thank you so very much.. I have tried to make a Lattice pattern crust forever..
No matter how I’ve tried.. it didn’t work.. ( a big mess)..
With your step by step instructions/ video .. I made my first..
You know I’m excited..
Your recipes are the best.. I use them a lot..
Grateful,
Ros…
Sam Merritt
That’s so great to hear! I’m so glad this was helpful. 🙂
cathy Taber
It looks so easy, I will definitely try it.
Sam
I hope you love it! 🙂