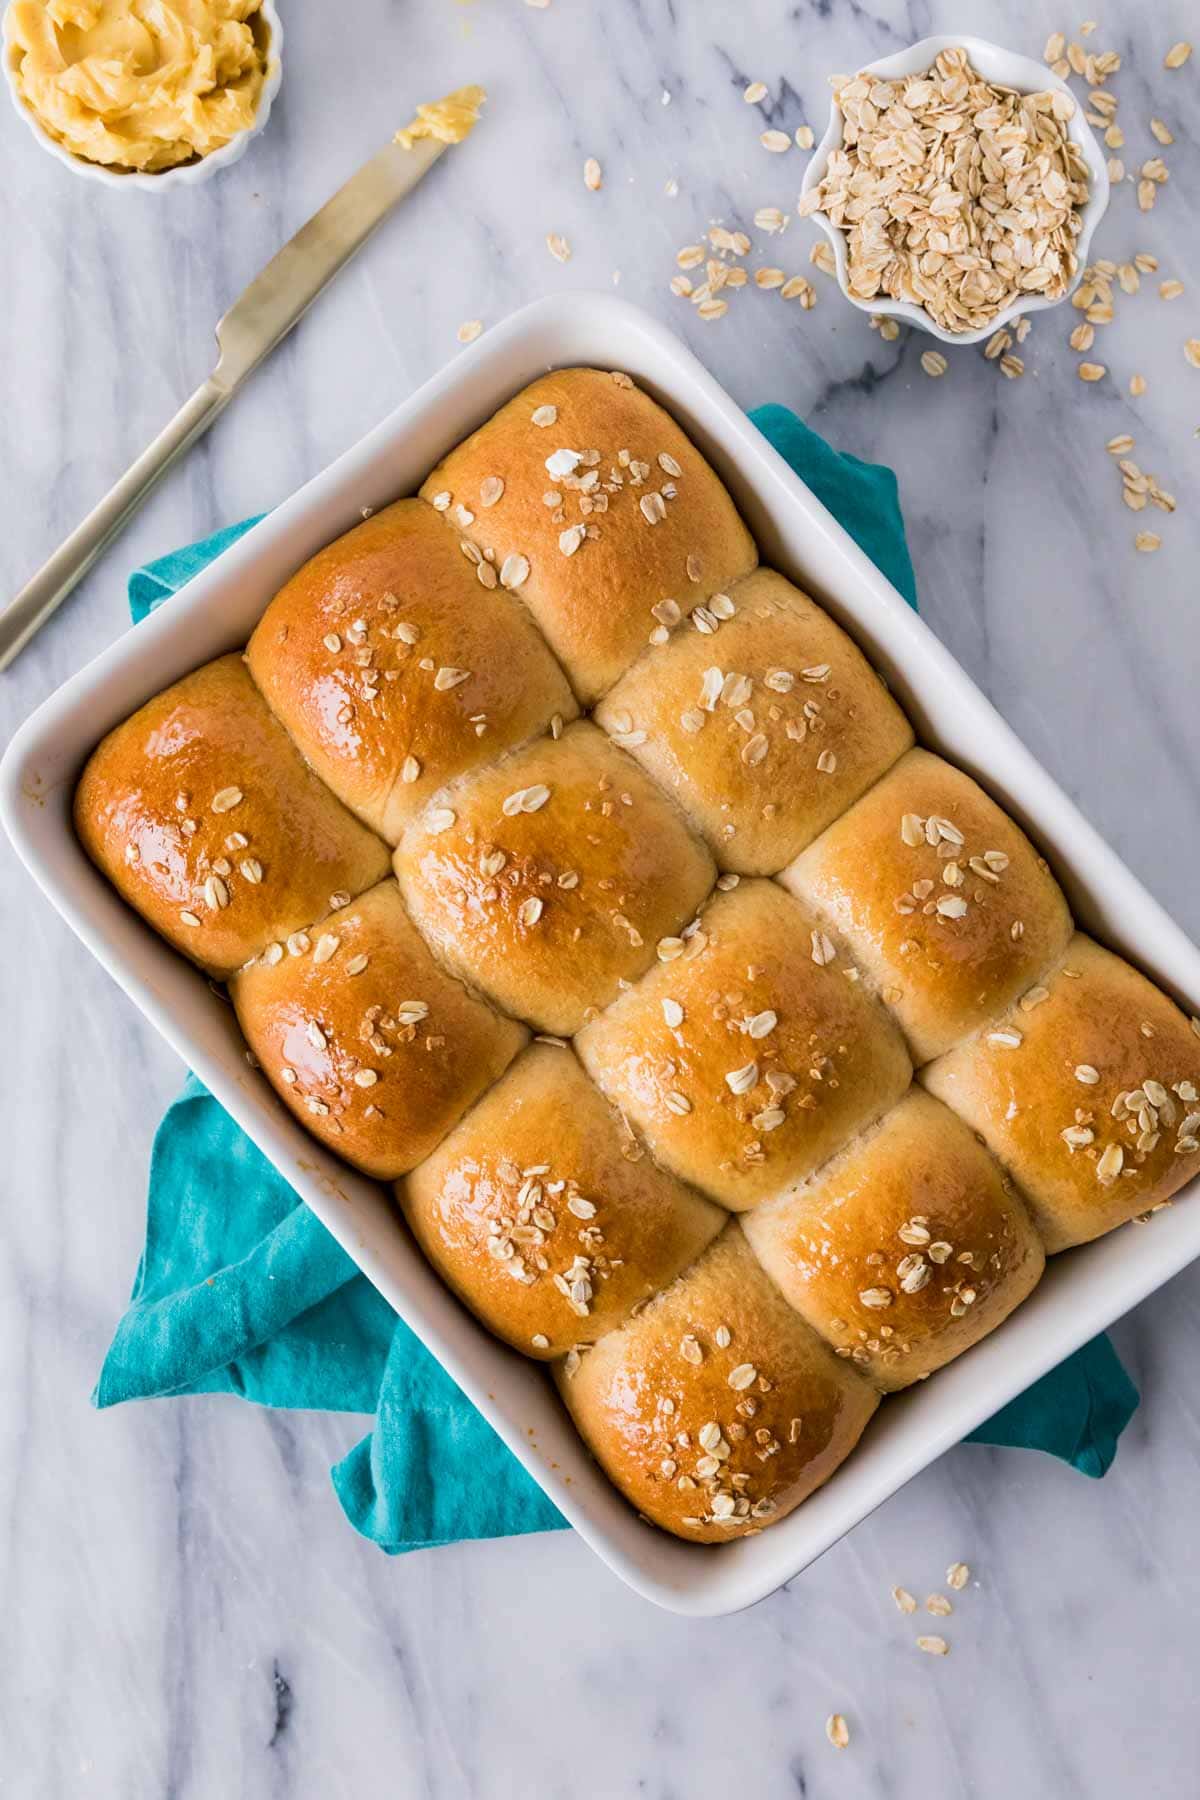
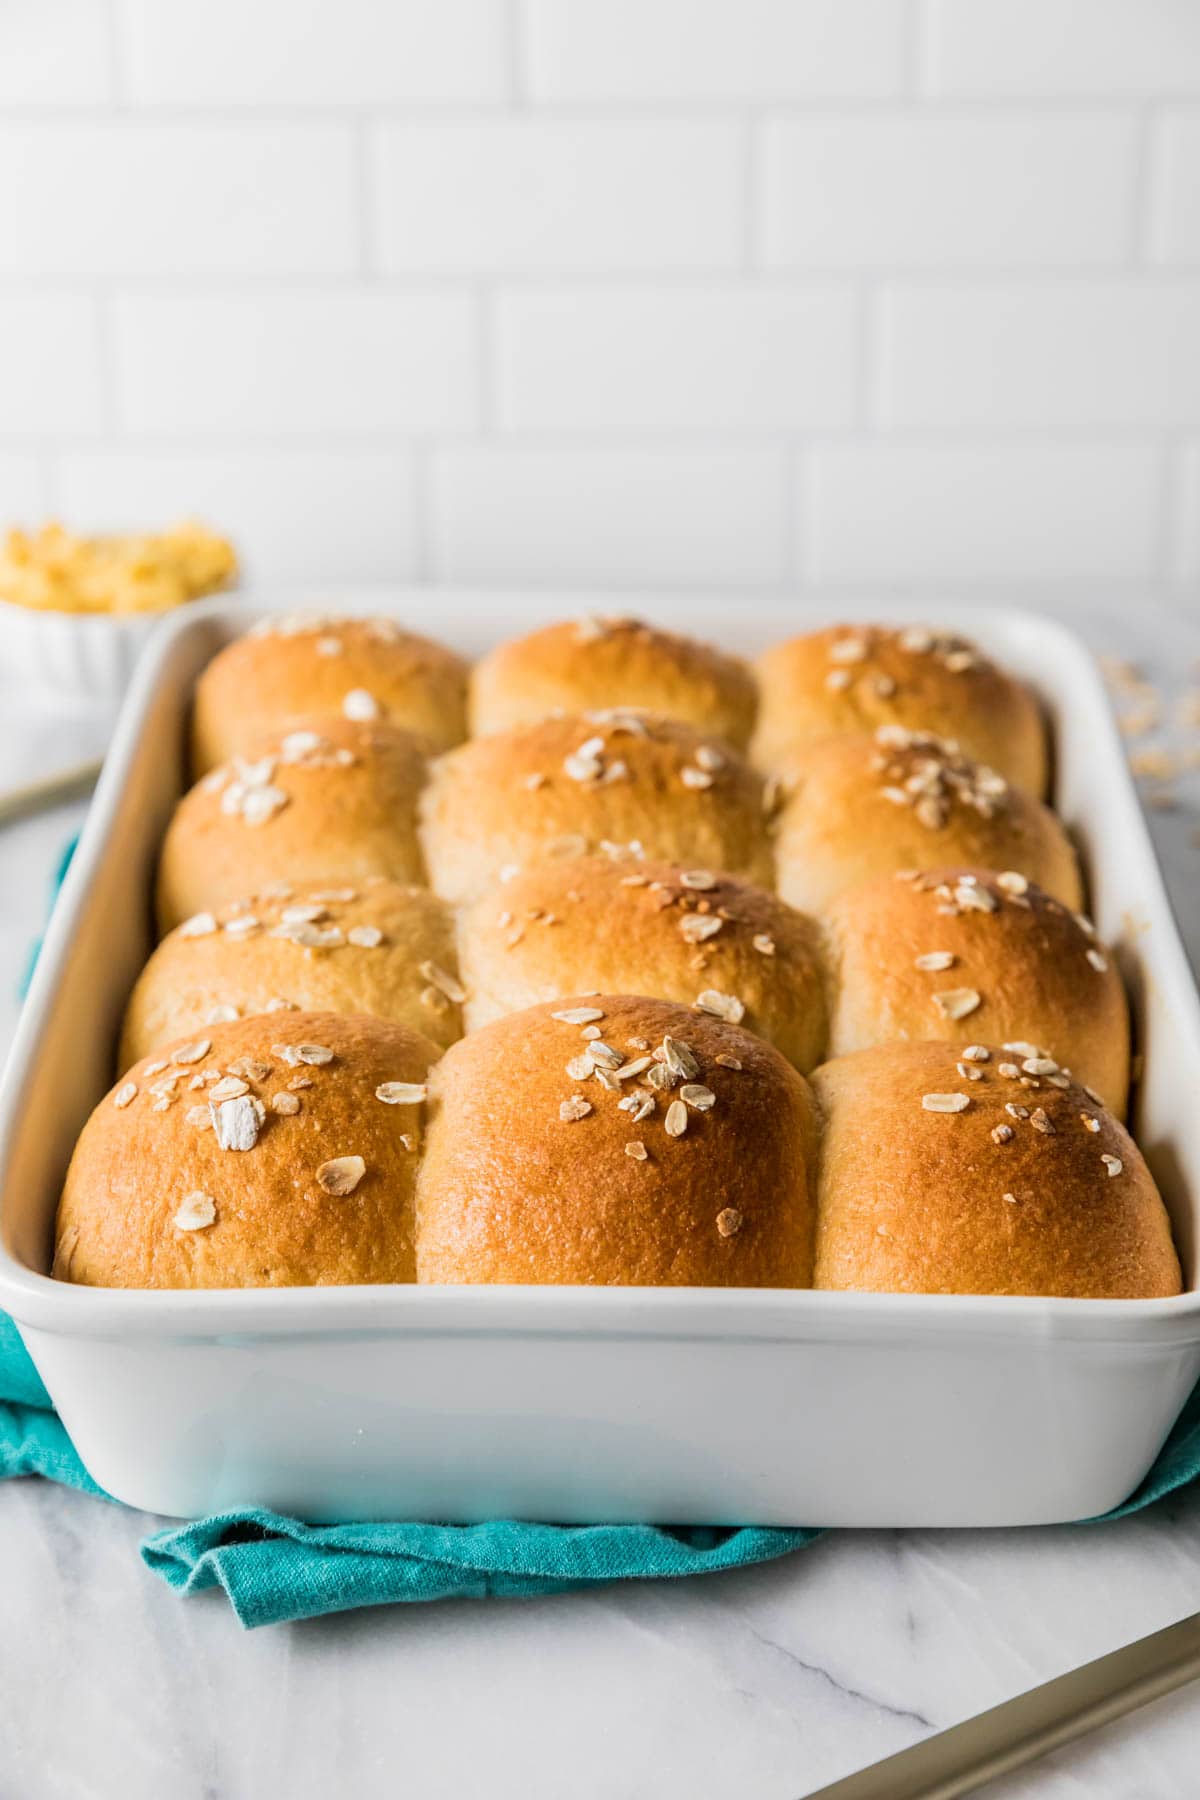
These slightly sweetened honey wheat rolls are made with wholesome ingredients like real honey, rolled oats, and whole wheat flour. They would make a great addition to your Thanksgiving dinner table!
Honey Wheat Dinner Rolls
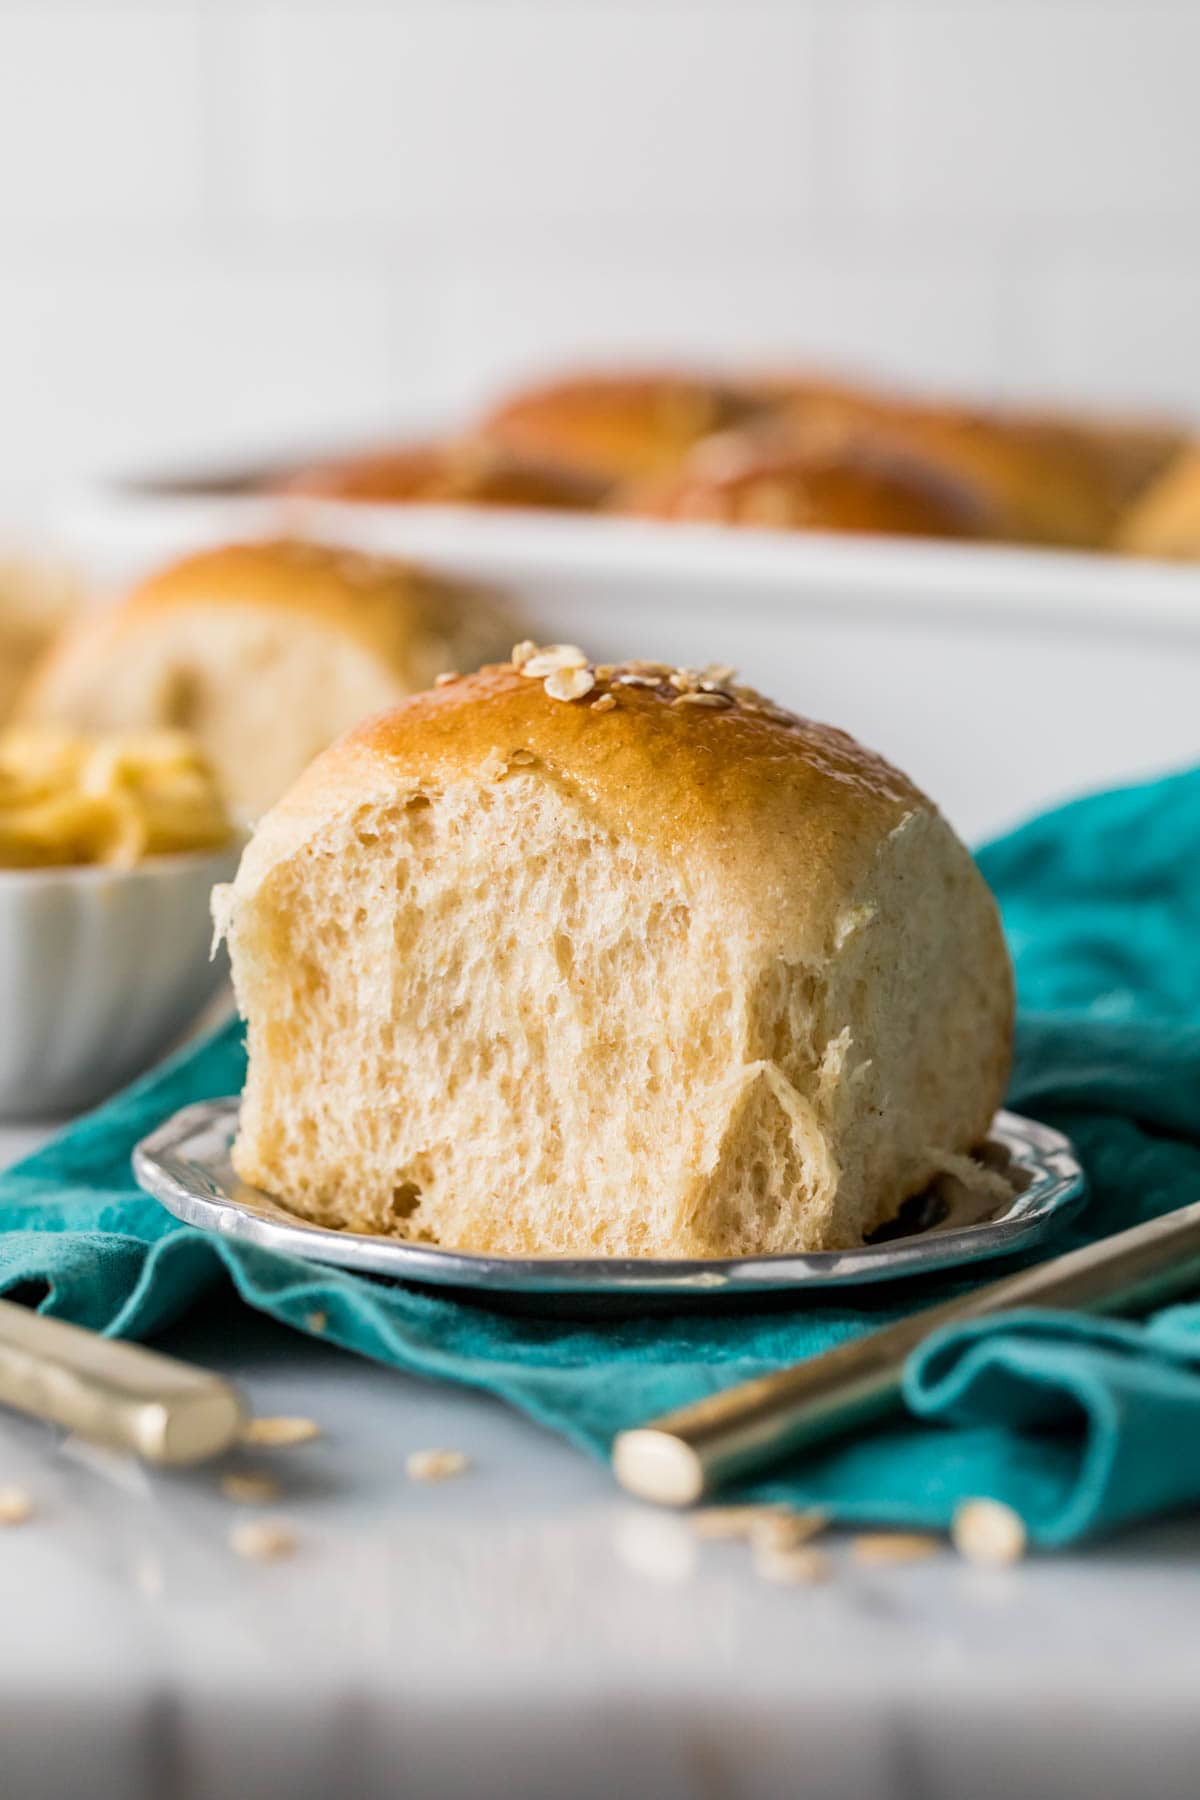
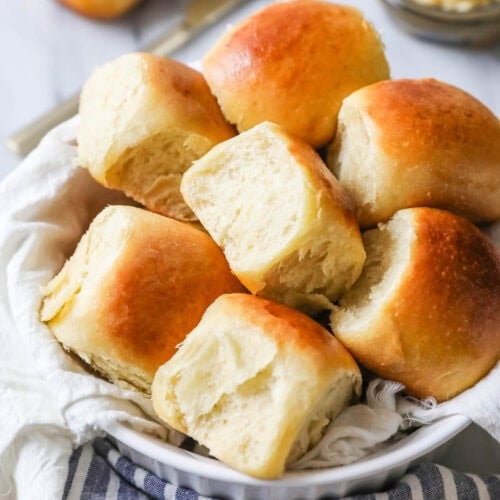
With Thanksgiving approaching next week (!?), I thought now would be the perfect time to share my new and improved honey wheat rolls with you! They are perfectly fluffy, chewy rolls that are lightly sweetened with honey and made more wholesome with whole wheat flour. We’ll finish them off with an extra touch of honey and a sprinkle of oats for a pretty and polished look!
This is an update of an old recipe. Unlike that one, this version is not ready in 60 minutes; however, I will gladly spend a bit more time for fluffier, chewier, and more flavorful results! I did link to the original recipe below though, in case we have any steadfast fans.
Why You’ll Love This Recipe
- Made with a combination of whole wheat and bread flour, a mix that results in light, fluffy, flavorful, and perfectly chewy rolls with a healthy touch of whole wheat.
- More nutritious than your standard dinner rolls. Compared to all-purpose flour, whole wheat flour is higher in fiber, protein, vitamins, and minerals.
- Includes lots of helpful tips for success. If you are a beginner or simply nervous about baking with yeast, don’t be! Just make sure to read through this post and the recipe thoroughly before you begin.
- Makes an excellent Thanksgiving side dish, but also pairs well with cozy dinners like beef stew, pot roast, or shepherd’s pie.
Ingredients
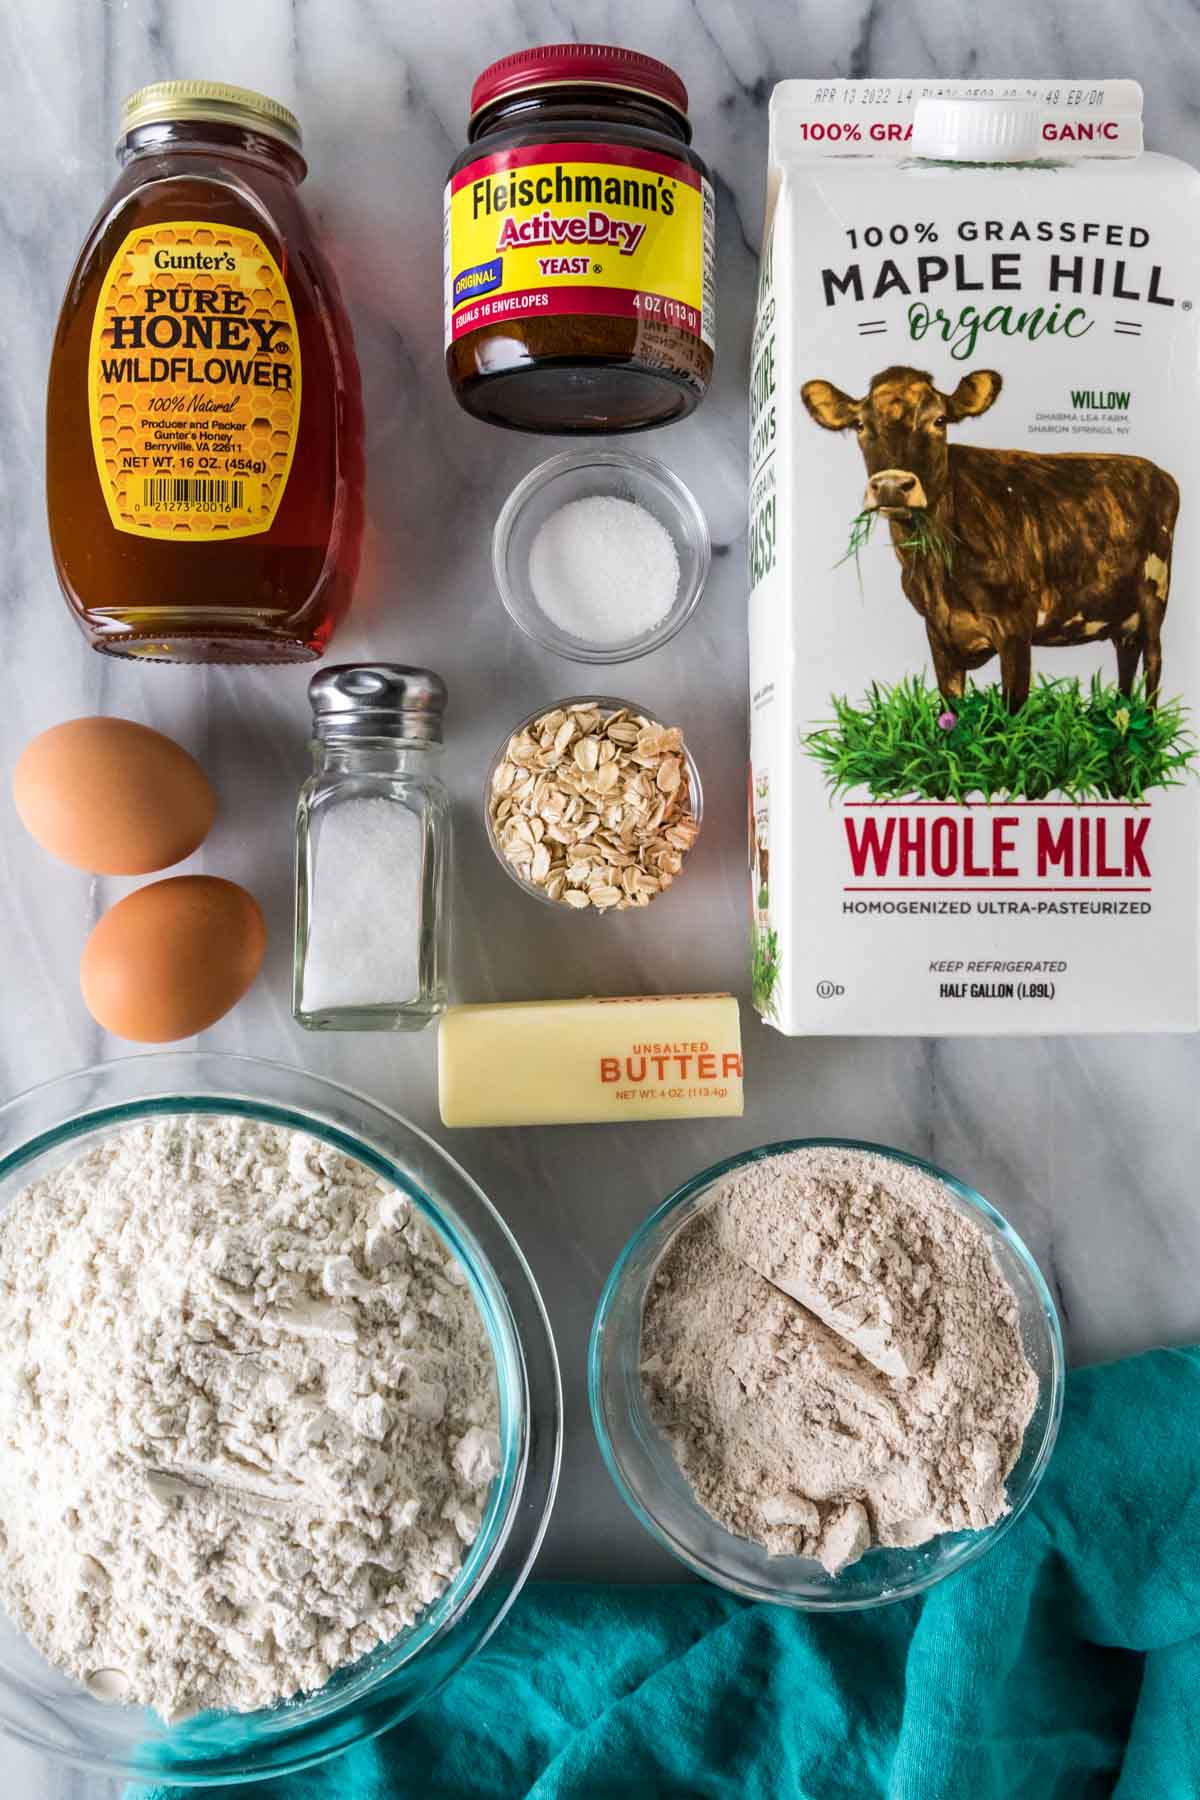
- Active dry yeast. We’re using classic active dry yeast here today. If you want to make honey wheat rolls with instant yeast, you can make my old version of this recipe; I linked to it in the recipe card below.
- Bread flour + whole wheat flour. You could substitute all-purpose flour for the bread flour, but your rolls won’t be as chewy if you do. As with most of my yeast recipes, you will notice that I include a range for the flour here today; that is because the amount you will actually need will vary. Don’t stress about this though–I provide lots of tips for you to know exactly when to stop adding the flour.
- Sugar. A pinch of sugar to help activate the yeast, but if you don’t want to use any refined sugar, you can skip it without issue.
- Rolled oats. These are optional, but I like to add a sprinkle to the tops of the rolls just before baking for a pretty appearance and some texture.
- Honey. We’ll add this to the dough and on top of the rolls just before they go in the oven. Use your favorite kind, just know that flavored honey will of course impart a flavor.
SAM’S TIP: Use a thermometer! Your milk/water mixture must be just the right temperature to activate the yeast without killing it. I know, the prospect of involuntary yeast-slaughter can be a little intimidating, but if you use a thermometer, you won’t have to worry.
This is just an overview of the ingredients I used and why. For the full recipe please scroll down to the bottom of the post!
Tips for Making Honey Wheat Rolls
- If your yeast doesn’t foam after 5-10 minutes, it is bad and you will have to start over. This recipe will NOT work if your yeast does not activate!
- Add your flour gradually. And know that you may not need all of it. Adding too much flour can result in dry, dense rolls. You’ll know you’ve added enough when the dough starts to cling to itself and pull away from the sides of the bowl.
- Use the windowpane test to know if you’ve kneaded your dough long enough.
- Always let your dough rise in a warm, draft-free spot. This can be on top of your fridge, inside your oven with the light on (and the oven turned off!), or in your pantry.
- For perfectly smooth rolls, make sure to roll your dough balls nice and tight. I like to make sure I’ve created some surface tension in each roll before placing it in my baking dish.
- Use the poke test to check that your rolls have proofed. To do this, flour your finger and gently poke your rolls; the goal is to have your rolls spring back halfway. If they spring back all the way, they need more time to proof. If they don’t spring back at all, they have over-proofed. Here is a more detailed guide on the poke test and how to know if your dough is properly proofed.
- A thermometer can tell you if your rolls have finished baking; check for an internal temperature of 185-190F (88C).
SAM’S TIP: Your pan matters! Metal pans will cook your rolls faster, while glass pans will take longer. I recommend checking your rolls at the 24 minute mark if you use a metal pan.
Frequently Asked Questions
Whole wheat flour is a thirstier flour that can dry out/toughen your baked goods in a flash. The cup we’re using here will still add flavor and nutrients without completely changing the texture of our honey wheat rolls.
Also, if you like baking with whole wheat flour, try my whole wheat pancakes!
Yes! I recommend letting them cool completely before tightly wrapping and storing in an airtight container. These honey wheat rolls will keep in the freezer for several months.
Yes! After the second rise, simply cover your baking dish with plastic wrap and place in the fridge. The next day, let the rolls sit covered at room temperature while preheating your oven, then uncover and bake. They will need to bake just a few minutes longer when made in advance.
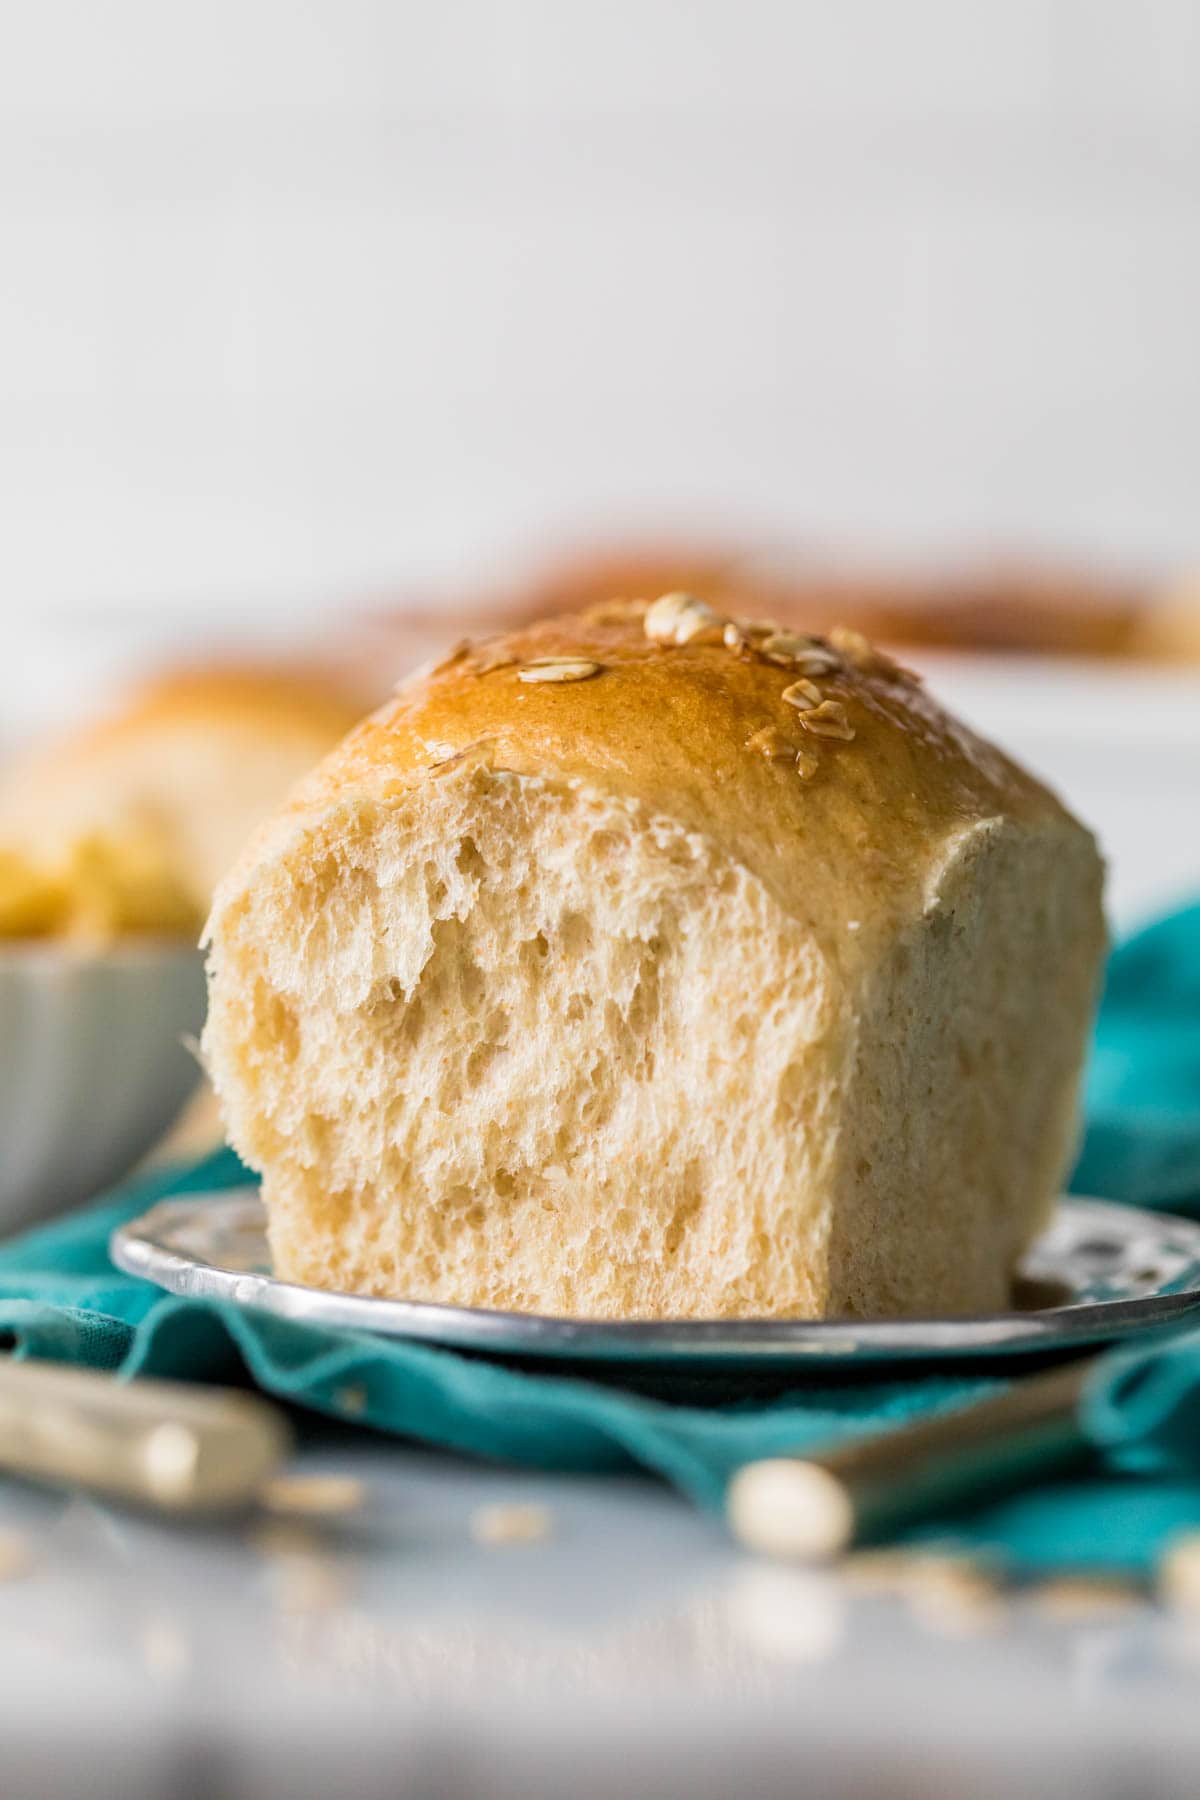
If you really love honey, you can serve these honey wheat rolls with my honey butter!
Enjoy!
Let’s bake together! Subscribe to my newsletter to be notified of all the newest recipes, and find my free recipe tutorials on YouTube 💜

Honey Wheat Rolls
Ingredients
For the rolls
- ¾ cup (180 ml) whole milk
- ¼ cup (60 ml) water
- 2 ½ teaspoons active dry yeast
- 1 teaspoon granulated sugar
- ⅓ cup (75 g) unsalted butter melted
- ¼ cup (80 g) honey
- 2 eggs lightly beaten
- 1 teaspoon table salt
- 1 cup whole wheat flour
- 3 – 3 ½ cups (375-438 g) bread or all-purpose flour
Honey Glaze
- 1 Tablespoon (20 g) honey
- 1 teaspoon warm water
- Old fashioned oats for sprinkling
Recommended Equipment
- Glass or ceramic baking dish
Instructions
- In a small microwave safe bowl or measuring cup, combine milk and water and heat until warmed to 115F (45C).¾ cup (180 ml) whole milk, ¼ cup (60 ml) water
- Pour milk/water mixture into a large bowl, sprinkle yeast and sugar overtop and stir until combined. Let sit undisturbed until foamy, about 5-10 minutes.2 ½ teaspoons active dry yeast, 1 teaspoon granulated sugar
- Once yeast is foamy, add butter, honey, eggs, salt, wheat flour, and 1 cup (125g) of bread flour and stir until well combined.⅓ cup (75 g) unsalted butter, ¼ cup (80 g) honey, 2 eggs, 1 teaspoon table salt, 1 cup whole wheat flour, 3 – 3 ½ cups (375-438 g) bread or all-purpose flour
- Gradually add remaining flour as needed, until dough begins to cling to itself in a ball and pulls away from the side of the bowl. Knead dough either by hand or with a dough hook on your stand mixer until smooth and elastic (this should take 5-10 minutes).
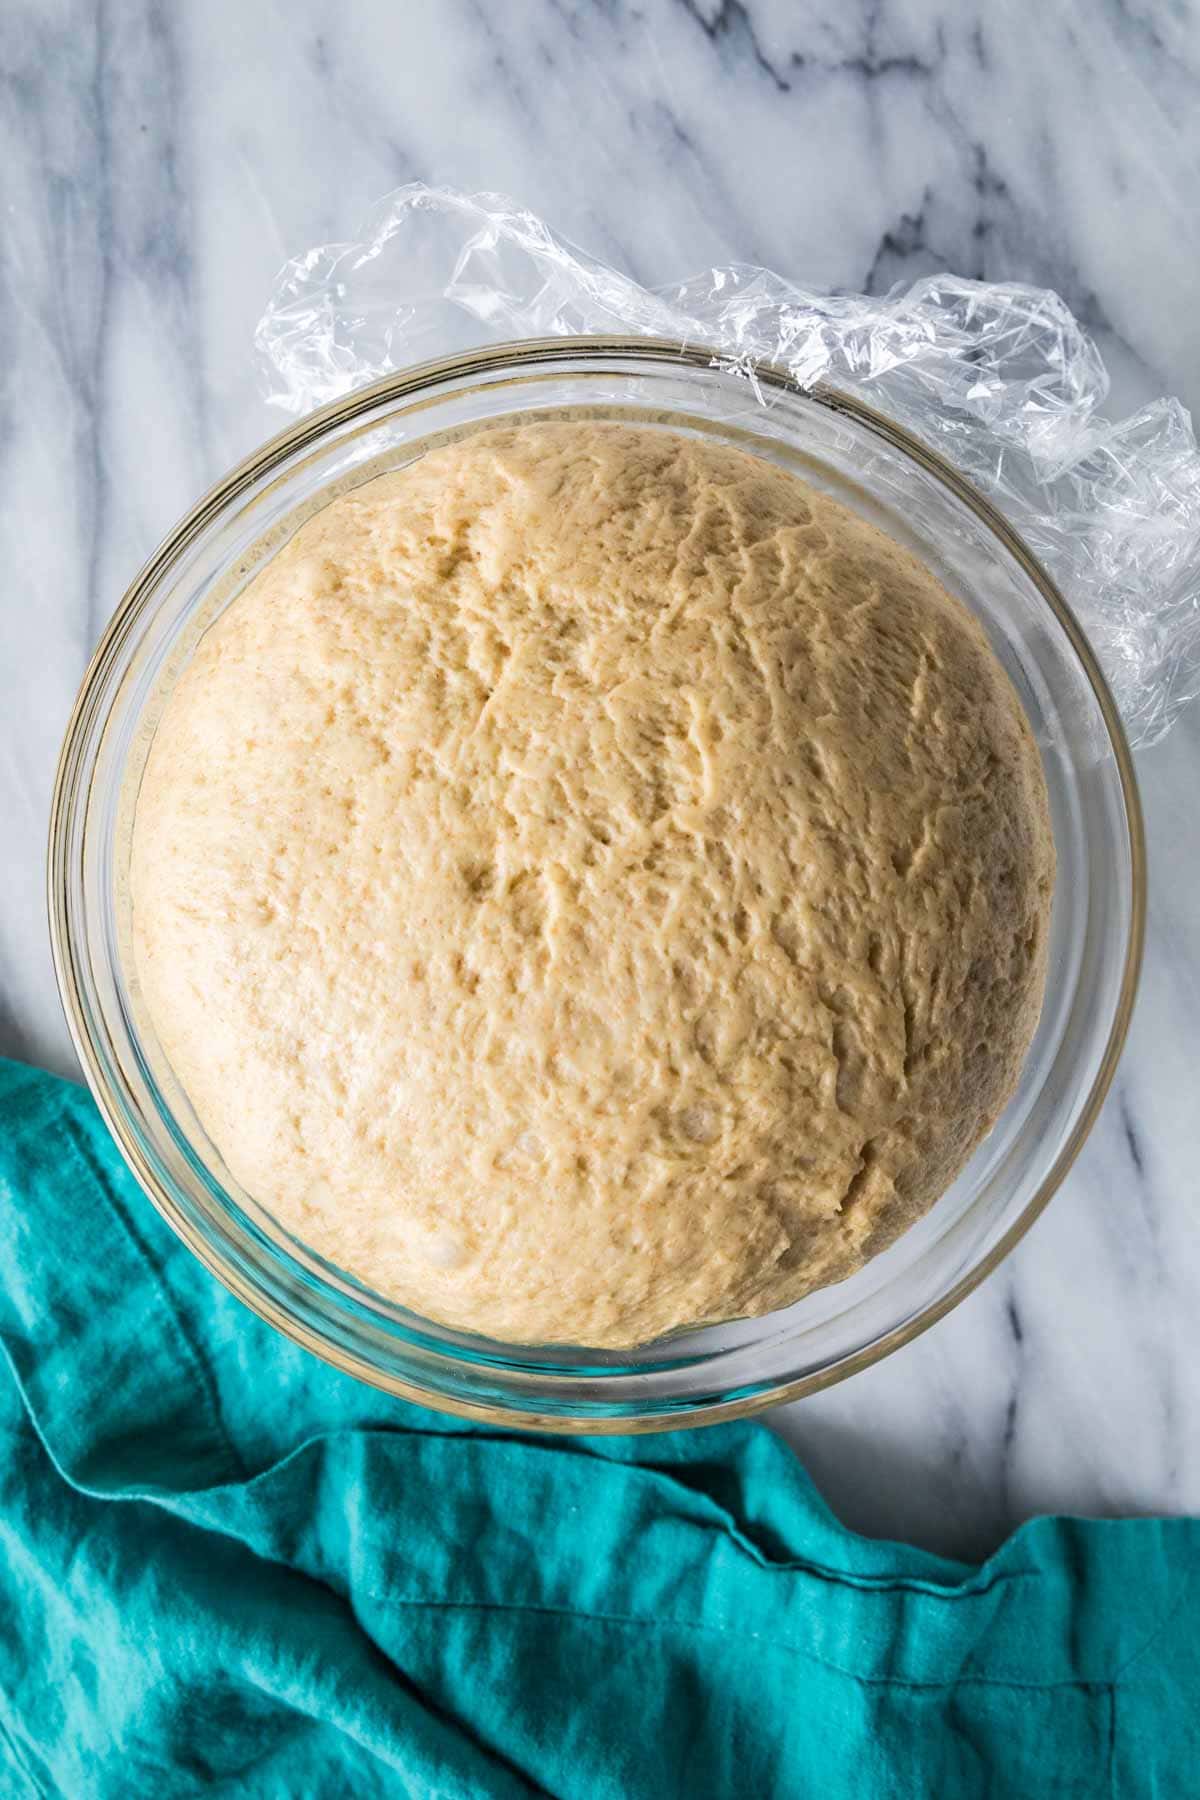
- Lightly grease a large bowl with oil and transfer dough to oiled bowl, turn dough to coat surface entirely with oil, cover bowl with plastic wrap or a warm, damp kitchen towel and allow to rise in a warm place until doubled in size, about 1-2 hours.
After rising
- Once dough has finished rising, generously grease the sides and bottom of a 9”x13” glass dish with butter, set aside.
- Punch down dough and transfer to a lightly floured surface. Divide dough into 15 equal portions (about 65-70g each) and roll each portion into a ball. Arrange rolls in prepared baking dish, cover, and allow to rise in a warm place until balls are puffed and almost touching, about 20-30 minutes. Tip: to tell that the dough is properly proofed, lightly flour your index finger and gently poke one of the rolls. If it springs back completely, it needs more time. If it springs back about halfway, the dough is properly proofed and is ready to be baked. If the dough doesn’t spring back at all, unfortunately it is over-proofed, but bake it anyway.
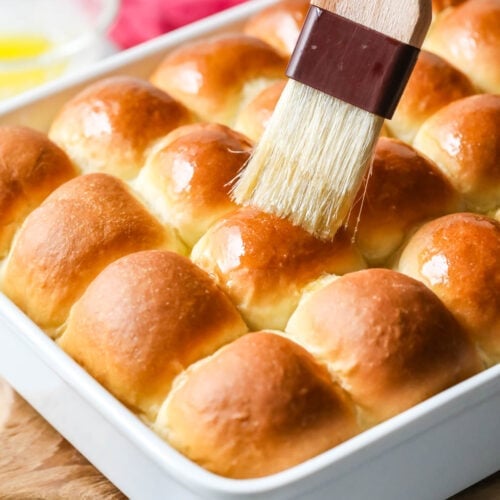
- While dough is proofing, preheat oven to 350F (175C) and prepare honey topping by combining honey and warm water in a small dish and whisking until thoroughly combined.1 Tablespoon (20 g) honey, 1 teaspoon warm water
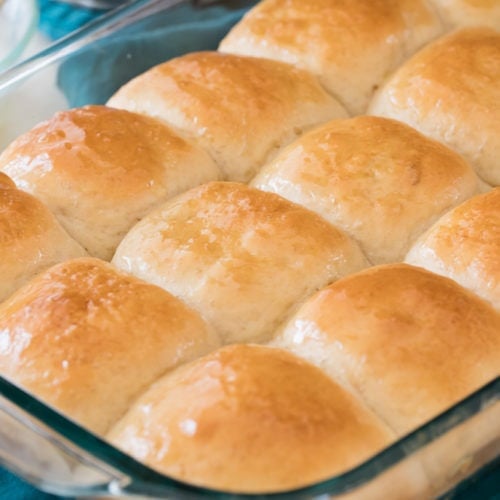
- Once dough is finished proofing, uncover and use a pastry brush to brush tops of dough balls thoroughly with mixture, then sprinkle lightly with oats and transfer to preheated 350F (177C) oven. Bake for 30 minutes, until rolls are a light golden brown and their internal temperature is 185-190F (88C) (if you are using a metal baking dish, check the rolls earlier, at 24 minutes).Old fashioned oats
Notes
Can I make the dinner rolls larger?
If you want larger rolls you can divide into 12 rolls, each 85-90g, and bake for 30 minutes, until inside temperature reaches 185-190F (88C).Storing
Store in an airtight container at room temperature.Reheating rolls
If you made the rolls in advance and wish to reheat them before serving with dinner, preheat your oven to 300F (150C) place the rolls in a baking dish, lightly spray with a mist of water (or sprinkle a few drops of water on top or brush with melted butter), cover with foil, and heat for 10 minutes or until warmed through. Don’t over-cook or they’ll be dry!Original recipe
For anyone looking for my original 60-minute recipe, you can find that one here.Nutrition
Nutritional information is based on third-party calculations and should be considered an estimate only. Actual nutritional content will vary based upon brands used, measuring methods, cooking method, portion sizes, and more.
I originally published this recipe in November of 2017. I’ve updated the recipe to create fluffier rolls with a more pronounced flavor, but I’ve linked to the old/original recipe in the recipe card above if you’re looking for that one!


Charissa
they were slow to rise but blossomed when they started their bake time. I rate all of my recipes 1to10. these are an 11! I am looking forward to serving them with ham
Sam
I’m so glad you enjoyed them so much, Charissa! 🙂
Tracy
Made these today for Thanksgiving and I’m glad I did. They were SO delicious! They will be added into my holiday baking from here on out. Thank you for the great recipe and Happy Thanksgiving!
Sam
This was a fail for me. The milk curdled, so I tossed it. Then it curdled again on the second try. Which might have still been workable, but the yeast didn’t bloom; my thermometer didn’t register (meat thermometer). Is it because I am using active dried yeast? Or should I not put the butter and honey in with the milk on the stove? What do you think? Sad! 🙁
ma.cristina caro
Can i use a bread maker to do this roll?
Sam
Unfortunately I’m not familiar with using a bread maker so I’m not sure how to advise doing it. If you try it I would love to know how it goes. 🙂
Tassie
Hi Sam! Can’t wait to try these rolls. I’m trying not to eat white flour, can I substitute the all purpose for whole wheat flour? Thanks.
Sam
Hi Tassie! You could make it with all wheat flour but your rolls will be a little bit tougher. You will probably also need a little less whole wheat flour because the whole wheat flour is “thirstier”. Let me know how it goes if you try it. 🙂
Diana Dsouza Udani
Hello Sam,
Want to try these rolls. They look so delicious.
I have a query. If I have to use active dry yeast, what will be the quantity to use ??? Could you please let me know.
Thanks so much.
Regards,
Diana
Sam
Hi Diana! I’ve only made with rapid rise yeast, but I think you could use the same amount of active dry, you would just have to wait longer for the dough to rise. I would love to hear how it works for you if you try it!
shawnna griffin
hey girl- these rolls look amazing!
Mikaru86
I’m glad to see that you finally overcame your aversion to yeast dough XD
I have never tried honey wheat rolls (although I’ve made plenty of breads and bread like stuff based on yeast doughs), but this recipe sounds delicious. I’ll have to try it out some time.
Sam
Haha it took long enough, didn’t it!? If you do try it, I look forward to hearing how it turned out for you. I know you just sent an email, I will get back to you on that one hopefully before long!