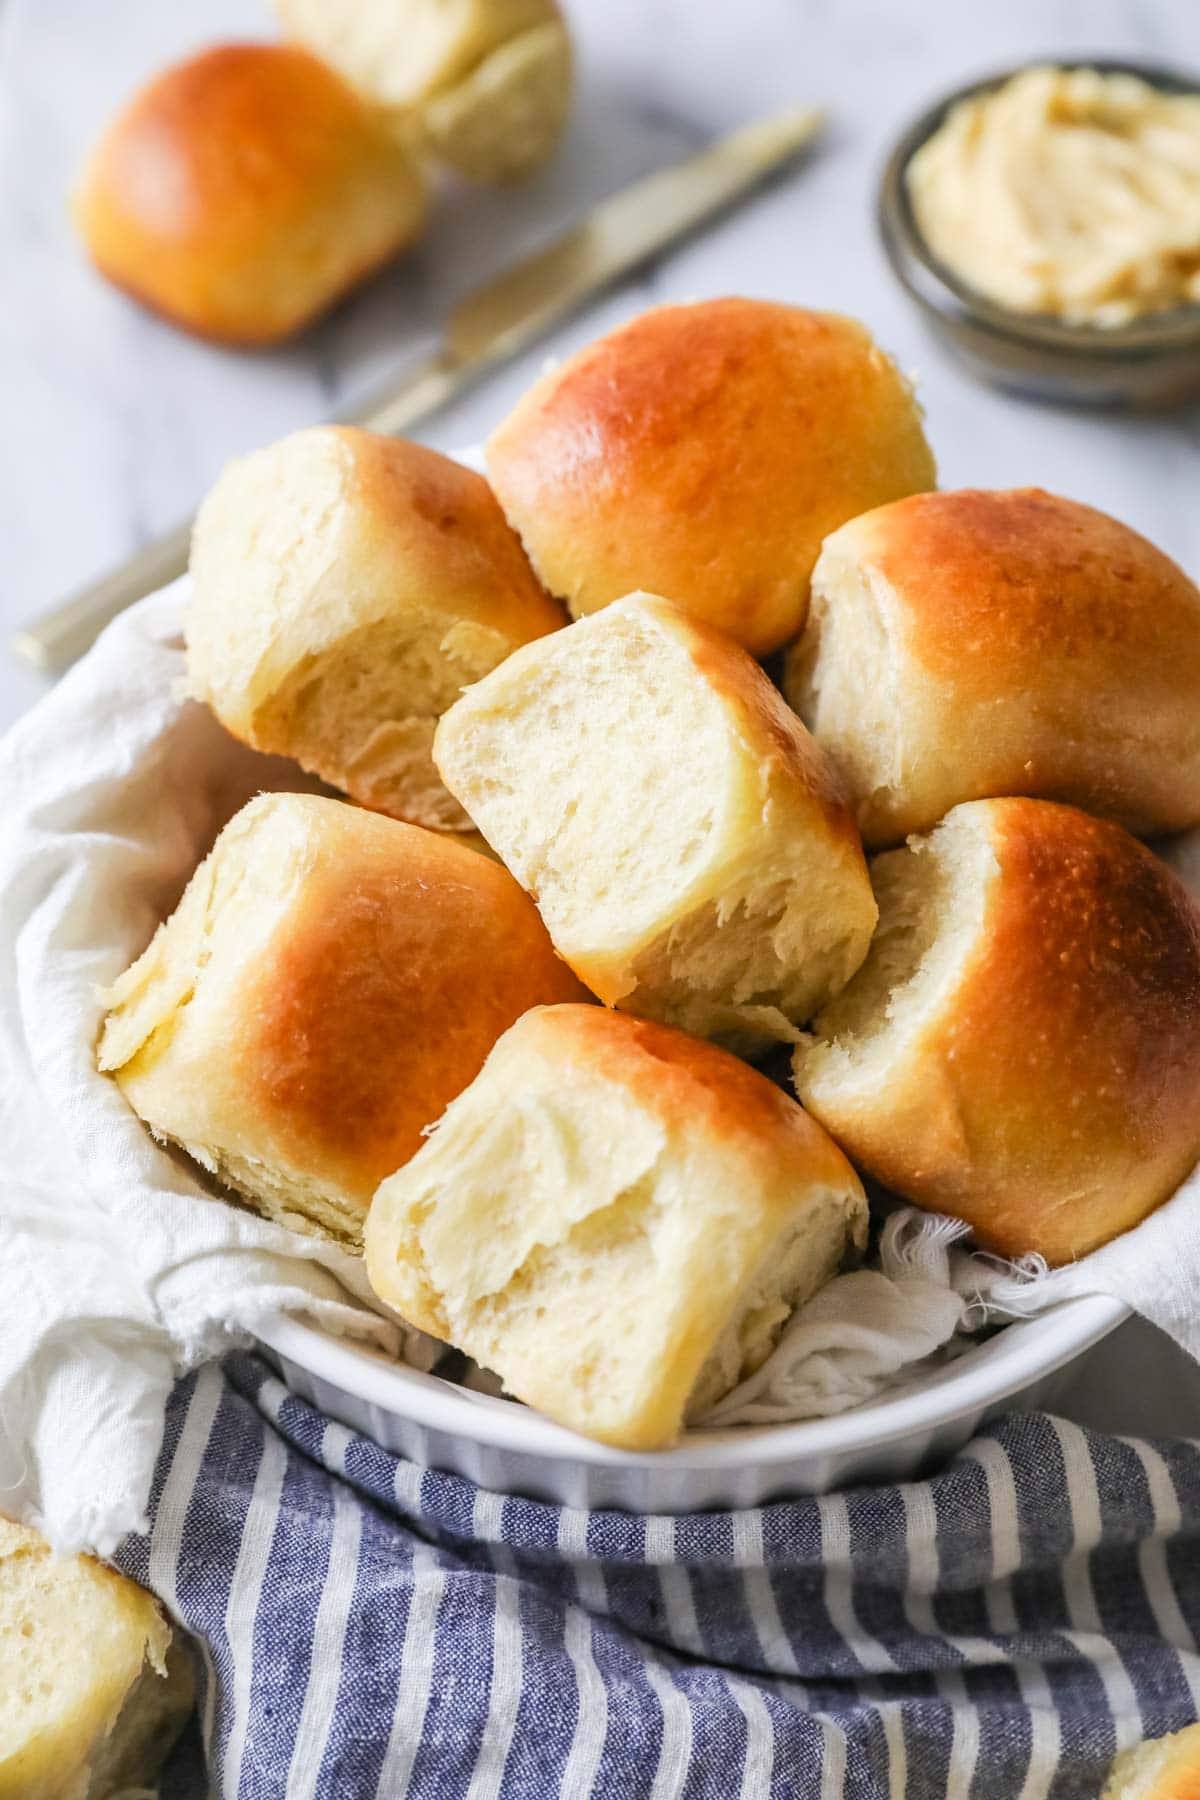
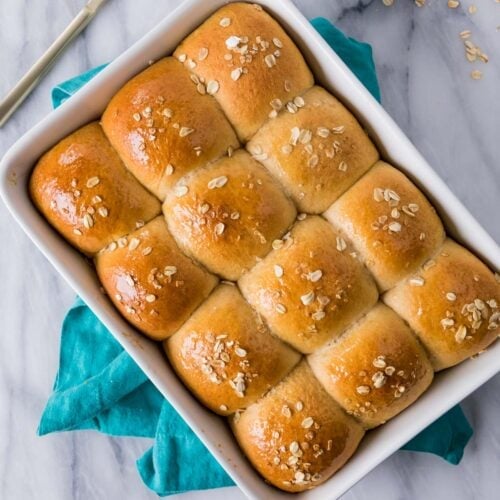
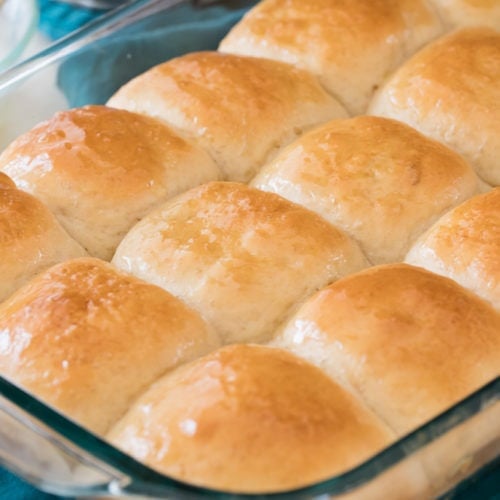
So soft and fluffy, these golden brown sourdough dinner rolls are made with active sourdough starter. Perfect for making in advance! Recipe includes a how-to video!
Soft Sourdough Dinner Rolls
Adding another sourdough recipe to my collection, and this one is perfectly timed for your Thanksgiving menu! Sourdough dinner rolls are the fancier, fermented cousin to my make-ahead dinner rolls. They have the same pillowy texture, but with an even richer flavor, thanks to the sourdough.
The main difference between this recipe and my other dinner roll recipes is the lack of supplemental yeast. Instead, we’ll use wild yeast grown in active, bubbly sourdough starter. As a result, these are true sourdough rolls, and they are absolutely divine! Pair them with salisbury steak, chicken Alfredo, or pot roast for a comforting, cozy meal 🩷
A Few Things to Know:
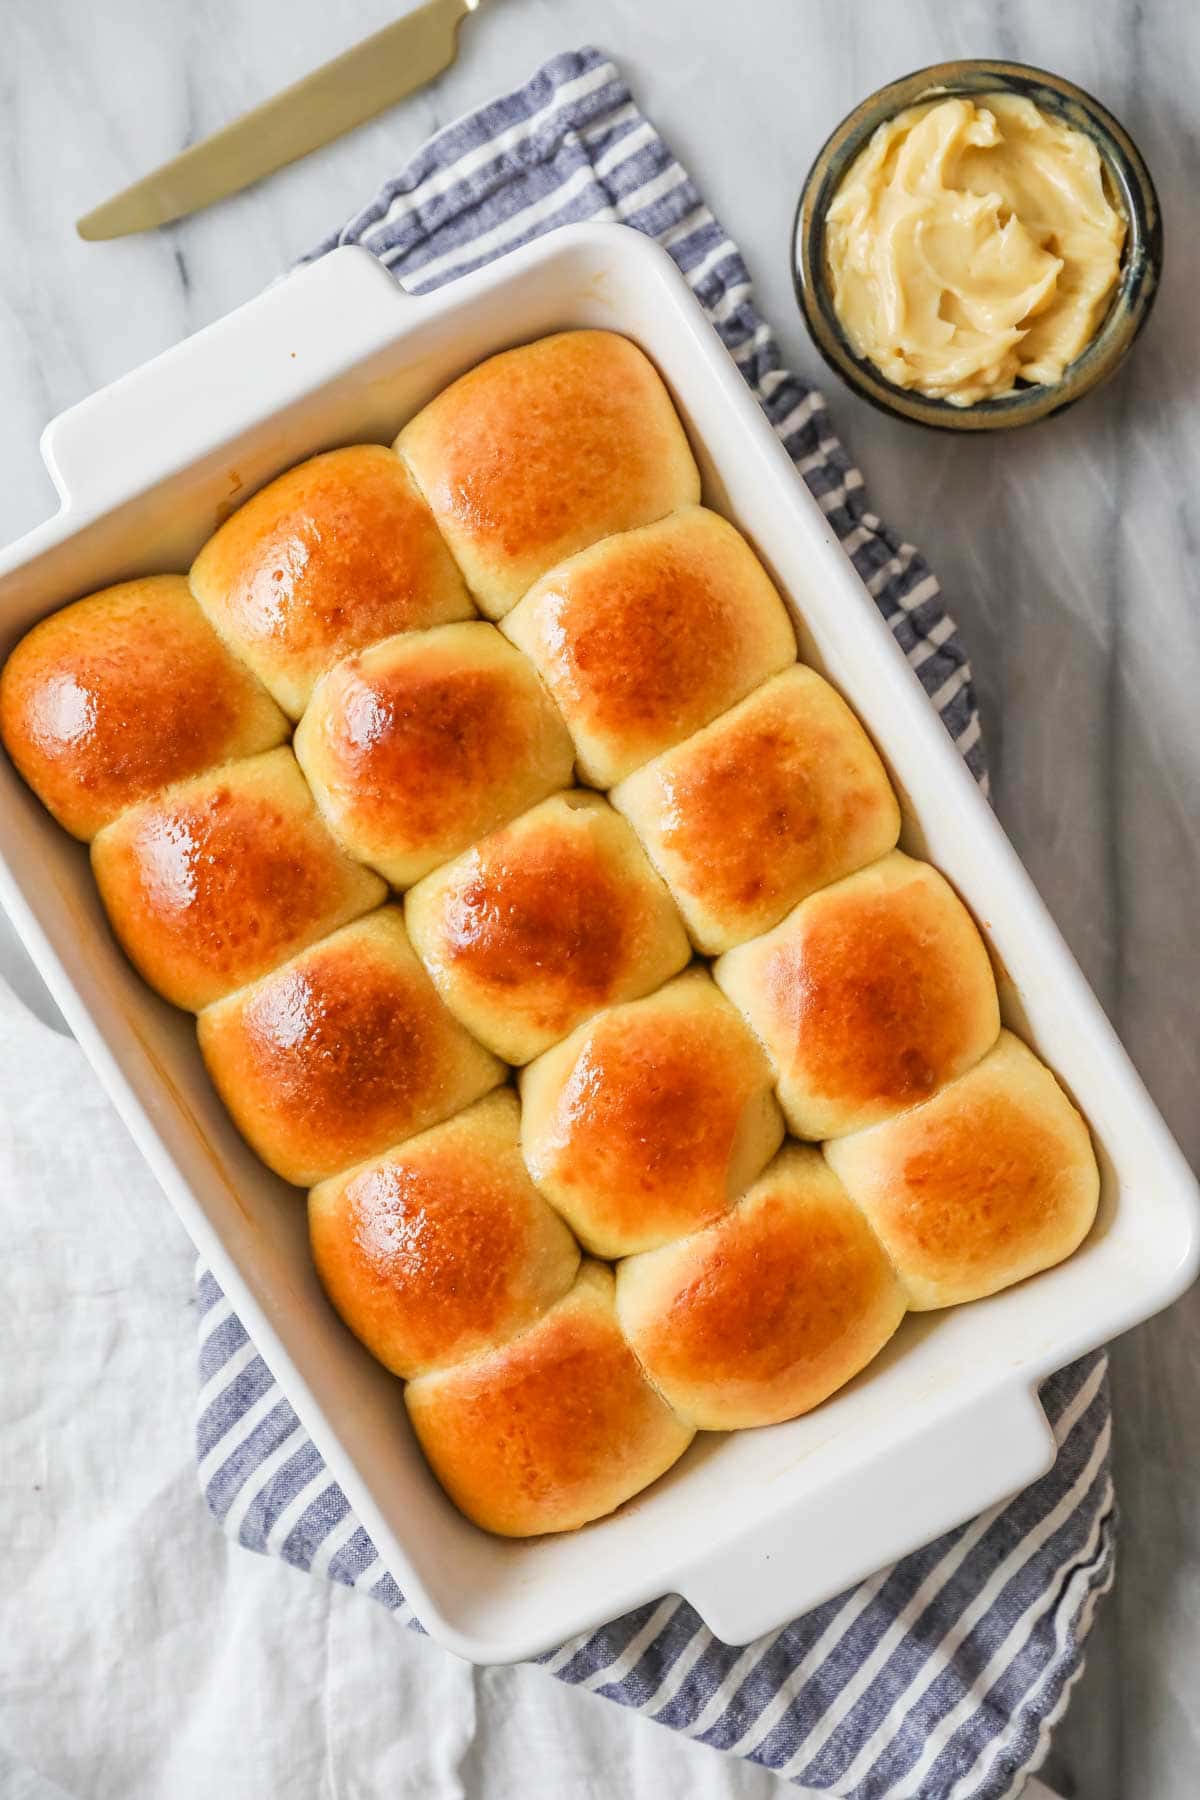
- Taste: rich, subtly sweetened and just a tiny bit of tang from the sourdough starter.
- Texture: Soft, fluffy, pillowy, and appropriately chewy. Using bread flour and enriching the dough are both key contributors to this texture!
- Time: These rolls must be prepared one day and enjoyed the next; the dough needs to sit for 5-7 hours at room temperature before it ferments in the fridge overnight, and unfortunately this isn’t negotiable.
- Difficulty: Beginners can make this one, but they should have some experience with proofing dough for best results. Chances are, if you already have sourdough starter on hand, you will be just fine. I am including visual cues, detailed written instructions, and additional resources throughout the post in case you need more help with this.
Ingredients
These dinner rolls are enriched with a few key ingredients for tender, flavorful results.
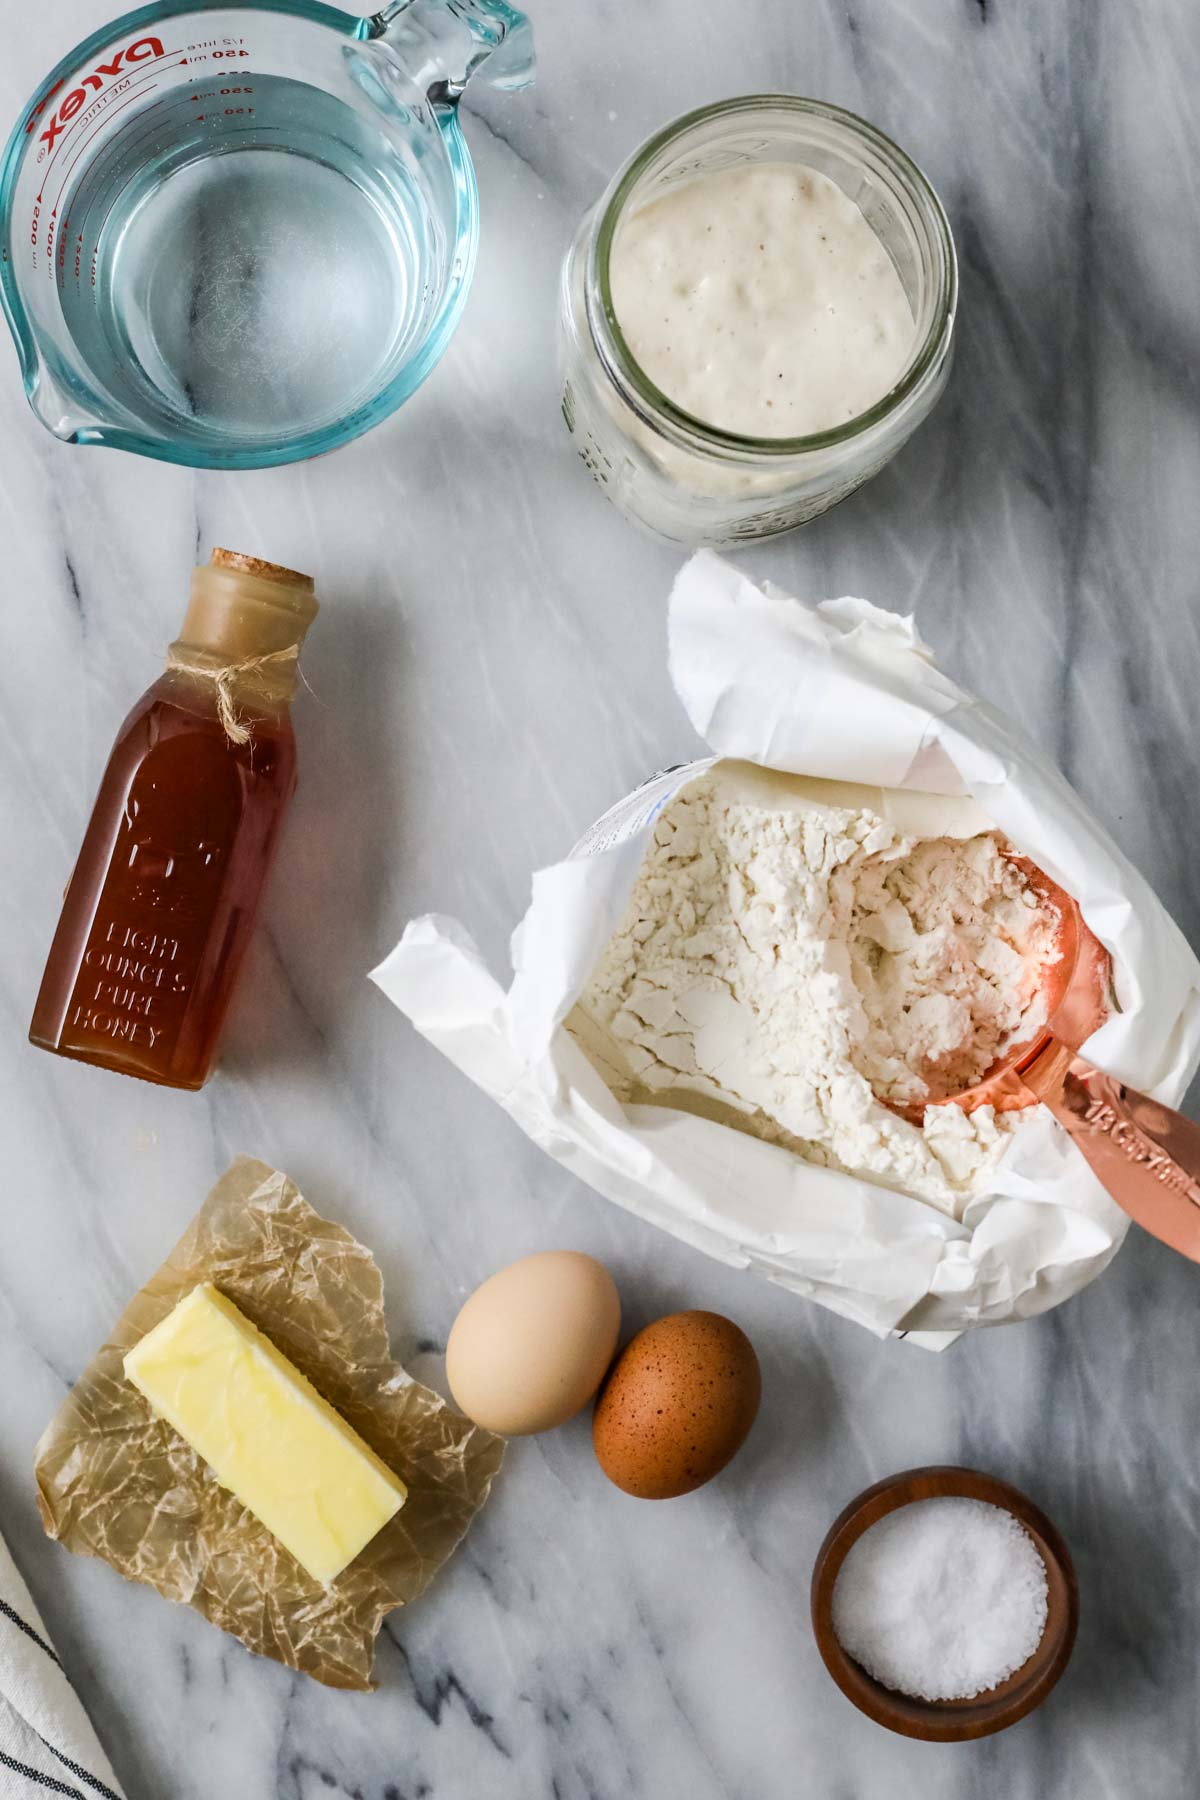
- Honey or sugar. This enriches the dough and gives it a slightly sweet flavor. Either will work, so choose your favorite. You may need to use slightly more flour if you opt for the honey.
- Bread flour. I prefer the results with bread flour; the rolls are chewier and softer. All-purpose flour will absolutely work too, but the texture just isn’t quite as nice. If you choose to use all-purpose, it is an even substitute–no need to do a conversion like you would with cake flour.
- Egg + egg yolk. Adding an egg and extra yolk to the dough enriches it for a deep depth of flavor and tender texture.
- Sourdough starter. Make sure your starter is active and bubbly before you get started. Do not use sourdough discard in this recipe; I talk more about this below. If you don’t have sourdough starter on hand, you can learn how to make your own with my post on how to make sourdough starter. Or, simply make my classic dinner rolls.
SAM’S TIP: Like when making my sourdough soft pretzels (or really any bread recipe), the amount of flour needed here will vary. You may need more or less than I indicate, so start slow and add it gradually until your dough reaches the right consistency. I talk more about this below and demonstrate it in my video as well.
Remember, this is just an overview of the ingredients I used and why. For the full recipe please scroll down to the bottom of the post!
How to Make Sourdough Dinner Rolls
Just a note that the photos and instructions below are just meant to be helpful, visual guidelines to accompany the recipe card below and aren’t intended for you to try and bake from. I like to provide these photos and details because I think they’re helpful, but for the full recipe in its entirety scroll down to the recipe card.
Make the Dough
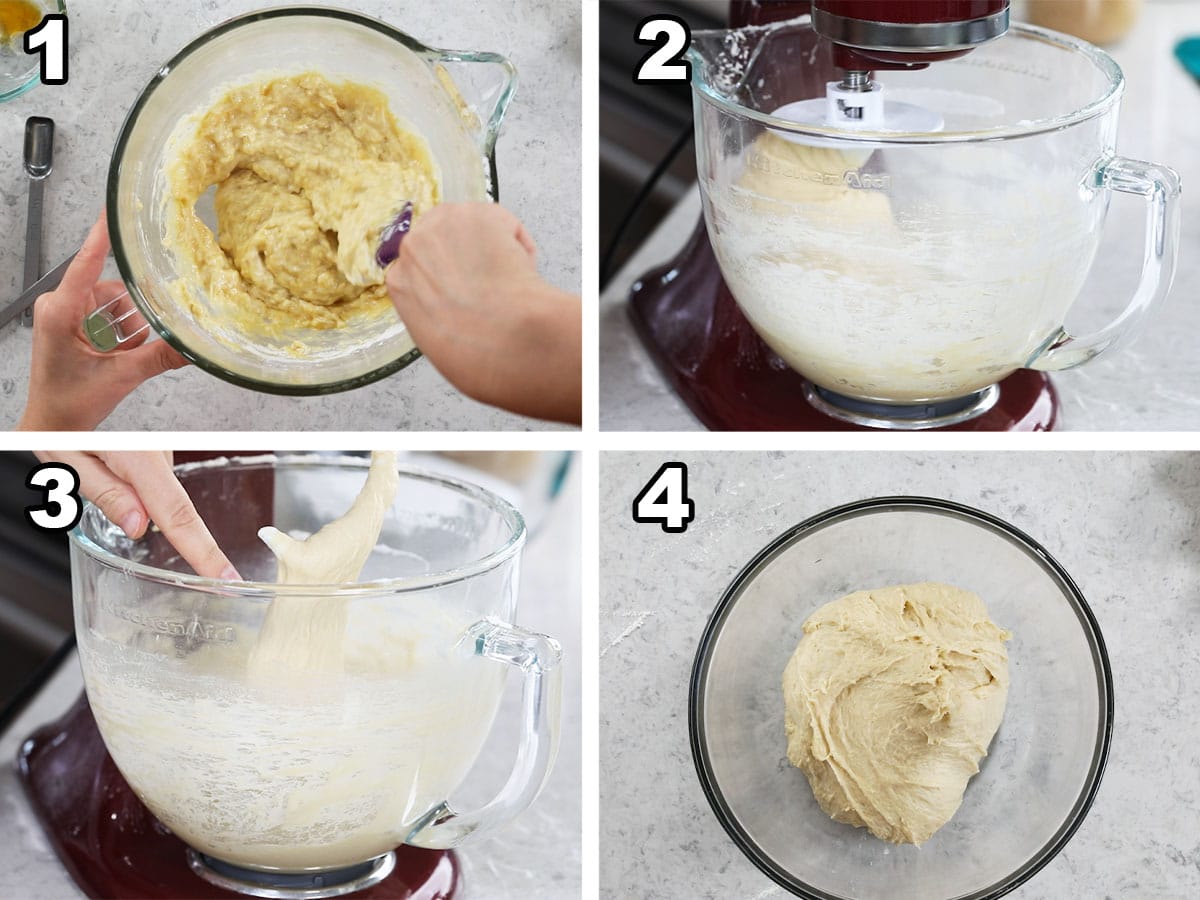
- Stir together the sourdough starter, water, sweetener, butter, eggs, salt, and 2 cups of flour until well combined.
- Gradually add more flour until the dough starts pulling away from the sides of the bowl and clings to itself. When you touch it, it should be soft and tacky, but it shouldn’t stick to your finger.
- Knead the dough using a stand mixer or by hand until it is smooth and elastic. I personally prefer a stand mixer for this step, since the dough is sticky (and needs to stay that way!). You’ll need to add more flour if kneading by hand, which can change the final results.
- Let rise in a lightly oiled and covered bowl until nearly doubled in size, about 5-8 hours, then transfer to the fridge and let sit overnight.
Proof + Bake
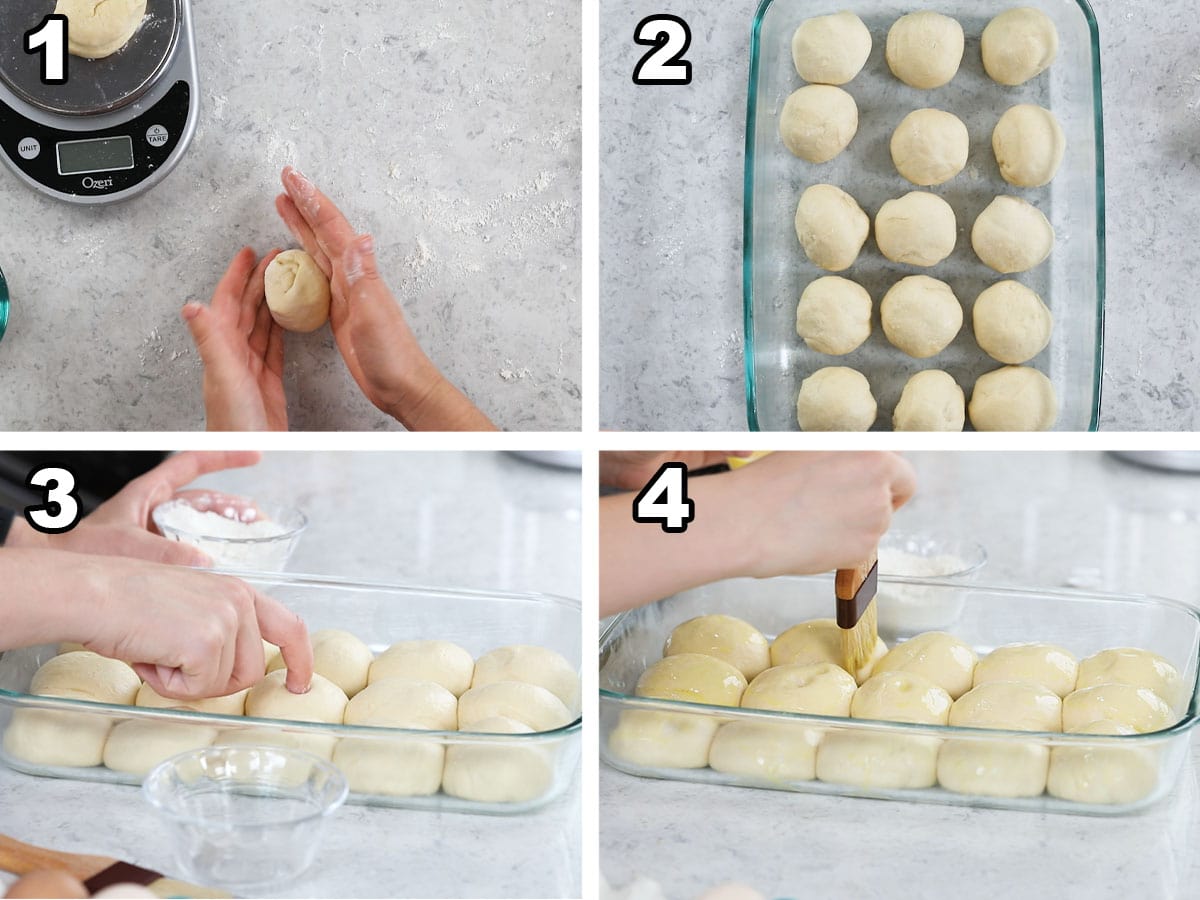
- Divide the dough into 15 or 20 equal pieces, depending on the size rolls you want.
- Roll each piece into a smooth ball and place in a buttered 13×9 baking dish.
- Cover the dish with plastic wrap and let the rolls rise in a warm spot. You’ll know they are done when they have puffed up and expanded so they are touching. Do the poke test to make sure (see my FAQ section below for more info on this).
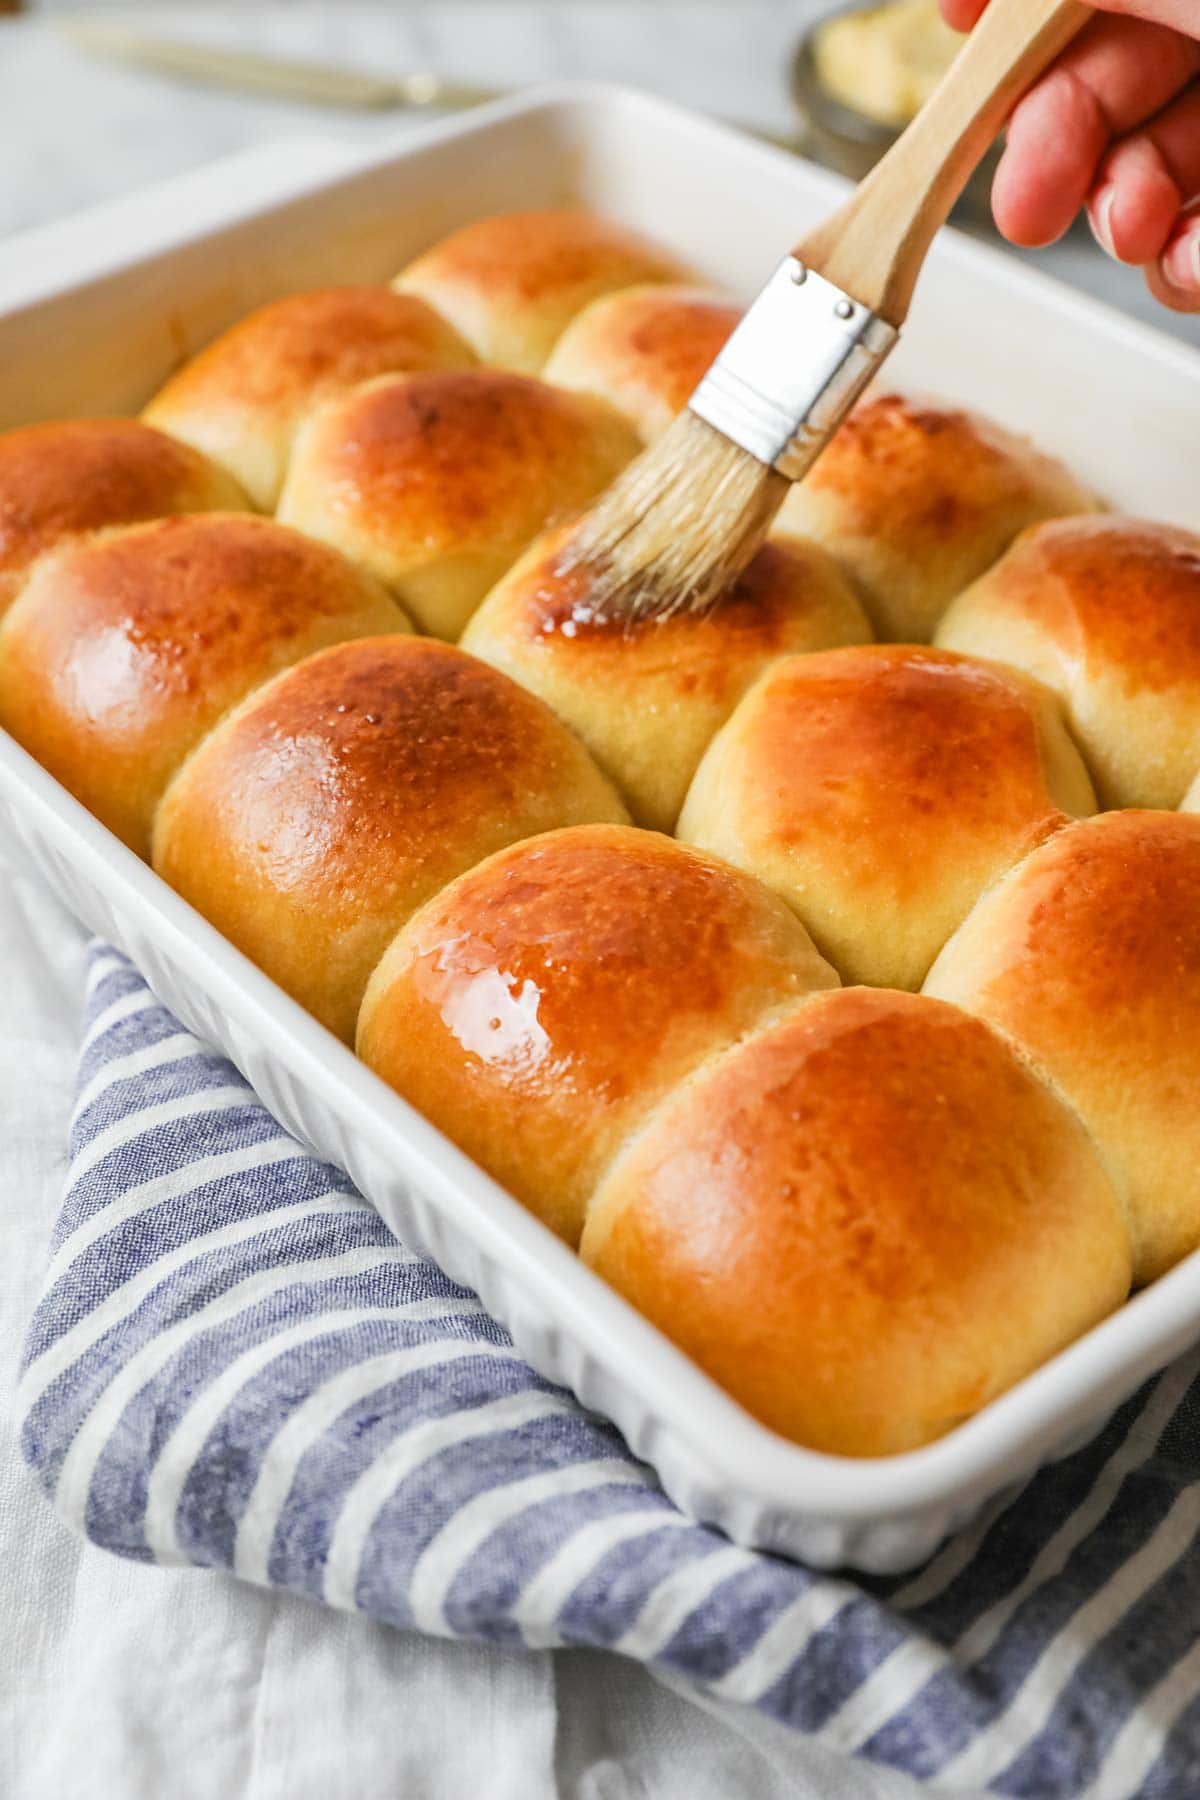
- Brush the tops of your proofed rolls with egg wash (this encourages browning!) and bake until golden brown and cooked through.
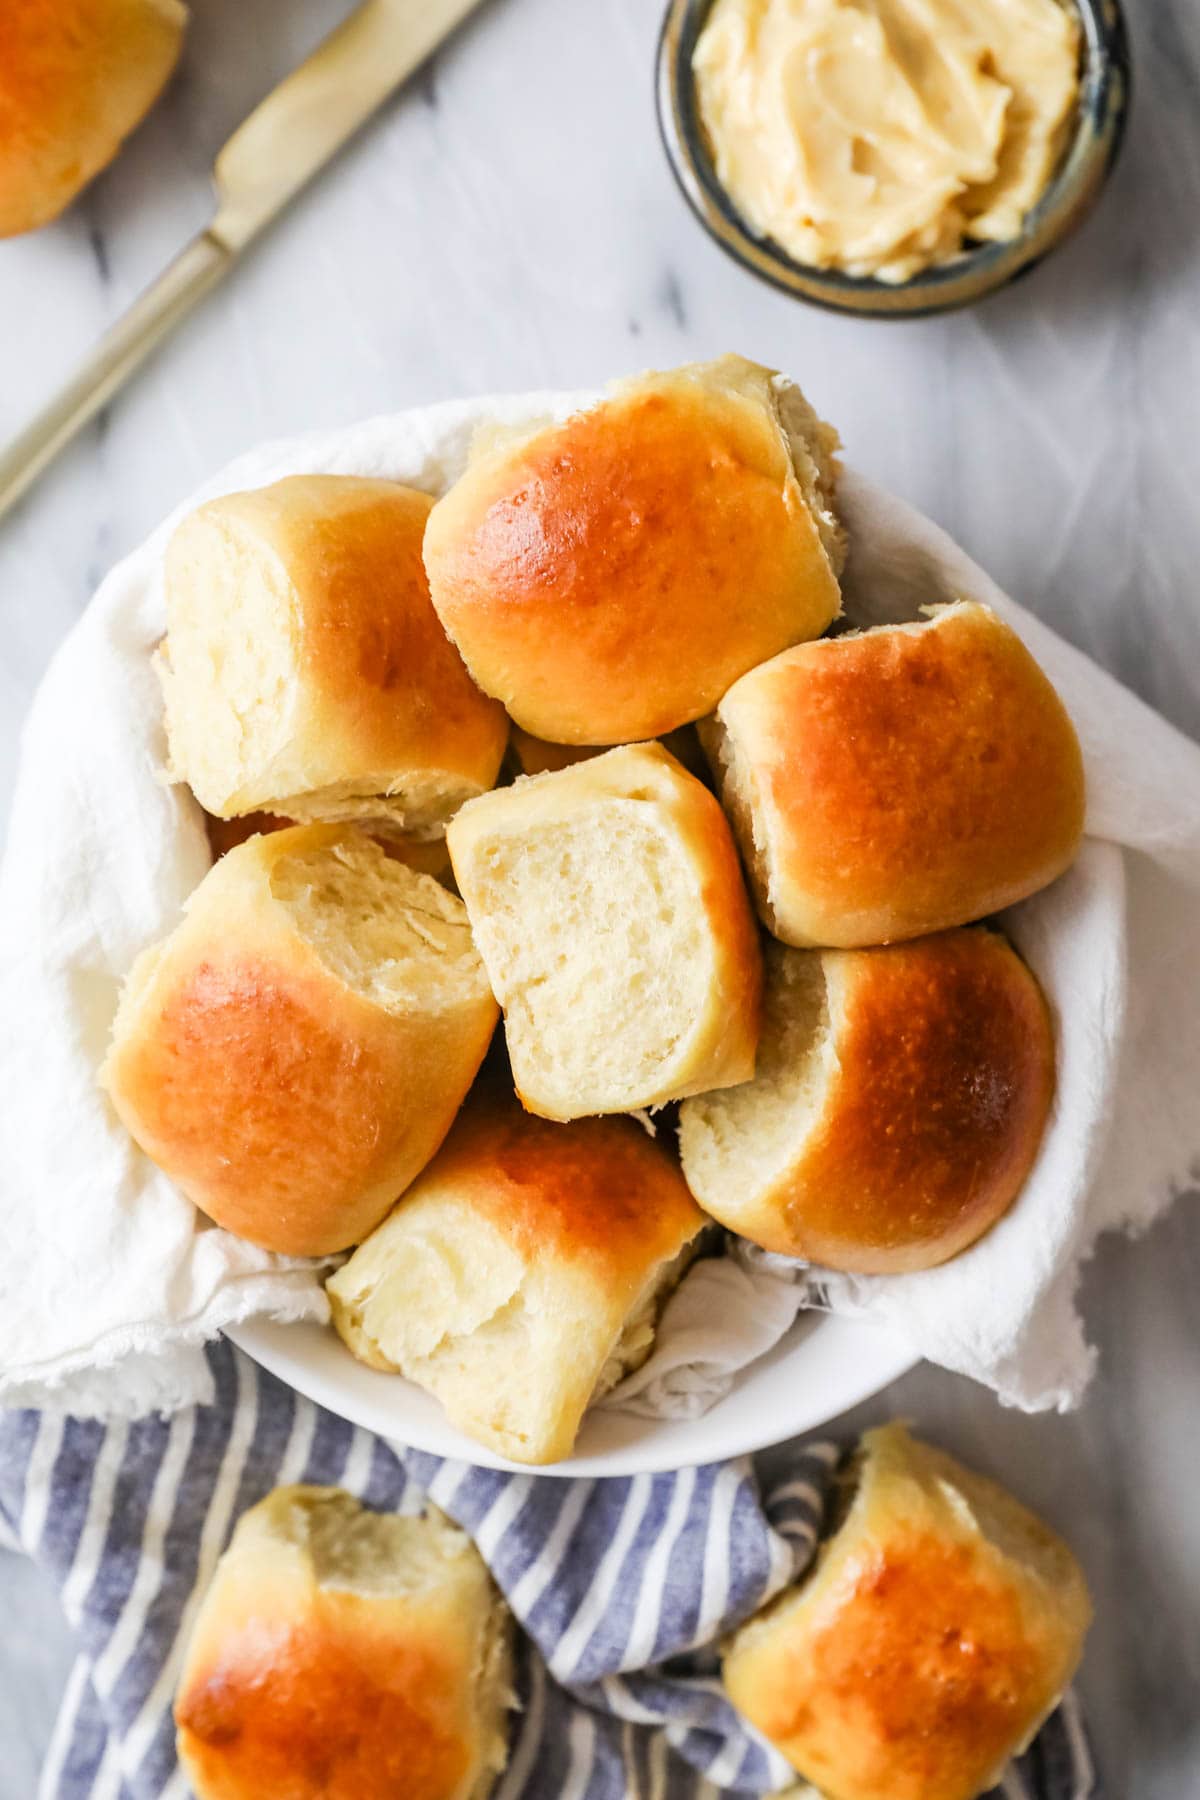
SAM’S TIP: Brush your sourdough dinner rolls with salted butter (or honey butter) after they come out of the oven for a tasty (and pretty!) finish.
Frequently Asked Questions
This recipe only works with active, bubbly sourdough starter. Using discard would require you to add yeast, and I wanted this recipe to be true sourdough dinner rolls.
I do have several sourdough discard recipes though; try my sourdough biscuits, sourdough chocolate chip cookies, or sourdough crackers if you are looking for a way to use up your sourdough discard.
Have you heard of the poke test? Gently poke your rolls with a floured finger. They should spring back halfway — if they spring back all the way they are under-proofed and need more time to rest. If they don’t spring back at all, they’re unfortunately over-proofed. Here’s a more detailed guide on the poke test for judging whether or not dough is properly proofed or not.
Bake them anyway! They should still taste fine, but they won’t have quite as nice of an appearance or fluffy texture. Unfortunately there isn’t a great way to save over-proofed sourdough dinner rolls, so the best thing to do is to avoid it in the first place. I talk about this more above.
Stay tuned, I have more sourdough recipes coming up including a sourdough pie crust and sourdough bagels!
Enjoy!
Let’s bake together! Subscribe to my newsletter to be notified of all the newest recipes, and find my free recipe tutorials on YouTube 💜

Sourdough Dinner Rolls
Ingredients
- ⅔ cup (150 g) active bubbly sourdough starter
- ¾ cup (180 ml) warm water about 100F/38C
- 3 Tablespoons honey or sugar
- ⅓ cup (75 g) unsalted butter melted
- 1 large egg + 1 large egg yolk
- 1 ¼ teaspoons table salt
- 3 ⅔ cups (450 g) bread flour divided (see note) plus additional as needed
Egg wash (optional)
- 1 egg
- 1 teaspoon water (or milk)
Recommended Equipment
- 13×9 glass or ceramic baking dish
Instructions
- (See note above about rise time before beginning). Combine starter, warm water, sugar or honey, butter, egg, egg yolk, salt, and about 2 cups/250g of flour in a large mixing bowl or the bowl of a stand mixer fitted with a dough hook. Stir until well-combined.⅔ cup (150 g) active, ¾ cup (180 ml) warm water, 3 Tablespoons honey or sugar, ⅓ cup (75 g) unsalted butter, 1 large egg + 1 large egg yolk, 1 ¼ teaspoons table salt, 3 ⅔ cups (450 g) bread flour
- Gradually, while stirring, add remaining flour until the dough is clinging to itself and pulling away from the sides of the bowl. Add additional flour as needed; dough should be soft, sticky/tacky but should cling to itself and shouldn’t come off on your fingertip if gently prodded.
- If using a stand mixer (preferred/recommended), use the dough hook to knead dough until smooth and elastic (about 5-10 minutes on medium/low speed). If preparing by hand, transfer to a lightly floured surface and knead until smooth and elastic (about 10 minutes, you will likely have to add more flour as you go).
- Place dough in a lightly oiled bowl (I use olive or avocado oil), cover with plastic wrap, and allow to rise for 5-8 hours, until nearly doubled in size. Transfer to refrigerator and allow to rest/ferment overnight (up to 48 hours).
The next day
- Generously grease a 13×9 glass or ceramic baking dish with butter. Set aside.
- Remove dough from the refrigerator and turn dough out onto a lightly floured surface. Dough will be cold and dense, this is perfect for best handling.
- Divide dough into 15 (for larger rolls) or 20 (for smaller rolls) even pieces and gently roll each into a smooth ball.
- Space dough balls evenly into prepared baking dish. Cover with plastic wrap and allow to sit in a warm, draft-free space until rolls are puffed and touching. Rolls should pass the poke test, meaning if gently poked with a lightly floured finger they will spring back halfway. If the dough springs back all the way it needs more time (and if it doesn’t spring back at all, they’re unfortunately overproofed, bake them anyway). This usually takes about 1 ½-2 hours in my kitchen but will vary. When rolls are nearly finished rising, preheat oven to 375F (190C).
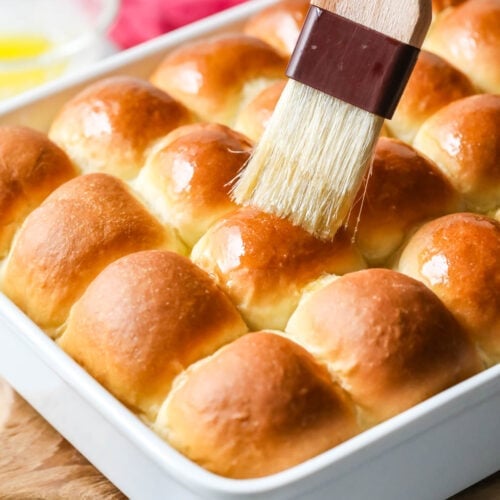
- Uncover rolls and, if desired, use a pastry brush to lightly brush the surface of each roll with an egg wash made by whisking together 1 egg with 1 teaspoon of water or milk.1 egg, 1 teaspoon water (or milk)
- Transfer rolls to center rack of 375F (190C) oven and bake for 20-30 minutes (if baking 20 rolls you’ll need to start checking at 20 minutes, if baking 15 rolls they typically take 25-30 minutes). Rolls should be turning light golden on top and an instant-read thermometer inserted in the center of a roll should reach 185-190F (85-88C).
- Serve warm, though they’re delicious at room temperature and reheat well, too!
Notes
Bread flour
Bread flour is my preference for best texture but all-purpose flour will work in a pinch.Mixer Note
While a stand mixer isn’t mandatory, I do prefer one for this recipe because it allows you to knead the dough well without having to add too much flour. This dough should be a bit sticky, and to knead it on a counter you generally have to add more flour as you go, so you generally get better results with a mixer. I do not like to use my electric hand mixer, which is not strong enough to knead the dough without burning out the motor.Storing
Store baked rolls in an airtight container at room temperature for up to 3 days. These rolls also freeze well for several months.Nutrition
Nutritional information is based on third-party calculations and should be considered an estimate only. Actual nutritional content will vary based upon brands used, measuring methods, cooking method, portion sizes, and more.







Mina
These were great! wonderful texture and delicious flavour. Process was easy! seriously so happy with this one. Could this same recipe be baked as a loaf?
Sam Merritt
Hi Mina! I’m so glad you enjoyed them! I personally tried this as a loaf and didn’t really like it that way. I would recommend my sourdough bread instead. 🙂
Ken
Prepping for Thanksgiving. This is my second batch in two weeks. First batch was just to test for the cook but also for how well they freeze and reheat. The answer to both is, Fantastic! ~45 seconds in the microwave is perfect for a frozen roll! Thank you!
Sam Merritt
I’m so glad you enjoyed them so much! 🙂
Kolbie Clites
I’ve made this recipe a few times and had good success. I’ve noticed the importance of mixing the dough for a sufficient time/speed. I’ve also improvised a big and added just a splash of half and half, in efforts to soften the texture a bit. Overall, a great recipe! Would recommend!
Sam
I’m so glad you enjoyed them so much, Kolbie! 🙂
Ashley
super easy to make. Beautiful rolls in the oven now, and it smells delicious!
😋 we can’t wait to eat them!
thank you for the recipe.
Sam
I hope you love them! 🙂
Christine Hubbard
I am in the process of making (or trying to make?!) these rolls and I am concerned that I overproofed them on the 5-7 hour counter rise. The dough DEFNITELY doubled in size, or more than doubled. It was cold (66 degrees) in my house, so I put them in the oven with the light on for 2 ish hours, then turned the light off and left them. Ended up not getting back to it until about 9 PM at which time it had been 7 hours total. It is currently in the fridge, but it does not look like it’ll be dense later like it should be. I can see lots of bubbles from the sides. What do I do?
Sam
Hi Christine! I’m so sorry I missed this! I would just keep going in that situation. There isn’t much to lose. I have baked over-proofed dough before. It’s not at good, but over-proofed bread is better than no bread if you ask me. How did they turn out?
Candice
Planning to make these very soon! Two questions:
1. How long is overnight? 8 hours? 12 hours?
2. Can I do two pans of ten? I was thinking of rolling half in cinnamon sugar and half in everything bagel seasoning.
Thanks!
Sam
Hi Candice! 8 hours should be enough but longer isn’t going to hurt. You can do 2 pans of 10 but you’ll need smaller pans and that will likely change your bake time so just keep an eye on them as they bake. 🙂
Candice
These turned out great! I over proofed them (our home is a bit chilly so I overcompensated for that) but they were still delicious. I use this website’s sourdough loaf bread recipe for a great loaf of bread so I tried the rolls. I might make them again tomorrow just to see if I can keep from over proofing! Texture was light and fluffy. Flavor was great. Reminded me of what a sister Schuberts roll is supposed to taste like!
Sam
I’m so glad you enjoyed them so much, Candice! 🙂
Jenna
these have to be the best rolls I’ve ever made. super flavor and wonderful texture.
Sam
I’m so glad you enjoyed them so much, Jenna! 🙂
Britni
I decided to try these for Thanksgiving this year and did a trial run today. I was unsure if I over proofed because they didn’t spring back, but they ended up still being the best rolls I’ve ever made. Definitely better than Kings Hawaiian Rolls. I will most definitely make this recipe on a regular basis!
Sam
I’m so glad you enjoyed them so much, Britni! 🙂
Trisha
Made these last night and they are so good. Could I freeze these after shaping them into balls and then take out and let rise before baking?
Sam
Hi Trisha! While I haven’t personally tried it, I think that could work. I’m so glad you enjoyed them. 🙂
Cara
Trisha I was wondering if rolling them into balls & freezing them worked & what were the steps you took once you were ready to bake? Thank you!
Cara Keefer
Oh my gosh, Sam! Are you living in my head?? 🤣 I was just thinking the other day that I wanted to find a sourdough roll recipe for Thanksgiving & then this morning I see that you posted this!! I got super excited because I know that it’s going to be a good one as are all your recipes! I will definitely be making this in the next day or 2 to test/try them out before the big day….and because I just LOVE bread! 🍞 💜
Sam
I was reading your mind! I hope you love these! 🙂
Cara
This were SOOO GOOD!! But if course I knew they would be 😉
I do have a question, how long is too long for them to be in the fridge? I jumped the gun on mixing 4 batches of rolls & I’m just now realizing that I should be baking them today (according to your recipe). I really don’t NEED them until tomorrow evening for people to eat on Thursday, if that makes any sense 😅
So I guess my question is, is it OK for them to be in fridge for about 24 hours or is that to long?
Sam
Hi Cara! If this is the dough before it is shaped, I would be comfortable letting it sit up to 48 hours. 🙂
Pebam
This recipe looks great! I’m planning to make these for a large dinner gathering this weekend and will need to make some a day before. Can I reheat them before dinner and how do you recommend doing so? Thanks!
Sam
Hmm I would heat the oven to 300, place an oven safe dish of water on the bottom rack, and then put the rolls on the center rack baking 10-15 minutes. Alternatively, just heat them in a 300 degree oven until warmed through, probably about 10 minutes.