
The Best Pizza Dough Recipe
This post may contain affiliate links. As an Amazon Associate I earn from qualifying purchases. Please read my disclosure policy.
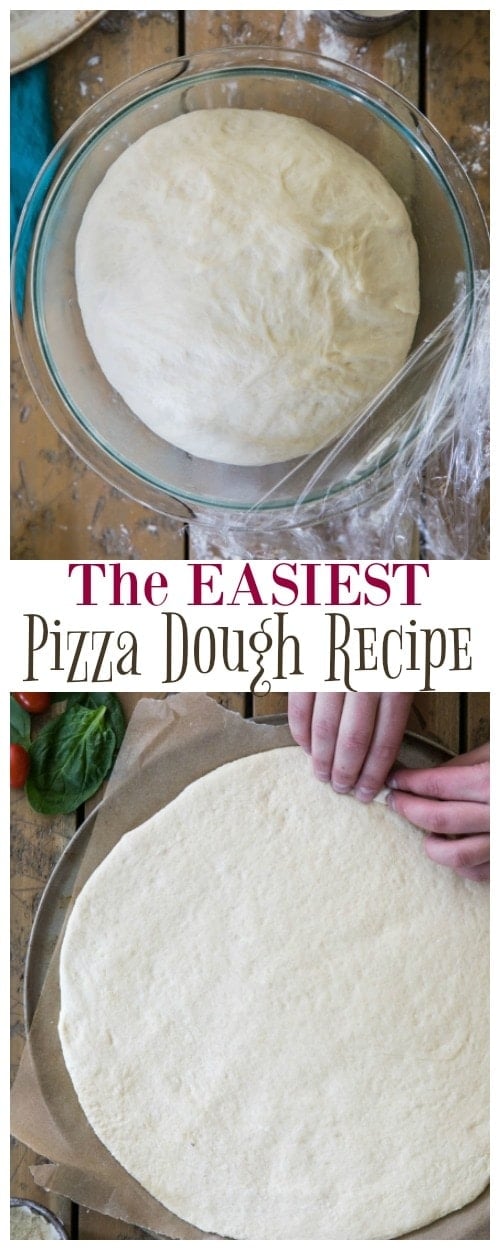
This is the easiest, best pizza dough recipe. With just 6 ingredients and no fancy flours required (I’ve included instructions for using all-purpose or bread flour), this pizza crust requires just one bowl (no stand mixer, though you can use one if you’d like), about 3 seconds of kneading, and just 30 minutes to rise.
If you’re uncomfortable working with yeast or making your own pizza dough at home, I’ll walk you through every step of the process in my video just below the recipe. You’ve got this!

It’s a little silly how excited I am to share this recipe with you today. It’s pizza dough, not exactly glamorous or sexy and it was honestly pretty boring to photograph (how do you make a ball of dough look fun and appealing in pictures, please tell me!).
But as someone who has struggled with baking even the most simple recipes with yeast, perfecting this pizza dough was definitely a triumph for me and I’m really happy to announce that there’s nothing to be afraid of! Yeast baking isn’t all that scary or hard, and you too can make your own super simple pizza crust at home in a matter of minutes, no fancy ingredients required.
I kept this pizza dough recipe as simple and approachable as possible. It’s made with all-purpose flour (and notes on how to substitute that flour, in case you want to get fancy 😉), no stand mixer needed, and only the most minimal amount of kneading required.
Below I’ve tried to ask some of the most frequently asked questions about making your own pizza dough. Let’s get to it.

What is the best flour for making homemade pizza dough?
Many pizza-making-pros will likely argue that bread flour is best for making homemade pizza. However, I rarely keep any flours in my pantry that are more exotic than all-purpose flour, so when I was working on this recipe I first and foremost made sure that it worked perfectly with regular old all-purpose flour.
I did make a point to test this recipe (repeatedly, we ate a lot of pizza last week) with bread flour and it works very well when made that way, too. I find that the biggest difference is that using bread flour gives my pizza dough a crispier crust, while the all purpose flour yields a softer one.
Can I flavor my Pizza Dough?
Pizza dough on its own is obviously important as a base for your favorite pizza, but it’s also kind of… bland. Shockingly, something made primarily of flour and water isn’t super exciting to the taste buds, and most of the flavor will come from whatever toppings you add.
I do usually try to spice up my crust just a bit, though, by adding a dash of garlic powder (usually around a 1/4 teaspoon) and sometimes dried basil leaves (dried oregano could also work for you but I absolutely loathe oregano) into the dough before you add your oil and water.

How do you stretch out pizza dough?
You can use a rolling pin or you can use your hands. If you’re especially skilled, you can toss it up in the air and spin your dough like an Italian pizza artist, but I definitely lack the ability to tell you how to do that one.
I prefer to use a rolling pin and roll the dough out into a circle (or more like an amoeba-shape, since I can’t roll a perfect circle to save my life). Alternatively you can use your hands to flatten and stretch the dough until it reaches the desired width.
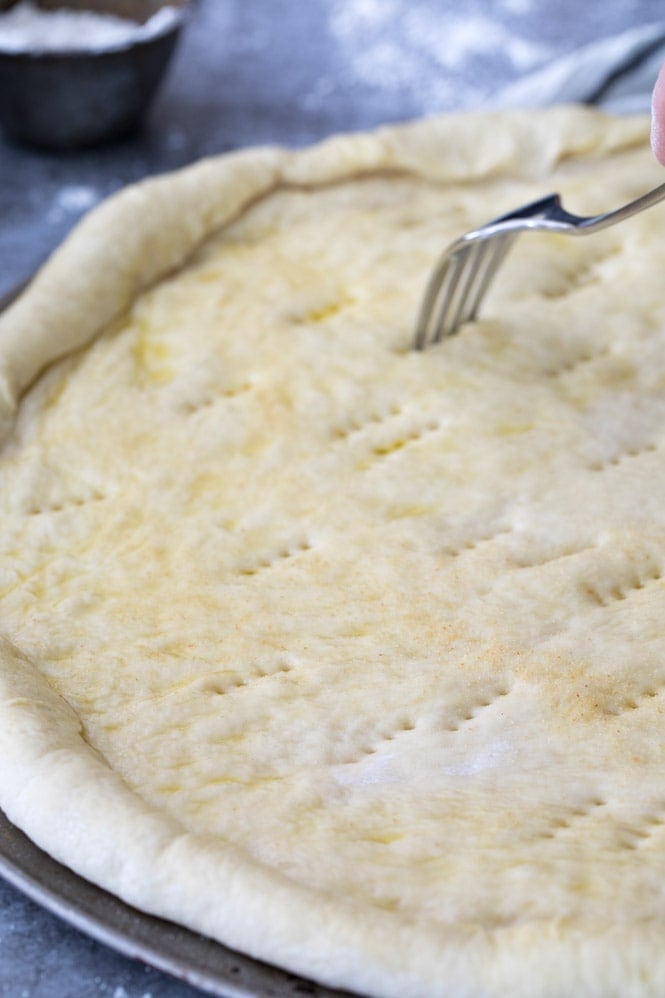
Then use your hands to pinch the edges to make a crust or fold over the edges (I always fold mine over because it gives me a thicker crust, which I love), brush the entire surface of the pizza generously with olive oil, and then use a fork to poke holes over the center of the dough to prevent any bubbles from forming while it bakes.
How do you make Homemade Pizza?
You can use this pizza dough recipe to make your own homemade pizza using any toppings you’d like (I love making Margherita pizza and have even made a BBQ chicken version using my BBQ pulled chicken).
I included instructions in the recipe, but once you’ve prepared your pizza dough, just add your favorite toppings and bake in a 425F oven for about 15 minutes (you may need longer if you add a lot of toppings). Do make sure you let your oven preheat properly and use an oven thermometer as possible, my oven takes a while to reach that temperature and usually “tells” me it’s ready when it’s not even close.

OK, are you guys sick of hearing about my beloved pizza dough recipe yet? In case you just can’t get enough, I also made a video just below that you can watch so you can see exactly how your dough should look in every step.
How to Make Homemade Pizza Dough

If you enjoy watching these videos, please subscribe to my YouTube Channel to be notified every time I publish a video!
The Best Pizza Dough Recipe
Ingredients
- 2-2 ⅓ cups all-purpose flour OR bread flour¹, divided (250-295g)
- 1 packet instant yeast², (2 ¼ teaspoon)
- 1 ½ teaspoons sugar
- ¾ teaspoon salt
- ⅛-¼ teaspoon garlic powder and/or dried basil leaves, optional
- 2 Tablespoons olive oil, + additional
- ¾ cup warm water³, (175ml)
Instructions
- Combine 1 cup (125g) of flour, instant yeast, sugar, and salt in a large bowl. If desired, add garlic powder and dried basil at this point as well.
- Add olive oil and warm water and use a wooden spoon to stir well very well.
- Gradually add another 1 cup (125g) of flour. Add any additional flour as needed (I've found that sometimes I need as much as an additional ⅓ cup), stirring until the dough is forming into a cohesive, elastic ball and is beginning to pull away from the sides of the bowl (see video above recipe for visual cue). The dough will still be slightly sticky but still should be manageable with your hands.
- Drizzle a separate, large, clean bowl generously with olive oil and use a pastry brush to brush up the sides of the bowl.
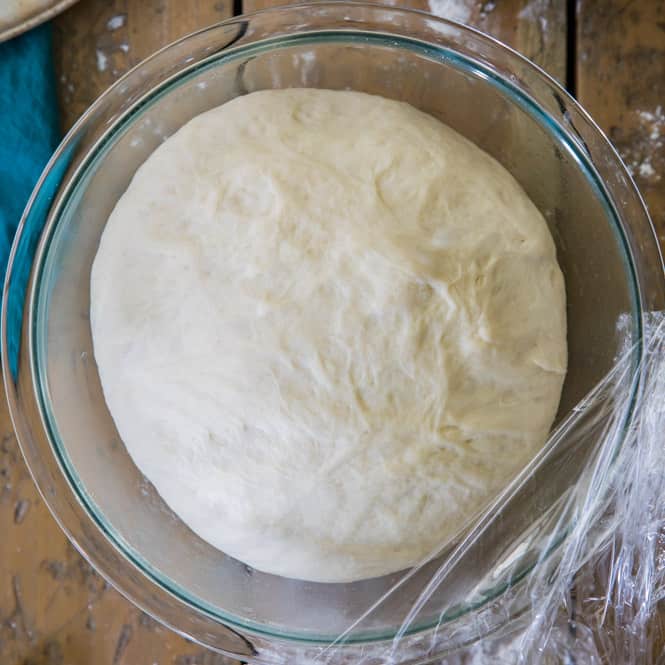
- Lightly dust your hands with flour and form your pizza dough into a round ball and transfer to your olive oil-brushed bowl. Use your hands to roll the pizza dough along the inside of the bowl until it is coated in olive oil, then cover the bowl tightly with plastic wrap and place it in a warm place.
- Allow dough to rise for 30 minutes or until doubled in size. If you intend to bake this dough into a pizza, I also recommend preheating your oven to 425F (215C) at this point so that it will have reached temperature once your pizza is ready to bake.
- Once the dough has risen, use your hands to gently deflate it and transfer to a lightly floured surface and knead briefly until smooth (about 3-5 times).
- Use either your hands or a rolling pin to work the dough into 12" circle.
- Transfer dough to a parchment paper lined pizza pan and either pinch the edges or fold them over to form a crust.
- Drizzle additional olive oil (about a Tablespoon) over the top of the pizza and use your pastry brush to brush the entire surface of the pizza (including the crust) with olive oil.
- Use a fork to poke holes all over the center of the pizza to keep the dough from bubbling up in the oven.
- Add desired toppings (see the notes for a link to my favorite, 5-minute pizza sauce recipe!) and bake in a 425F (215C) preheated oven for 13-15 minutes or until toppings are golden brown. Slice and serve.
Notes
Making in Advance:
To make in advance, let the dough rise covered at room temperature as indicated in the recipe, then deflate it, wrap it tightly so it doesn't dry out, and store in the refrigerator for up to several days or it will freeze for up to a month. Top your pizza off with my favorite, easy, homemade pizza sauce!Nutrition
Nutrition information is automatically calculated, so should only be used as an approximation.
Like this? Leave a comment below!


Could not wait to put in this review I haven’t even tasted it yet. Trying this very easy basic pie pizza pie crust recipe and so far it’s great ! Looks beautiful! I’ve looked at so many different recipes found them difficult.
I have not baked it yet I will be back for another review if I’m allowed. I must eat it first.
Thank You!
I hope you love it, Cindy! 🙂
Loved this pizza crust. So glad I found it. The video made it simple to make.
Thanks!
I am so glad you enjoyed it, Cindy! 🙂
I cooked my pizza dough for ten minutes before adding all the toppings because I was afraid it would still be raw in the middle.
Does it cook evenly if I omit this extra step?
Hi, Abby. I have never had an issue with it not baking with toppings on it. 🙂
Ok, I will try it next time, (soon) because it was absolutely delicious.
Thank you so much for this recipe!
I tried making this dough twice back to back and both times I came out with dry dough, and I had only added the one cup of flour after the initial 1 cup, yeast and sugar and salt. When I say dry, I mean flaky will not bond together. I am not sure what I’m doing wrong or what. But I can’t make this work. I spent an hour trying to prepare this for the kids, and 1 hour later, I’m ordering pizza.
I’m sorry you are having this issue, Peir. How are you measuring your flour? The best way to do it is by weights. Sometimes when you scoop it, you can pack too much flour in the cup. You shouldn’t have a really dry dough like this. 🙁
Working on making it for the second time the first time I failed to kneed the dough after it finished proofing but it still came out better than any recipe I’ve used thus far honestly better than the premade stuff i got from the store. Will update after I try my second try following the recipe to the T this time. I’m sure it will be even more perfect.
I’m glad you enjoyed it, Jules! 🙂
It’ll do in a pinch but definitely not a great pizza dough. Sorry.
Sorry to hear you didn’t love it, Donna! What didn’t you like about it?
This. Was. Divine.
I added the garlic powder and basil because I wanted that extra depth. I’m never buying pizza again.
My 2-year-old had fun making tonight’s pizza with me and we are now inhaling our masterpiece. I’m saving this recipe forever!
Thrilled to hear that it was such a hit!! Thank you for commenting, Kayane! <3
Excellent. So easy and quick to make. I didnt even knead it for more than a minute. This recipe is a keeper
This was my first time ever making a pizza crust from scratch, and first time baking anything, for that matter, and I was a little intimidated at first. There’s ZERO reason to be! This couldn’t have been easier, your instructions are perfect. I did add a little garlic powder and dried oregano. I baked it in a 12″ Staub cast iron pan. Cooked 15 minutes, then took it out of the pan and baked for another 3 minutes. Perfection! I’m guessing that I can roll it thinner next time, and use a bigger pan for thin crust. I can’t wait to try it that way. Thanks a million for the recipe, and proving that baking can be easy! 🙂
I am so glad you enjoyed it, Jay! Baking can be really fun once you start getting a good handle on it. Happy baking. 🙂
I’m just a bit confused – the recipe says “1 cup (125g)” when cup is 250g. What is it really?
1 cup of flour is 125g 🙂
The weight of a cup will vary depending on what you are weighing. For example, a cup of sugar is 200g, or at least these are the measurements that I’ve found to consistently be true and use on my blog.
I made this last night and actually got three 10″ thin crust pizzas out of it. I swapped out the water for the water from canned mushrooms and seasoned the dough (made with bread-flour) with garlic powder oregano and basil. I baked this on a pizza pan that was oiled – no parchment paper. When you get to half way done -slide it off the pan onto the oven racks to give the bottom a nice browning.
The crust has a buttered-bread like softness and a very light taste – it doesn’t over power your sauce or ingredients. It’s even great hours later out of the refrigerator with no warming – now that’s a crust to be proud of.
I am so glad you enjoyed it, Chris! Thanks for the feedback on how to make the crust crispy. 🙂
This was really good. I have made it twice so far! One thing I did was rolled it out in four pieces and put it on my electric griddle at about 400 degrees brushed with a little oil, It was wonderful, and sort of a fun change to making pizza. :). Then, I added pizza sauce and cheese to bake through in the oven.
I am so glad you enjoyed it, Michele! 🙂
This was really good. I have made it twice so far! One thing I did was rolled it out in four pieces and put it on my electric griddle at about 400 degrees brushed with a little oil, It was wonderful, and sort of a fun change to making pizza. 🙂
Can you make and then refrigerate dough for use at a later time
Hi, Ann. I think it will be ok to use a later time. After it rises, deflate it and wrap it tightly so no air gets to it to dry it out. 🙂
Hi there! So excited to try this pizza dough out this weekend!! Any tips on using a pizza stone with this recipe? Someone maybe already asked but I haven’t gone through all the comments 🙂 I can’t rate it yet but I’ll be sure to come back and do so once I’ve made it.
Hi, Cara. I have not used a pizza stone so I don’t have any tips in particular for you. I hope you love it. 🙂
I just made a prosciutto and arugula pizza on this dough (I added garlic powder) using a stone. DELISH!!!
That sounds AMAZING! So glad you enjoyed the crust recipe, Grace! Thank you for commenting! <3
OMG !!! I made this last night. AWESOME!!!!! I used standard active dry yeast. After worrying that it wasn’t rising, I read comments below and realized I had to wait longer due to the yeast. I mixed garlic powder and Italian seasoning into the dough. It turned out WONDERFUL. I probably will not eat pizza from a pizzeria ever again!!!! Thank You!!
I am so glad you enjoyed it, Rodney! 🙂
In fact, I’m making it again today (possibly two batches) only, going to try bread flour. One pizza and maybe some cheesy bread sticks!! (Playoff football food 😉 )
Rodney, how long did you need to let it rise for?
I probably had to let it rise for almost an hour. I was using standard dry active yeast.
How did you like the bread flour instead of regular flour Rodney?